Are you wondering how to clean an oil drum? Don’t fret. Whether you’re a DIY enthusiast or just need to dispose of an old drum, cleaning it up can seem like a daunting task. The accumulation of dirt, grime, and oil can be overwhelming, but fear not. In this blog post, we’ll provide you with everything you need to know about cleaning an oil drum.
First and foremost, safety should always come first when dealing with potentially hazardous materials. But don’t worry – we’ve got you covered with all the necessary precautions. We’ll also walk you through the different methods available, such as pressure washing or chemical solvents, so that you can choose the best option for your specific situation.
By the end of this article, you’ll have all the information needed to confidently clean your oil drum and tackle your next project. So grab your safety goggles and let’s dive in.
Contents
What is an Oil Drum?
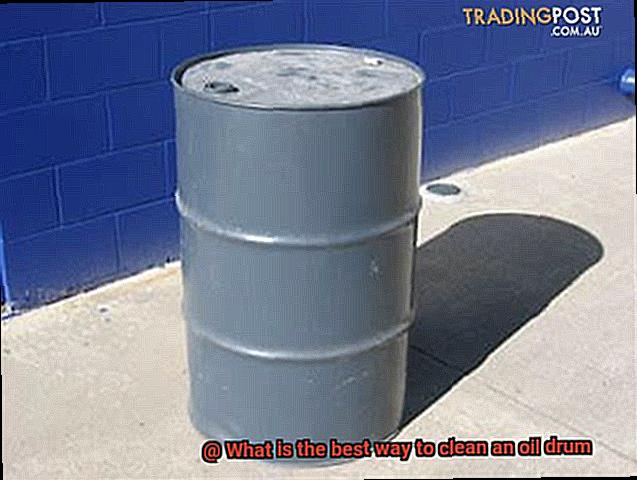
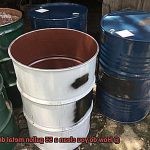
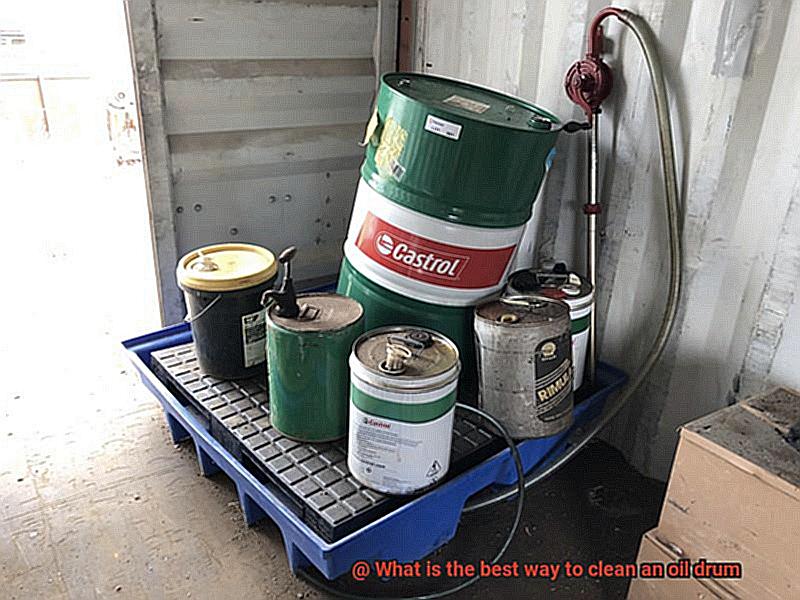
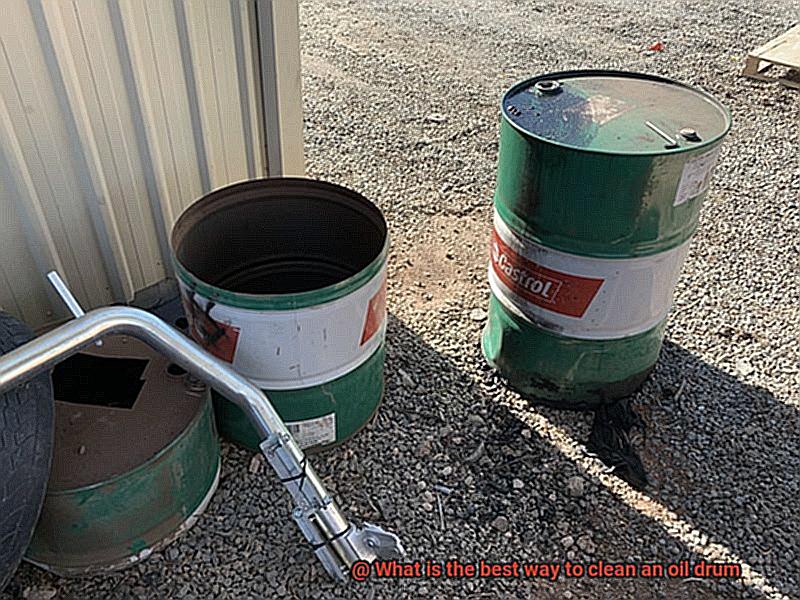
Oil drums, also known as barrels, are cylindrical containers that have stood the test of time in the storage and transportation of liquids. These containers are made of steel or plastic and come in various sizes, ranging from 5 to 55 gallons. They are most commonly used in the oil and gas industry, as well as for commercial and industrial purposes.
Oil drums are designed to be sturdy and reliable, with a tight-fitting lid that prevents leakage. They are typically painted in bright colors to make them easily identifiable and labeled with warning signs to indicate the contents within. The standard 55-gallon oil drum has become an iconic symbol of industrialization, appearing in popular culture, art, and film.
While these drums are essential for storing and transporting liquids, they can also pose serious health and safety risks if not handled properly. It is crucial to take all necessary precautions when dealing with these containers to prevent any accidents or spills.
Cleaning an oil drum is one such precaution that must be taken seriously. Keeping your oil drum clean is necessary to ensure that it is free of contaminants that could affect the quality and taste of your food or drinks. There are different ways to clean an oil drum depending on the type of residue you are dealing with.
If you need to clean leftover oil from your drum, start by draining it properly and disposing of it safely. Once the oil has been drained, you can proceed to clean the drum. A high-pressure washer is an effective method for removing any stubborn residue stuck to the sides of the drum. However, it is important to wear protective gear such as safety goggles, gloves, and a dust mask when using a high-pressure washer.
Alternatively, you can use a hot water and soap mixture to clean residual oil and grease from the surface of the drum. This method is ideal for maintaining your drum’s longevity while also keeping it free from contamination.
Why is it Important to Clean an Oil Drum?
Oil drums are a symbol of industrialization, known for their reliability and sturdiness in storing and transporting liquids. However, they are not invincible and require proper handling, including thorough cleaning. As an expert on the topic, I can tell you why it is crucial to clean an oil drum.
First and foremost, cleaning an oil drum is essential to prevent cross-contamination. Oil drums are typically used to store different types of materials such as chemicals, lubricants, and fuels. Failure to clean them after each use can result in residual materials mixing with new ones, leading to unexpected reactions or hazards. This contamination can cause serious health risks and costly damages. For instance, if an oil drum previously held a highly flammable substance and is then filled with a different material that produces heat, it could potentially ignite and cause a fire or explosion.
Moreover, cleaning oil drums is vital to comply with environmental regulations. Improper disposal of hazardous waste can result in legal penalties and fines. To avoid these consequences, it is crucial to ensure that all oil drums are cleaned and disposed of according to local and federal regulations.
Lastly, cleaning an oil drum can help extend its lifespan. Neglecting regular cleaning can lead to residual materials corroding the metal surface and undermining its structural integrity. In contrast, regular cleaning prevents this from happening, ultimately saving money on replacements and repairs.
How to Drain the Oil from the Drum
Draining the oil from an oil drum is a crucial first step in cleaning and maintaining it. If you’re unsure about how to go about it, don’t worry. Here are five easy steps to follow:
Gather your materials
You will need a funnel, a container to collect the oil, and gloves to protect your hands.
Be cautious while pouring
Place the funnel on top of the oil drum and carefully pour the remaining oil into the container. Take your time to avoid any spills.
Consider using a pump
If the oil drum has a small opening or you’re dealing with a larger drum, consider using a pump or siphon designed for oil. Other pumps may not be able to handle the thickness of the oil.
Dispose of the used oil properly
Once you have drained out all of the oil, it’s important to dispose of it properly. Check with your local waste management facility or recycling center for guidance on proper disposal methods.
Clean and sanitize your materials
Finally, remember to clean and sanitize any materials used during this process to avoid contamination.
It’s important to take precautions while handling used oil as it may contain hazardous materials that can harm both you and the environment. Always follow proper disposal protocols and wear protective gear during the draining process.
Cleaning an Oil Drum with a High-Pressure Washer

It’s time to unleash the power of a high-pressure washer. This method is suitable for both plastic and metal drums and is one of the most effective ways to clean them thoroughly. However, it’s important to note that high-pressure washers can be dangerous if not used properly. So before you begin, make sure to wear protective gear such as safety goggles, gloves, and ear protection.
To start cleaning your oil drum with a high-pressure washer, first, make sure that the drum is empty and all contents have been removed. Next, remove any loose debris or large chunks of dirt from the surface of the drum using a broom or brush.
Then, connect your high-pressure washer to a water source and turn it on. Adjust the pressure settings on the washer according to the type of material the drum is made of. For plastic drums, use a lower pressure setting to avoid damaging the surface of the drum. For metal drums, a higher pressure setting may be needed to effectively remove tough stains and residue.
Now it’s time to get cleaning. Start at the top of the drum and work your way down in sections. Hold the nozzle at a 45-degree angle and move it back and forth in a sweeping motion. Avoid spraying directly into any openings or seams on the drum to prevent water from getting inside.
Once you’ve finished cleaning the entire surface of the drum, rinse it thoroughly with clean water using the high-pressure washer. Check to make sure that all dirt and residue have been removed before drying the drum off completely with a clean towel.
Remember that safety always comes first when using a high-pressure washer. Take care not to damage plastic drums with too much pressure and always wear protective gear before starting.
Cleaning an Oil Drum with Hot Water and Soap Mixture
Look no further than the hot water and soap mixture method. As an expert in this field, I can assure you that this is one of the most effective and straightforward ways to clean your oil drum.
To begin, it’s important to prioritize safety first. Make sure you have on the appropriate protective gear before starting. Once you’re geared up, start by removing any excess oil or grease from the surface of the drum using a scraper or wire brush. The more oil you can remove at this stage, the easier the cleaning process will be.
Next, fill the drum with hot water, leaving space for the soap to be added later. The water should be hot enough to loosen any remaining grease or oil but not boiling. Once the water is in place, add a generous amount of dishwashing soap and mix it thoroughly. Don’t skimp on the soap – it’s what will help break down those stubborn grease stains.
Using a long-handled brush, scrub the inside of the drum with the hot water and soap mixture. Pay attention to any areas where grease or oil may have accumulated and scrub until every trace has been eliminated. For extra effectiveness, use a circular motion to ensure every inch of the drum is covered.
After scrubbing, rinse the drum thoroughly with clean water to remove any soap residue. Make sure that all traces of soap have been removed from the inside of the drum to prevent any contamination during grilling.
Finally, let the drum air dry completely before using it for grilling or storage purposes. A wet drum can lead to rust or other damage, so make sure it’s completely dry before moving on.
Other Methods of Cleaning an Oil Drum
First up on our list is the high-pressure washer method. This method involves using a powerful stream of water to blast away any residue or debris inside the drum. It’s quick and efficient, but it’s important to note that not all types of drums can handle this level of pressure. Be sure to check your drum’s specifications before attempting this method. Additionally, always wear protective gear like gloves and eyewear to avoid any potential injury.
Another option is to use a chemical cleaner. With many different types available, it’s crucial to choose one that is safe for your specific type of drum and won’t cause any damage or corrosion. Follow the instructions on the cleaner and watch as it dissolves any oil or grease buildup inside the drum. Always read product labels and use safety gear when working with chemicals.
For those who prefer a more natural approach, baking soda and vinegar can do wonders for cleaning an oil drum. This affordable and eco-friendly solution is easy to make: mix equal parts of both ingredients together until a paste forms, then apply the paste to the inside of the drum and let it sit for several hours. Afterward, rinse the drum thoroughly with water to remove any remaining residue.
No matter which method you choose, safety should always be a top priority when cleaning an oil drum. Always wear protective gear like gloves and eyewear, and dispose of any cleaning materials properly according to local regulations. Remember: safety first, happy cleaning second.
Safety Precautions to Consider When Cleaning an Oil Drum
Cleaning an oil drum can be a daunting task, and safety should always be the top priority. The chemicals and residues that oil drums may contain can be hazardous to your health. Therefore, it is essential to take the necessary precautions to protect yourself while cleaning them.

Firstly, ensure that you wear appropriate personal protective equipment (PPE). Gloves, goggles, and a respirator mask will shield you from any harmful chemicals or fumes that may be released during the cleaning process. PPE is like armor, protecting you from harm.
Secondly, before starting the cleaning process, make sure that the oil drum is completely empty and free of any flammable or explosive materials. Don’t assume that the drum is empty; take the extra time to inspect it thoroughly before starting any cleaning procedures. Ensure that any remaining materials inside the drum are disposed of properly and safely.
Thirdly, ventilation is crucial. Make sure the area where you’ll be cleaning the oil drum is well-ventilated by opening windows and doors if possible. This will help reduce any fumes or vapors that may be released during the cleaning process.
Fourthly, never use an open flame or any other heat source near the oil drum. This can ignite any flammable materials present inside the drum, leading to a fire or explosion – definitely not what you want.
Lastly, always dispose of any cleaning materials and waste in accordance with local regulations and guidelines. Improper disposal of hazardous waste can be harmful to both human health and the environment.
Ni7q-jOAnhI” >
Conclusion
Cleaning an oil drum may seem like a daunting task, but don’t let that intimidate you. With the right precautions and methods, it can be done safely and effectively. Safety should always be your top priority when dealing with potentially hazardous materials such as oil drums. So make sure to wear personal protective equipment (PPE) such as gloves, goggles, and respirator masks during the cleaning process.
There are various methods available for cleaning an oil drum, including using a high-pressure washer or a hot water and soap mixture. It’s important to choose the best option for your specific situation and follow all instructions carefully. Other methods include using chemical cleaners or natural solutions such as baking soda and vinegar.
Regular cleaning of an oil drum is essential to prevent cross-contamination, comply with environmental regulations, and extend its lifespan. Neglecting regular cleaning can lead to residual materials corroding the metal surface and undermining its structural integrity.
Always remember that safety comes first when handling used oil drums. Follow proper disposal protocols and wear protective gear during the draining process. Improper disposal of hazardous waste can result in legal penalties and fines.
By following these guidelines, you can confidently clean your oil drum without any worries.

