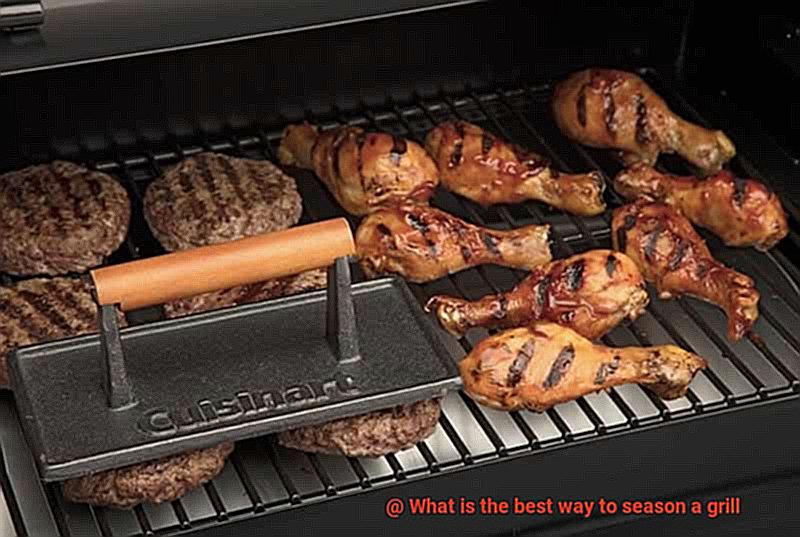
Are you a grill enthusiast who loves to cook outdoors? Do you want to know the secret to mastering the perfect grill? Well, look no further. Today, we’re going to discuss one of the most critical aspects of grilling – seasoning.
Seasoning your grill is like giving it a spa treatment. It’s the process of heating and coating the grates with oil to create a non-stick surface that will make your food taste even better. Not only does it prevent food from sticking, but it also helps prevent rust and extends the life of your grill. So, what’s the best way to season a grill?
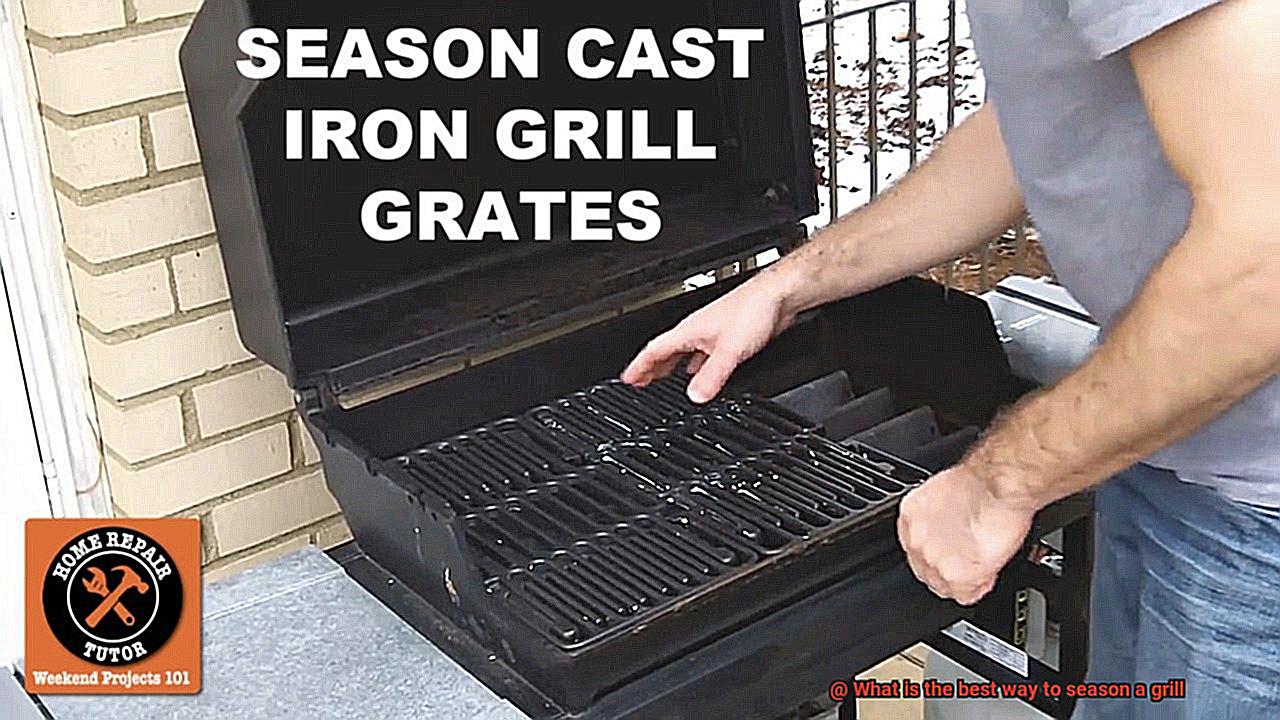
There are several ways to do it, but let’s focus on the most efficient method. First things first: make sure those grates are clean and dry. Then, using high-heat oil with a high smoke point (like canola or grapeseed oil), generously coat those grates with either a brush or cloth. Next up, heat up that grill to high heat for about 20-30 minutes or until you see smoke from the oil. Finally, turn off that grill and let it cool down.
By seasoning your grill properly, you’ll create a non-stick surface that will give your food that perfect sear every time. Whether you’re grilling up some juicy burgers or some tender veggies, remember that seasoning is key to a successful cookout. Trust us; once you try this method out, you won’t go back.
Contents
Why is it Important to Season Your Grill?
Summer is just around the corner, and grilling season is upon us. Whether you’re a seasoned grill master or a newbie to outdoor cooking, one thing you don’t want to overlook is seasoning your grill. This crucial step involves coating the grates of your grill with oil and heating it up to high temperatures. Not only does it create a non-stick surface on the grates, but it also prevents rusting and improves the overall flavor of your food.
First and foremost, seasoning your grill prevents rust from forming on the grates. Grills are made of metal, which means they are susceptible to rusting when exposed to moisture. By creating a protective layer of oil on the grates, you are blocking moisture from coming into contact with the metal, which helps prolong the lifespan of your grill.
Another critical reason to season your grill is to create a non-stick surface on the grates. When food sticks to the grates, it can be challenging to remove without damaging the food. By seasoning your grill, you are creating a non-stick surface that allows your food to cook evenly and prevents it from sticking to the grates. This will make cleaning up after your cookout much easier.
Furthermore, seasoning your grill can also enhance the flavor of your food. As you infuse the grates with oil, you’re essentially adding another layer of flavor to your food as it cooks. The result? A more delicious and flavorful meal that will have everyone coming back for seconds.
To properly season your grill, start by cleaning it thoroughly and then applying a thin layer of oil to the grates. Use any type of oil, such as vegetable or canola oil, and coat every part of the grate, including the sides and corners. Then turn up the heat and close the lid for 10-15 minutes to allow the oil to bake onto the grates.
Remember that seasoning your grill should be done regularly, especially if you use it frequently. This will help maintain its non-stick surface and prevent food from sticking to the grates. Plus, it’s an excellent excuse to fire up the grill and enjoy the beautiful weather.
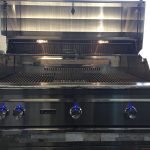
Cleaning the Grill
As a grill master, you know that seasoning your grill is the key to achieving mouth-watering flavors. But did you know that cleaning your grill is just as essential? Starting with a clean surface will ensure that your seasoning process is successful and your meals are cooked to perfection. So, let’s discuss the crucial steps for properly cleaning your grill before seasoning.
Step 1: Remove and Clean the Grates
Begin by removing the grates from the grill and giving them a thorough scrubbing with a stiff wire brush. This will eliminate any excess dirt, grime, or food particles that may have accumulated over time. If your grates are particularly dirty, soak them in warm, soapy water for an hour or two before scrubbing.
Step 2: Clean the Inside of the Grill
Now it’s time to focus on the inside of the grill. Use a scraper or putty knife to remove any built-up debris or ash from the bottom of the grill. After scraping away all the gunk, wipe it down with a damp cloth. Then remove the burner covers and check for any clogs or blockages in the burners themselves. If there are any clogs, use a wire brush or toothbrush to gently scrub them away.
Step 3: Clean the Exterior of the Grill
Don’t forget to clean the exterior of the grill. Use warm, soapy water and a soft cloth to clean away any dirt or grime that has built up outside of the grill. Avoid using harsh chemicals or abrasive sponges that could damage the finish. Rinse the grill thoroughly with clean water and let it dry completely before moving on to the seasoning process.
Applying Oil to the Grates
You’ve got your grill all cleaned up and ready to go, but before you start cooking, there’s one more step that can take your grilling game to the next level: applying oil to the grates. Not only does this help prevent food from sticking, but it also protects the metal from rust. Here’s everything you need to know about applying oil to the grates:
Choose the right oil
Different oils have different smoke points, which is the temperature at which they start to smoke and release harmful fumes. To avoid this, choose an oil with a high smoke point such as vegetable oil, canola oil, or grapeseed oil.
Clean the grates
If you want your food to cook evenly and without any burnt bits, it’s crucial to clean your grates thoroughly before applying oil. Use a grill brush or scraper to remove any debris or rust that may have accumulated on the grates.
Apply a light coating of oil
Once your grates are clean and dry, it’s time to apply the oil. Use a paper towel or brush to evenly coat the surface of the grates with a thin layer of oil. Don’t go overboard with the oil as this can cause flare-ups and smoke. A light coating is all you need for a non-stick surface.
Heat up the grill
After applying the oil, heat up your grill to a high temperature for 20-30 minutes. This will help burn off any excess oil and create a protective layer on the grates.
Baking the Oil onto the Grates
Grilling is an art, and just like any other art form, it requires the right tools and techniques. When it comes to seasoning a grill, baking oil onto the grates is a popular and effective method that can take your grilling game to the next level.
To begin, start by cleaning your grill grates thoroughly. A wire brush or grill scraper should do the trick in removing any debris or rust. Once your grates are spotless, it’s time to oil them up.
It’s important to choose an oil with a high smoke point, such as vegetable or canola oil. Pour a small amount of oil onto a paper towel and use tongs to rub the oil onto both sides of the grates evenly.
Now comes the exciting part – it’s time to heat things up. Preheat your grill to a high temperature (around 500-550 degrees Fahrenheit) and place your oiled grates onto the grill. Close the lid and let the grates heat up for about 15-20 minutes, or until they start to smoke.
Don’t be tempted to peek. Let the grates do their thing and get nice and hot. Once they start smoking, turn off the heat and let them cool down completely. This critical step allows the oil to bond with the metal, creating a non-stick surface that will make future grilling sessions a breeze.
Baking oil onto your grill grates might seem like an extra step, but trust us when we say it’s worth it. A well-seasoned grill not only enhances the taste of your food but also prolongs the life of your grill.
To recap, here’s what you need to do:
Clean your grill grates thoroughly.
Choose an oil with a high smoke point and coat both sides of the grates evenly.
Preheat your grill to a high temperature and let the oiled grates heat up for 15-20 minutes.
Turn off the heat and let the grates cool down completely.
Maintaining a Non-Stick Surface
Grilling is one of the most beloved cooking methods worldwide, but a sticky grill surface can ruin the experience. To ensure that your food doesn’t stick and that your grill lasts for a long time, it’s essential to maintain a non-stick surface. Here are some top tips to help you achieve and maintain a non-stick grill surface.
Firstly, cleaning your grill after every use is crucial to maintaining a non-stick surface. While the grill is still hot, use a stiff-bristled brush to remove any stuck-on food particles. This will prevent them from building up over time and make cleaning your grill easier in the long run.
In addition, when cleaning your grill, avoid using abrasive materials or harsh chemicals, as these can scratch the non-stick surface and cause damage. Instead, use a gentle soap and water solution or purchase a specialized grill cleaner designed specifically for non-stick surfaces.
Another important step to maintain a non-stick surface is to season your grill regularly. By seasoning, you create a protective layer on the surface of the grates that prevents food from sticking. Start by cleaning the grates with soap and water and then apply a thin layer of oil using a paper towel or brush. Vegetable oil, canola oil, or grapeseed oil are all good options.
Next, preheat your grill to a high temperature and let it heat up for 15-20 minutes. This will help burn off any residual oil and create a non-stick surface on the grates. Once the oil starts to smoke, turn off the heat and let the grates cool down completely before using your grill.
Preventing Rust
One of the biggest enemies of your grill is rust, which can cause damage to the grates and other parts of your grill. But don’t worry, there are several ways to prevent rust and keep your grill in top condition for years to come.
First and foremost, keeping your grill clean and dry is essential in preventing rust. After each use, make sure to remove any leftover food or debris from the grates using a grill brush or scraper. Then, wipe down the grates with a damp cloth or paper towel to remove any remaining residue. This simple step can go a long way in preventing rust formation.
Another key factor in preventing rust is protecting your grill from harsh weather conditions. Rain or snow can quickly cause rust on unprotected surfaces. If you don’t have a cover for your grill, consider investing in one to keep it protected from the elements.
One of the best ways to prevent rust on your grill is by seasoning it regularly. Seasoning involves coating the grates with oil and heating them up for a period of time, creating a non-stick surface on the grates that prevents rust from forming. Here’s how to do it:
- Start by cleaning the grates thoroughly with soap and water.
- Coat the grates with a high-heat cooking oil, such as vegetable or canola oil.
- Use a paper towel or brush to evenly distribute the oil over the grates.
- Heat up the grill on high heat for about 15-20 minutes, or until the oil starts to smoke.
After this initial seasoning, you’ll want to repeat the process periodically throughout the grilling season to maintain the non-stick surface and prevent rust from forming.
Regularly Seasoning Your Grill
Seasoning a grill involves coating the grates with oil and heating them to a high temperature, creating a protective layer that prevents rust and food from sticking to the grates.
Before seasoning your grill, it’s essential to clean it thoroughly. Use a brush or scraper to remove any leftover food particles or debris from the grates. Then, wipe the grates down with a damp cloth or paper towel to remove any remaining residue.
Once your grill is clean, it’s time to season it. Start by applying a thin layer of oil to the grates using any high-heat oil such as vegetable oil, canola oil, or even flaxseed oil. Spread the oil evenly over the grates using a clean cloth or paper towel.
Next, preheat your grill to a high temperature of around 500 degrees Fahrenheit. Let the grill heat up for at least 15-20 minutes so that the oil can bond with the grates and create a protective layer.
Once your grill has reached the desired temperature, turn off the heat and let it cool down completely. Afterward, wipe off any excess oil with a clean cloth or paper towel.
It’s crucial to note that you need to season your grill regularly, even if you’re not using it frequently. Rust and corrosion can still form on the grates if they’re not protected by a layer of oil. Therefore, seasoning your grill every few weeks is necessary to keep it in top condition.
Here are some benefits of regularly seasoning your grill:
- Prevents rust and corrosion from forming on the grates
- Ensures that your food comes out perfectly every time you cook
- Increases the lifespan of your grill
- Creates a protective layer that prevents food from sticking to the grates
v2WoiAUlIIE” >
Conclusion
In conclusion, seasoning your grill is a crucial step in achieving the ultimate cookout experience. With a non-stick surface on your grates, you can prevent food from sticking and elevate the flavor of your meals to new heights. Moreover, seasoning helps protect against rust and extends the lifespan of your grill.
To season your grill properly, start by giving it a thorough cleaning before applying a thin layer of high-heat oil to the grates. Heat up the grill until you see smoke from the oil for about 20-30 minutes, then turn off the heat and let it cool down.
Maintaining a non-stick surface is paramount to ensure that your food doesn’t stick and that your grill stays in tip-top shape. After every use, clean your grill using a stiff-bristled brush and avoid using abrasive materials or harsh chemicals. Seasoning your grill with oil regularly will also help maintain its non-stick surface.
Preventing rust is another critical factor in keeping your grill in pristine condition. Keep it clean and dry after each use, shield it from harsh weather conditions, and season it frequently with oil.
By following these simple yet effective tips, you’ll be well on your way to becoming an outdoor cooking pro.