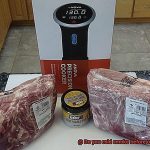
Are you feeling a little nervous about cooking your first pork roast? Don’t worry; it’s a common feeling. And if you’re wondering whether to cook it fat side up or down, you’re not alone in that either. This age-old question has confounded home cooks for generations, but fear not – we’re here to help you solve the mystery.
Cooking a pork roast isn’t rocket science, but there are some crucial steps you need to take to make sure it turns out perfectly. One of those steps is deciding what to do with the layer of fat on top. Should you leave it facing up or turn it over?
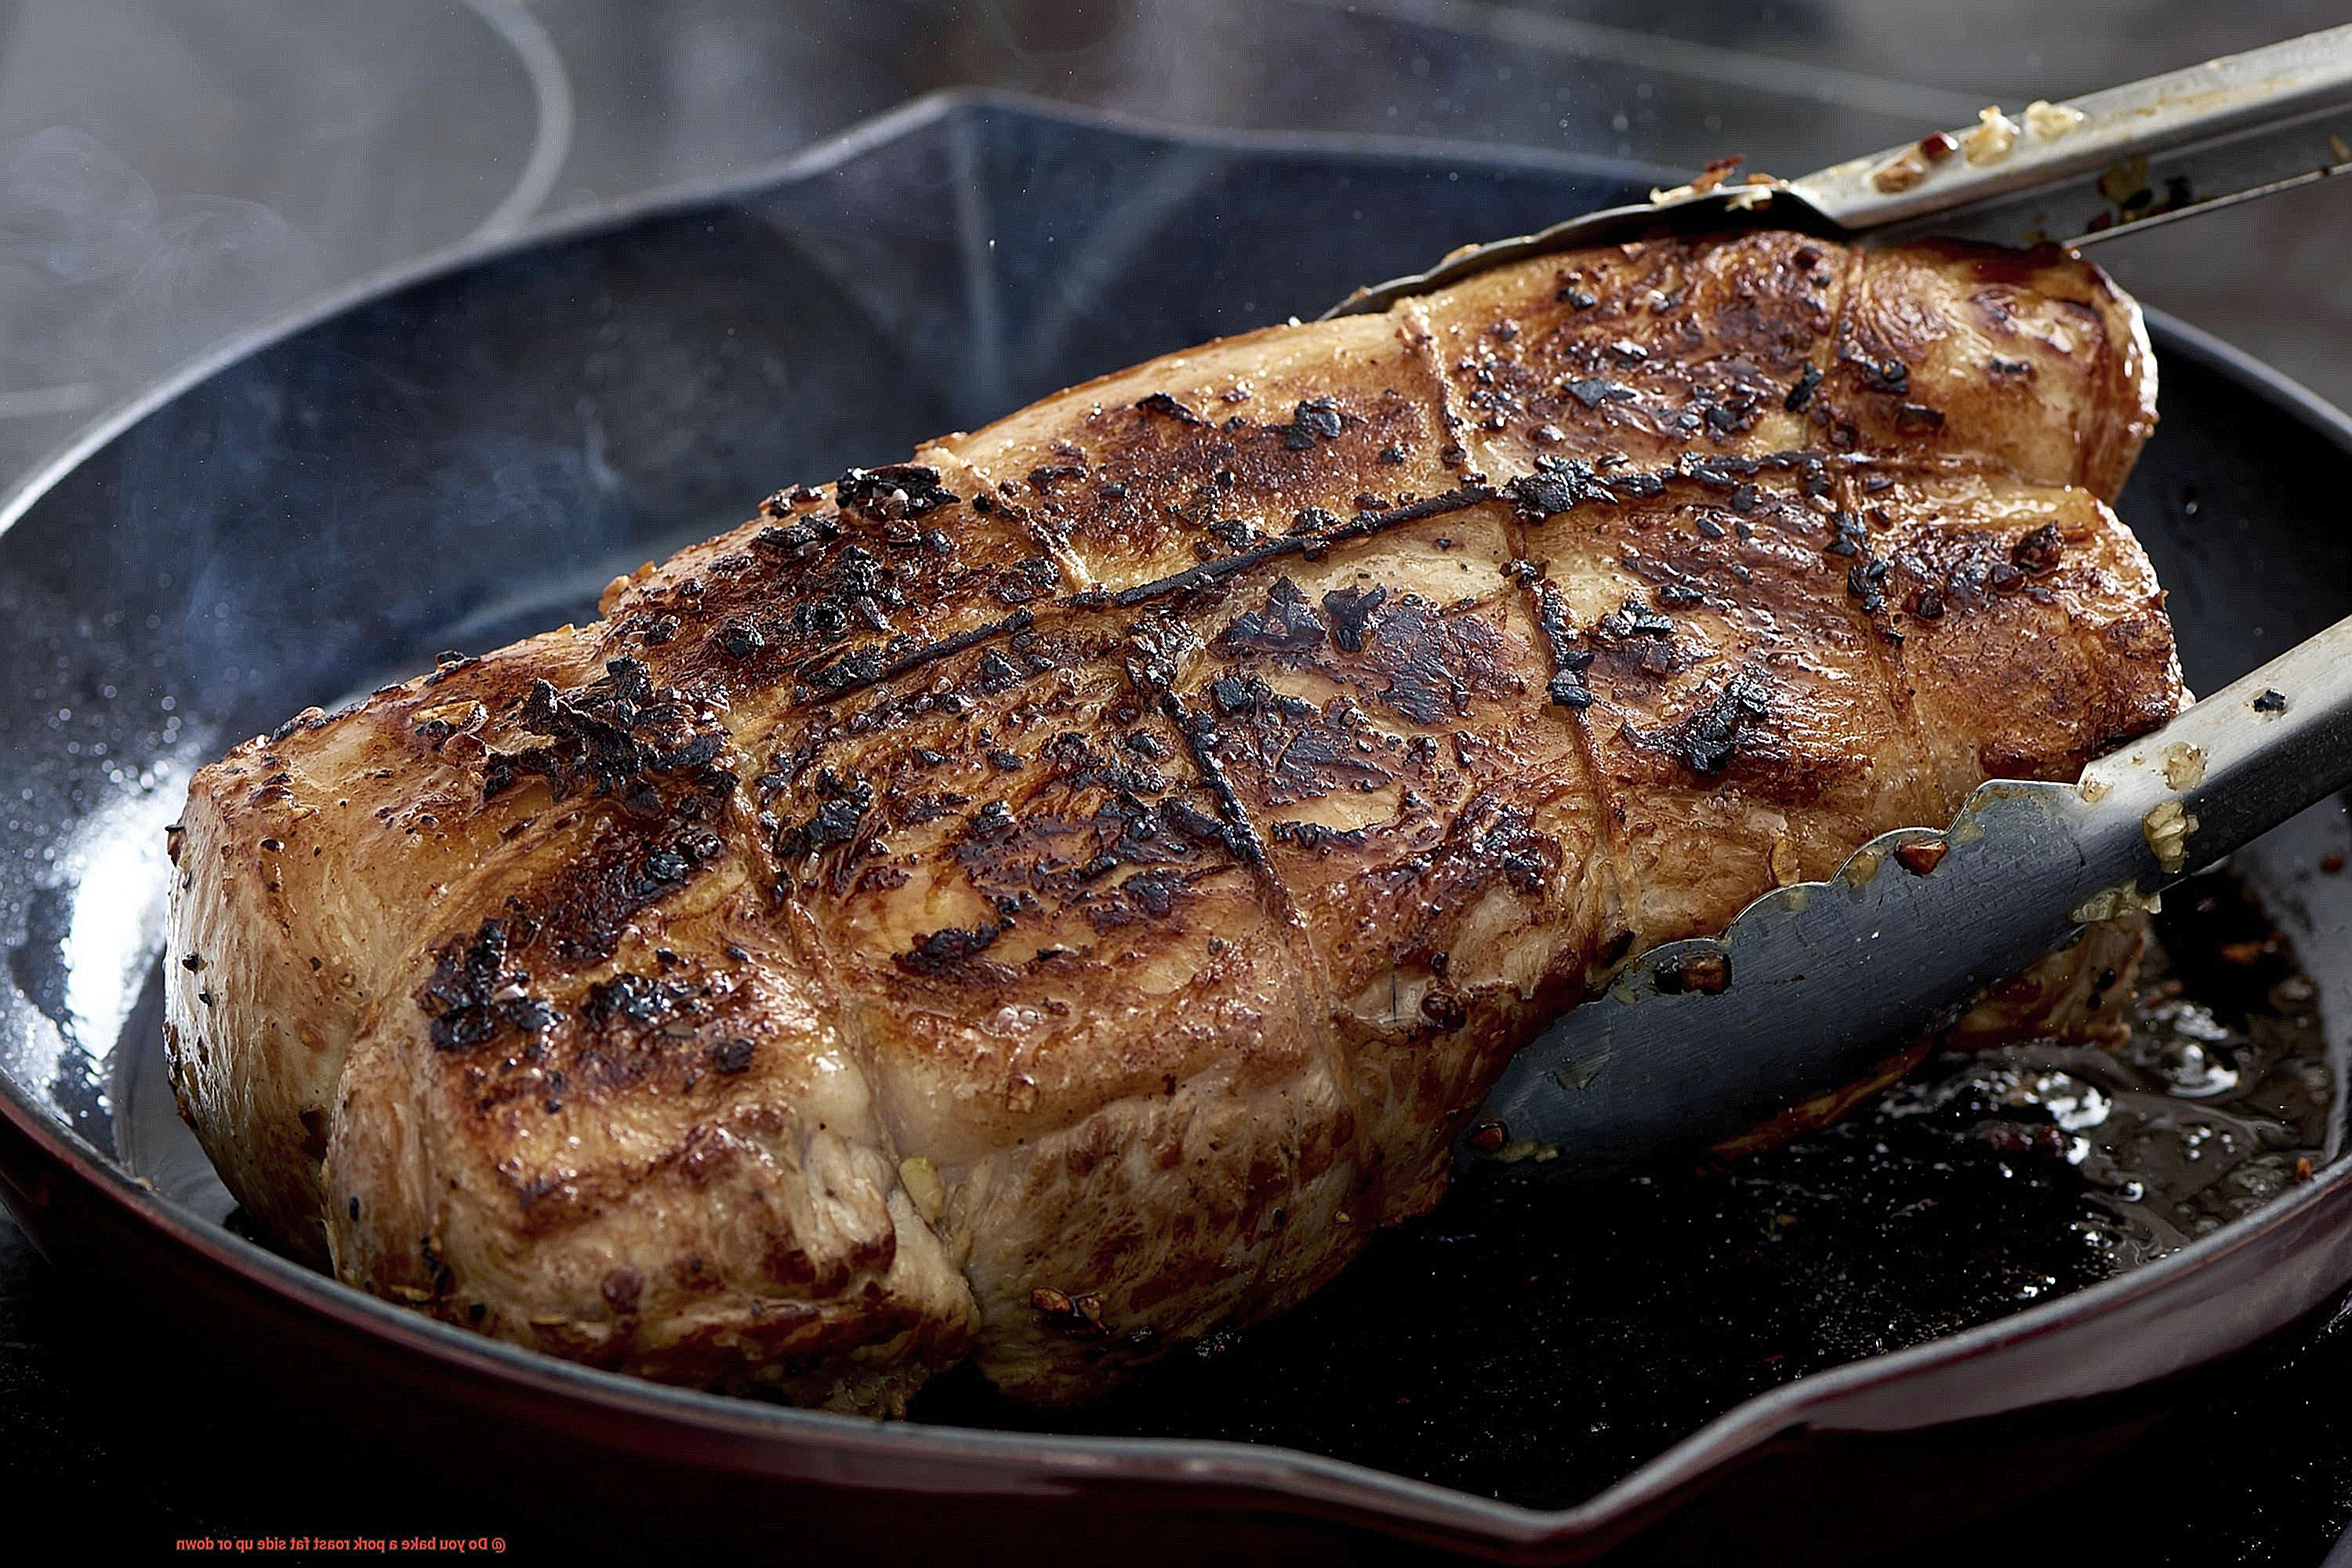
It may seem like a small detail, but trust us when we say it can make all the difference in how your roast turns out. Cook it incorrectly, and your meat could end up greasy, tough, and unappetizing. But don’t worry – we’ve got your back.
In this article, we’ll explore both sides of the debate and give you all the information you need to make an informed decision. We’ll also share some tips and tricks for cooking a juicy, flavorful pork roast every time.
Whether you’re cooking for your family or hosting a fancy dinner party, nailing your pork roast is essential. So let’s dive into this delicious world and figure out once and for all – do you bake a pork roast fat side up or down?
Contents
What is the Reasoning Behind Putting the Fat Side Up?
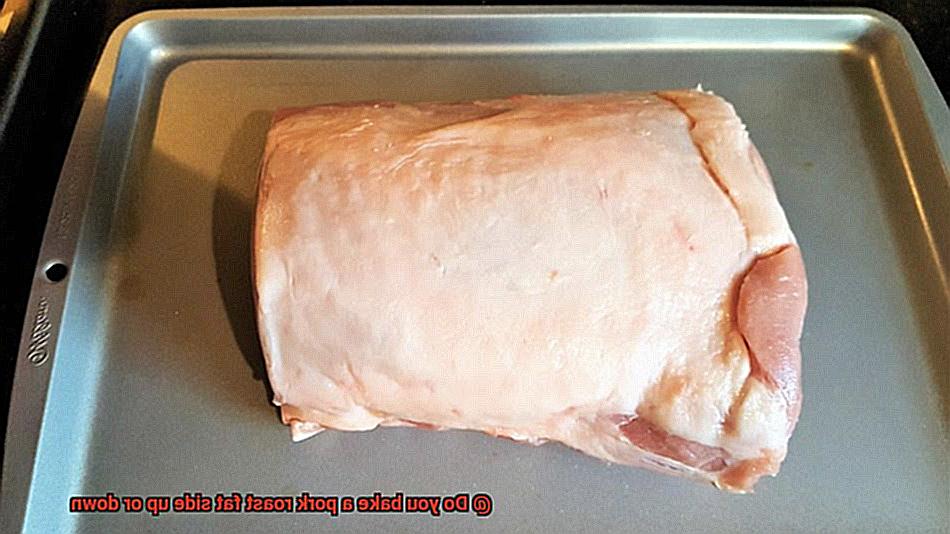
If pork roast is your go-to meal, you’ve likely wondered whether to place the fat side up or down. While there is no clear answer, there are a few reasons why many people opt for the former.
Firstly, placing the fat side up helps keep the meat moist during the cooking process. The fat slowly melts and bastes the meat, keeping it juicy and tender. This is particularly important for lean cuts of pork that can easily dry out if not cooked properly.
Another benefit of placing the fat side up is that it helps create a crispy crust on top of the meat as the fat renders and begins to brown. The result is a deliciously textured and flavored dish.
Additionally, placing the fat side up can also help prevent overcooking. The layer of fat acts as a barrier between the meat and the heat source, preventing the meat from becoming too dry or overcooked.
However, some chefs argue that placing the fat side down creates a natural barrier between the meat and hot pan or grill grates, preventing it from burning or becoming too crispy. Placing the fat side down may also promote more even cooking as heat will be distributed more evenly across the surface of the meat.
That being said, most experts recommend placing the fat side up for its numerous benefits. But ultimately, whether you choose to do so depends on personal preference and specific cut of meat being used.
For fatty cuts like pork belly or shoulder, placing the fat side up may be beneficial in keeping the meat moist and flavorful. But for leaner cuts like loin or tenderloin, placing it face down may help prevent it from becoming too dry or overcooked.
What are the Arguments for Putting the Fat Side Down?
The debate on whether to place the fat side up or down when cooking a pork roast has been ongoing for years. However, by exploring the arguments for putting the fat side down, we may finally put an end to this conundrum.
Firstly, let’s consider even cooking. Have you ever experienced a pork roast with overcooked parts and undercooked sections? It is not a pleasant experience and can spoil an otherwise delicious meal. By placing the fat side down, the heat can penetrate the meat more evenly, resulting in a tender and consistent roast.
Moisture retention is another crucial factor in cooking pork. Pork tends to dry out easily if not cooked correctly, and the fat plays a significant role in keeping the meat juicy and flavorful. When placed on top of the meat, the fat can melt and drip off during cooking, resulting in a loss of moisture. By placing the fat side down, it can help retain those precious juices, ensuring a succulent and mouthwatering pork roast.
Presentation is also key when it comes to cooking any meal, and pork roast is no exception. A greasy appearance may not be visually appealing, making it less appetizing. By placing the fat side down, it can create an attractive and inviting appearance for your pork roast.
What to Consider When Deciding Which Method to Use?
Luckily, we’ve gathered some important factors to consider before making your decision.
First and foremost, it’s important to consider the type of pork roast you are cooking. If it’s a lean cut like a tenderloin or a loin roast, the placement of the fat may not make much of a difference. However, if you’re cooking a fatty cut like a shoulder or butt roast, you may want to cook it fat side up so that the melting fat can baste the meat as it cooks.
Another important factor to consider is your personal preference for texture and flavor. Baking the pork roast fat side up can lead to a slightly crispier and more flavorful crust on top, while baking it fat side down may result in a moister and more tender interior.
Heat distribution is also crucial when deciding which method to use. Cooking with the fat side up allows for more even heat distribution throughout the meat, while cooking with the fat side down can create hot spots and result in uneven cooking.
Lastly, keep in mind the size and shape of your pork roast. A larger roast may benefit from being cooked with the fat side up to ensure even cooking throughout, while a smaller roast may not require as much rendering of fat.
Benefits of Placing the Fat Side Up
As a pork roast connoisseur, you may have pondered the question of whether to place the fat side up or down. Fear not, for we have conducted extensive research and found that placing the fat side up has numerous benefits.
Firstly, placing the fat side up ensures a juicy and flavorful roast. As the fat melts during cooking, it bastes the meat, resulting in a more succulent and tasty dish. This is particularly important when preparing lean cuts of pork roast that tend to dry out quickly.
Secondly, placing the fat side up allows for better browning of the meat. The layer of fat on top crisps and browns perfectly, giving your roast an appetizing look that is sure to impress your guests. This is especially crucial when serving a roast for special occasions or dinner parties.
Thirdly, placing the fat side up prevents your roast from sticking to the pan. The layer of fat acts as a natural lubricant, preventing meat from sticking and making it easier to remove from the pan once cooked.
Lastly, placing the fat side up makes carving and serving your roast easier. Once cooked, simply remove and discard the layer of fat before slicing and serving your delicious roast.
Benefits of Placing the Fat Side Down
This method has long been recommended by experts for its ability to enhance the flavor, texture, and overall quality of your roast.
One of the key benefits of placing the fat side down is that it allows the fat to render and baste the meat as it cooks. As the fat melts, it drips down onto the meat, delivering a rich, savory flavor and keeping it moist and tender. This ensures that every bite is bursting with juicy, succulent goodness.
In addition to enhancing flavor, placing the fat side down can help prevent the meat from drying out. When the fat is on top, it can act as a barrier, blocking heat and moisture from reaching the meat. By flipping it over, however, you expose the meat to direct heat and ensure that it cooks evenly throughout. The result? A perfectly cooked roast that’s juicy, tender, and full of flavor.
But that’s not all – placing the fat side down can also lead to a deliciously crispy crust on the bottom of your roast. As the fat renders and drips down onto the pan, it creates a caramelized layer that adds depth and complexity to every bite. Imagine biting into a succulent piece of pork with a crispy, savory crust – it’s enough to make your mouth water.
Tips for Oven Baking Pork Roast with Fat Side Up
If you’re planning on oven baking pork roast with the fat side up, there are some tips that can take your roast to the next level. The first tip is to ensure that the fat is evenly distributed across the top of the roast. This will guarantee that the meat cooks uniformly and doesn’t result in dry or tough spots. If there are thick or uneven areas of fat, it can cause the pork to cook unevenly and result in a less mouthwatering meal.
Seasoning your pork roast before baking is also crucial for creating a flavor-packed meal. Salt, pepper, garlic powder, and herbs such as thyme or rosemary can add a lot of kick to your pork. Rubbing the seasoning all over the roast, including the fat layer, ensures that every bite is packed with flavor.
Using a roasting pan with a rack is also important when baking pork roast with fat side up. This allows air to circulate around the meat and prevents it from sitting in its own juices, which can cause it to become soggy and lose flavor. Preheating the oven to a high temperature for the first 15-20 minutes at 425°F can help create a crispy exterior while retaining its juiciness.
Lastly, using a meat thermometer to check for doneness is crucial in ensuring that the pork roast is cooked to perfection. The USDA recommends cooking pork to an internal temperature of 145°F (63°C) followed by a 3-minute rest time before carving. Allowing the roast to rest for at least 10 minutes before slicing also ensures that the juices redistribute evenly throughout the meat.
Tips for Grilling Pork Roast with Fat Side Down
Grilling a pork roast with the fat side down may seem counterintuitive, but it can lead to a mouth-watering meal. Here are some expert tips for grilling pork roast with the fat side down that will ensure your meat is juicy, tender and delicious.
Understand the Benefits of Grilling with the Fat Side Down
Fat is a natural barrier that prevents meat from drying out and becoming tough during the cooking process. Placing the fat side down allows the meat to cook evenly while retaining its moisture. Additionally, the fat that renders and drips onto the grill creates a smoky and savory flavor that infuses into the meat, resulting in a deliciously crispy and flavorful crust on the outside of the pork roast.
Preheat Your Grill and Aim for Medium Heat
Ensure that your grill is preheated to the correct temperature before placing the pork roast on it. This will help to sear the meat and lock in its juices. You want to aim for a medium heat, around 350-375°F, to ensure that the meat cooks evenly and doesn’t burn on the outside. Preheat your grill for at least 10-15 minutes before adding the pork roast to ensure an even distribution of heat throughout.
Season Your Pork Roast Well
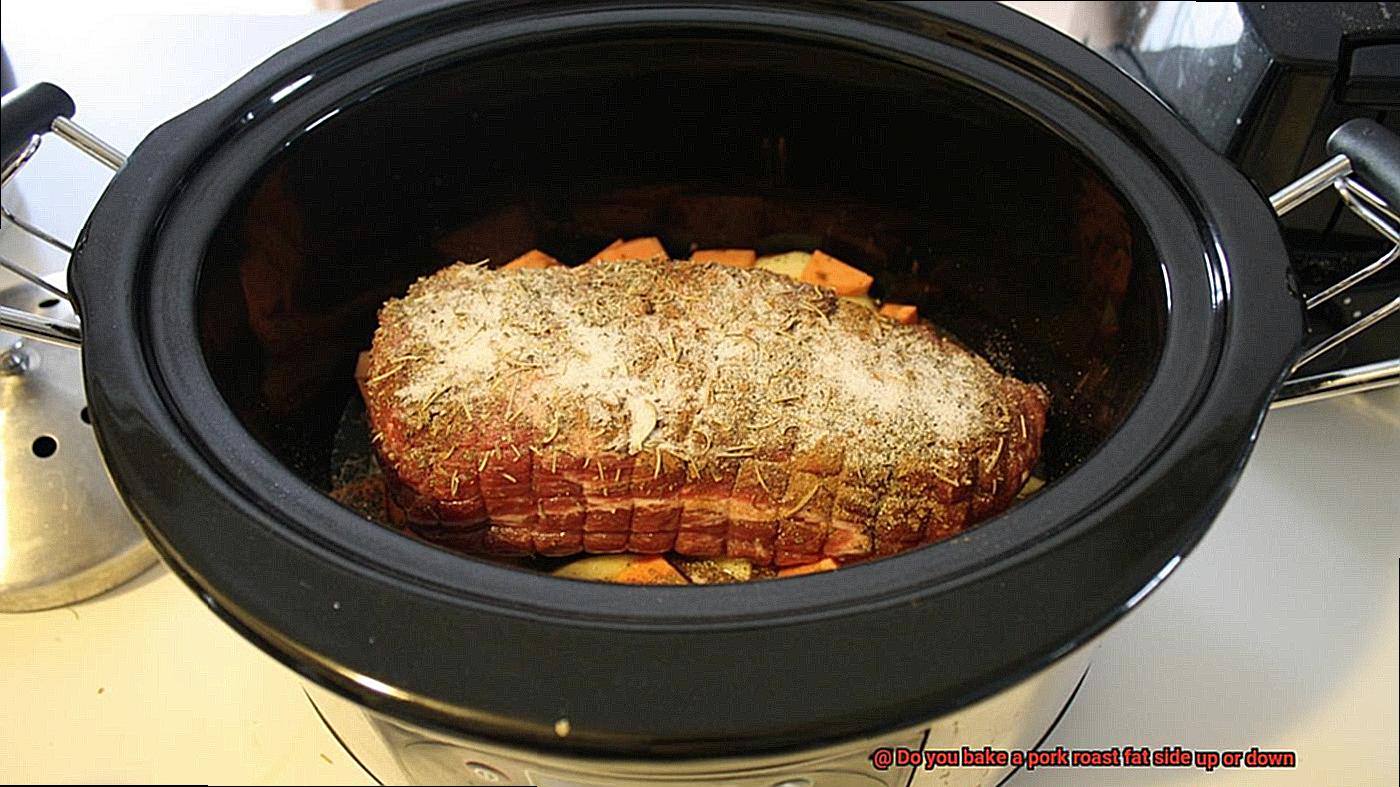
Seasoning your pork roast well before placing it on the grill is essential for enhancing its flavor and keeping it moist during cooking. A dry rub or marinade of your choice can be used, but be sure to coat the entire roast, including the fat cap.
Flip Your Pork Roast Carefully
When you’re ready to grill, place the pork roast on the grill with the fat side down. Use tongs or a spatula to carefully flip the roast over onto its other side after about 30 minutes of cooking. This will ensure that both sides cook evenly and that the meat stays juicy throughout. Avoid piercing the meat with a fork or knife as this will cause the juices to escape.
Let Your Pork Roast Rest Before Slicing
Once your pork roast is done, remove it from the grill and let it rest for at least 10-15 minutes before slicing into it. This will allow the juices to redistribute throughout the meat, resulting in a more tender and flavorful final product.
DFpJKwz3McE” >
Conclusion
After thoroughly researching the age-old question of whether to bake a pork roast fat side up or down, it’s safe to say that both methods have their merits. However, most experts agree that placing the fat side up is the way to go for optimal flavor and texture.
By keeping the fat on top, it melts and bastes the meat as it cooks, resulting in a juicy and tender roast. Plus, it creates a deliciously crispy crust on top that will leave your taste buds begging for more.
To achieve this mouthwatering result, there are a few key steps to follow. First, make sure to evenly distribute the fat across the top of the roast and season it generously with your favorite spices. Next, use a roasting pan with a rack to allow air circulation and prevent the meat from sitting in its own juices.
Preheat your oven to a high temperature for the first 15-20 minutes to create a sear on the outside of the roast before lowering the temperature for even cooking. And don’t forget to use a meat thermometer to ensure perfect doneness.
On the other hand, if you prefer grilling your pork roast with fat side down, there are some important considerations as well. Preheat your grill and aim for medium heat to avoid burning or drying out your meat. Flip carefully after 30 minutes of cooking and let it rest before slicing.
No matter which method you choose, following these tips will help you achieve pork perfection every time.

