Imagine this: the intoxicating scent of slow-cooked meat wafting through the air, the explosion of flavors on your palate, and that melt-in-your-mouth tenderness that only a well-executed pulled pork recipe can deliver. Ah, the sheer bliss of indulging in this BBQ classic. But before you fire up the grill or stoke the smoker, there’s one burning question that has divided pulled pork enthusiasts for ages: Should you put the fat up or down?
Now, some may dismiss this query as trivial, but let me tell you – fat placement can make all the difference. In this captivating guide, we’re going to dive headfirst into this age-old debate and explore the merits and drawbacks of each approach. So grab your trusty apron, sharpen those tongs, and get ready to unlock the secret to achieving pulled pork perfection.
Contents
What is Pulled Pork?
Pulled pork, a beloved barbecue dish, has gained immense popularity for its tender, juicy, and flavorful qualities. Whether you’re a seasoned pitmaster or a novice cook, mastering the art of pulled pork can be a rewarding experience. In this blog post, we will explore some key tips and tricks to help you create the perfect pulled pork at home.
Selecting the Right Cut:
To achieve succulent pulled pork, opt for a marbled pork shoulder or butt. These cuts are rich in fat and connective tissues that break down during slow cooking, resulting in melt-in-your-mouth meat.
Seasoning Rub:
Infuse your pork with aromatic flavors by creating a flavorful dry rub. Combine your favorite herbs, spices, and brown sugar, ensuring an even distribution on all sides of the meat for maximum flavor penetration.
Cooking Method:
For authentic smoky flavors, consider using a smoker with indirect heat. If a smoker is not available, an oven set at a low temperature can still yield delicious results. Experiment with different methods such as grilling or even slow cooking in a crockpot to find your preferred technique.
Patience is Key:
Pulled pork requires time and patience. Allocate 1-1.5 hours of cooking time per pound of meat to ensure it becomes tender and easily shredable. Slow and steady wins the race when it comes to pulled pork.
Resting Period:
Let the cooked pork rest for about 15-30 minutes before shredding. This allows the juices to redistribute within the meat, resulting in moist and flavorful bites that will leave you craving more.
Shredding the Meat:
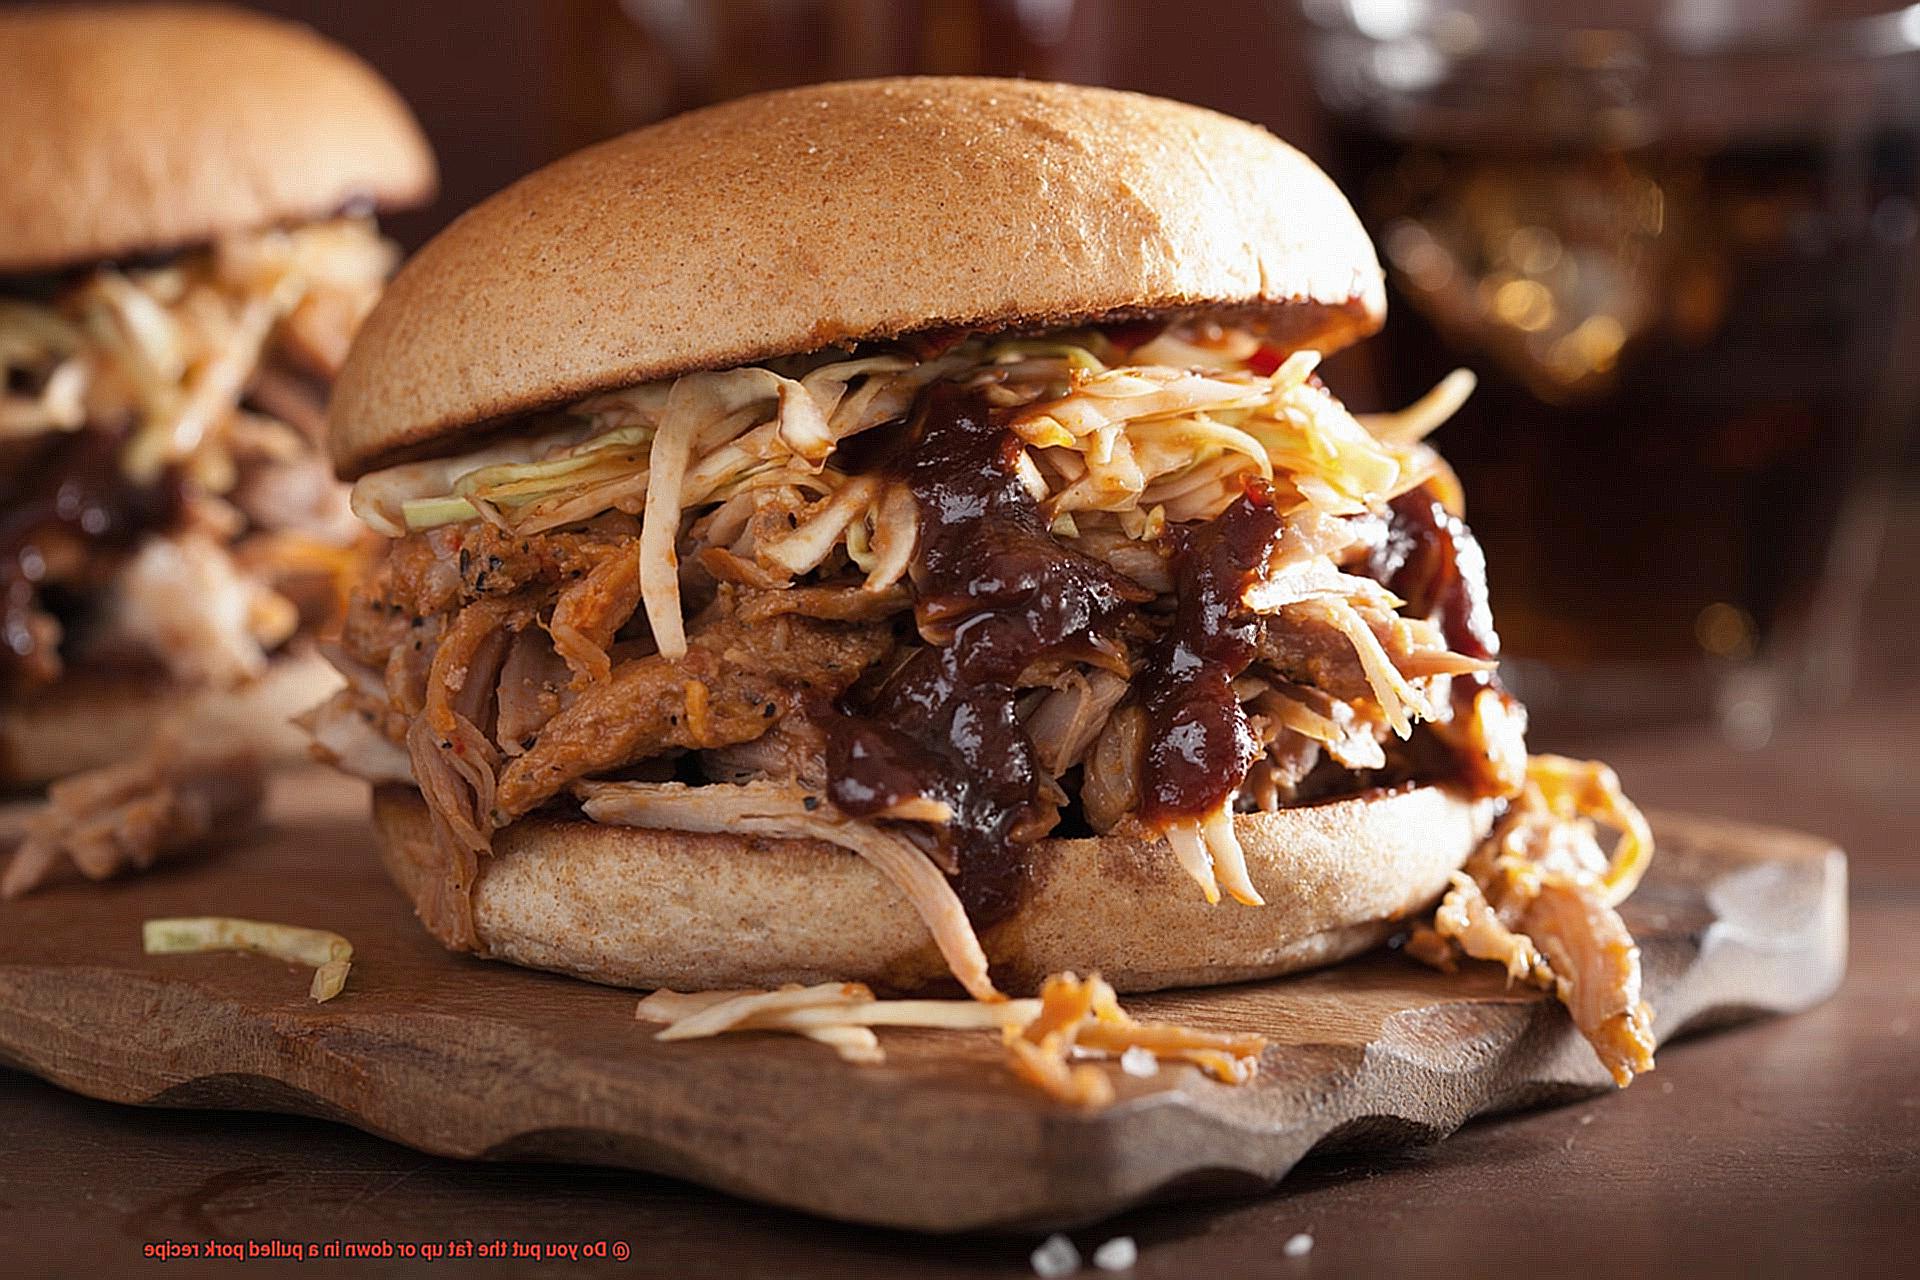
Use forks or tongs to pull the meat apart into small, thin strands. The shredded pork should have a melt-in-your-mouth texture, perfect for sandwiches, tacos, or any other creative dish you desire.
Marinades and Sauces:
While pulled pork is delicious on its own, you can enhance its taste with marinades or sauces. Traditional barbecue sauces, tangy vinegar-based marinades, or even a refreshing coleslaw can complement the smoky and savory flavors of pulled pork.
The Role of Fat in Cooking Pulled Pork
In our previous section, we explored the art of creating the perfect pulled pork. Today, we dive deeper into the role of fat in this mouthwatering dish. So grab your aprons and let’s get cooking.
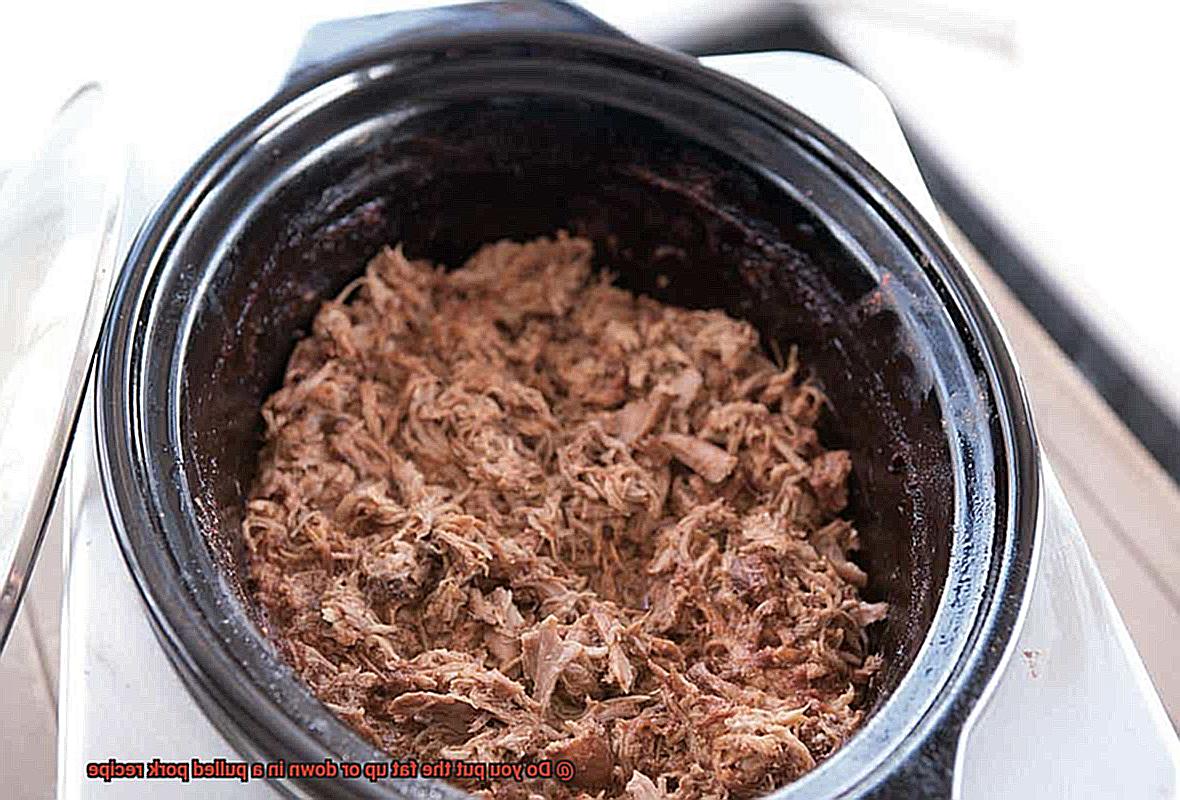
One of the key contributions of fat in pulled pork is its ability to infuse the meat with a rich and savory taste. As the fat renders during the slow cooking process, it imparts its delicious flavors into every fiber of the meat. This adds depth and complexity to the overall flavor profile, making each bite a truly tantalizing experience.
Nobody likes dry pulled pork, and that’s where fat comes to the rescue. The fat cap on the pork shoulder or butt is left intact to prevent the meat from drying out during cooking. As it slowly melts away, it continuously bastes the meat, keeping it moist and succulent. This ensures that every bite is tender and juicy, leaving you craving for more.
Fat plays a crucial role in creating a desirable texture in pulled pork. As it renders and melts into the meat, it adds a silky and melt-in-your-mouth quality that elevates the eating experience. The result is a tender and luscious meat that practically falls apart with each forkful.
Ah, the age-old debate. Some pitmasters swear by cooking pulled pork with the fat side up, allowing it to baste the meat as it melts and drips down during cooking. This enhances both tenderness and flavor. On the other hand, placing the fat side down can protect the meat from direct heat and prevent excessive charring or burning. Ultimately, it boils down to personal preference and factors like equipment used and desired char level.
Remember, regardless of fat placement, trim any excessive fat before cooking to prevent an overly greasy dish and to allow for better flavor penetration during seasoning.
Pros and Cons of Putting the Fat Side Up
Today, we are diving headfirst into the age-old debate of whether to put the fat side up or down when cooking this mouthwatering dish. So grab a cold beverage, settle in, and let’s explore the pros and cons of each approach.
Let’s start with the pros of putting the fat side up. Firstly, this technique helps retain moisture in the meat. The layer of fat acts as a protective barrier, preventing the juices from evaporating too quickly during the cooking process. As a result, you’ll end up with tender and juicy pulled pork that will make your taste buds dance with joy.
But that’s not all. Placing the fat side up also enhances the flavor of your pork. As the fat renders down during cooking, it infuses the meat with its rich and savory taste. This adds depth and complexity to your dish, taking it to a whole new level of deliciousness.
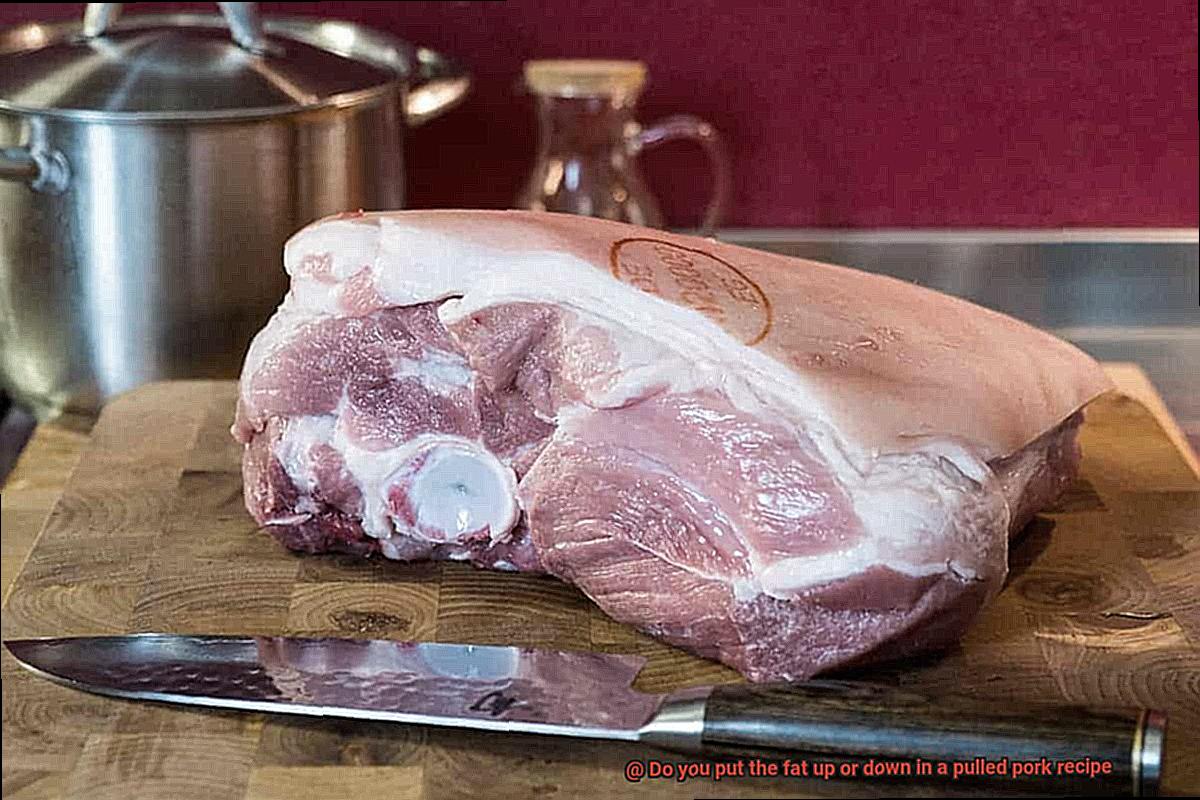
And let’s not forget about that irresistible bark formation. When you put the fat side up, it acts as a natural basting agent, continuously moistening the surface and allowing for better caramelization. The result is a mouthwatering crust that will have everyone coming back for seconds.
However, there are a few cons to consider as well. One potential downside is uneven cooking. Since heat rises, the fat on top may cook faster than the rest of the meat, leading to an overcooked exterior and an undercooked interior. Nobody wants dry pulled pork, right?
Another con is the difficulty in rendering. When the fat side is placed up, it can be harder for the rendered fat to evenly baste the meat. This might result in less flavor penetration throughout your pork masterpiece.
Last but not least, there’s smoke absorption to consider. When the fat side is positioned up, it has a higher chance of absorbing smoke. While some people love that smoky flavor, others might find it overpowering.
Pros and Cons of Putting the Fat Side Down
When it comes to cooking this delectable dish, the question of whether to put the fat side up or down sparks a sizzling debate. Let’s explore the pros and cons of placing the fat side down and uncover the secrets to achieving the perfect pulled pork. So, grab your apron and let’s dive into the smoky world of grilling.
Advantages of Putting the Fat Side Down:
- Tender and Juicy: Placing the fat side down acts as a protective barrier, keeping your pulled pork tender and moist throughout the cooking process. As the meat cooks, the fat slowly renders and bastes it from within, infusing it with flavor and preventing it from drying out.
- Mouthwatering Bark: When fat drips onto the heat source, it creates flare-ups that result in a smoky caramelized crust, known as the bark. By placing the fat side down, you ensure maximum contact with the heat source, leading to a mouthwatering bark that will have you reaching for seconds.
- Even Cooking: The layer of fat acts as insulation, preventing hot spots and ensuring even cooking. Placing the fat side down guarantees a consistent end result with each bite of pulled pork bursting with flavor.
Disadvantages of Putting the Fat Side Down:
- Greasy Pork Concerns: Excessive rendering of fat can lead to overly greasy and fatty pulled pork. This may not appeal to those who prefer leaner cuts or are conscious of their fat intake.
- Extended Cooking Time: The process of rendering fat takes time, and placing the fat side down can prolong the cooking process. If you’re in a hurry to serve your pulled pork, this may not be the best option for you.
- Aesthetic Preferences: Some individuals prioritize visual appeal and prefer to place the fat side up. When properly rendered and caramelized, the fat creates an inviting presentation that can be particularly important for special occasions or events.
In the end, the decision of whether to put the fat side down when cooking pulled pork is a matter of personal preference. If you value tenderness, a flavorful bark, and even cooking, then placing the fat side down is the way to go. However, if you’re concerned about excessive fat or prefer an aesthetically pleasing presentation, placing the fat side up might be more suitable.
Remember, regardless of your choice, closely monitoring the cooking process and ensuring the pork reaches a safe internal temperature is key to achieving the perfect pulled pork. So fire up your grill, apply your favorite seasoning rub, and get ready to create a mouthwatering pulled pork masterpiece that will leave everyone craving more.
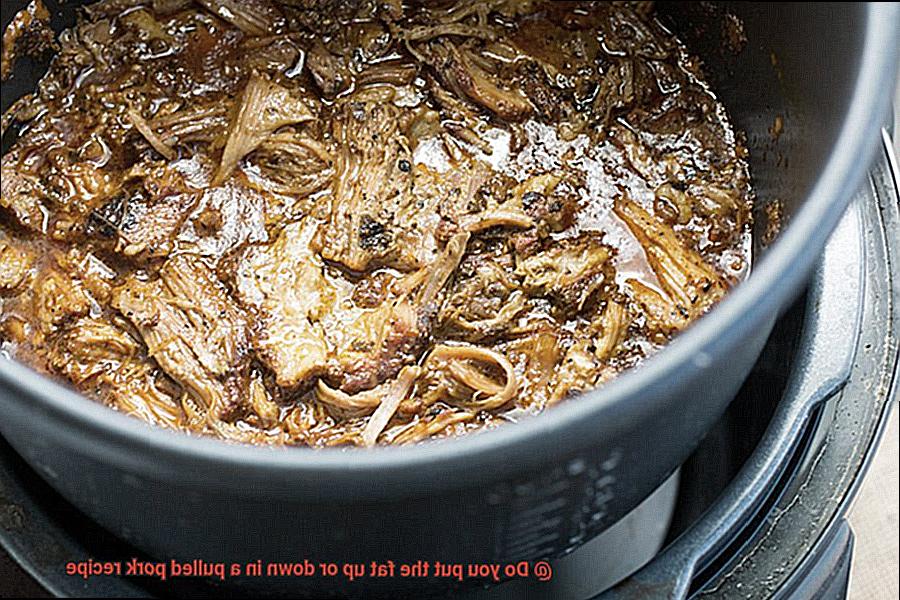
The research on this topic reveals that putting the fat side down when cooking pulled pork has been a long-standing tradition among barbecue enthusiasts. This practice is rooted in the belief that the fat acts as a protective barrier, preventing the meat from drying out during cooking. As the pork cooks, the fat slowly renders and bastes the meat, adding flavor and moisture.
One of the main advantages of placing the fat side down is its ability to create a tender and juicy result. The slow melting of fat infuses into the meat, keeping it moist and preventing it from becoming dry and tough. This advantage is especially valuable when cooking leaner cuts of pork that naturally have less fat content.
Another advantage lies in creating a better bark formation on the outside of the meat. The bark refers to the flavorful crust that forms during cooking. Placing the fat side down ensures that rendered fat drips onto the heat source, causing flare-ups and resulting in a smoky, caramelized crust on the meat.
Factors to Consider When Deciding Which Method to Use
When deciding which method to use for a particular task, there are several factors that should be taken into consideration. These factors can vary depending on the nature of the task and the desired outcome. Here are some key factors to consider when deciding which method to use:
- Efficiency: One of the main factors to consider is efficiency. How quickly and effectively can the task be completed using a particular method? This includes considering factors such as time, cost, and resources required. It is important to choose a method that allows for efficient completion of the task without unnecessary delays or expenses.
- Effectiveness: Another important factor is effectiveness. Will the chosen method achieve the desired outcome? This includes considering factors such as accuracy, reliability, and quality of the results. It is crucial to choose a method that will deliver the desired outcome in a satisfactory manner.
- Suitability: The suitability of a method for a particular task is also an important factor to consider. Does the chosen method align with the specific requirements of the task? This includes considering factors such as compatibility, appropriateness, and feasibility. It is essential to choose a method that is suitable for the specific needs and constraints of the task at hand.
- Safety: Safety is another critical factor to consider when deciding which method to use. Will the chosen method pose any risks or hazards? This includes considering factors such as potential dangers, precautions, and regulations. It is vital to choose a method that prioritizes safety and minimizes any potential risks or harm.
- Expertise: The expertise required to execute a particular method should also be taken into account. Does the chosen method require specialized knowledge or skills? This includes considering factors such as training, experience, and proficiency. It is important to choose a method that aligns with the available expertise or to acquire the necessary expertise if needed.
- Flexibility: Flexibility is another factor that should be considered when deciding which method to use. Can the chosen method be easily adapted or modified if needed? This includes considering factors such as scalability, adaptability, and versatility. It is beneficial to choose a method that allows for flexibility and can accommodate any potential changes or adjustments.
Smoking or Grilling with Indirect Heat: Fat Side Up
Grab your apron and tongs, because we’re about to dive into the flavorful world of pork and fat placement.
Fat Side Up – Juicy and Flavorful:
Placing the fat side up is a popular choice among grill masters for several mouthwatering reasons:
- Moisture Magic: The natural basting agent – the fat – slowly melts and infuses the meat with its rich flavors, keeping it moist throughout the cooking process.
- Barrier of Protection: The fat layer acts as insulation, preventing direct heat from drying out the surface of the meat and locking in its natural juices.
- Self-Basting Effect: As the fat renders down, it drips onto the lower parts of the meat, creating a continuous cycle of moisture and flavor distribution. This results in an evenly cooked and exceptionally flavorful final product.
Fat Side Down – Render and Bark:
While many swear by placing the fat side up, there are compelling arguments for placing it down too:
- Better Render: Placing the fat side down allows for optimal rendering of the fat, ensuring that every layer melts completely and eliminates any unrendered portions on top of the meat.
- Bark Perfection: The bark – that irresistible crust that forms on smoked or grilled meats – benefits from direct contact with the heat source. Placing the fat side down enhances caramelization and promotes ideal bark development.
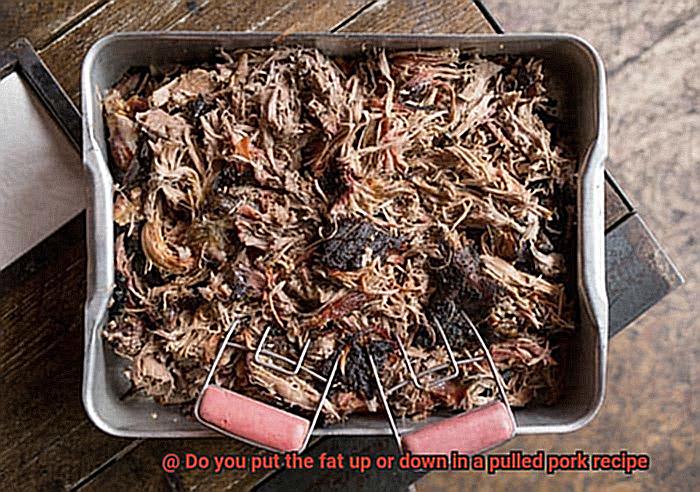
Ultimately, whether you choose to go fat side up or down depends on your personal preferences and desired outcome. Do you crave succulent and flavorful pork, or do you yearn for a beautifully rendered fat layer and a crispy bark? Experimentation is key to finding what works best for your unique taste preferences and cooking style.
Regardless of your choice, remember to diligently monitor the internal temperature using a reliable thermometer. This ensures that your pork reaches the desired doneness without overcooking or drying out.
Grilling with Direct Heat or Oven-Cooking: Fat Side Down
When it comes to grilling or oven-cooking your mouthwatering pulled pork, one crucial decision awaits you: fat side up or fat side down? Fear not, fellow grillers, for we are here to shed some light on this sizzling topic and help you make the best choice for your next pork extravaganza.
Let’s start by exploring the benefits of grilling with direct heat or oven-cooking with the fat side down. Placing the fat side down is a tried-and-true method that brings a multitude of advantages to your porky masterpiece.
First and foremost, placing the fat side down allows the fat to render and melt, creating a luscious cooking environment that oozes with flavor. As the fat melts away, it drips onto the hot surface, creating a sizzling effect that enhances both the taste and appearance of your pork. The result? A succulent and visually stunning piece of meat that will have your guests drooling in anticipation.
But that’s not all. Placing the fat side down also acts as a natural barrier, protecting the meat from drying out during the cooking process. The layer of fat locks in moisture, ensuring that your pork remains tender and juicy until the very last bite. No more worrying about dry and disappointing pulled pork.
Furthermore, this method promotes better browning and caramelization of the meat. The rendered fat creates a delicious crust on the outside of the pork, adding depth and complexity to its flavor profile. With every bite, you’ll experience a harmonious blend of smoky, savory, and slightly sweet notes that will leave you craving more.
To sum it up, here are the benefits of grilling with direct heat or oven-cooking with the fat side down:
Flavorful cooking environment: Melting fat creates an irresistible sizzle.
Moisture retention: The fat acts as a natural barrier, keeping the pork tender and juicy.
Enhanced browning and caramelization: A delicious crust adds complexity to the flavor.
Now, it’s important to note that not all cuts of pork have an even layer of fat on one side. In such cases, it is still advisable to place the side with more visible fat down to maximize its melting and rendering effects. However, there are exceptions to this rule. If you’re working with a lean cut of pork, like the tenderloin, placing the fat side up can help keep it moist during cooking.
In the end, whether you choose to cook with the fat side up or down depends on personal preference and the specific cut of pork you’re using. It’s always a good idea to follow recipe instructions or consult with a trusted source for guidance.
Monitoring the Cooking Process for Optimal Results
When it comes to grilling, the tantalizing aroma and mouthwatering taste of perfectly cooked pulled pork are hard to beat. But achieving that tender, juicy, and flavorful result requires more than just tossing the meat on the grill and hoping for the best. The secret lies in closely monitoring the cooking process at every stage. In this blog post, we will delve into why monitoring is essential for optimal pulled pork results and provide practical tips to elevate your grilling game.
The Importance of Temperature:
- Understand the factors affecting cooking time, such as meat size and desired tenderness.
- Utilize a reliable meat thermometer to accurately measure the internal temperature.
- Cook the pork until it reaches an internal temperature of 195-205°F (90-96°C).
- Regularly monitor and adjust the temperature to avoid undercooking or overcooking.
Visual Cues:
- Observe the mesmerizing color change as the pork cooks.
- The Maillard reaction enhances flavor and texture in pulled pork.
- Adjust cooking temperature if needed based on color changes.
Moisture Levels:
- Maintain an environment that keeps the pork moist for maximum tenderness.
- Monitor liquid levels in your cooking vessel.
- Add broth or water if necessary to prevent drying out.
- Adjust cooking temperature or partially remove the lid to evaporate excess moisture.
Cooking Time:
- Keep track of cooking time to ensure ideal doneness.
- Pulled pork typically takes 1.5 to 2 hours per pound when cooked low and slow.
- Rotate or flip the meat during cooking for even heat distribution.
DFpJKwz3McE” >
Conclusion
When it comes to making pulled pork, the age-old debate of whether to put the fat up or down is a hot topic. Some argue that placing the fat side up allows it to baste the meat as it cooks, resulting in a juicier and more flavorful end result. Others believe that positioning the fat side down allows for better rendering of the fat, leading to a crispier and more caramelized exterior.
So, what’s the verdict? Well, there isn’t a one-size-fits-all answer. It ultimately comes down to personal preference and cooking style. If you prefer a moist and tender pulled pork with an extra layer of richness, then go ahead and place the fat side up. This will help keep the meat moist throughout the cooking process.
On the other hand, if you’re looking for a crispy bark on your pulled pork with a hint of smoky goodness, then placing the fat side down might be your best bet. This allows for better heat distribution and rendering of the fat, resulting in that coveted crunchy texture.
Ultimately, both methods have their merits and can yield delicious results. The key is to experiment and find what works best for you. Whether you choose to embrace the basting properties of placing the fat side up or opt for the crispy perfection of placing it down, one thing is for sure – your pulled pork will be a crowd-pleaser either way.
So next time you fire up your smoker or slow cooker, don’t stress too much about whether to put the fat up or down in your pulled pork recipe. Instead, focus on enjoying the process and savoring every mouthwatering bite of this beloved barbecue classic.

