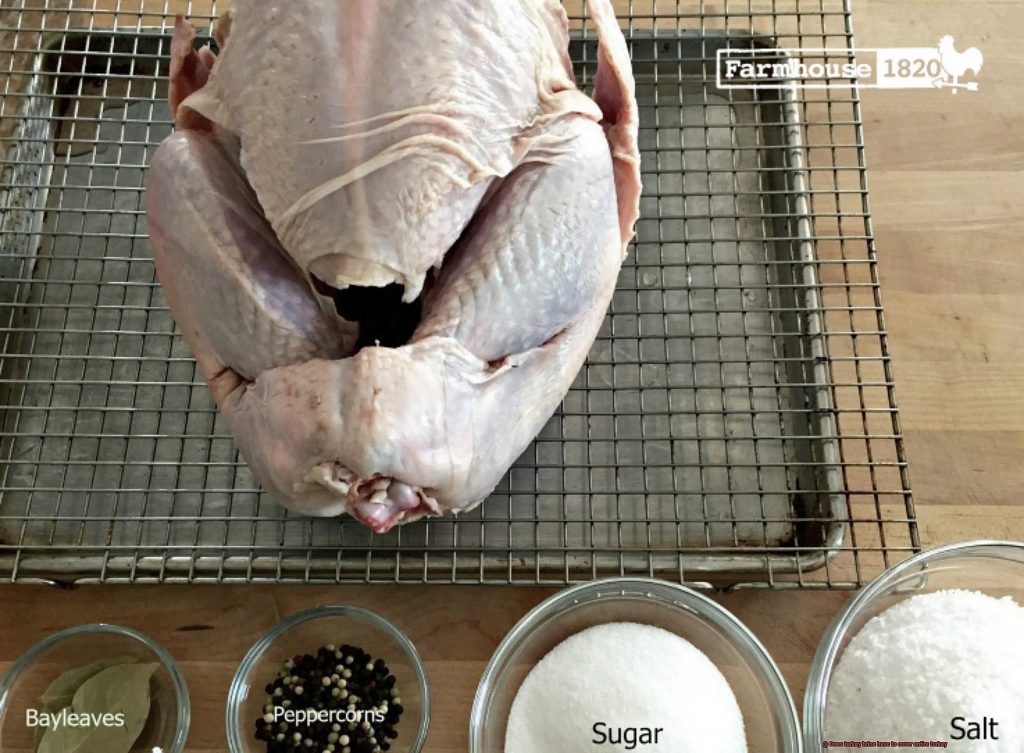
Thanksgiving dinner is a time-honored tradition, and the star of the show is always the turkey. But what sets apart a mediocre bird from a mouthwatering masterpiece? The answer lies in brining. Brining involves immersing your turkey in a flavorful solution of salt, sugar, herbs, and spices for several hours or even overnight. This process not only adds moisture but also infuses your meat with flavor, resulting in tender and juicy perfection.
However, before you start soaking your turkey, there’s one important question to consider – does the brine have to cover the entire bird? Some recipes suggest that submerging your turkey completely is essential for optimal results. But is it really necessary?
In this blog post, we’ll delve into the science behind brining and explore whether or not covering your entire turkey is crucial. We’ll also provide you with expert tips on how to brine effectively, no matter which method you choose. So whether you’re an experienced cook or a novice in the kitchen, get ready as we uncover the secrets to achieving the perfect turkey brine.
Contents
What is Brining?
Brining is a technique that involves soaking meat in a saltwater solution before cooking. It’s particularly popular for poultry such as turkey, which can become dry and tough if not cooked properly. But why does it work, and how can you achieve the best results?
When you brine a turkey, the salt in the solution breaks down some of the proteins in the meat, making it more tender and juicy. This happens through osmosis – salt ions move from an area of high concentration (the brine) to an area of low concentration (the turkey). As the salt moves into the turkey, it helps break down proteins and muscle fibers, resulting in a more tender bird.
But it’s not just about tenderness – brining can also infuse the turkey with additional flavor. You can add other ingredients to your brine such as sugar, herbs, spices, or citrus zest to enhance the taste of the meat.
So how do you go about brining a turkey? Here are some tips:
- Use a large container: Make sure your container is large enough to fully submerge your turkey in the brine solution.
- Use enough liquid: You’ll need enough brine to fully immerse your turkey if possible, but if not, make sure all parts of the bird get equal exposure to the brine.
- Brine for the right amount of time: The amount of time you need to brine your turkey will depend on its size. A good rule of thumb is to brine for 1 hour per pound of turkey.
- Rinse thoroughly: After removing your turkey from the brine solution, rinse it thoroughly with cold water to remove any excess salt.
Dry completely: Pat your turkey dry with paper towels before cooking it to ensure a crispy skin.
It’s important to note that brining does require some planning ahead. You’ll need to allow enough time for the turkey to soak in the brine, which can take anywhere from a few hours to overnight depending on the size of your bird. Additionally, you’ll need to make sure you have enough space in your refrigerator or cooler to store the turkey and brine safely.
Does the Brine Have to Cover the Entire Turkey?
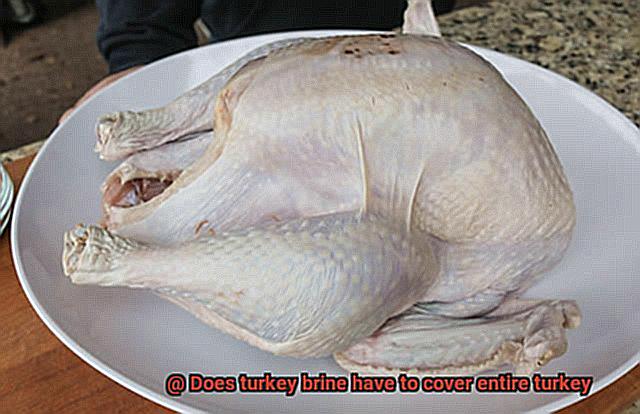
If you’re planning to brine your bird this holiday season, you may be wondering whether the brine has to cover the entire turkey. Well, you’ll be pleased to know that it’s not a strict requirement. However, there are some crucial factors to consider based on your situation.
Firstly, it’s vital to understand what brining involves. Brining is a process of soaking the turkey in a saltwater solution, which helps tenderize the meat and infuse it with more flavor. The duration of the brining and the concentration of the brine solution will determine how much tenderness and flavor you can achieve.
So, does the brine have to cover the entire turkey? The answer is yes if you want an even distribution of flavor and tenderness throughout the bird. On the other hand, if you only care about specific parts of the turkey such as the breast or legs, partially submerging the bird in the brine solution will suffice. It’s essential to note that submerged parts absorb more flavor and saltiness than those that aren’t.
The size of your container is another factor to consider. If your container is large enough to fully submerge your turkey, great. However, if it’s smaller, flipping it over halfway through the brining process will ensure that both sides receive full coverage.
Ultimately, whether you want to fully or partially submerge your turkey in the brine depends on your preferences. Regardless, remember that less submerged parts may not be as flavorful or tender as those fully submerged. So choose wisely for an enjoyable brining experience.
Tips and Tricks for Brining a Turkey That Isn’t Fully Submerged
Brining a turkey is a tried and true method of ensuring that your bird is juicy and full of flavor. However, it’s not always possible to fully submerge the turkey in the brine solution. If you’re facing this problem, don’t worry – there are several ways to brine a turkey that isn’t completely covered.
Brining Bags
The easiest solution for brining a turkey that isn’t fully submerged is to use a brining bag. These bags are specifically designed for brining and can accommodate larger turkeys. Simply place your turkey in the bag and pour the brine solution over it. Seal the bag tightly, removing as much air as possible, and place it in the refrigerator for several hours or overnight. The bag will help keep the turkey submerged in the brine and ensure that it’s evenly coated.
Rotate the Turkey
If you’re using a container that’s too small to fully submerge your turkey, try rotating it every few hours to ensure that all parts of the bird are exposed to the brine solution. This will help prevent any dry spots or uneven seasoning.
Inject the Brine
Another option is to inject the brine solution directly into the turkey using a meat injector. This method allows you to target specific areas that may not be fully submerged in the brine. Be sure to inject evenly throughout the bird for consistent flavor.
Double the Brine Recipe
If you’re unable to fully submerge your turkey and don’t want to use a brining bag or injector, consider doubling the recipe for your brine solution. This will allow you to have enough liquid to cover more of the turkey and still achieve a well-seasoned bird.
Use Weights
If all else fails, you can use weights to keep your turkey submerged. Place clean weights or even a clean brick wrapped in foil on top of the turkey to keep it under the surface of the brine solution. Be sure to sanitize anything that you use as a weight before placing it on the bird.
Benefits of Brining a Turkey
The holiday season is fast approaching, and as we prepare for our Thanksgiving feast, the question of how to perfect our turkey recipe looms large. Fortunately, brining has become a popular method for preparing a succulent and flavorful bird that will have your guests raving.
The benefits of brining a turkey are numerous, but perhaps the most important is that it keeps the meat juicy and moist. No one wants to suffer through a dry turkey, and brining guarantees that this won’t happen. The saltwater solution breaks down the proteins in the meat, allowing it to absorb more moisture and flavor. The result? A tender and succulent bird that will have your guests begging for more.
In addition to keeping the meat moist, brining also infuses the turkey with flavor. You can customize your brine with a range of herbs, spices, and other ingredients to create a unique taste profile. Popular additions include garlic, rosemary, thyme, bay leaves, and more. Experiment with different flavors to find your own perfect combination.
But that’s not all – brining can also help reduce cooking time. By infusing the meat with moisture, it will cook faster and more evenly than an unbrined bird. This is especially helpful if you’re cooking for a large group or if time is of the essence.
How Long Should You Brine a Turkey?
As the holiday season approaches, many home cooks are preparing to take on the daunting task of cooking a turkey. One question that often arises is: how long should you brine a turkey? Fear not, as an expert in the culinary world, I am here to guide you through the process.
The length of time you should brine your turkey depends on various factors. It’s important to note that there is no one-size-fits-all answer. However, a great general rule of thumb is to brine your turkey for at least 12 to 24 hours. This will give the bird ample time to absorb the flavors and moisture from the brine. But be careful not to over-brine. Over-brining can result in an overly salty or mushy bird.
The size of your turkey is another factor to consider. Larger turkeys will need more time in the brine to ensure that all parts of the bird are fully infused with flavor. On the other hand, smaller turkeys may only need a few hours in the brine.
Another factor you should consider is whether you’re using a wet or dry brine. Dry brining involves rubbing salt and seasonings directly onto the surface of the turkey and letting it sit in the refrigerator for several hours or overnight. This method can be just as effective as wet brining and requires less time overall.
If you’re unsure about how long to brine your turkey, consult a recipe or instructions provided with your brining kit. Following these guidelines will help ensure that you don’t over-brine and give your turkey enough time to fully absorb all the flavors and moisture.
What Type of Container Should You Use for Brining?
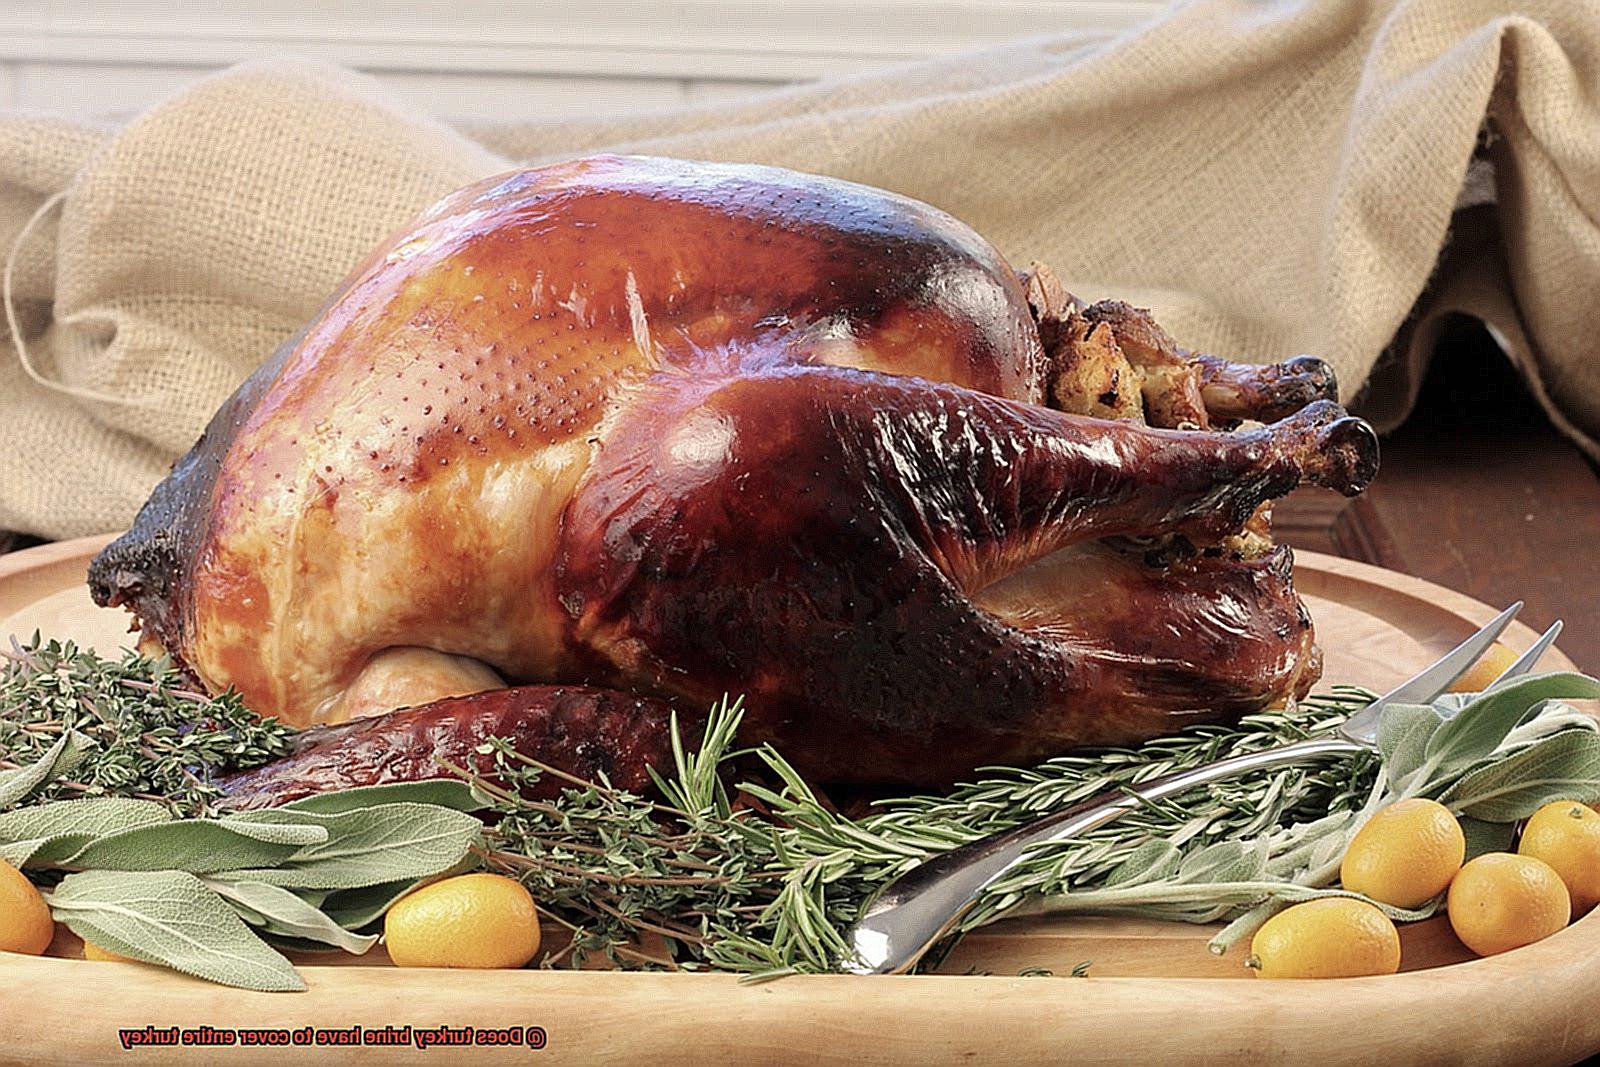
Before you dive into the brine recipe, let’s talk about the importance of selecting the right container for your brining process.
First, make sure your container is large enough to hold both the turkey and the brine solution. But not too large, or you’ll end up wasting brine. So, what kind of container should you use?
The best containers for brining are food-grade plastic or stainless steel. Avoid aluminum or copper containers as they can react with the acidic ingredients in the brine and cause off-flavors in your turkey.
After selecting your container, it’s important to thoroughly clean and sanitize it before adding in the turkey and brine solution. Any contaminants can lead to foodborne illnesses or spoilage, which is not what anyone wants on their holiday table.
Don’t forget to consider storage space as well. Make sure your container can fit in your fridge or cooler because the turkey must be kept at a constant temperature during the brining process.
If you don’t have a large enough container to fully submerge your turkey, there are still options. You can use a smaller container and rotate the bird halfway through the brining process, or place it in a resealable plastic bag and put it in a roasting pan to catch any leaks.
The Best Ingredients for Making a Brine
Brining your turkey is the secret to achieving a succulent and savory bird that will have your guests raving for days. But, what makes a great brine? As an expert, I am here to share with you the best ingredients for making a brine that will take your turkey from good to great.
First, let’s start with the basics. The foundation of any brine is salt, water, and sugar. These three ingredients work together to create a moist and tender turkey. However, to make your brine truly stand out, let’s add some flavor boosters.
Aromatics are a fantastic way to infuse your turkey with delightful flavors. Fresh herbs like thyme, rosemary, and sage are a perfect addition, as well as garlic and onions. Not only do they add flavor, but they also give your turkey an irresistible aroma.
Adding acid to your brine is another game-changer. Apple cider vinegar or citrus juice can help tenderize the meat while adding a tangy flavor. The acid breaks down the proteins in the meat, allowing it to absorb more moisture and become even more tender.
Now let’s talk about spices. This is where you can get creative and add your personal touch. Cinnamon, cloves, allspice, and peppercorns are excellent options that can give your turkey a unique taste. If you like heat, add some chili flakes or cayenne pepper for a spicy kick.
Lastly, don’t forget about the liquid base of your brine. While water is the most common base, you can use other liquids such as apple cider, beer, or even wine to add another layer of flavor to your turkey.
Cleaning Up After Brining
You’ve done it. You’ve successfully brined your turkey, and it’s now ready to be cooked to perfection. But before you dive into the cooking process, it’s crucial to ensure that you clean up after brining thoroughly. Not only will this guarantee that your turkey is safe to eat, but it will also keep your kitchen clean and sanitary.
To make the cleaning process a breeze, we’ve put together an easy-to-follow guide:
Step 1: Rinse the Turkey
The first step is to remove the turkey from the brine solution and rinse it thoroughly with cold water. This step is essential in removing any excess salt and seasonings that may have adhered to the surface of the turkey. Be sure to rinse both the interior and exterior of the bird and any cavities or pockets where brine may have accumulated.
Step 2: Clean Your Containers and Utensils
Next, clean any containers or utensils used during the brining process with warm, soapy water. This step is critical in removing any bacteria or contaminants that may have been introduced during the brining process. Don’t forget to sanitize these items by running them through a dishwasher cycle or soaking them in a mixture of water and bleach.
Step 3: Properly Dispose of Leftover Brine
Finally, dispose of any leftover brine properly. Concentrated brine should not be poured down the drain as it can lead to clogs and other plumbing issues. Instead, dilute it with a large amount of water before disposing of it in a trash receptacle. Alternatively, you can pour it down the drain while running cold water.
uE89AQXinkQ” >
Conclusion
In conclusion, brining is a game-changer when it comes to serving up a succulent turkey for your Thanksgiving feast. While fully submerging the turkey in the brine solution is the best way to ensure even distribution of flavor and tenderness, there are other methods that can work just as well.
Partially submerging the bird or using alternative techniques such as brining bags, rotating the turkey, injecting the brine, doubling the recipe, or using weights are all effective ways to get that perfect juicy bird on your table.
The benefits of brining are undeniable – it keeps meat moist and flavorful, reduces cooking time and infuses it with delicious aromatics. The key ingredients for a great brine include salt, sugar, water, herbs like rosemary and sage, garlic cloves, apple cider vinegar or citrus juice for acidity and spices such as cinnamon and peppercorns.
Once you’ve completed the brining process, make sure to rinse your turkey thoroughly with cold water and sanitize all utensils used during the process before disposing of any leftover concentrated brine properly.

