Are you tired of constantly hovering over your Traeger grill, checking the temperature and cooking time? Do you want to kick back on your couch or run errands while still keeping an eye on your BBQ spread? Well, connecting your Traeger grill to WiFi is the answer you’ve been looking for.
Connecting your Traeger grill to WiFi is a breeze, but before we dive into the process, let’s talk about why you should do it. With WiFi connectivity, you can control the temperature, cooking time, and even monitor the internal temperature of your meat using just your smartphone. Plus, with alerts when your food is ready, there’s no need to worry about overcooking or undercooking.
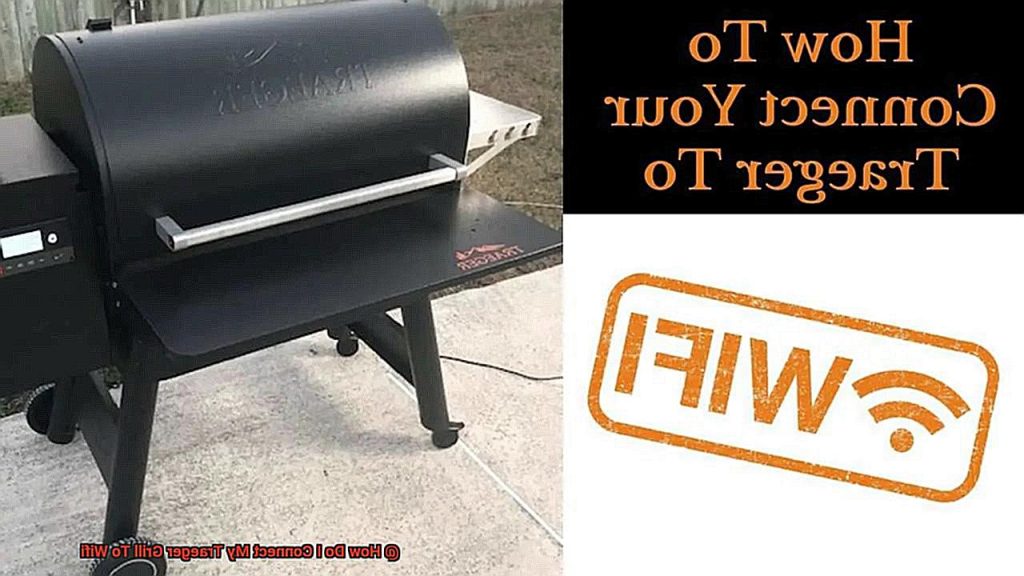
So how do you connect your Traeger grill to WiFi? It’s easy. First, make sure that your grill is plugged in and powered up. Then open up the Traeger app on your smartphone and follow the prompts to connect it to your home WiFi network. And voila. You’re all set.
In this blog post, we’ll walk you through every step of connecting your Traeger grill to WiFi and help you discover all the benefits that come with it. So sit back, relax, and let’s get started.
Contents
What Is a Traeger Grill?
Look no further than a Traeger grill, one of the most popular types of wood pellet grills invented by Joe Traeger in 1986.
So, what makes a Traeger grill so special? It uses hardwood pellets to cook food, which are fed into a fire pot by an electric auger. The pellets are then ignited and burned to create heat and smoke, infusing your dishes with unbeatable flavor that can’t be achieved with traditional grilling methods.
One of the standout features of a Traeger grill is its ability to smoke food. With a range of hardwood pellet flavors to choose from- think sweet applewood or bold hickory- you can easily achieve that signature smoky taste without the need for a separate smoker.
But don’t let the name fool you- Traeger grills aren’t just for smoking food. They can also be used for grilling, roasting, baking, and even braising. And thanks to the digital controller that regulates the flow of pellets and air into the fire pot, it’s easy to control the temperature and achieve perfect results every time.
Traeger grills come in a variety of sizes and models to fit different needs and budgets. Whether you’re cooking for a small family or hosting a backyard barbecue, there’s a Traeger grill that’s right for you. And if you want even more control over your cooking experience, you can connect your Traeger grill to WiFi using the Traeger app on your smartphone. This allows you to adjust the temperature, set timers, and even get recipe suggestions from anywhere.
Does Your Traeger Grill Have WiFi Capabilities?
You may be wondering if your Traeger grill has WiFi capabilities.
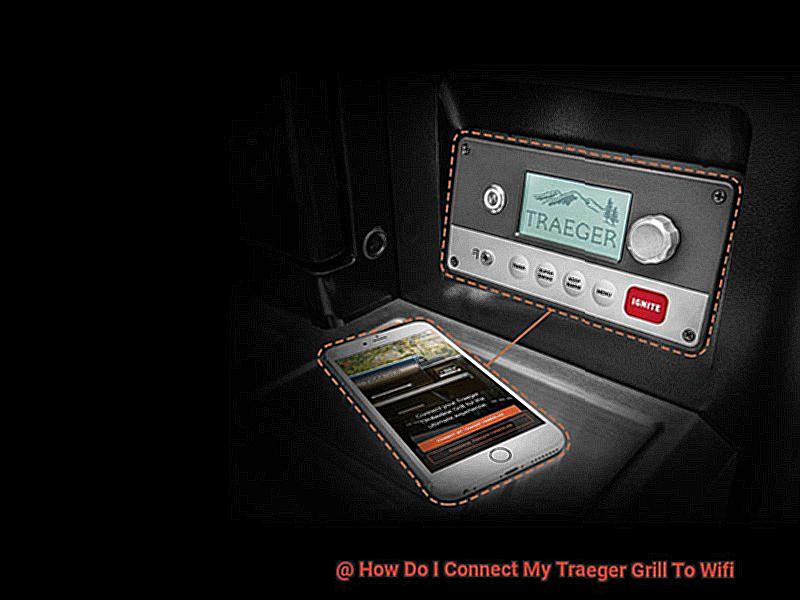
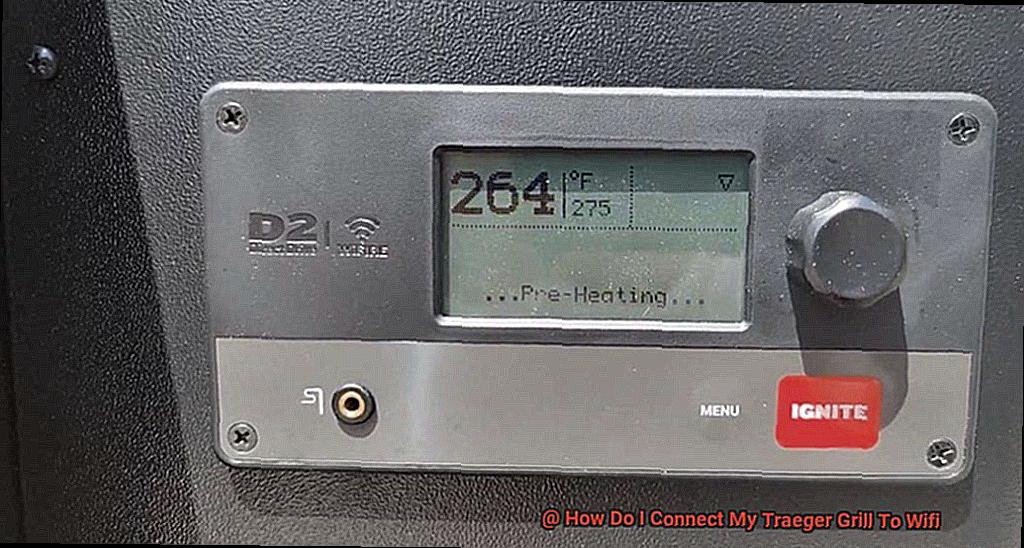
The good news is that Traeger has made it easy for grill enthusiasts to enjoy the convenience of WiFi connectivity with their grills. If you have a newer model Traeger grill, chances are it comes with built-in WiFi capabilities. You can confirm this by checking your grill’s manual or looking for the WiFi logo on the control panel. But what if you have an older model without built-in WiFi capabilities? No need to fret. You can easily retrofit your existing grill with a Traeger WiFi-enabled controller.

So why is having WiFi connectivity so awesome? With the Traeger app, you can remotely control and monitor your grill from your mobile device or computer. That means you can enjoy time with friends and family while still keeping an eye on your grill’s temperature and making adjustments as needed. Plus, the Traeger app offers a variety of recipes and cooking tips to help you create delicious grilled meals every time.
Preparing to Connect Your Grill to WiFi
Now, with WiFi connectivity, you can monitor and control your Traeger grill from anywhere. However, before you start enjoying this convenience, there are a few steps you need to take to prepare your grill for WiFi connectivity.
Step 1: Proper Assembly and Setup
To ensure a smooth connection, it’s important to properly assemble and set up your grill in a location with a strong WiFi signal. This will allow your grill to easily connect to the network without any issues.
Step 2: Power On Your Grill
Make sure your grill is connected to a power source and turned on by checking the illuminated power button on the controller.
Step 3: Download the Traeger App

To connect your grill to WiFi and control it remotely, download the Traeger app onto your smartphone or tablet. This app allows you to monitor and adjust your grill from anywhere.
Step 4: Disconnect Other Devices
Before connecting your grill to WiFi, temporarily disconnect any other devices on your network. This will help ensure a stable connection between your grill and the network.
Step 5: Check Compatibility
It’s important to note that not all Traeger grills are compatible with WiFi connectivity. Make sure to check the specifications of your specific model before attempting to connect it to WiFi.
Downloading the Traeger App
With Traeger’s WiFi connectivity, you can do just that. But before you can start grilling with ease, you need to download the Traeger app. Luckily, it’s a simple process that will have you grilling like a pro in no time.
First, head over to your device’s app store and search for “Traeger”. Once you find the app, click on the download button and wait for it to install. Voila – now you’ve got the power of Traeger at your fingertips.
Next, open up the app and follow the on-screen instructions to create a new account or log in to an existing one. Just make sure that your device is up-to-date with a minimum operating system of iOS 11 or Android 6.0.
But before you start controlling your grill, make sure that your device is connected to a stable network. This will ensure a smooth and uninterrupted connection between your device and grill. You won’t want any hiccups getting in the way of your perfectly cooked meal.
With the Traeger app downloaded and ready to go, you now have full control over your grill. Here are just a few things you can do:
- Adjust cooking temperatures: Whether you’re searing a steak or smoking some ribs, you can easily adjust the temperature to get the perfect cook.
- Set timers: Don’t want to forget when it’s time to flip your burgers? Set a timer within the app and get notified when it’s time to take action.
- Receive alerts: The app will let you know when your food is ready, so you can sit back and relax until it’s time to feast.
Connecting Your Grill to WiFi
Look no further than Traeger’s WiFi connectivity, which allows you to control your grill from anywhere using the Traeger App. But how exactly do you connect your grill to WiFi? Don’t worry, it’s a simple process that can be done in just a few steps.
First, make sure that your grill is set up and properly connected to power. You’ll also need a mobile device or computer with WiFi capabilities.
- Step 1: Download the Traeger App on your mobile device or computer. It’s available for both iOS and Android devices and can be downloaded from the App Store or Google Play. Once you’ve installed the app, open it and sign in or create an account if you haven’t already.
- Step 2: Turn on your Traeger grill and navigate to the “Settings” menu. From there, select “WiFi Settings” and choose the network you want to connect to. Enter the password for the network when prompted and wait for the grill to connect.
- Step 3: Congratulations. Your grill is now connected to WiFi. Using the Traeger App, you can adjust the temperature, set timers, and even receive notifications when your food is ready. Say goodbye to constant monitoring and hello to perfectly cooked meals every time.
It’s important to note that some older models of Traeger grills may not have WiFi capabilities built-in. If this is the case for your grill, don’t worry. You can purchase a WiFi-enabled controller separately and install it yourself.
Monitoring and Controlling the Grill Remotely
Say goodbye to those days with Traeger’s WiFi connectivity feature. This feature allows you to monitor and control your grill remotely using the Traeger app, giving you the freedom to enjoy your day while your Traeger does the work.
Connecting your Traeger grill to WiFi is a breeze. Once connected, download and install the Traeger app from either the App Store or Google Play store on your smartphone or tablet. If you don’t have an account yet, create one by following the prompts.
Once you’re logged in, you’ll be greeted with the “Grill Control” screen that displays the current temperature of your grill. From this screen, you can adjust the temperature of your grill using the “+” and “-” buttons. The app also allows you to set a timer for your cook and receive notifications when your food is ready.
The Traeger app also lets you monitor the internal temperature of your food by inserting a meat probe into it and connecting it to your grill. This means that you can keep an eye on your food’s progress without having to open up the lid and risk losing heat.
The convenience of monitoring and controlling your grill remotely cannot be overstated. Whether you’re working from home or entertaining guests, you can keep tabs on your food from anywhere at any time. Plus, with the ability to adjust the temperature of your grill remotely, there’s no need to constantly check on it.
Troubleshooting Tips for Connecting Your Grill to WiFi
Connecting your Traeger grill to WiFi can be a bit complicated, but don’t worry – we’ve got you covered with some troubleshooting tips that’ll help you get connected in no time. Here are five sub-sections that will guide you through the process.
Check Your WiFi Range:
Before you start connecting your grill to WiFi, make sure that your grill is positioned within range of your WiFi router. If the signal is weak or blocked by obstacles, you may experience connection issues. You can use a WiFi signal booster or move your router closer to your grill to improve the connection. Keep in mind that walls and other obstructions can also impact the strength of the signal.
Double-Check Your Password:
One of the most common issues when connecting your grill to WiFi is entering the wrong password for your WiFi network. Make sure that you are entering the correct password and that it is typed in correctly. If you’re still having trouble, try resetting your WiFi password and trying again.
Update Your Firmware:
If you’re still unable to connect your grill to WiFi, you may need to update the firmware on your grill. Check the Traeger website for updates and follow the instructions carefully. Updating your firmware can often resolve connectivity issues and improve overall performance. It’s important to keep in mind that updating firmware can take some time, so be patient and follow the instructions carefully.
Check for Interference:
Another common issue is interference from other devices on your network. Make sure no other devices are using an excessive amount of bandwidth while you are attempting to connect your grill. Additionally, some routers have a limit on the number of devices that can be connected at once. If you have reached this limit, try disconnecting another device before attempting to connect your grill.
Contact Customer Support:
If all else fails, Traeger’s customer support team is here to help. They may be able to help troubleshoot the issue or provide additional solutions for connecting your grill to WiFi. Don’t hesitate to reach out if you’re having trouble – they’re there to help you.
IbV84YYrdEQ” >
Conclusion
In conclusion, connecting your Traeger grill to WiFi is a true game-changer for any BBQ enthusiast. With just a few simple steps, you can revolutionize the way you cook and enjoy your meals. You’ll be able to control the temperature, cooking time, and monitor the internal temperature of your meat using only your smartphone. Plus, with alerts when your food is ready, there’s no need to worry about overcooking or undercooking.
Traeger grills are one of the most popular wood pellet grills on the market and offer a unique cooking experience that infuses unbeatable flavor into your dishes. With Traeger’s WiFi connectivity feature, you can remotely control and monitor your grill from anywhere using the Traeger app on your mobile device or computer.
Before diving into connecting your grill to WiFi, it’s important to properly assemble and set up your grill in an area with a strong WiFi signal. Once you’ve downloaded the Traeger app onto your device and ensured that it’s connected to a stable network, you’re ready to go.
If any issues arise during the process (which sometimes happens), don’t fret. There are troubleshooting tips available that will help guide you through any hiccups. And once you’re connected, you’ll be able to adjust cooking temperatures, set timers, receive alerts when your food is ready and monitor the internal temperature of your food – all from anywhere at any time.
In short, if you want to take your BBQ game up a notch and enjoy more convenience while doing so- connecting your Traeger grill to WiFi is definitely worth considering.


