Cooking is an art that we all love to indulge in, and grilling is a popular cooking method that adds a unique smoky flavor to our food. But let’s face it; the struggle of dealing with a grill pan that sticks can be frustrating. The sizzle of meat slowly cooking on a hot grill pan is music to our ears, but when the food gets stuck to the surface of the pan, it’s not only a nuisance but also creates a mess.
Fear not. If you’re tired of wrestling with your food or dealing with charred messes left on your pans, there are several ways to prevent food from sticking to your grill pan. We all want that perfect sear without the hassle of sticking. So, how do we achieve this?
In this blog post, we’ll explore the art of cooking with a grill pan without worrying about sticking. We’ll dive into tips and tricks for preventing sticking, discuss the importance of seasoning and choosing the right oil. Additionally, we’ll take a closer look at preheating and its impact on the cooking process.
Are you ready to master the art of cooking deliciously seared meals on your grill pan? Let’s jump in and discover how.
Contents
Step 1: Properly Season Your Grill Pan
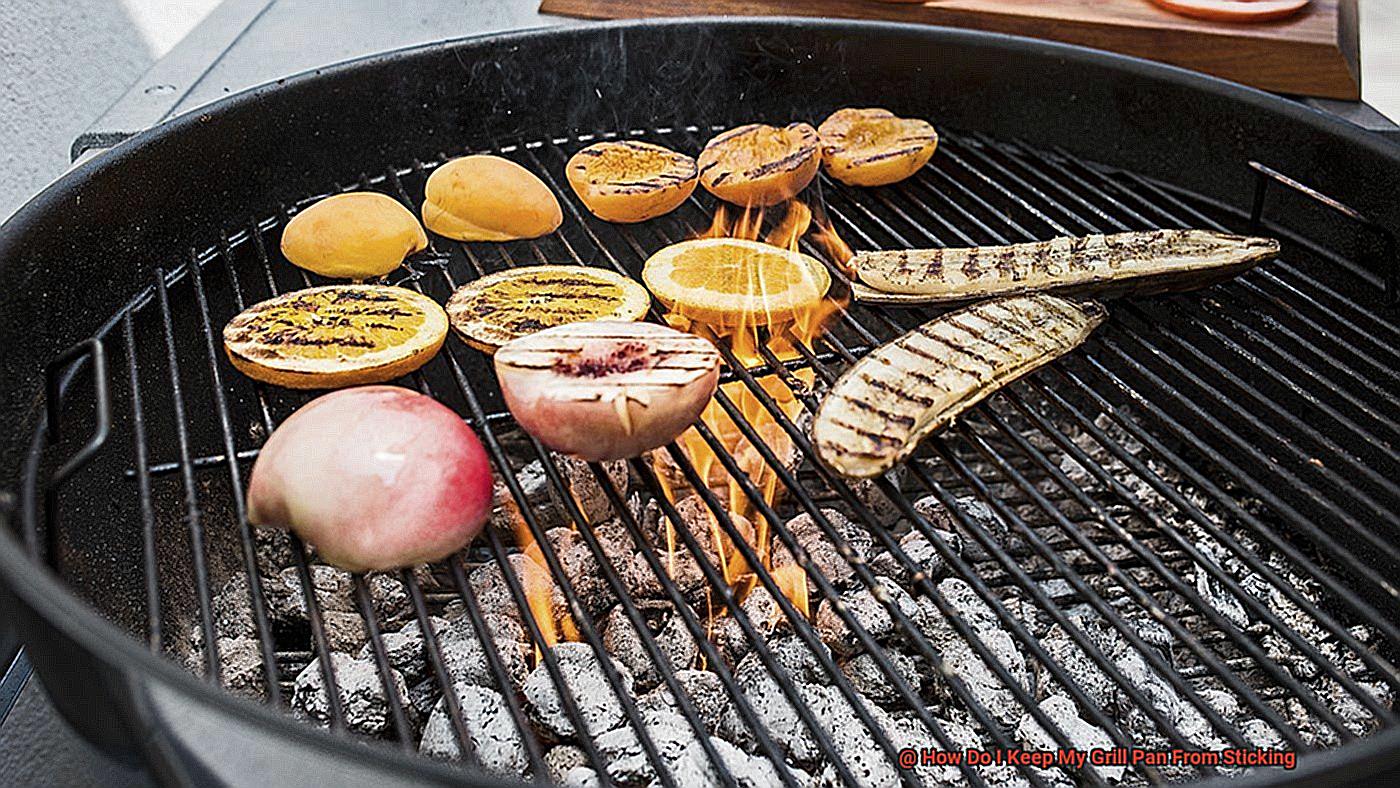
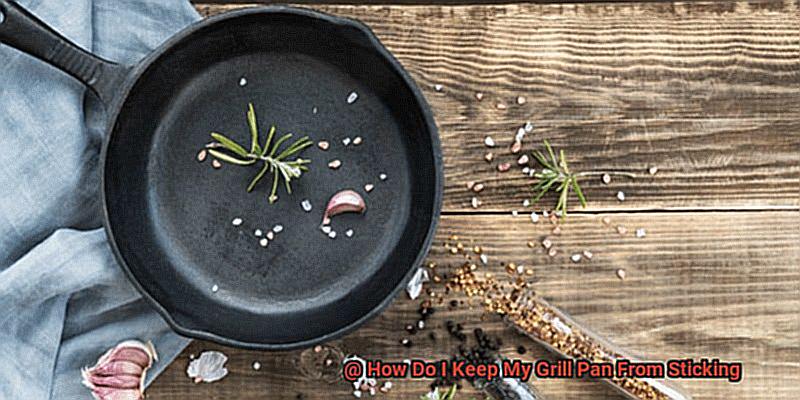
Grilling is an incredible way to cook food, and having the right tools can make all the difference. However, if you’ve ever had food stick to your grill pan, you know how frustrating it can be. That’s why properly seasoning your grill pan is essential.
Don’t worry, it’s not as complicated as it sounds. Here are some steps to follow to ensure that your grill pan is properly seasoned and ready to use.
Step 1: Clean Your Grill Pan
Before seasoning your grill pan, it’s crucial to give it a thorough cleaning. Use warm water and soap to scrub off any leftover food particles, and then rinse it well. Make sure the pan is completely dry before moving on to the next step.
Step 2: Apply a Thin Layer of Oil
Once your grill pan is clean and dry, apply a thin layer of oil to the surface of the pan. Any oil with a high smoke point, such as vegetable oil or canola oil, will work. Use a paper towel or a clean cloth to spread the oil evenly over the surface of the pan.
Step 3: Heat Up Your Grill Pan
Next, place your grill pan on the stove over medium-high heat. Let the pan heat up until it starts to smoke slightly. This will take about 5-10 minutes depending on your stove.
Step 4: Let It Cool Down and Wipe Away Excess Oil
Turn off the heat and let the pan cool down completely before wiping off any excess oil with a clean cloth. Your grill pan is now properly seasoned and ready to use.
It’s worth noting that you will need to re-season your grill pan periodically, particularly if you notice food starting to stick again. Don’t worry; simply repeat this process whenever necessary to keep your grill pan in top condition.
Step 2: Preheat the Grill Pan Before Use
Grilling is a beloved cooking method that can yield mouth-watering results. However, there’s nothing more frustrating than having your food stick to the grill pan. This is where preheating your grill pan comes in as a crucial step that you simply can’t afford to skip. As an expert in this area, I’m here to tell you why.
Picture this: you’re grilling up some delicious meat or veggies, and when you go to flip them, they’re stuck to the surface of the grill pan.
Not only does this ruin the presentation of your dish, but it also makes for a less enjoyable eating experience. Preheating your grill pan is the key to preventing this from happening.
When you preheat your grill pan, the surface becomes hot enough to sear your food. This searing creates a layer of caramelization that helps prevent sticking. It’s like creating a barrier between your food and the pan’s surface. So, if you want evenly cooked food that doesn’t stick to the surface, preheating is absolutely essential.
To properly preheat your grill pan, place it on the stove over medium-high heat for at least five minutes. Don’t rush this process, as it can lead to uneven cooking and sticking. You can test if the pan is hot enough by sprinkling a few drops of water onto the surface. If the water sizzles and evaporates quickly, the pan is ready to use.
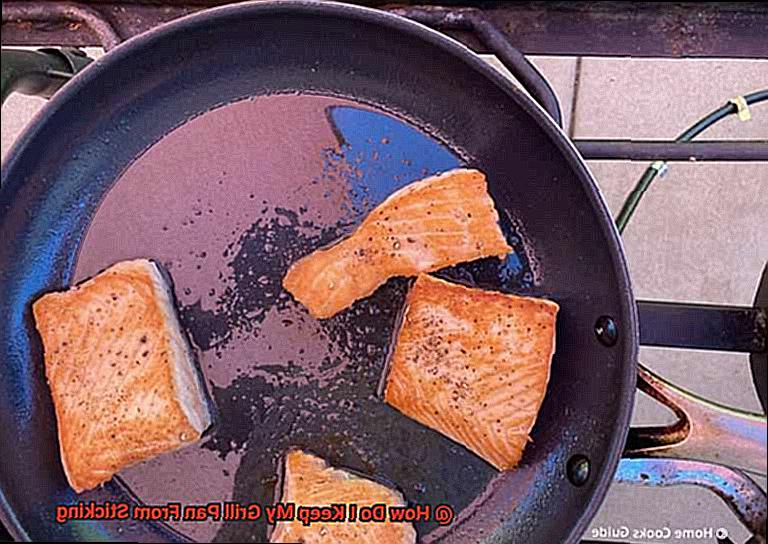
Another tip to prevent sticking is to lightly oil the surface of the grill pan before adding your food. Use a high smoke point oil such as canola or vegetable oil and apply it with a brush or paper towel. This will help create a non-stick surface and further prevent food from sticking.
Step 3: Use Cooking Sprays or Oils to Prevent Sticking
Grilling is a beloved cooking method, but there’s nothing worse than having your food stuck to the grill pan. It’s not only frustrating but can also ruin your meal. Luckily, using cooking sprays or oils is the key to preventing sticking and achieving succulent results.
To ensure that your food won’t stick to the grill pan, it’s crucial to use the right type of oil or cooking spray. Vegetable or canola oil is a popular option due to its high smoke point, which means it can handle high heat without burning. A thin layer of oil should be brushed onto the grill pan and your food before grilling. However, too much oil can cause flare-ups and alter the flavor of your food.
Cooking sprays are also convenient and easy to use, providing an even and thin layer of oil on your grill pan. But it’s important to choose a cooking spray that’s specifically designed for high heat cooking. Look for sprays labeled as “grilling” or “high heat” to ensure that they won’t break down under high temperatures.
While cooking sprays or oils can prevent sticking, don’t forget to preheat your grill pan properly before adding any food. This step ensures that the entire surface of the grill pan is evenly heated, thus reducing the likelihood of food sticking.
In summary, here are some tips to prevent sticking when grilling:
- Choose the right type of oil or spray, such as vegetable or canola oil or a grilling-specific cooking spray.
- Apply a thin layer of oil before grilling.
- Preheat your grill pan properly before adding any food.
Step 4: Avoid Overcrowding the Grill Pan
As tempting as it may be to pile on the food, overcrowding will only lead to a sticky situation that no one wants to deal with. So, what can you do to avoid this issue and ensure perfectly grilled food every time? Here are some tips:
Firstly, give each piece of food enough space on the grill pan. If you stack them or place them too close together, steam will form and cause the food to stick. To prevent this, make sure there is enough space between each piece of food.
Secondly, consider cooking in batches if you have a lot of food to cook. This will not only prevent overcrowding, but also give you more control over the cooking process. Plus, it’s a great way to ensure that each piece of food is cooked to perfection.
Lastly, choose the right size grill pan for the amount of food you are cooking. If you have a small pan and a lot of food, resist the urge to overcrowd it. Instead, opt for a larger pan or cook in batches.
Tips for Cleaning a Sticky Grill Pan
Cleaning a sticky grill pan can be quite a challenge, but it is essential to maintain its quality and ensure that it lasts for a long time. Here are some steps that you should follow to get your grill pan clean and ready for your next grilling adventure:
Scrape off any excess food
Before you start cleaning your grill pan, scrape off any leftover food particles with a spatula or brush. This will make the cleaning process much easier.
Soak the pan in hot water
Fill your sink or a large bowl with hot water and soak the grill pan for at least 30 minutes. Hot water helps to loosen any burnt-on food and make it easier to clean.
Use a non-abrasive cleaner
Once you have soaked the pan, use a non-abrasive cleaner such as dish soap or baking soda to scrub away any remaining food particles. Avoid using steel wool or abrasive cleaners as they can damage the surface of your pan.
Use a nylon brush or sponge
When scrubbing your pan, use a nylon brush or sponge to avoid scratching the surface. Be sure to pay extra attention to any areas where food is stuck on.
Rinse thoroughly
After you have finished scrubbing your grill pan, rinse it thoroughly with hot water to remove any remaining soap or cleaner.
Dry the pan completely
Once you have rinsed your grill pan, dry it completely with a paper towel or cloth. This will prevent rust from forming on the surface of your pan.
Use vinegar and baking soda
If there are still stubborn stains on the grill pan, sprinkle some baking soda on the surface and pour white vinegar over it. Let it sit for about 10 minutes and then scrub the grill pan gently with a nylon brush or sponge. Rinse it thoroughly with hot water and dry it completely.
Store properly
Store your clean grill pan in a dry place, preferably covered, to prevent dust and moisture from settling on it.
Benefits of Using a Grill Pan
There is a versatile and useful tool that can give you that delicious flavor from the comfort of your own kitchen – a grill pan. Not only does it provide convenience, but there are several other benefits to using a grill pan that make it a must-have tool in any home cook’s arsenal.
Indoor Grilling Made Easy
One of the most significant benefits of using a grill pan is that it allows you to cook grilled dishes indoors without the hassle or mess of an outdoor grill. Whether it’s raining, snowing, or you live in an apartment building where outdoor grilling isn’t permitted, a grill pan provides the perfect solution to satisfy your craving for char-grilled flavor.
Healthier Meals
Another benefit of using a grill pan is that it helps to make your meals healthier. The ridges in the pan allow excess fat and oil to drain away from the food, resulting in a healthier meal. This makes it perfect for cooking lean meats like chicken breasts or fish fillets.
Attractive Grill Marks
In addition to providing that smoky, char-grilled flavor, grill pans also create attractive grill marks on your food. These marks not only make your food look more appetizing but also add texture to enhance its overall taste experience. Whether you’re serving up burgers or vegetables, those grill marks will give your dish an added touch of visual appeal.
Easy to Clean and Maintain
Grill pans are typically made from materials like cast iron or non-stick coatings, which make them durable and long-lasting. Cleaning is as simple as wiping down with a damp cloth or using soap and water if necessary. No more scrubbing and scraping. With minimal effort, your grill pan will be ready for your next grilling adventure.
Common Mistakes to Avoid When Grilling with a Grill Pan
It’s crucial to know the common mistakes to avoid when using this versatile kitchen tool. As an expert on the subject, I’ve compiled some research notes to help you become a pro at grilling indoors without any sticking mishaps.
First and foremost, ensure that you properly preheat your grill pan before adding any food. Many people make the mistake of rushing into cooking without allowing the pan to heat up adequately. You should give it several minutes to heat up to ensure that it’s hot enough for a good sear. This will prevent your food from sticking and ensure those beautiful grill marks that we all love.
Using too much oil or the wrong kind of oil can also lead to sticking. While it’s important to use some oil to prevent sticking, using too much can actually cause the food to stick even more. Make sure to use an oil with a high smoke point, such as canola or vegetable oil, and avoid oils with low smoke points like olive oil as they can burn and create a sticky residue on the pan.
Keeping your grill pan clean is also essential in preventing sticking during future use. Don’t make the mistake of neglecting cleaning after each use. Instead, clean the pan thoroughly with warm soapy water and a non-abrasive sponge. This will help remove any leftover food particles that can cause sticking.
Lastly, overcrowding the grill pan is a big no-no. Don’t be tempted to add too much food at once, as this can lead to sticking and uneven cooking. Leave enough space between each piece of food to allow for proper airflow and even cooking. Overcrowding can cause the food to release moisture, which can lead to steaming instead of grilling and ultimately result in sticking.
WNBWpKCm0Zc” >
Conclusion
In conclusion, grilling is an art that requires patience and skill. A grill pan can be a versatile tool in your kitchen, providing you with the char-grilled flavor without the hassle of an outdoor grill. However, dealing with a sticky grill pan can be frustrating and messy. But fret not. With the right techniques and tools, you can prevent food from sticking to your grill pan and achieve that perfect sear.
To start with, seasoning your grill pan properly is essential to avoid sticking. Preheating your grill pan before use creates a non-stick surface that ensures food doesn’t stick to it. Additionally, using cooking sprays or oils can further prevent sticking while ensuring succulent results. However, overcrowding the grill pan should be avoided at all costs.
Cleaning a sticky grill pan may seem daunting, but it’s necessary to maintain its quality and longevity. Lastly, using a grill pan has several benefits such as indoor grilling convenience, healthier meals with excess fat drained away from food, attractive grill marks on food enhancing visual appeal and easy cleaning and maintenance.
Avoiding common mistakes like rushing into cooking without allowing the pan to heat up adequately or using too much oil or overcrowding the grill pan is crucial to preventing sticking during future use.
With these tips and tricks in mind, you’ll be able to master the art of cooking deliciously seared meals on your grill pan without worrying about sticking.

