It’s time to break out the grill and whip up some mouth-watering meals for your loved ones. But let’s be real – cleaning up after a cookout can be a daunting task. And if you’re like most grill masters, you know that keeping your grill drip pan clean is essential for both safety and maintaining the life of your grill.
But don’t sweat it. We’ve got you covered with this ultimate guide on how to clean a grill drip pan. Whether you’re dealing with stubborn grease buildup or tough stains, we’ll walk you through every step of the process with easy-to-follow instructions. By the end of this post, you’ll have all the tips and tricks to get your drip pan looking brand new in no time.
So, let’s get started and say goodbye to those pesky drippings once and for all.
Contents
Step 1: Removing the Drip Pan from the Grill
It’s time to start taking care of your grill’s drip pan. Cleaning the drip pan after every use is crucial for maintaining your grill’s health and longevity. But before you can clean it, you need to know how to safely remove it from the grill. Here are the steps:
Step 1: Let the Grill Cool Down Completely.
Before attempting to remove the drip pan, make sure that the grill has cooled down completely. This will prevent any burns or injuries. Take a moment to appreciate the sizzling embers and smoky aroma as you wait for your grill to cool.
Step 2: Locate the Drip Pan.
The location of the drip pan can vary depending on the type of grill you have. Whether it’s a gas grill with a removable tray or pan located underneath the burners or a charcoal grill with a bowl-shaped pan located at the bottom, consult your owner’s manual if you’re not sure where to look. Be a detective and find that elusive drip pan.
Step 3: Slide Out the Drip Pan.
Once you’ve located the drip pan, it’s time to slide it out from its location and carefully set it aside. Be sure to wear gloves or use a towel to avoid touching any grease or dirt that may be on the pan. You don’t want any unwanted surprises when handling that greasy pan.
Step 4: Inspect for Damage.
Before cleaning the drip pan, inspect it for any damage or signs of wear and tear. If there are any cracks or holes in the pan, it may need to be replaced before using the grill again. Don’t neglect this critical step and risk damage to your grill or food.
Step 2: Empty Out Contents and Scrape Off Food Debris
Grilling season is upon us, and if you want to keep your grill in tip-top shape, it’s essential to clean it after each use. The second step in cleaning your grill drip pan is the most crucial: emptying out the contents and scraping off food debris.
First and foremost, safety should always be a top priority. Wearing gloves or using a towel is a must to avoid any unexpected burns or cuts. Once you’ve taken care of that, carefully remove the drip pan from your grill and dispose of any excess grease or liquid that may have accumulated in it. This step is vital as leaving any excess liquid in the pan could pose a fire hazard.
Now, let’s talk about the importance of scraping off any food debris from the drip pan. We all know how delicious grilled food can be, but leftover food particles can attract pests and bacteria, leading to some unpleasant consequences. A scraper or spatula works wonders in removing any stuck-on food debris from the surface of the drip pan. For stubborn bits of food, use a grill brush with stiff bristles to scrub them away.
It’s essential to be thorough during this step because leaving any food debris behind can lead to unpleasant odors and even mold growth over time. Once you’ve scraped off all the food debris, give the drip pan a quick rinse with water to remove any remaining residue.
In summary, emptying out the contents and scraping off food debris is crucial in keeping your grill hygienic and free from pests. Here’s a quick checklist to ensure you don’t miss anything:
- Wear gloves or use a towel for safety
- Remove excess grease or liquid
- Scrape off food debris with a scraper or spatula
- Use a grill brush for stubborn bits
- Rinse with water to remove remaining residue
Step 3: Submerge in Warm Soapy Water
Grilling is a fantastic way to cook up some delicious food, but it’s no secret that cleaning up can be quite the chore. That’s why it’s important to know how to properly clean your grill drip pan, and one of the most effective steps is to submerge it in warm soapy water.
To begin, remove the drip pan from your grill and find a large container or sink. Fill the container with enough warm water to completely submerge the drip pan, and add a few drops of dish soap or a teaspoon of baking soda to help dissolve any accumulated grease, oil, or food particles.
Now it’s time to gently scrub the surface of the drip pan with a soft-bristled brush or sponge. Pay special attention to corners and crevices where debris tends to build up. Once you’ve scrubbed away, let the drip pan soak in the warm soapy water for at least 30 minutes (or longer if needed).
During this time, the soap and warm water will penetrate deep into any built-up grime, making it much easier to remove. After soaking, rinse the drip pan thoroughly with clean water and dry it completely before placing it back in your grill.
It’s essential to ensure there is no soap residue left on the surface of the drip pan; otherwise, this can affect the taste of your food during future grilling sessions. By following these straightforward steps and regularly cleaning your grill drip pan, you’ll keep your grill running smoothly and ensure that your food stays delicious.
Step 4: Scrub with Brush or Sponge to Remove Residue
Grilling is a beloved pastime, but the post-cooking clean-up can be a challenge. Fortunately, keeping your grill drip pan sparkling clean is a breeze with these easy steps. Let’s dive into step 4: scrubbing with a brush or sponge to remove any remaining residue.
Choosing the right tool for the job is key. Be sure to select a brush or sponge that’s appropriate for your grill’s surface. A wire brush might be too rough for porcelain-coated grates, while a soft sponge might not effectively tackle stubborn grease buildup.
Now it’s time to put in some elbow grease. Begin by using a back-and-forth motion to loosen any debris. When using a sponge, don’t forget to rinse it frequently to avoid spreading grease around. For more persistent stains, you may need to apply extra pressure or utilize a scraper tool to remove the residue.
After scrubbing the entire drip pan, rinse it thoroughly with water. Ensure that all cleaning solution and debris are removed. You can also dry the pan with a clean towel or rag before placing it back in your grill.
Remember, proper cleaning is critical for maintaining your grill’s efficiency and longevity. By taking the time to properly clean your grill drip pan, you’ll be rewarded with many years of delicious outdoor cooking.
Step 5: Use Degreaser or Oven Cleaner for Stubborn Spots
Grilling is a fantastic way to enjoy delicious, mouth-watering food. But, after all the cooking fun, comes the tedious task of cleaning up. When it comes to cleaning your grill drip pan, sometimes regular soap and water just won’t cut it. That’s when you need to bring out the big guns – degreasers and oven cleaners.
Degreasers are specially formulated to break down and dissolve stubborn grease, making them perfect for cleaning your grill drip pan. You’ll find a variety of degreasers on the market, such as natural options made from citrus or vinegar, as well as powerful chemical-based products. However, be sure to read the label carefully and follow all safety instructions when using any type of degreaser.
To use a degreaser on your grill drip pan, start by removing any excess grease and debris with a scraper or brush. Next, spray the degreaser onto the pan, ensuring that all areas are covered. Allow the product to sit for a few minutes to break down the grease. Finally, use a scrub brush or sponge to scrub away any remaining residue and rinse the pan thoroughly with water.
If stubborn spots persist, you can also try using oven cleaner on your grill drip pan. However, keep in mind that these cleaners are much stronger than degreasers and should only be used as a last resort. Before using an oven cleaner, make sure you read all instructions carefully and wear gloves and protective eyewear.
To use an oven cleaner on your grill drip pan, first remove any loose debris with a scraper or brush. Then apply the cleaner according to the instructions on the label and let it sit for the recommended amount of time (usually 30 minutes to an hour). Use a scrub brush or sponge to remove any remaining residue and rinse the pan thoroughly with water before using it again.
While degreasers and oven cleaners can be helpful tools in your cleaning arsenal, regular cleaning with soap and water should be sufficient to keep your grill drip pan in good condition. Remember to use caution when using these cleaners and only use them when necessary.
Step 6: Dry the Drip Pan Thoroughly Before Placing Back in Grill
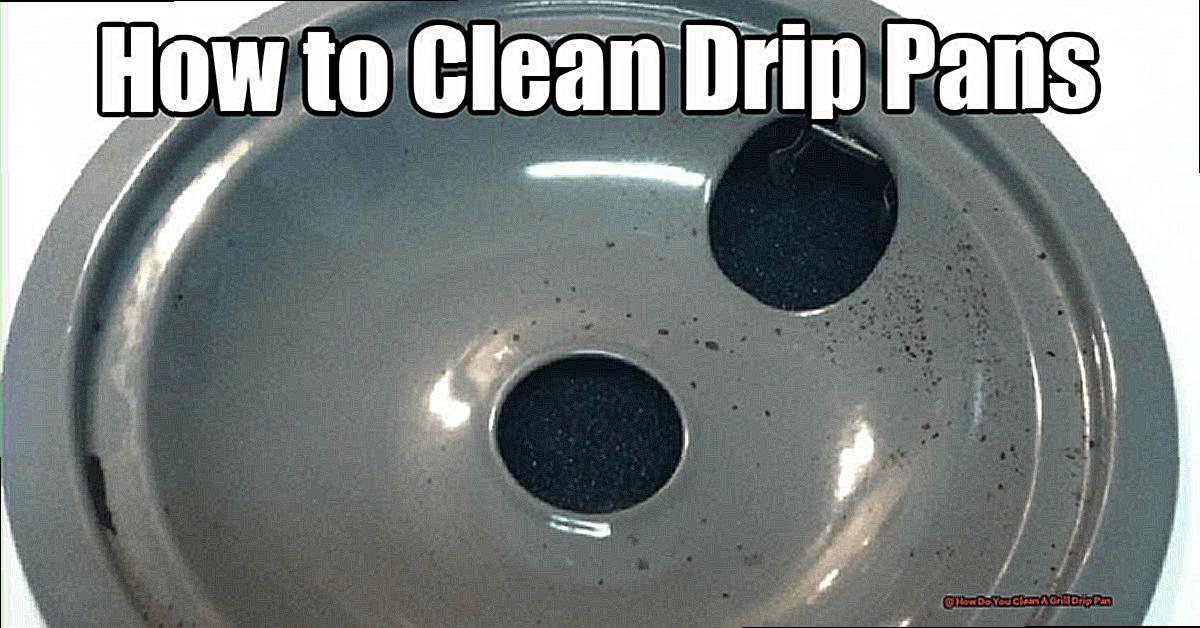
Cleaning your grill drip pan is no easy feat, but congratulations on making it to Step 6. Now, it’s time to ensure that your drip pan is thoroughly dried before placing it back in the grill. As you already know, this step is crucial in preventing rust and corrosion from developing on the drip pan’s surface. But, that’s not all. Drying the drip pan also prevents bacteria growth, which could lead to unpleasant smells and affect the taste of your food.
So, let’s dive into how to dry the drip pan properly. Grab a clean towel or paper towels and wipe down every inch of the drip pan’s surface. Don’t forget to pay attention to the corners and crevices where water can hide. You want to make sure that there’s no standing water left on the drip pan. If you have some time, leaving the drip pan out in the sun can help evaporate any remaining moisture.
What if you’re in a rush? No problem. You can use a hairdryer on the cool setting to blow any excess water off the drip pan. Just make sure not to use a hot setting as it could damage the material of the drip pan.
After you’ve dried the drip pan thoroughly, take a moment to admire your work before placing it back in your grill. But, before you do that, let’s recap why drying the drip pan is so important. Moisture left on the drip pan could cause rust, corrosion, bacterial growth, and even ignition problems if you’re using a gas grill. By drying the drip pan properly, you’re ensuring that your grill remains in tip-top shape for future grilling adventures.
Tips for Maintaining Your Grill’s Health and Safety
Grilling is a beloved pastime for many, and with it comes the responsibility of maintaining your grill’s health and safety. One crucial aspect of grill maintenance is the regular cleaning of the drip pan. The drip pan is responsible for collecting grease and food debris that can quickly accumulate, leading to potential fire hazards and an unsanitary cooking surface. Here are five reasons why regularly cleaning the drip pan is essential for your grill’s health and safety:
Prevents Fire Hazards
The accumulation of grease and food debris in the drip pan can ignite, causing flare-ups that put you and your loved ones in danger. Regularly cleaning the drip pan prevents this buildup, reducing the risk of fire hazards.
Ensures Hygiene
A dirty drip pan can harbor harmful bacteria that can contaminate your food. Regular cleaning of the drip pan ensures that your grill is safe and hygienic to use, protecting you from potential health risks.
Prolongs Your Grill’s Life
Grease buildup in the drip pan can cause corrosion or damage to your grill’s interior, leading to costly repairs or even replacement. Regular cleaning of the drip pan prevents this buildup, prolonging your grill’s lifespan.
Easy to Clean
Cleaning the drip pan is a quick and straightforward task that only takes a few minutes after each use. By making it a regular part of your grill maintenance routine, you can ensure that your grill is always ready for your next BBQ.
Foil Liner Option
If you want to make cleaning even easier, consider using a foil liner in the drip pan. This method eliminates the need for scrubbing and makes cleaning up after grilling a breeze.
Conclusion
To keep your grill in top-notch condition, it’s crucial to clean the drip pan regularly. Not only does this prevent fire hazards and ensure hygiene, but it also prolongs your grill’s lifespan. Fortunately, cleaning your drip pan is a breeze with these six easy steps.
First and foremost, remove the drip pan from the grill safely to avoid any accidents. Next, empty out its contents and scrape off any food debris that may have accumulated. To get rid of any remaining residue, soak the pan in warm soapy water for at least 30 minutes before scrubbing it with a brush or sponge.
For stubborn spots that won’t budge, degreasers or oven cleaners can come in handy. Once you’ve removed all traces of grime, dry the drip pan thoroughly before placing it back in your grill to prevent rust and corrosion from taking hold.
Make sure to incorporate regular cleaning of your drip pan into your grill maintenance routine after each use. You can even make cleaning easier by using a foil liner option.

