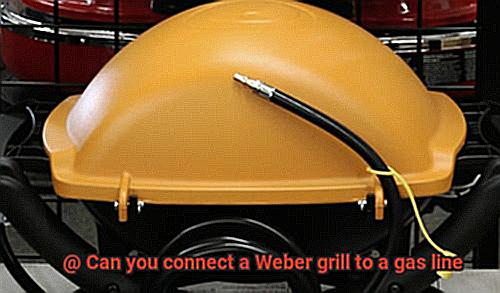
Picture this: you’ve got your apron on, the burgers are prepped, and the guests are arriving. But as you reach for the propane tank to fire up your Weber grill, you realize it’s empty. Cue frustration and a trip to the store. But what if there was a way to avoid this scenario altogether? What if you could connect your Weber grill to a natural gas line and never run out of fuel again?
Connecting your Weber grill to a gas line may seem intimidating at first, but fear not – it’s easier than you think. In this article, we’ll walk you through the steps needed to safely connect your grill and explore why it’s a great option for any home cook.
Say goodbye to the hassle of buying propane tanks and hello to endless fuel with a natural gas connection. Not only is it convenient, but it can also save you money in the long run. However, safety is key when dealing with gas lines and grills. We’ll cover all the necessary precautions and guidelines to ensure a successful and safe installation.
Whether you’re an experienced pitmaster or just starting out, connecting your Weber grill to a gas line is worth considering. So let’s dive in together and discover how easy it can be.
Contents
What Type of Gas Line is Compatible with a Weber Grill?
However, if you’re thinking of connecting your Weber grill to a gas line, it’s important to know what type of gas line is compatible with your grill.
There are two types of gas lines that can be used with Weber grills: natural gas and propane. Natural gas is a popular option for households with a natural gas supply, as it is convenient and cost-effective. However, before connecting your Weber grill to a natural gas line, ensure that your grill can be converted for use with natural gas. Some Weber grills come equipped with natural gas compatibility, while others require a conversion kit.
Propane, on the other hand, is a portable and readily available option for those without access to natural gas. Most Weber grills are designed to be used with propane tanks and come with an attached regulator that controls the flow of gas to the burners. It’s essential to note that propane tanks should only be used in well-ventilated areas and should never be stored indoors.
Aside from the type of gas line, it’s crucial to ensure that the gas line has adequate pressure and flow rate for your Weber grill. The pressure requirement for most Weber grills ranges from 4 to 7 inches of water column (WC), while the flow rate typically ranges from 1000 to 2000 BTU per hour.
To connect your Weber grill to a gas line safely and effectively, you’ll need a flexible gas line that meets local codes and regulations, a gas shutoff valve, a quick disconnect fitting, and pipe thread sealant. Before making any connections, turn off the gas supply and check for leaks using a gas leak detector or soapy water. It’s also recommended to consult with a licensed professional or contact the manufacturer for specific requirements and recommendations.
Tools and Materials Needed to Connect a Weber Grill to a Gas Line
Connecting your grill to a natural gas line may just be the ultimate solution. But before you get started, you’ll need to gather some tools and materials.
First things first, make sure that you already have a gas line installed in your home or outdoor space. Next, purchase a conversion kit designed specifically for your Weber grill model. This kit should include a regulator, hose, and fittings to ensure a proper connection to the gas line.
In terms of tools, you’ll need an adjustable wrench, pipe wrench, Teflon tape, and a screwdriver. These tools will help you install the conversion kit with ease while ensuring there are no gas leaks.
It’s important to note that not all Weber grills are compatible with natural gas lines, so make sure to double-check the manufacturer’s instructions before purchasing a conversion kit. Additionally, be sure to purchase a kit that matches the size of your gas line and the type of Weber grill you own.
Before starting the installation process, always turn off the gas supply to your home or outdoor space. And if you’re unsure about any aspect of the installation process, don’t hesitate to consult with a licensed professional for guidance.
Safety Precautions Before Connecting a Weber Grill to a Gas Line
Before you start connecting your grill to a natural gas line, it’s essential to take certain safety precautions. As an expert on the topic, I will guide you through the steps you need to follow to ensure a safe and enjoyable outdoor cooking experience.
First and foremost, safety starts with turning off the gas line. This may seem like common sense, but it’s essential to prevent any potential gas leaks or defects in the gas line that could lead to a fire or explosion. You can do this by turning off the gas valve at the source or by disconnecting the gas supply hose from the grill.
Once the gas line is turned off, check the connections and fittings of the gas line carefully before proceeding. Any leaks or defects can be dangerous, so ensure that everything is in good working order before proceeding. A simple way to do this is by applying a soap and water solution on all connections and hoses. If you see bubbles forming, there’s a leak.
Next, it’s vital to follow the manufacturer’s instructions precisely and use only approved fittings and connectors. Using incorrect fittings or connectors can lead to leaks or other problems, which can be hazardous. Make sure that the grill is stable and securely in place before using it. Ensure that it’s on a level surface to prevent any tipping or instability.
Finally, use caution when lighting the grill for the first time after connecting it to a gas line. Before attempting to light the grill, make sure all burners are turned off and there are no leaks or defects in the gas line. You can do this by checking for any hissing sounds or smells of gas.
In conclusion, taking safety precautions before connecting your Weber grill to a gas line is vital for a safe and enjoyable outdoor cooking experience.
Step-by-Step Guide on How to Connect Your Weber Grill to a Gas Line
Connecting your Weber grill to a gas line can be the solution you’ve been looking for. As an expert on the topic, I have compiled a comprehensive guide to ensure a safe and successful installation process.
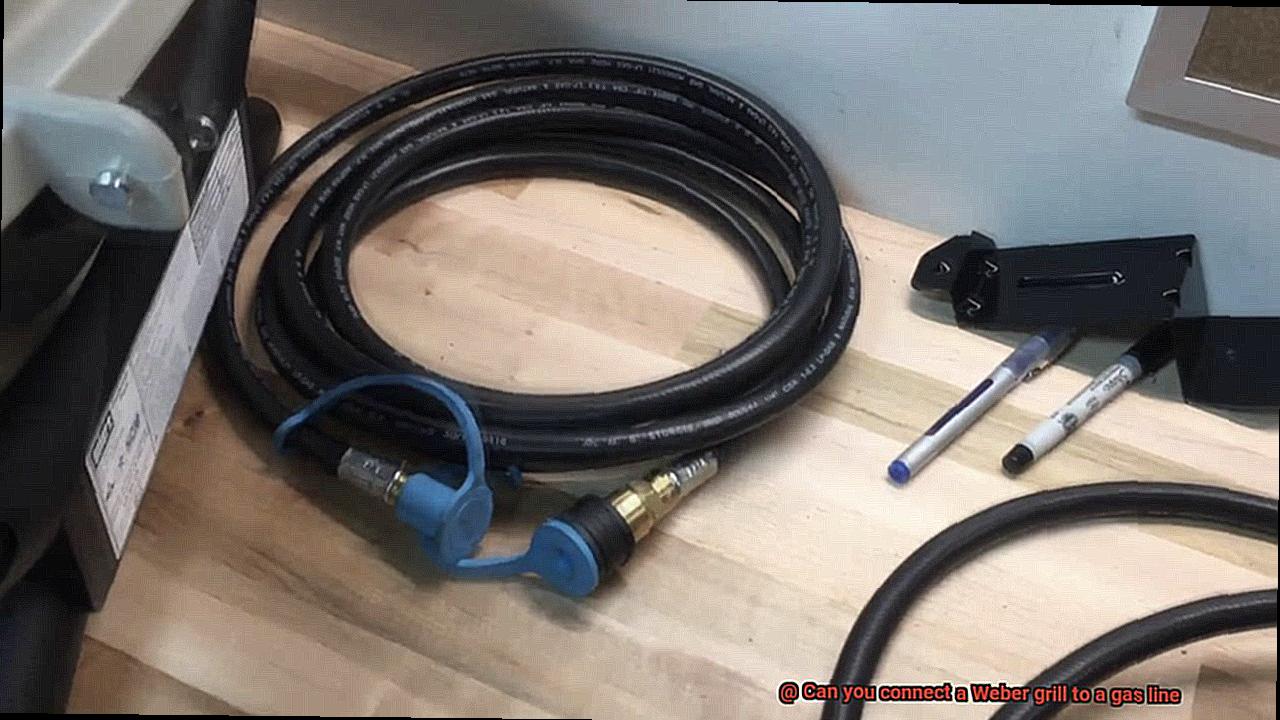
To begin, gather all necessary tools and equipment, including a flexible gas line, shut-off valve, and adapter kit. Once you have everything in place, follow these simple steps:
- Turn off the propane tank or disconnect the natural gas line.
- Remove the grates and burner tubes from your grill to access the control panel.
- Remove the regulator and hose assembly from the control panel.
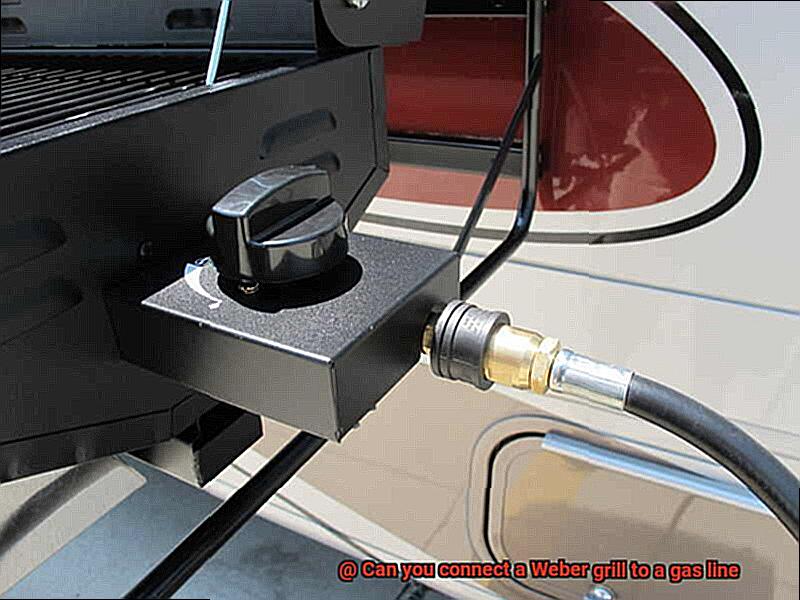
- Attach the flexible gas line to the control panel using a wrench or pliers.
- Use Teflon tape or pipe compound on all threaded connections to prevent leaks.
- Connect the gas line to the shut-off valve using another flexible gas line.
- Install an adapter kit between the shut-off valve and flexible gas line to regulate gas flow.
- Safety should always come first when working with gas lines. Before beginning any installation process, turn off the gas source and use caution when handling tools and equipment.
Now let’s break down each step in detail:
- Step 1: Turn off the propane tank or disconnect the natural gas line. This step ensures that there is no gas flowing through the system while you are making adjustments.
- Step 2: Remove the grates and burner tubes from your grill to access the control panel. This will allow you to easily access the control panel where you will be attaching your flexible gas line.
- Step 3: Remove the regulator and hose assembly from the control panel. This step is crucial because you will be replacing this component with your new gas line.
- Step 4: Attach the flexible gas line to the control panel using a wrench or pliers. Make sure that the connection is secure and use Teflon tape or pipe compound on all threaded connections to prevent leaks.
- Step 5: Use Teflon tape or pipe compound on all threaded connections to prevent leaks. This important step will ensure that your gas line is properly sealed and will not leak any gas.
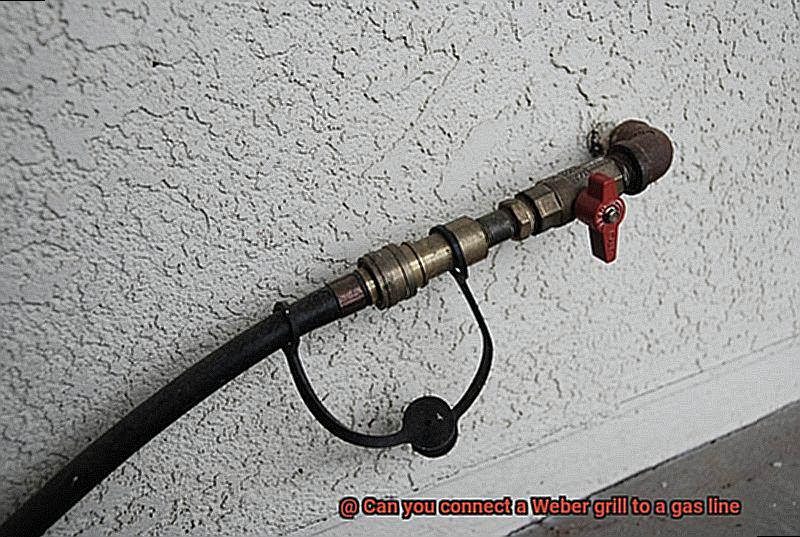
- Step 6: Connect the gas line to the shut-off valve using another flexible gas line. The shut-off valve should be located near the gas source, such as on the side of your house or on a nearby gas line.
Tips for Testing the Connection After Making it
It’s important to ensure the safety and proper functionality of the gas connection before you start. Here are five tips for testing the connection after making it.
Check for Leaks
Before turning on the gas, check for leaks by applying a soap and water solution to the connection. If there are any bubbles forming, tighten the connection or replace any faulty parts.
Turn on the Gas
After checking for leaks, turn on the gas supply and make sure all burners are in the off position.
Ignite the Grill
Use your grill’s ignition system or a long lighter to ignite it and check all burners for consistent flames.

Monitor for Changes
While grilling, keep an eye out for any changes in flame intensity or color, which can indicate a problem with your connection. If you notice anything, turn off the gas immediately and address the issue before using your grill again.
Repeat Regularly
Test your Weber grill’s gas connection periodically to ensure its safety and proper functionality.
Testing the connection is crucial for safe grilling. Apply a soapy water solution to check for leaks before turning on the gas supply. If there are any bubbles forming, tighten or replace any faulty parts. Then, ignite your grill and monitor the flames for consistency. Repeat this testing periodically to ensure that your Weber grill’s gas connection remains secure and leak-free.
Common Mistakes When Connecting a Weber Grill to a Gas Line
However, before you can get grilling, it’s essential to ensure that you’ve correctly connected your grill to your gas line. Unfortunately, many people make common mistakes that can lead to dangerous situations or damage to their grill. As an expert in this area, I want to share with you the most common mistakes to avoid when connecting a Weber grill to a gas line.
Firstly, checking for leaks is crucial for your safety and those around you. Gas leaks can lead to dangerous situations or even a gas explosion. It’s essential to use a gas leak detector or apply soapy water to the connections and check for bubbles. If you notice any leaks, fix them before using your grill.
Secondly, using the correct type of connector and tightening it properly is critical. A loose connection can cause gas leaks, which not only poses a danger but also affects the grill’s performance.
Another mistake is forgetting to turn off the gas supply before making any connections. It’s imperative to always turn off the gas supply before connecting your grill to avoid potentially damaging the grill’s regulator.
It’s equally important to use the correct type of gas for your grill. Weber grills are designed to work with either propane or natural gas, but they are not interchangeable. Using the wrong type of gas can damage your grill and pose a safety hazard.
Finally, following the manufacturer’s instructions carefully when connecting your Weber grill to a gas line is essential. Failure to do so can result in damage to your grill or even injury. Always consult the owner’s manual or contact Weber customer service if you have any questions or concerns about connecting your grill to a gas line.
Benefits of Connecting Your Weber Grill to a Gas Line
Grilling is a beloved activity, however, dealing with propane tanks can be a hassle. If you’re tired of running out of fuel in the middle of a cookout or constantly having to refill or replace propane tanks, then connecting your Weber grill to a gas line might be the solution you’ve been looking for. As an expert on this topic, I am here to present the numerous benefits of connecting your Weber grill to a gas line and why it’s worth considering.
First and foremost, connecting your Weber grill to a gas line eliminates the need for propane tanks. This means you’ll never have to worry about running out of fuel while cooking up your favorite dishes. Additionally, it saves you from the hassle of transporting and refilling propane tanks. Bid farewell to the inconvenience of lugging around heavy propane tanks and spend more time grilling and enjoying the company of your loved ones.
One significant advantage of connecting your Weber grill to a gas line is that it provides consistent heat, which is essential for cooking food evenly. Propane tanks can run out of fuel unexpectedly, causing fluctuations in temperature that can affect the quality of your food. With a gas line connection, you’ll have a steady supply of fuel that will keep your grill at a consistent temperature throughout the entire cooking process.
Connecting your Weber grill to a gas line also saves you money in the long run. Though the initial installation cost may be higher than buying a propane tank, you’ll save money over time by not having to refill or replace propane tanks. Additionally, natural gas is typically less expensive than propane, so you’ll save money on fuel costs as well. You’ll have more money left in your pocket to invest in high-quality meat and ingredients.
Finally, connecting your Weber grill to a gas line is more environmentally friendly than using propane tanks. Propane is a fossil fuel that contributes to air pollution when burned. Natural gas, on the other hand, burns cleaner and produces fewer emissions. By connecting your grill to a gas line, you’ll be doing your part in helping the environment while enjoying your meals.
wOaZGjDgq1A” >
Conclusion
In conclusion, hooking up your Weber grill to a gas line is a game-changer for any grilling enthusiast. Not only does it eliminate the headache of running out of propane mid-cookout, but it also delivers consistent heat and saves you money in the long run. However, safety must always come first when dealing with gas lines and grills.
Before connecting your Weber grill to a gas line, make sure you have the proper type of gas line with adequate pressure and flow rate. Use only approved fittings and connectors, turn off the gas supply before making any connections, and double-check for leaks using a gas leak detector or soapy water.
Following the manufacturer’s instructions down to the letter is vital to avoid damaging your grill or causing harm. If you’re uncertain about any aspect of the installation process, seek advice from a licensed professional or contact Weber customer service for specific requirements and recommendations.
Once you’ve installed everything correctly, testing the connection frequently is essential for safety. Check for leaks using a soap and water solution before turning on the gas supply, ignite your grill safely, keep an eye on flames for consistency while cooking up delicious meals on your Weber grill.
Connecting your Weber grill to a gas line may seem daunting at first glance, but with proper precautions and guidelines in mind, it can be an easy DIY project worth considering.