Are you a smoothie enthusiast who relies on their blender to whip up delicious and nutritious drinks? If so, you know how frustrating it can be when your blender starts acting up. But before you toss it out and start shopping for a new one, take a deep breath and read on. With some basic knowledge and a little elbow grease, you can fix your blender and get back to blending in no time.
In this blog post, we’ll explore the ins and outs of blender repairs and share our top tips on How do I fix my blender. We’ll walk you through the most common issues blenders face, from broken blades to motor malfunctions, and offer practical solutions to get them up and running again.
So grab a cup of coffee or tea, settle in, and get ready to become a blender repair expert. We promise to make it an engaging read that’s both informative and fun. By the end of this article, you’ll be equipped with all the skills needed to tackle any blender troubles that come your way. Let’s dive in.
Contents
Identifying the Problem
Don’t throw it away just yet. The first step in repairing any appliance is identifying the problem. This crucial step can save you time and money in the long run.
Blenders are composed of several parts, including a motor, blades, and a container that holds ingredients. If any of these components are not functioning correctly, it can cause the blender to malfunction. To identify the problem, it’s essential to understand how your blender works.
One common issue with blenders is that the blades may not turn or rotate correctly. This problem could be due to a broken or worn-out coupling that connects the motor to the blades. Additionally, dull or bent blades can prevent them from chopping ingredients correctly.
Another issue that can arise with blenders is electrical problems. If your blender isn’t turning on at all, there may be an electrical issue. Check to ensure that your blender is plugged in correctly and that the power outlet is functioning correctly. If everything seems to be in order, then it could be due to a faulty switch or motor.
Leaks are also common issues with blenders. If you notice liquid leaking from the bottom of the blender, it may be due to a worn or damaged gasket. Identifying where the leak is coming from is essential so that you can address the issue appropriately.
In summary, identifying the problem with your blender is crucial before attempting any repairs. Understanding common issues with blenders, such as blade malfunctions, electrical problems, and leaks, can help you determine how to fix it correctly. Always unplug your blender before attempting any repairs and follow all safety guidelines and instructions carefully.
To identify problems with your blender effectively, follow these steps:
- Understand how your blender works
- Check for blade malfunctions
- Check for electrical problems
- Check for leaks
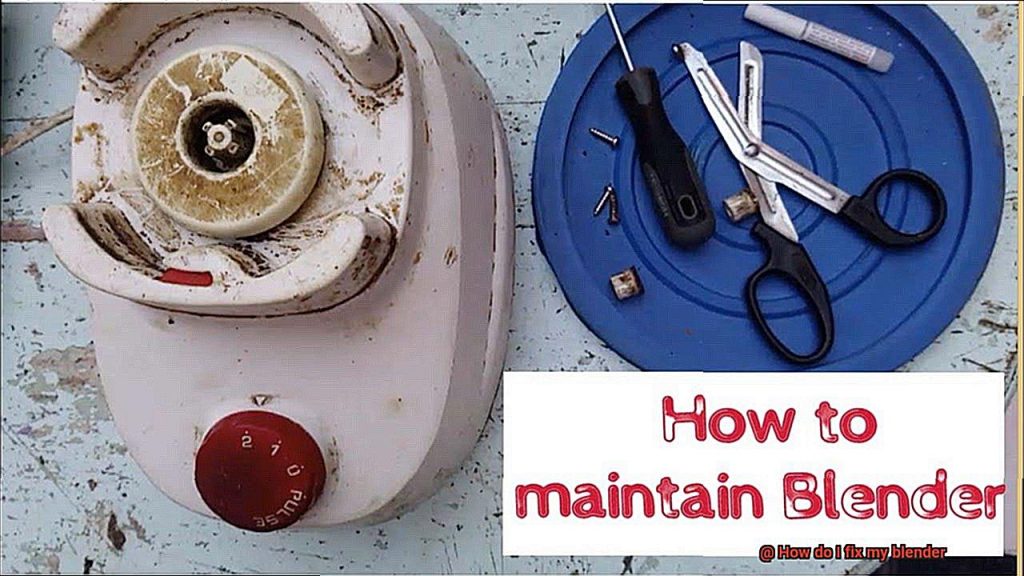
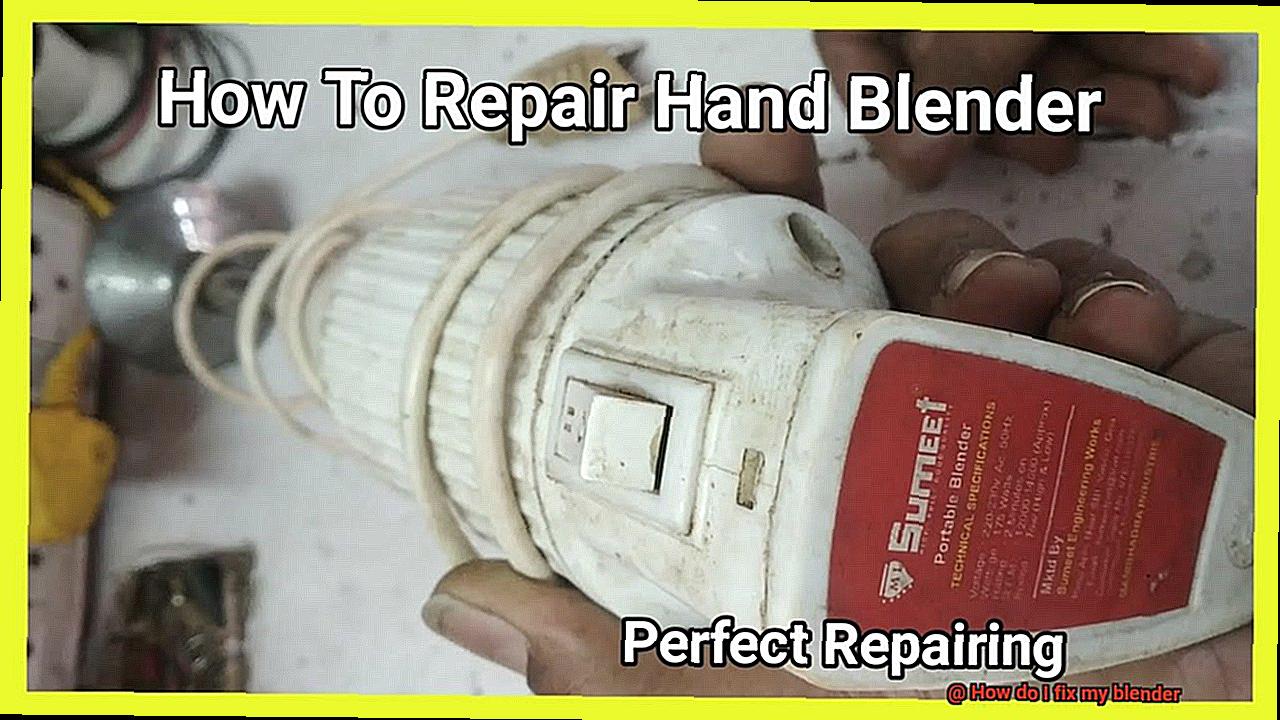
Fixing a Stuck Blade
Fear not, for this is a common problem that can be easily solved with a few simple steps. Safety should always come first, so begin by unplugging the blender from the electrical outlet.
Next, remove the blender jar from the base and inspect the blade assembly for any visible damage or debris. If there is debris stuck between the blades, use a soft brush or toothbrush to gently remove it. Avoid using sharp objects that could potentially damage the blade or jar.
If the blade is damaged, you may need to replace it. Refer to the user manual or contact the manufacturer for replacement options.
Residue buildup or thick ingredients such as frozen fruit or ice can also cause a stuck blade. In this case, fill the jar with warm water and a few drops of dish soap, then run the blender on low speed for 10-15 seconds. Rinse thoroughly with warm water and dry with a clean towel.
If these methods do not work, disassemble the blade assembly and clean each component individually. Consult the user manual or manufacturer’s website for specific instructions on how to safely do this.
A malfunctioning motor may also be the cause of a stuck blade. If none of these solutions work, consider taking your blender to a professional repair shop or purchasing a new one.
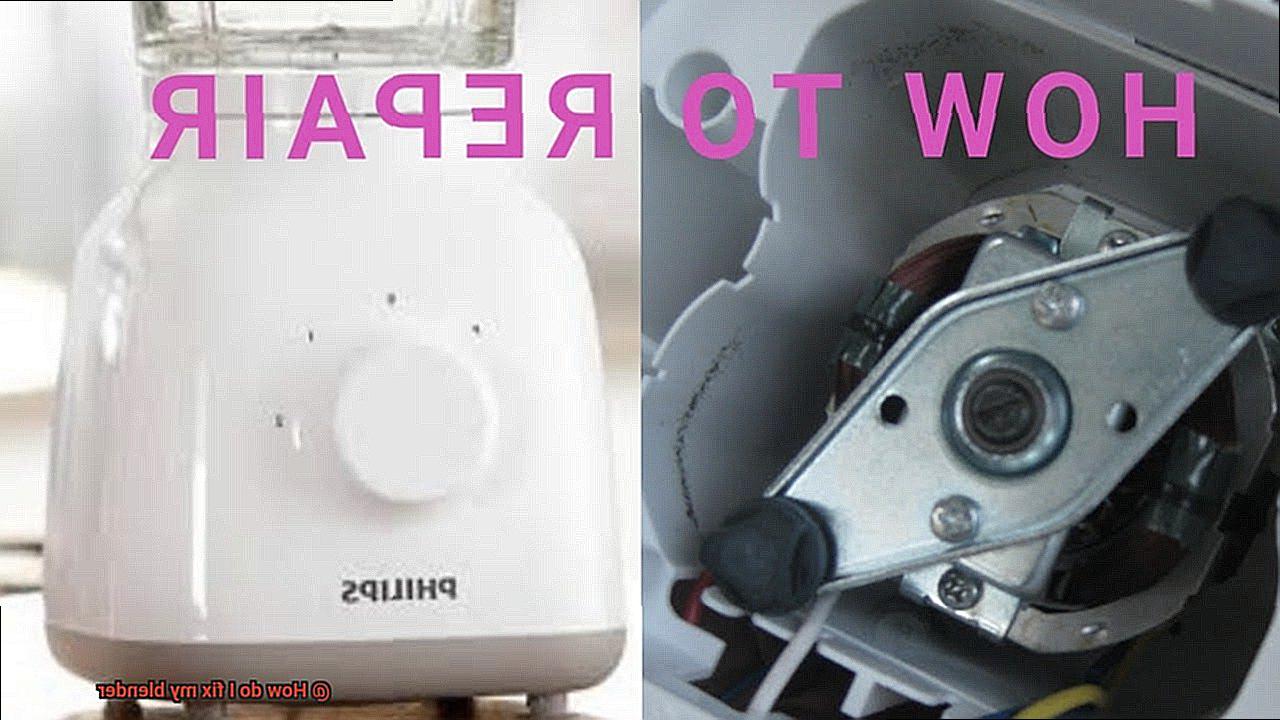
Troubleshooting a Malfunctioning Motor
Imagine this: you’re in the middle of whipping up a batch of your favorite smoothie when suddenly, your blender’s motor starts acting up. Don’t panic. Instead, take a deep breath and follow these simple troubleshooting steps to potentially fix the issue before throwing out your entire blender.
Firstly, check if your blender’s motor is overheating. Overuse or blending heavy ingredients for too long can cause your motor to overheat. If this is the issue, turn off your blender and let it cool down for at least 15 minutes before attempting to use it again. Pro tip: try blending in shorter bursts of time instead of continuously running the motor to prevent overheating in the future.
If your motor is still not functioning properly after cooling down, it’s time to check the fuse or circuit breaker in your home’s electrical system. A blown fuse or tripped circuit breaker could be preventing your blender’s motor from operating correctly. So, before you jump to conclusions about a broken motor, make sure to check your home’s electrical system.
Another potential issue could be a worn-out or faulty drive socket. This is the part of the blender that connects the motor to the blades and can become worn out or damaged over time, causing the motor to malfunction. To fix this issue, simply replace the drive socket, and voila. Your blender should be back in business.
But what if none of these troubleshooting steps work? Unfortunately, it may be time to replace the motor altogether. But don’t worry; buying a replacement motor can often be cheaper than purchasing an entirely new blender. You can purchase replacement motors online or from a local appliance repair store.
Replacing a Fuse or Switch
Before you go out and buy a new appliance, consider that it may just be a blown fuse or malfunctioning switch. Fortunately, fixing these components in your blender is a simple process that can be done right at home.
To begin, make sure your blender is unplugged and turned off before you start any repairs. Safety first. Next, locate the fuse or switch on your blender. The location of these components may vary depending on the model, so refer to your user manual if needed.
If you’re dealing with a blown fuse, gently remove the old one from its slot and examine it to see if it’s visibly damaged. If it is, replace it with a new fuse of the exact same size and type. Using a fuse that’s too large or small can cause further damage to your blender.
Replacing a switch requires a bit more work. You’ll need to unscrew any screws holding it in place and disconnect any wires attached to it before removing it from the blender. Be sure to keep track of which wires were connected to which terminals so you can reconnect them correctly later.
Once you have the new fuse or switch ready to install, make sure all connections are secure and all screws are tightened appropriately. Then, plug your blender back in and turn it on to test if it’s working properly. If not, there may be an underlying issue that requires further troubleshooting or professional repair.
Replacing a Gasket
Don’t despair, it could just be a worn or damaged gasket. Replacing the gasket is a relatively easy repair that can help extend the life of your blender and save you money.
To start, you need to know the make and model of your blender to purchase the correct replacement gasket. Look for this information on the bottom of the blender base or in the instruction manual. Once you have your new gasket, unplug the blender and remove the blade assembly from the blender jar.
Now comes the fun part – removing the old gasket. Slowly and carefully peel it away from the blade assembly, making sure not to damage any part of it. Dispose of the old gasket and take your shiny new one, making sure to align it properly so that it sits flush against the blade assembly. Ensure that it’s securely in place before moving on to the next step.
Next, reattach the blade assembly to the blender jar. This is a crucial step because if it’s not securely in place, even with a brand new gasket, you’ll still experience leaks or other issues. Double-check that everything is aligned correctly and tightened properly.
Finally, give your blender a test run to make sure everything is working as expected. If there are no leaks or other issues, then congratulations, you’ve successfully replaced your gasket. You’re now ready to create some delicious smoothies, sauces, soups, or whatever else you desire.
In summary, here are some key steps to keep in mind when replacing a gasket on your blender:
- Identify the make and model of your blender.
- Purchase a replacement gasket either from the manufacturer or third-party retailer.
- Unplug the blender and remove the blade assembly from the blender jar.
- Carefully remove the old gasket from the blade assembly and replace it with the new one.
- Make sure to align the new gasket properly so that it sits flush against the blade assembly.
- Reattach the blade assembly to the blender jar and ensure that it’s securely in place.
- Test the blender to make sure there are no leaks or other issues.
Preventative Maintenance Tips for Blenders
Blenders are an essential tool in any kitchen, making meal preparation quick and effortless. However, to keep your blender functioning optimally, it is crucial to perform regular preventative maintenance. Here are five sub-sections that delve into the importance of following preventative maintenance tips for blenders:
Keep Your Blender Clean
Proper cleaning is critical in ensuring the longevity of your blender. After each use, make sure to clean it thoroughly with soap and water, removing any food particles or residue that may have stuck to the blades or jar. Failure to clean your blender can lead to a buildup of bacteria and damage the blender’s performance.
Check Your Blades
The blades are the most important part of your blender, and they need to be checked regularly. Damaged or dull blades can cause uneven blending, reduce performance, and even pose a safety risk. By inspecting your blades and replacing them when necessary, you can ensure that your blender functions as it should.
Lubricate Your Blender Base
The base of your blender houses the motor and needs to be lubricated periodically to ensure smooth operation. Use a food-grade lubricant to keep the motor running smoothly and prevent any damage that may occur from friction.
Tighten Loose Parts
Regular use can cause screws and bolts to become loose over time. Check all parts of your blender regularly and tighten them if necessary to prevent leaks or reduced performance.
Proper Storage
When not in use, store your blender in a dry and cool place away from heat sources or direct sunlight. Moisture can accumulate in the motor or electrical components, leading to damage that could be costly to repair.
Common Causes of Blender Issues
Blenders are an indispensable tool in any kitchen, but they can experience issues that can be frustrating and time-consuming. To ensure that you get the most out of your blender, it is essential to know the common causes of blender issues and how to fix them.
One of the most common problems with blenders is a burnt-out motor. Overuse or blending hard ingredients for an extended period can cause the motor to overheat and burn out. Besides, a faulty power supply or a defective wiring system can also lead to a burnt-out motor. If your blender’s motor is burnt out, consider replacing it after checking the power supply and wiring system.
Another prevalent issue is a jammed blade. This problem occurs when the blade assembly gets stuck due to overloading the blender or blending tough ingredients like ice cubes or frozen fruits. Attempting to force the blade assembly to turn can damage it and cause the motor to burn out. To fix this issue, unplug the blender, remove its base, and try turning the blade assembly manually. You can also add hot water or dishwashing soap to loosen the blades and gently pry them loose.
Blender leaks are also a common issue that arises from cracked or worn-out rubber gaskets or seals. Leaks can also occur when the blender jar is not firmly attached to the base or if there are cracks in the jar itself. To fix a leaking blender, identify the source of the leak and replace any damaged seals or gaskets. You can also tighten any loose connections or replace a cracked jar.
When to Seek Professional Help for Blender Repair?
Blenders are a kitchen hero, but even the most durable ones can experience issues. When faced with a malfunctioning blender, it’s essential to understand when to call in the professionals for help. Here are some factors to consider when deciding whether or not to seek professional assistance for blender repair.
Assess the Severity of the Issue
If you experience unusual noises, burning smells, or blade issues, it’s crucial to evaluate the severity of the problem before attempting any repairs yourself. Some simple fixes like cleaning or tightening parts can sometimes solve the issue. However, if the problem persists even after attempting these quick fixes, it’s best to seek professional help.
Consider Your Level of Expertise
If you’re not familiar with the inner workings of blenders and don’t feel comfortable taking apart and fixing specific components, it’s best to leave the job to a professional. Attempting complex repairs without proper knowledge and experience can lead to further damage or even injury.
Check Your Blender’s Warranty
If your blender is still under warranty or has an extended warranty, seeking professional help may be necessary in order to avoid voiding the warranty. Many companies require that repairs or fixes are done by authorized service centers in order for the warranty to remain valid.
8tQYIc7H-Is” >
Conclusion
In conclusion, don’t let a malfunctioning blender get you down. With some basic knowledge and a little elbow grease, you can have it humming like new in no time. First things first, identify the problem to save yourself time and money. Common issues include blade malfunctions, electrical problems, and leaks.
Once you’ve pinpointed the issue, there are several steps you can take to fix it. A stuck blade? No problem – simply remove any debris or buildup from between the blades using a soft brush or toothbrush. If your motor is on the fritz, check for overheating or blown fuses and faulty drive sockets.
Replacing broken components? Ensure that you identify your blender’s make and model before purchasing replacement parts. And don’t forget about preventative maintenance. Regular cleaning after each use, blade checks, and lubrication of the base will keep your blender in tip-top shape for years to come.
Of course, sometimes professional help is necessary. If you’re not comfortable taking apart specific components or if your blender is still under warranty, seek authorized service centers’ help to avoid voiding it.