Are you a Traeger grill fanatic? Do you love grilling up scrumptious meals in your backyard with the help of your trusty Traeger grill? If so, then you know that this grill is a must-have for any serious grilling enthusiast. With features like consistent flavor and precise temperature control, it’s no wonder why the Traeger grill has become so popular.
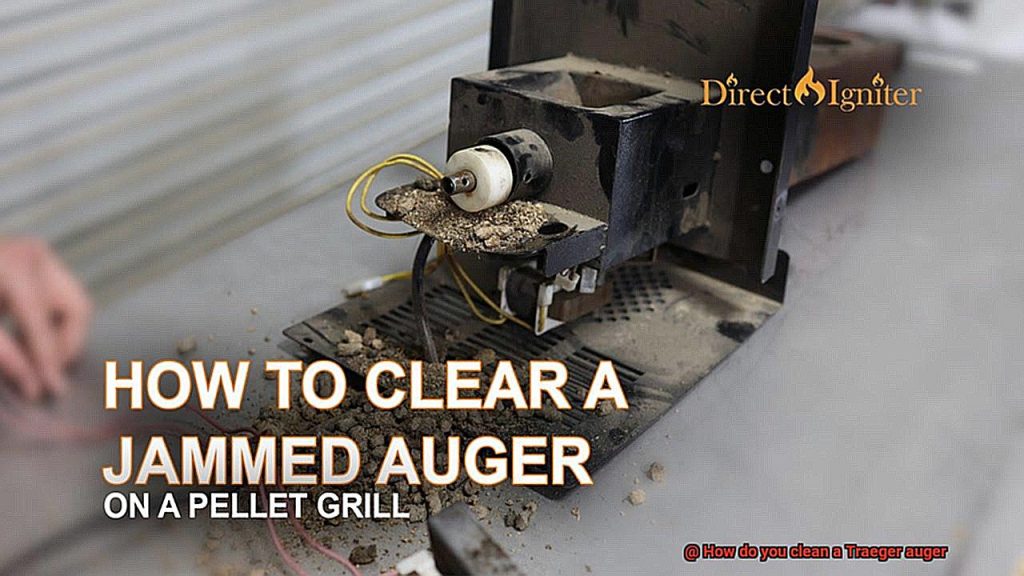
But, as with any powerful tool, there comes a great responsibility to maintain it properly. One part that requires special attention is the Traeger auger, which plays a crucial role in delivering pellets to the firepot and keeping your grill running smoothly. Over time, however, this important component can become clogged with sawdust, debris, and grease. This can lead to uneven heating, poor flavor, and even damage to your beloved grill.
Don’t worry though – we’ve got some tips and tricks to keep your Traeger auger in tip-top shape. In this blog post, we’ll provide you with a step-by-step guide on how to clean your Traeger auger. So grab those cleaning gloves and let’s get started. With our help, you’ll be able to ensure that your Traeger grill is always ready to serve up the best flavors every time you fire it up.
Contents [show]
Safety Considerations: Preparing the grill for cleaning
However, before starting any cleaning process on the grill’s auger, it’s crucial to take some safety considerations into account.
Firstly, ensure that the grill is cool and unplugged before proceeding to clean the auger. This will prevent any accidental burns or electrocution. Next, remove all the pellets from the hopper and auger using a scoop or shop vac. Leaving pellets inside the grill can create a fire hazard, which can be detrimental to your grill as well as your safety.
Inspecting the auger for any signs of damage or wear and tear before cleaning it is also essential. If there are any issues with the auger, it may need to be replaced before continuing with the cleaning process.
To clean the auger, use a soft-bristled brush or cloth to wipe away any debris or buildup. Additionally, compressed air can be used to blow out any hard-to-reach spots. However, harsh chemicals or abrasive cleaners should be avoided as they could damage the components of your grill.
Before reassembling the grill, ensure that all parts are dry and free of debris. Once everything is clean and dry, reassemble the grill by screwing in the bolts and replacing the pellets in the hopper. Keeping track of screws and bolts during disassembly ensures an easy reassembly process.
It’s also important to note that regular cleaning and maintenance of your Traeger grill can help extend its lifespan and ensure optimal performance. In addition to cleaning the auger, regularly clean other components such as grates, grease tray, etc., according to the manufacturer’s instructions.
Removing Debris and Pellets from the Auger Tube
One key component that requires regular maintenance is the auger tube. Over time, pellets can break down and create small particles that can clog the auger, leading to performance issues. But fear not, with a few simple steps, you can easily remove any buildup and keep your grill running at its best.
First and foremost, safety is crucial. Before you start cleaning your Traeger grill, make sure it’s turned off and unplugged. Then, remove any remaining pellets from the hopper and inspect the auger for damage.
Now, let’s get down to business. To begin cleaning the auger tube, remove the hopper cover and use a soft-bristled brush or cloth to gently remove any visible debris or residue from the inside of the hopper and auger tube. Avoid using any liquids as this can damage your grill’s electrical components.
If you encounter stubborn debris that won’t budge with just a brush or cloth, don’t fret. You can use a vacuum cleaner with a crevice tool attachment to reach deep inside the auger tube and remove any remaining particles.
Once you’re satisfied that the auger tube and hopper are clean, replace the hopper cover and fill it with fresh pellets before starting up your grill again. Regular cleaning of your Traeger auger and hopper will help ensure optimal performance for years to come.
To recap, here are some key tips for removing debris and pellets from the auger tube:
- Turn off and unplug your Traeger grill before cleaning.
- Remove any remaining pellets from the hopper and inspect the auger for damage.
- Use a soft-bristled brush or cloth to gently remove visible debris and residue.
- Avoid using any liquids to clean the auger or hopper.
- Use a vacuum cleaner with a crevice tool attachment for stubborn debris.
- Replace the hopper cover and fill it with fresh pellets before starting up your grill again.
Cleaning the Exterior of the Auger Tube and Motor
If you want your grill to perform at its best, it’s crucial to clean the exterior of the auger tube and motor regularly. Grime, dust, and other debris can accumulate on the exterior of these components, which can hinder your grill’s performance.
Start by turning off your grill and letting it cool down completely. Once it’s cool to the touch, grab a soft-bristled brush and gently sweep away any loose debris from the exterior of the auger tube and motor.
Next, mix a small amount of mild detergent with warm water in a bucket or sink. Dip a soft cloth or sponge into the soapy water and wring out any excess liquid. Then, using gentle circular motions, wipe down the exterior of the auger tube and motor.
Pay special attention to any areas with stubborn grime or grease buildup. In case you encounter tough stains that won’t come off with just soap and water, you can use a non-abrasive cleaner or degreaser. Just make sure to follow the product instructions carefully and rinse thoroughly with clean water afterward.
Once you’ve finished cleaning the exterior of the auger tube and motor, rinse it thoroughly with clean water to remove any remaining soap or cleaner residue. Finally, use a dry cloth or towel to pat it dry.
Reassembling the Grill After Cleaning
Cleaning your Traeger grill is an essential part of maintaining its longevity and ensuring that it operates safely and efficiently. Once you’ve cleaned all the parts, it’s time to put them back together correctly. Reassembling the grill after cleaning can be a critical step in the process, and it’s crucial to follow each step diligently. Here are some tips to help you reassemble your Traeger grill like a pro:
Step 1: Reattach the Auger Motor
The first step in reassembling your Traeger grill is to reattach the auger motor to the hopper. This critical step ensures that the pellets make their way through the grill for optimal heat distribution. Align the auger with the hole at the bottom of the hopper, and make sure it’s securely attached.
Step 2: Slide in the Heat Baffle and Drip Tray
Once you’ve reattached the auger motor, slide in the heat baffle and drip tray back into place. These two components work together to ensure that your grill heats evenly and that grease is collected safely. Make sure they’re securely in place before moving on to the next step.
Step 3: Put Back Grill Grates
After you’ve put back the heat baffle and drip tray, it’s time to put back the grill grates. These are the parts where you’ll cook your food, so it’s essential to ensure that they’re clean and free of any debris. Securely tighten any screws, bolts, or nuts that were removed during cleaning.
Step 4: Reconnect Electrical Components
If you had removed any electrical components during cleaning, such as the hot rod or temperature probes, reconnect them. Double-check that everything is connected correctly and securely to avoid any potential hazards.
Step 5: Double-Check Everything
Before firing up your grill, double-check everything to make sure that everything is correctly reassembled. A poorly reassembled grill can be a safety hazard and may not function correctly. Check that all screws, bolts, and nuts are securely tightened, and make sure that there are no loose parts.
Maintaining Your Traeger Grill for Optimal Performance
And when it comes to cleaning, the auger is one of the most important components to focus on. The Traeger auger plays a vital role in feeding wood pellets into the firepot to maintain consistent temperature and smoke levels while cooking. Thus, it is essential to keep it clean to avoid issues such as temperature fluctuations, uneven cooking, or damage to your grill’s components.
Here are simple steps to clean your Traeger auger:
Step 1: Turn off and unplug your grill
Before starting the cleaning process, ensure that your Traeger grill is turned off and unplugged from the power source. This will prevent any accidents or injuries while cleaning.
Step 2: Remove the hopper
The hopper is the container that holds the wood pellets. You can detach it by unscrewing a few bolts or clips located on top of the grill.
Step 3: Remove the auger
Once you’ve removed the hopper, you can access the auger by unscrewing it from the bottom of the hopper. Be careful not to damage any wires or sensors attached to it.
Step 4: Clean the auger
Use a soft-bristle brush or a cloth to remove any dust, debris, or pellet residues from the auger’s surface. A vacuum cleaner can also come in handy to suck out any remaining dirt.
Step 5: Clean the hopper
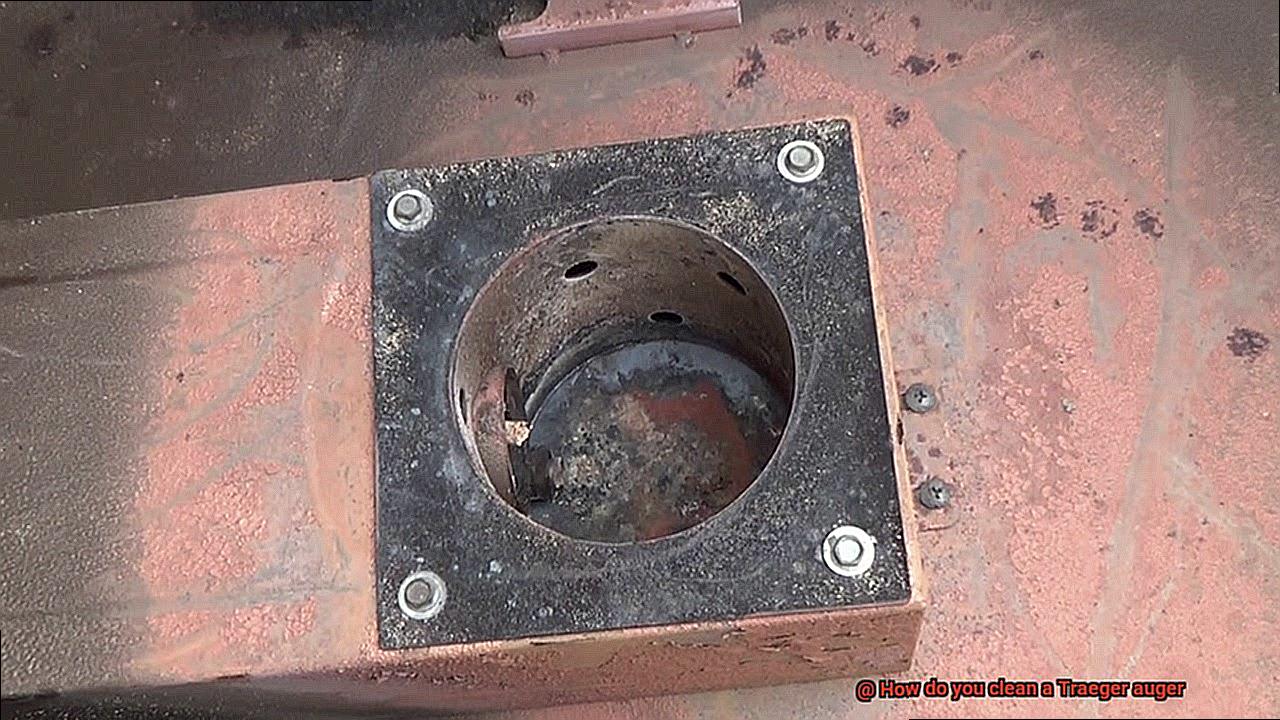
After cleaning the auger, it’s essential to clean the hopper thoroughly. Use a damp cloth or brush to remove any pellet dust or debris that may have accumulated inside.
Step 6: Reassemble
Once everything is clean, reassemble the hopper and auger in reverse order. Ensure that all bolts and screws are tightly secured and that there are no loose wires or sensors.
Regularly Cleaning Other Components of Your Grill
Owning a Traeger auger is a thing of beauty, but let’s not forget about the other components of your grill. Neglecting to clean them can cause serious problems down the line. So, let’s dive in and explore why regularly cleaning other components of your grill is essential.
The drip pan is a critical component that collects all the grease and food particles that fall off your meat during cooking. This debris buildup can cause the auger to malfunction or even break down entirely. So, remove the drip pan from the grill and dispose of any excess grease. Then use warm, soapy water and a scrub brush to thoroughly clean the pan before rinsing it with clean water and allowing it to dry.
The heat baffle helps distribute heat evenly throughout the grill. Over time, it can become caked with grease and debris, causing hot spots and uneven cooking. To clean it, remove it from the grill and use a grill brush or scraper to remove any buildup. You can also soak it in warm, soapy water for several hours before scrubbing it clean.
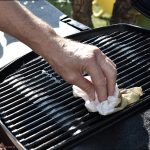
The grill grates themselves also require regular cleaning to prevent food from sticking and ensure even cooking. Preheat your grill on high for 15 minutes, then use a wire brush or scraper to remove any food particles or debris. Don’t forget to soak the grates in warm, soapy water and scrub them with a sponge or brush.
Tips for Extending the Life of Your Traeger Grill
To do that, you need to take proper care of it. Here are some tips on how to extend the life of your Traeger grill.
Tip #1: Keep it covered.
When not in use, always keep your Traeger grill covered with a high-quality weather-resistant cover specifically designed for Traeger grills. This will protect it from rain, snow, and other elements that can cause rust or damage. A cover also ensures that your grill is ready to use whenever you need it.
Tip #2: Clean it regularly.
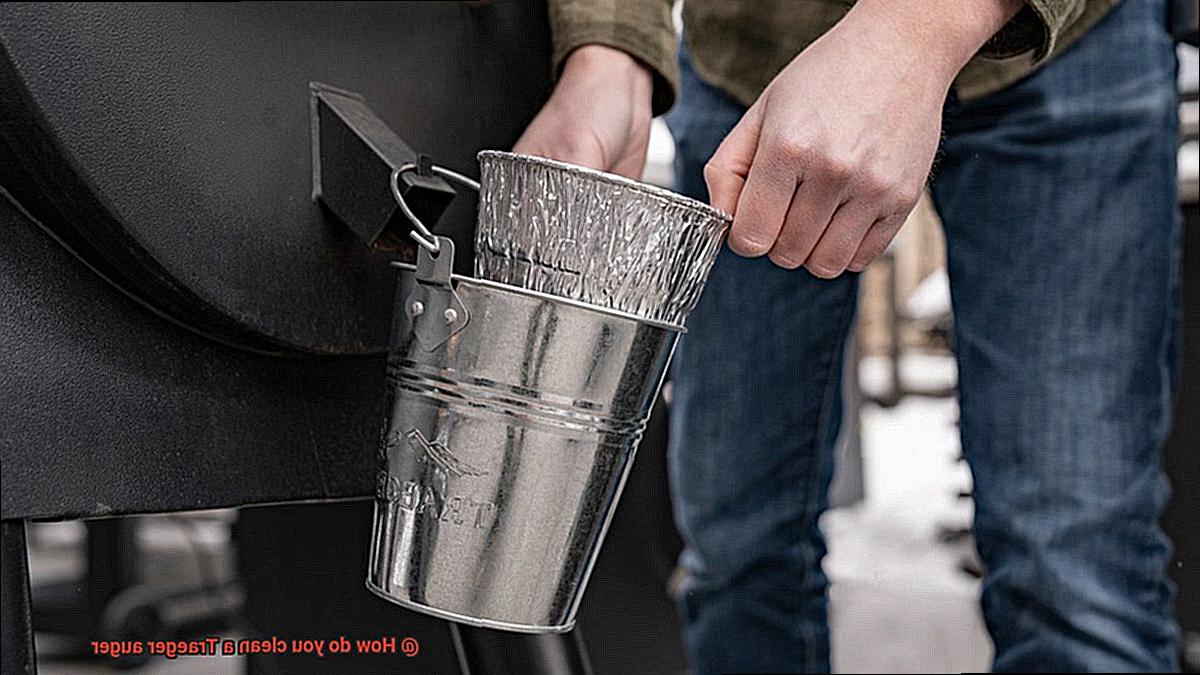
Regular cleaning of your Traeger grill is essential to keep it in good working condition. After each use, clean the grills, drip tray, and grease bucket to prevent buildup and prolong its life. A deep clean at least once a year will ensure that your grill is free from any stubborn dirt or grease.
Tip #3: Use high-quality pellets.
The quality of pellets you use can affect the performance and lifespan of your Traeger grill. It’s essential to use high-quality pellets made from 100% hardwood with no fillers or additives. These pellets will help prevent buildup in the auger and reduce wear and tear on the motor, ensuring that your grill operates smoothly.
Tip #4: Store it properly.
If you plan to store your Traeger grill for an extended period, make sure to empty the hopper of pellets, clean the grill thoroughly, and store it in a dry place. This will prevent any moisture buildup that could cause rust or damage. Storing it properly will also ensure that your grill is ready to use when you need it.
Tip #5: Replace worn-out parts.
Over time, some parts of your Traeger grill may wear out and need replacement. Keep an eye on the condition of the auger, igniter, and other parts. If they show signs of wear or damage, replace them promptly to prevent further damage to the grill. This will ensure that your grill continues to operate at peak performance.
RSlhvfsP9qI” >
Conclusion
In conclusion, maintaining your Traeger grill is essential for ensuring that it performs at its best and lasts for a long time. The Traeger auger plays a crucial role in delivering pellets to the firepot, which maintains consistent temperature and smoke levels while cooking. Regular cleaning of the auger and hopper is vital to avoid issues such as temperature fluctuations, uneven cooking, or damage to your grill’s components.
To clean the Traeger auger properly, start by turning off and unplugging your grill for safety reasons. Next, remove the hopper and inspect the auger for any signs of damage or wear before proceeding with cleaning it using a soft-bristled brush or cloth. Avoid using harsh chemicals or abrasive cleaners that could harm your grill’s components.
Additionally, make sure you regularly clean other components such as grates, grease tray, heat baffle, and drip pan according to the manufacturer’s instructions. Using high-quality pellets made from 100% hardwood with no fillers or additives can also prevent buildup in the auger and reduce wear and tear on the motor.
By following these tips on maintaining your Traeger grill correctly, you can extend its lifespan and ensure optimal performance every time you fire it up. Remember always to keep it covered when not in use, store it properly if planning an extended period without use, and replace worn-out parts promptly.

