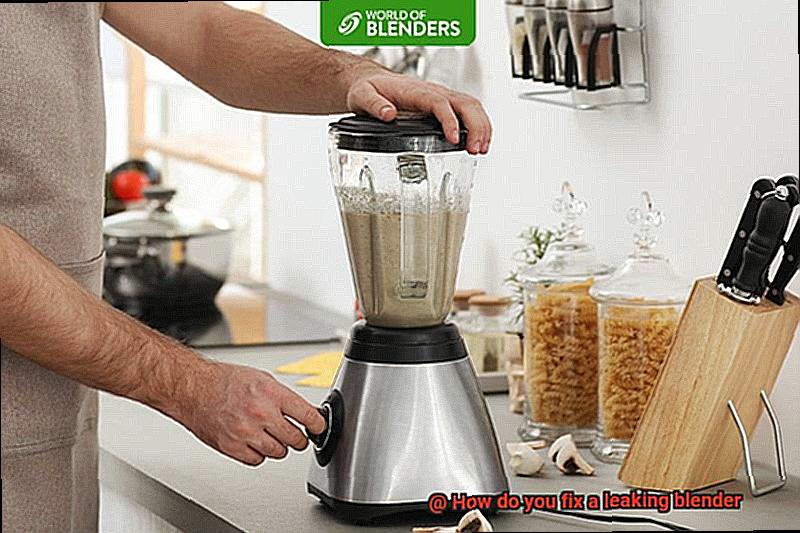
Imagine this: you’ve just whipped up a delicious smoothie, packed with all your favorite fruits and veggies. But as you pour it into your glass, you notice a puddle of liquid forming beneath the base of your blender. Your excitement quickly fades as you realize that your blender is leaking.
Don’t fret. A leaking blender is a common issue, but one that can be easily resolved. In this post, we’ll explore how to fix a leaking blender so that you can get back to enjoying your healthy drinks without any interruptions.
First things first – let’s identify the culprit behind the leak. Loose gaskets? Cracked blades? We’ll cover all of the common causes of a leaky blender and provide simple steps to diagnose the root cause.
Once we’ve identified the problem, we’ll dive into various solutions – from tightening loose parts to replacing damaged ones. And don’t worry if you’re not particularly handy; many of these fixes are straightforward and require minimal skills and tools.
So whether you’re a smoothie connoisseur or an occasional blender user, don’t let a leaking blender dampen your spirits. With our tips and tricks, you’ll have your trusty appliance up and running in no time.
Contents
Causes of Blender Leaks
Blender leaks can be a frustrating and messy problem to deal with, but fortunately, there are ways to fix the issue. As an expert in blender leaks, I have found that there are five common causes of this problem, including a worn or damaged blender gasket, a loose or damaged blade assembly, a cracked or damaged jar, overfilling the blender, and improper assembly.
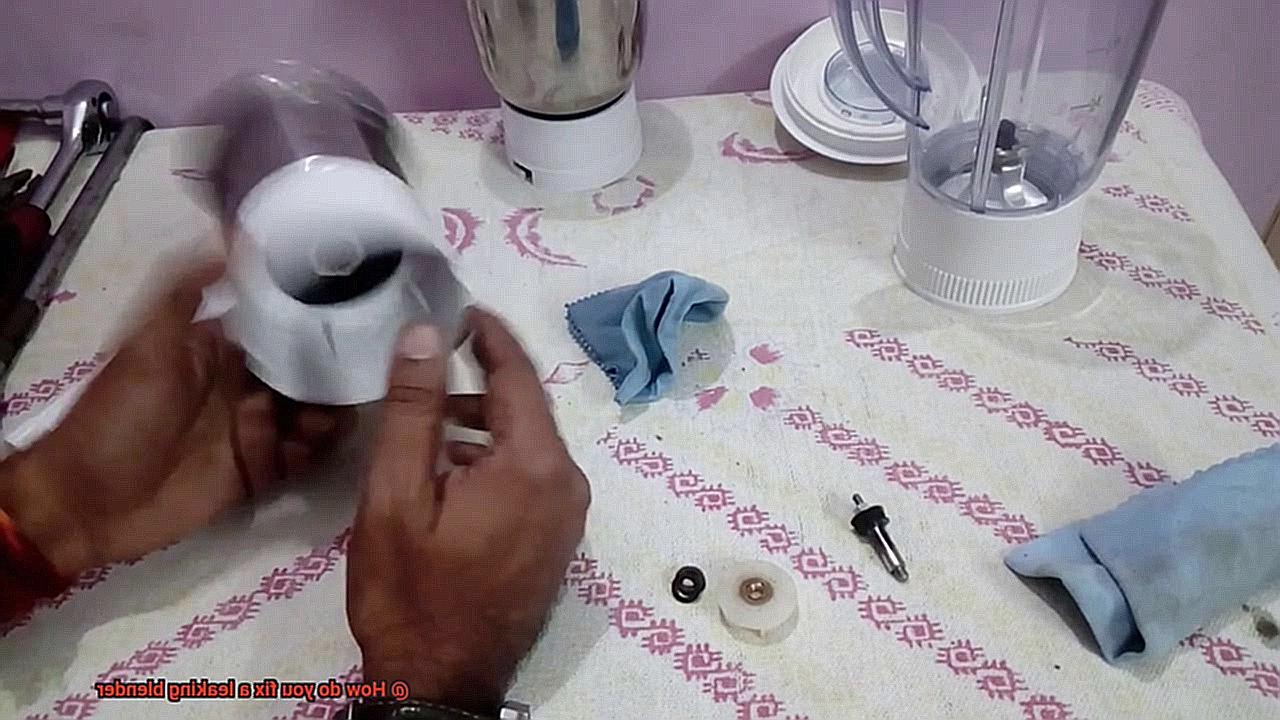
One of the most common causes of blender leaks is a worn or damaged blender gasket. This rubber ring sits between the blade assembly and the blender jar and can become worn over time or damaged during use. To solve this issue, you should remove the blade assembly from the jar and inspect the sealing ring for any signs of wear or damage. If you notice any issues, it’s best to replace the sealing ring with a new one.
Another culprit for blender leaks is a loose or damaged blade assembly. If the blades are loose or damaged, they can cause leaks around the base of the blender jar. This issue can be resolved by removing the blade assembly and examining it for signs of damage. If the blades are damaged, it’s best to replace them with new ones.
A cracked or damaged blender jar is also a common cause of leaks during use. If you notice any cracks or damage to your jar, it’s best to replace it with a new one. Depending on the make and model of your blender, replacement jars may be available from the manufacturer or through third-party sellers.
Overfilling the blender is another common cause of leaks. Blender jars have a maximum fill line for a reason – overfilling can cause leaks as the contents expand during blending. To avoid this issue, always make sure to follow the manufacturer’s instructions regarding how much liquid and ingredients to add to your blender.
Finally, improper assembly can also cause leaks during operation. It’s important to carefully follow the manufacturer’s instructions when assembling your blender. Always ensure that the blade assembly and jar are properly assembled before use.
Fixing a Faulty Seal
Look no further, as one of the most common causes behind this issue is a faulty seal. As an expert in this field, I can assure you that fixing a faulty seal is a straightforward process that can save you from having to purchase a new appliance.
To begin, identify the location of the leak, which is usually around the base of the blender jar. Once you have located it, remove the jar from the base and inspect the seal for any visible damage such as cracks or tears. If you find any, then it’s time to replace it.
You can purchase replacement seals from either the manufacturer or a third-party supplier. However, be sure to get the right size and type of seal that corresponds with your specific blender model. When replacing the seal, securely insert the new one in place before reattaching the blender jar to the base.
But what if the seal appears undamaged? In this case, wear and tear or improper placement could still be causing leaks. Try readjusting or tightening the seal to see if that resolves the issue.
Before using your blender again, test it to ensure there are no more leaks. By properly identifying and addressing any issues with the seal, you can extend the life of your blender and keep it running smoothly for years to come.
To sum up, fixing a faulty seal on a leaking blender is an easy process. Here are some quick tips:
- Locate the source of the leak
- Inspect the seal for visible damage
- Purchase and securely insert a replacement seal
- Test for any remaining leaks before using your blender again
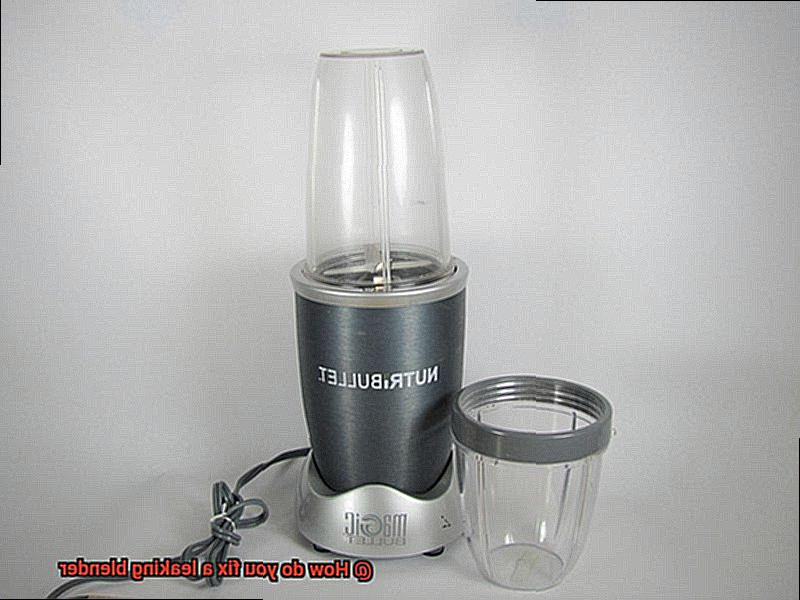
Replacing a Damaged Jar
But don’t fret. Replacing a damaged jar is a simple and effective solution to this common problem. Let me guide you through the steps to replace a damaged jar in your blender.
First and foremost, it’s crucial to identify the source of the leak. If it’s from the bottom of the jar, it may be due to a crack or damage to the blade assembly. In this case, replacing the entire jar is the best course of action rather than attempting to fix the blade assembly.
To begin the process of replacing the jar, you’ll need to purchase a new one that is compatible with your blender model. Ensure that you select the correct size for your blender as most jars come in different sizes. Your replacement jar can be purchased online or at your local home appliance store.
Once you have your replacement jar, turn off and unplug your blender. Carefully remove the damaged jar from the base by twisting it counterclockwise and lifting it up. Then, place the new jar onto the base and twist it clockwise until it clicks into place.
Before using your blender again, ensure that you have properly secured the new jar onto the base. It’s also recommended that you do a test run with water before blending any food items to check for any leaks.
In addition to replacing a damaged jar, regular maintenance is key to preventing future leaks. Make sure to clean your blender after each use and check for any damage or wear on parts such as the gasket or blade assembly. By taking these steps, you can ensure that your blender stays in good condition and functions properly for years to come.
Inspecting the Blades for Damage
It could be due to damaged or worn-out blades. Inspecting the blades for damage is a simple task that can be done at home with a little bit of know-how.
Before starting any maintenance work, always ensure that the blender is unplugged. Remove the blender jar from the base and carefully take out the blades from the bottom of the jar. Examine each blade thoroughly for any signs of damage or wear.
If you notice any chips, cracks, or other damage to the blades, it’s crucial to replace them immediately. Damaged blades not only cause leaks but also pose a safety risk. Dull or worn-out blades can be sharpened with a blade sharpener or replaced entirely.
Proper alignment is important to check when inspecting the blades. Misaligned blades can cause leaks and affect the overall performance of the blender. Place a ruler across the blades and ensure they are all at an equal height. If not, gently adjust them by bending them back into place.
To prevent future potential blade damage, clean your blender regularly and never overload it with ingredients. Inspecting and maintaining the blades of your blender every few months is crucial in preventing leaks and keeping it running smoothly.
Tips and Tricks for Fixing a Leaking Blender
Blenders are an indispensable appliance in the kitchen, but when they start leaking, it can be frustrating and messy. Luckily, fixing a leaking blender is not as difficult as it may seem. Here are some tips and tricks that can help you fix your leaking blender.
Identify the Source of the Leak
The first step in fixing a leaking blender is to identify the source of the leak. It could be coming from the base, blade assembly, or jar. Once you have identified the source of the leak, it becomes easier to apply the necessary fix.
Replace the Worn or Damaged Gasket
If the leak is coming from the base of the blender, it may be due to a loose or damaged gasket. In this case, replacing the gasket with a new one can solve the problem. Make sure that the jar is correctly aligned with the base to prevent any leaks.
Check Blades and Gaskets for Damage
If the leak is coming from the blade assembly, it could be due to worn-out or damaged blades or gaskets. Replacing these parts can solve the problem. Ensure that the blades are securely tightened onto the jar and that there is no debris or food particles stuck in between them.
Replace a Cracked or Damaged Jar
If the leak is coming from the jar itself, it may be due to cracks or damage on the jar. In such cases, replacing the jar with a new one is recommended. It is also important to ensure that you do not overfill the jar beyond its capacity as overfilling can cause leaks.
Prevent Future Leaks
To prevent future leaks, proper assembly is necessary. Before blending, make sure all parts are properly assembled and tightened. Also, avoid blending hot liquids as this can cause pressure build-up and lead to leaks.
Benefits of Regularly Maintaining Your Blender
If so, it’s time to prioritize the importance of regular maintenance for your blender. Not only will this save you money in the long run, but it will also ensure that your appliance is always working at its best. As an expert in this field, I highly recommend taking the time to maintain your blender, and here’s why:
Keep Your Blades Sharp and Efficient
Regular maintenance ensures that your blender blades remain sharp and efficient. Over time, food particles can get stuck in between the blades, causing them to dull and become less effective. By cleaning your blender after each use and periodically sharpening the blades, you can guarantee that your blender is always working at its best.
Prevent Leaks
Leaks can be a frustrating problem for any blender user. However, by inspecting and replacing worn or damaged parts like gaskets and blade assemblies, you can avoid leaks and keep your kitchen clean. Regular maintenance helps prevent leaks from happening and saves you from having to deal with messy countertop spills.
Ensure Hygiene and Safety
Regular maintenance prevents the buildup of bacteria and mold inside the blender jar. This is especially important if you use your blender for more than just smoothies. By cleaning the jar after each use and periodically deep cleaning it with a mixture of water and vinegar, you can ensure that your blender stays hygienic and safe to use.
Improve Overall Performance
By lubricating moving parts and keeping the motor clean, regular maintenance ensures that your appliance runs smoothly and efficiently. No more struggling to blend those tough ingredients. You can save time and effort by ensuring that your blender is performing at its optimal level.
rfYSRjEODqY” >
Conclusion
In the world of smoothie-making, a leaking blender can be a real buzzkill. But fear not, dear reader, for this common issue is easily fixable with just a few simple steps. By identifying the source of the leak and diagnosing the root cause, you can save yourself the hassle and expense of purchasing a new blender.
There are several culprits that could be causing your blender to leak, including worn or damaged gaskets, loose or damaged blade assemblies, cracked or damaged jars, overfilling, and improper assembly. Once you’ve pinpointed the problem area, it’s just a matter of replacing the faulty seal or jar or tightening up any loose parts.
But don’t stop there. Regular maintenance is key to preventing future leaks and keeping your blender in top-notch condition. This means cleaning your blender after each use and inspecting parts like the gasket and blade assembly for any signs of wear or damage. Taking these simple steps will help extend the life of your beloved appliance and keep it performing at its best.
And let’s not forget about all the benefits that come with regular maintenance – sharp blades mean smoother blends, no leaks mean no messes to clean up, hygiene and safety are ensured, and overall performance is improved.