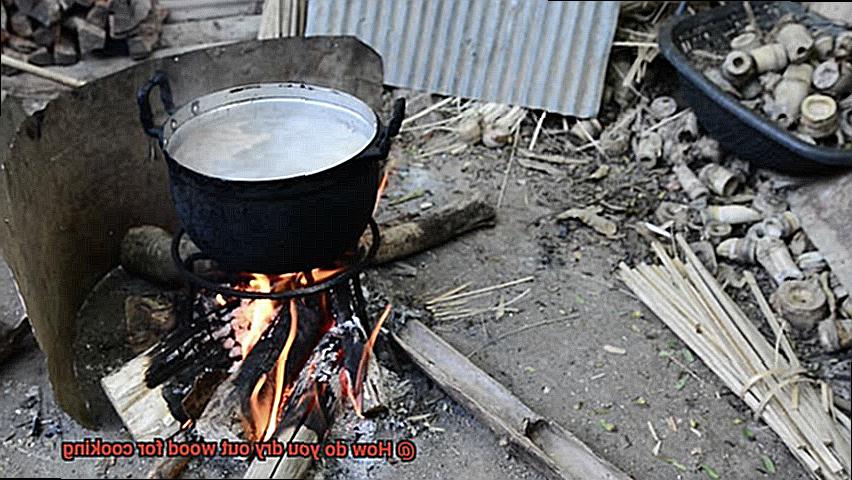
Picture this: the crackling sound of a campfire, the smell of wood smoke wafting through the air, and the taste of perfectly cooked food straight from the flames. There’s something magical about cooking with wood that elevates any outdoor meal to a whole new level. But before you can start grilling up a storm, you need to know how to dry out wood for cooking.
Moisture in wood can make or break your cooking experience – too much and you’ll end up with a smoky mess, too little and your fire won’t catch. That’s why it’s crucial to get it just right. Luckily, there are several methods you can use to dry out wood for cooking, each with its own pros and cons.
From air-drying your own firewood to using moisture meters and kiln drying, we’ll cover everything you need to know about getting your wood ready for the grill. Whether you’re planning a backyard barbecue or a weekend camping trip with friends, knowing how to dry out wood for cooking is essential for achieving delicious results.
So grab your axe (or head to the hardware store) and let’s dive into the world of drying out wood for cooking.
Contents
Choosing the Right Type of Wood for Cooking
Cooking with wood adds a unique flavor and complexity to your dishes that is unmatched by any other method. However, choosing the right type of wood can be daunting, especially for beginners. In this article, we’ll break down the process of choosing wood for cooking into three easy steps, so you can start grilling and smoking like a pro.
Step 1: Consider the Type of Food You’re Cooking
The first step in choosing the right type of wood for cooking is to consider the dish you’ll be preparing. Different types of wood impart different flavors to food, so it’s important to choose a wood that complements your dish. For instance, if you’re grilling beef, oak or hickory wood would be perfect for infusing a strong, smoky flavor. If you’re preparing fish or chicken, a milder wood like apple or cherry would work best to avoid overpowering the delicate flavors of the meat.
Step 2: Choose Hardwood over Softwood
When it comes to cooking with wood, hardwood is generally preferred over softwood. Hardwoods like oak, hickory, and maple are denser and burn hotter and longer than softwoods like pine and spruce. While softwoods can be used for smoking, they burn faster and can produce a more bitter flavor if not used properly. So when choosing wood for cooking, hardwood is the way to go.
Step 3: Ensure Your Wood is Dry and Seasoned
Using wet or green wood can ruin the flavor of your food and even damage your grill or smoker. To avoid this, make sure you use dry and seasoned wood. Ideally, you want to use wood that has been seasoned for at least six months to a year. You can also purchase pre-seasoned wood chips or chunks from your local hardware store or online.
Bonus Tip: Properly Store Your Wood
Proper storage of your wood is essential to ensure it stays dry and ready for cooking. Keep your wood in a dry, well-ventilated area like a shed or garage. Store the wood off the ground and cover it with a tarp or sheet to protect it from rain or snow.
Air-Drying Wood for Cooking
Then, you already know that choosing the right type of wood is crucial. But have you ever considered how you dry your wood? Air-drying wood for cooking is a traditional and effective method that preserves the natural flavors and aromas of the wood.
The air-drying process involves stacking the wood in a dry and well-ventilated area, such as a shed or under a covered porch, and allowing it to dry naturally over time. The length of time needed for air-drying will depend on various factors, including the type of wood, the thickness of the wood, and the humidity and temperature in the drying location.
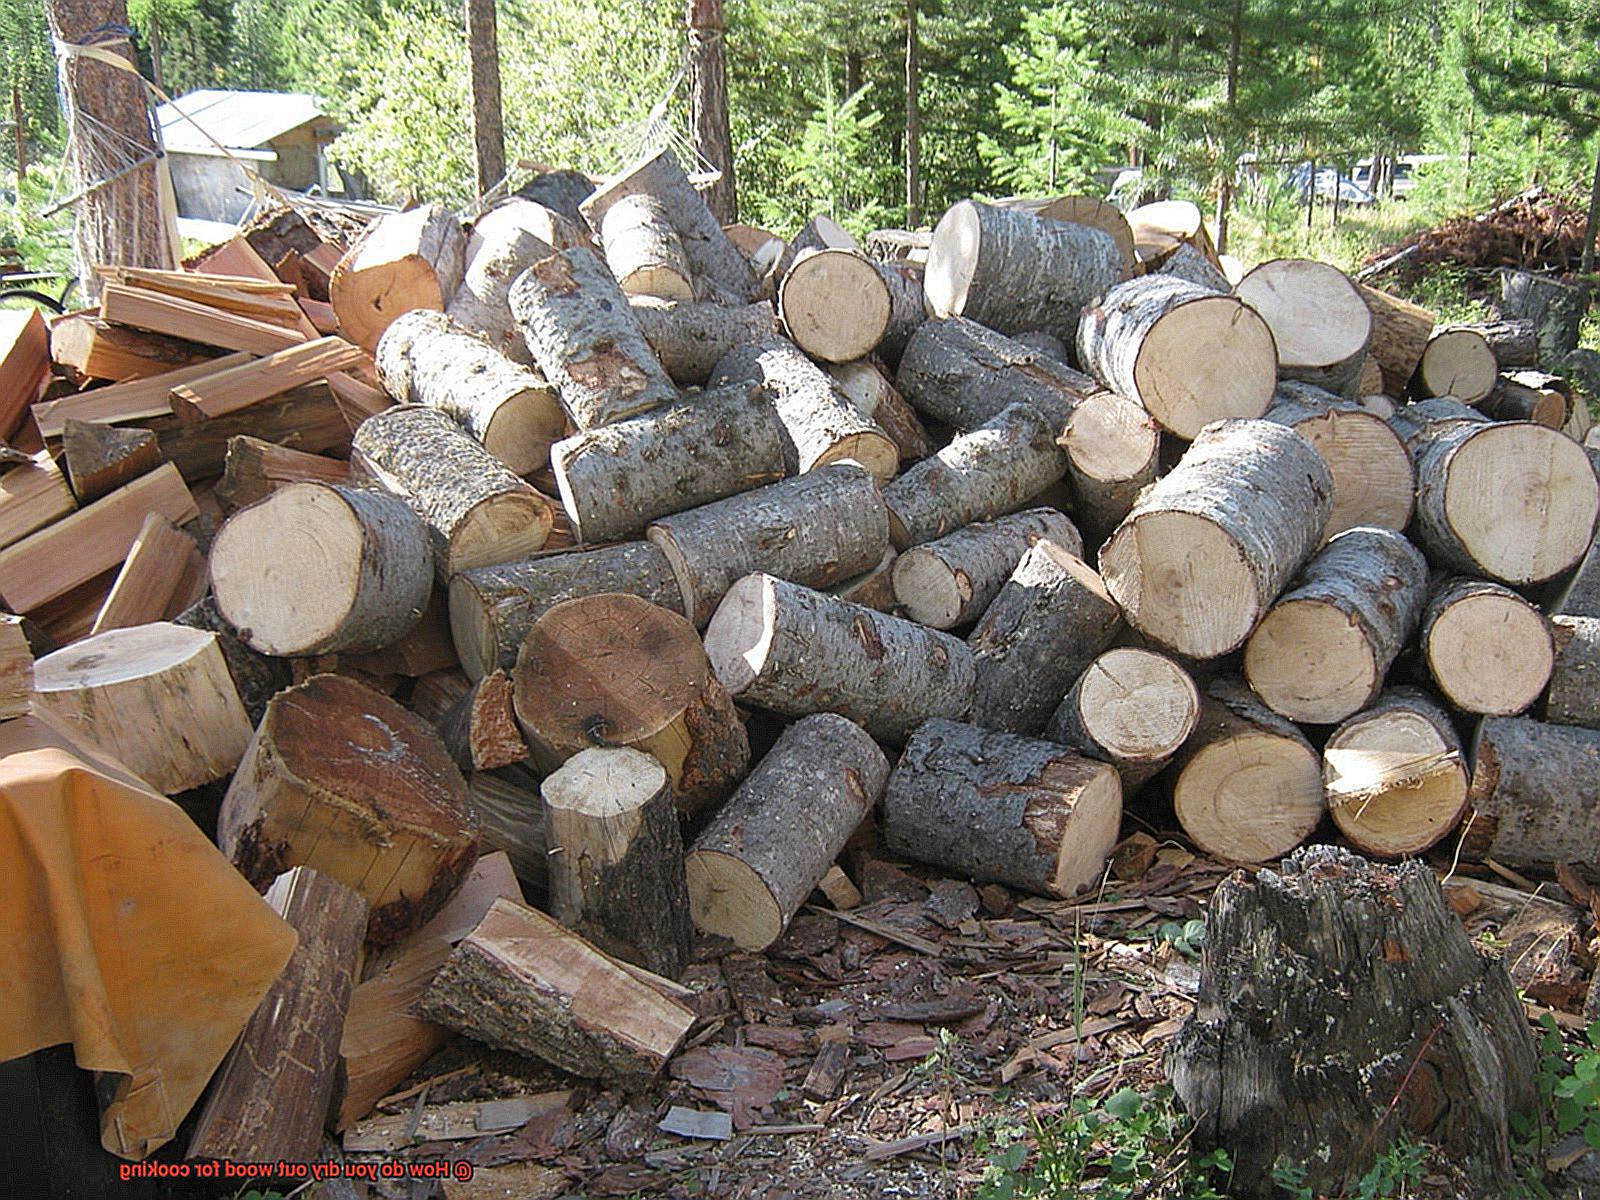
However, it’s important to take proper care when air-drying your wood to ensure it’s not exposed to rain or moisture. Moisture can cause the wood to rot or develop mold, which can negatively affect the flavor of your food and even pose health risks. To avoid this, make sure you stack your wood in a dry and well-ventilated area.
Another crucial point to keep in mind is to avoid placing your wood in direct sunlight. Although it may seem like a good idea to speed up the drying process, this can cause the wood to dry too quickly and lead to cracking.
One of the benefits of air-drying wood for cooking is that it produces smoke with essential oils that impart flavor to your food. Air-dried wood is also more environmentally friendly than kiln-dried wood, which requires large amounts of energy to dry.
To ensure that your air-dried wood is ready for use in your grill or smoker, test its moisture content using a moisture meter. The ideal moisture content for cooking wood is between 10% and 20%, depending on the type of wood. If your wood has a higher moisture content than this range, simply continue air-drying until it reaches the desired level.
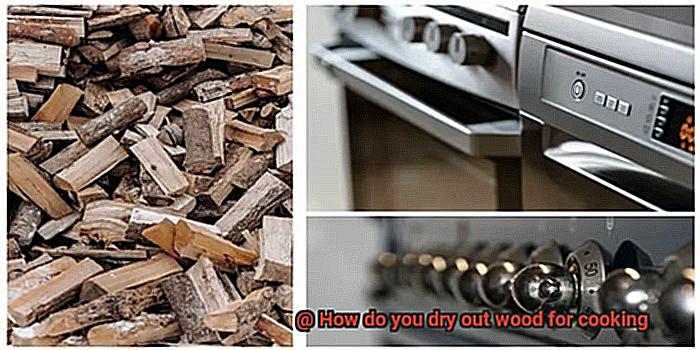
Using a Kiln or Oven to Dry Out Wood
Then using a kiln or oven to dry out your wood might be just what you need.
Using a kiln or oven to dry out wood for cooking is a popular method among grill enthusiasts, professional woodworkers, and even DIYers. It’s a quick and efficient way to remove moisture from your wood, ensuring that it burns evenly and produces the perfect amount of smoke for your dishes.
To get started, you’ll need freshly cut wood that has been stored in a dry place. Cut the wood into small pieces that are no more than 3 inches in diameter and 18 inches in length. This will allow the heat to penetrate the wood evenly and ensure that it dries out completely.
Next, load the wood into the kiln or oven, making sure not to overcrowd it. You want to leave enough space for the heat to circulate around the wood. Heat the kiln or oven to a temperature of around 150-200 degrees Fahrenheit and let it run for several hours. The exact length of time will depend on the type of wood being dried and its moisture content, but most woods will take anywhere from 6-24 hours to dry completely.
It’s important to take proper safety precautions while using the kiln or oven. Keep a fire extinguisher nearby and never leave the machine unattended while it’s in use. The heat generated by the kiln or oven can easily cause a fire if not monitored properly.
Once the wood is dry, test whether it’s ready for use by snapping a piece in half. If it snaps easily, it’s good to go. Wet or damp wood can produce excessive smoke and cause food to have an unpleasant taste, so make sure the wood is completely dry before using it for cooking.
Benefits and Drawbacks of Kiln-Dried Wood
Choosing the right type of firewood is crucial for creating mouth-watering meals. One popular choice is kiln-dried wood, which offers several benefits and drawbacks that you need to know before using it for cooking.
Let’s delve into the advantages of kiln-dried wood. Firstly, this type of wood is much easier to light than green or wet wood. The drying process reduces the moisture content of the wood, making it more combustible and easier to ignite. Moreover, it produces a cleaner burn with less smoke and fewer sparks, which makes it ideal for cooking. Secondly, kiln-dried wood provides a consistent heat output, unlike green or wet wood that may produce uneven temperature fluctuations. This feature is essential when cooking because maintaining a steady temperature ensures that your food is cooked evenly. Kiln-dried wood burns at a higher temperature than green or wet wood, which means that it produces more heat per unit of volume.
However, there are also potential drawbacks to using kiln-dried wood for cooking. One major concern is that the drying process can cause the wood to lose some of its natural flavor and aroma. The high temperatures used during kiln-drying can break down some of the organic compounds that give the wood its distinctive smell and taste. Therefore, if you’re looking for a specific flavor profile from your wood, kiln-dried may not be the best choice.
Another potential drawback is that kiln-dried wood can be more expensive than other types of firewood. The drying process requires additional time and energy, which adds to the cost of production. However, if you value convenience and consistency when cooking over an open flame, then kiln-dried wood may be worth the extra cost.
In conclusion, kiln-dried wood is an excellent choice for outdoor cooking due to its ease of use, consistent heat output, and clean burn. However, it’s essential to consider the potential loss of flavor and aroma as well as the higher cost when deciding between different types of firewood. To summarize, here are the benefits and drawbacks of kiln-dried wood:
Benefits
- Easier to light
- Cleaner burn with less smoke and fewer sparks
- Consistent heat output
- Burns at a higher temperature
Drawbacks
- Potential loss of natural flavor and aroma
- Higher cost compared to other types of firewood
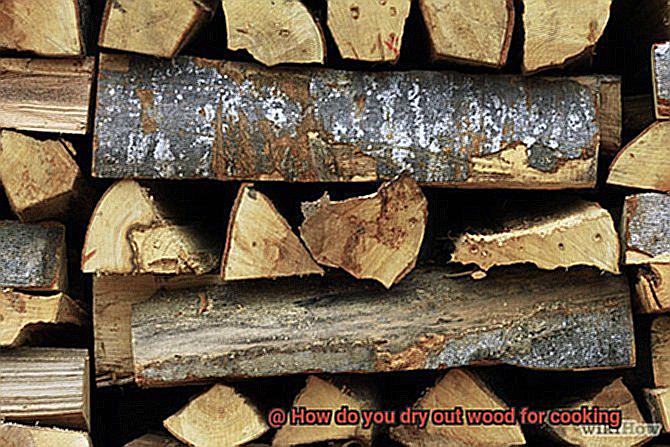
Storing Dried Wood for Cooking
If you’re a fan of cooking with wood, you know that it adds a unique flavor and quality to your food. But did you know that proper storage of dried wood is just as crucial as choosing the right type of wood for your cooking needs? As an expert on storing dried wood for cooking, I’ll take you through some guidelines to keep your firewood ready for use.
The first step in storing dried wood for cooking is to ensure it’s completely dry. It’s essential to avoid moisture, which can cause the wood to rot or mold, making it unusable for cooking. Once your wood is dry, store it in a cool, dry place. Heat and moisture can damage the wood by causing it to absorb moisture, making it less effective for cooking. For optimal storage, keep it covered in a shed or garage to protect it from rain or snow.
Stacking the wood properly is also important. A neat and organized stack will prevent the wood from falling over and causing damage or injury. You can use a crisscross pattern while alternating the direction of each layer to create a stable stack.
Choosing the right type of wood is another crucial consideration when storing dried wood for cooking. Different types of wood have varying levels of moisture content and burn at different temperatures. Hardwoods like oak and hickory are ideal choices for cooking because they burn hotter and longer than softer woods like pine or spruce.
How to Tell if Wood is Fully Dried Out
How to Tell if Your Wood is Fully Dried Out for Cooking
Cooking with wood can be a great way to add flavor to your dishes, but using wet or partially dried wood can lead to poor results. To ensure that your wood is fully dried out before using it for cooking, there are several methods you can follow. Here are five sub-sections that explain how to tell if wood is fully dried out for cooking.
Check the Moisture Content
To check the moisture content of the wood, use a moisture meter. The ideal moisture content for cooking wood is below 20 percent. This ensures even burning and consistent heat throughout the cooking process. It’s important to note that using wet wood can lead to uneven burning and excess smoke, which can negatively affect the flavor of your food.
Check the Weight
Another way to tell if your wood is fully dried out is by checking its weight. Dry wood is much lighter than wet wood, so if your wood feels significantly lighter, it’s a good sign that it’s ready for use. This method is especially useful if you don’t have access to a moisture meter.
Inspect the Ends
When wood dries out, it tends to crack on the ends. Checking for cracks on the ends of your wood is a good indication that it’s fully dried out. Additionally, if you notice that the bark is loose or falling off, this can also indicate that the wood has been dried out for an extended period.
Check the Aroma
The smell of the wood can also indicate whether or not it’s dry. Wet wood tends to have a musty smell, while dried-out wood has a pleasant aroma. You can also check the color of the wood as dried-out wood tends to be darker in color than wet wood.
Use a Kiln or Oven
If you need dry wood quickly or live in a humid climate where air-drying takes longer, you can use a kiln or oven to speed up the drying process. To use a kiln or oven, stack the wood inside and set the temperature between 140-160 degrees Fahrenheit. Leave it in for several hours until the moisture content drops below 20%. However, keep in mind that kiln-dried wood may not be as flavorful as air-dried wood.
Different Types of Woods and Their Uses
If you’re a grill master or just love cooking outdoors, you know that adding some smoky flavor to your food can take it to the next level. But did you know that choosing the right type of wood is crucial in determining the taste and aroma of your food? Here are the most popular types of woods and their uses:
Oak Wood – Bold and Strong:
Oak is a hardwood that burns slowly and produces a robust, smoky flavor. It’s perfect for smoking beef, pork, and lamb. The oak flavor is strong enough to stand up to hearty meats and adds depth to their natural flavors. For a bold flavor that will make your taste buds sing, oak is the way to go.
Apple Wood – Sweet and Subtle:
This fruitwood produces a sweet and mild smoke that complements the flavor of poultry, pork, and fish. Applewood also gives a beautiful color to the meat. If you’re looking for a subtle yet flavorful smoke that won’t overpower your dish, applewood is the way to go.
Hickory Wood – Sweet and Savory:
Hickory is a hardwood that gives off a strong, smoky flavor that is perfect for smoking ribs, brisket, and other meats. The hickory smoke has a sweet yet savory taste that pairs well with rich meats. For a sweet yet complex flavor profile, hickory is the way to go.
Cherry Wood – Fruity and Mild:
This fruitwood produces a mild smoke that adds a sweet flavor to pork, chicken, and beef. Cherry wood also gives a beautiful reddish color to the meat. If you’re looking for a fruity yet subtle smoke that adds some sweetness without overwhelming your dish, cherry wood is the way to go.
Mesquite Wood – Intense and Hot:
Mesquite is a hardwood that burns hot and fast, producing an intense smoky flavor that is perfect for grilling beef, pork, and poultry. However, it can be overpowering if used in large amounts, so it’s best to use mesquite sparingly or mix it with other woods for a milder flavor. For a hot and intense flavor that will give your meat a bold kick, mesquite is the way to go.
Alder Wood – Light and Flavorful:
Alder is a softwood that produces a mild smoke that is perfect for smoking fish, poultry, and pork. The alder smoke has a light and slightly sweet taste that won’t overpower delicate meats. For a light yet flavorful smoke that will enhance the natural flavors of your dish, alder wood is the way to go.
Tips for Drying Out Wood Quickly
Cooking with wood is a great way to add flavor to your food, but using freshly cut wood can be a challenge because of the high moisture content. The good news is that there are several tips for drying out wood quickly that you can use to get your wood ready for cooking. Here are some effective ways to dry out your wood quickly.
Use a Kiln or Oven
One of the most effective ways to dry out your wood quickly is by using a kiln or an oven. This method involves placing the wood in a controlled environment with low humidity and high temperatures. This will help to evaporate the moisture from the wood quickly and efficiently. Although this method is effective, it may not produce as flavorful wood as air-dried wood.
Use a Dehumidifier
Another way to dry out your wood quickly is by using a dehumidifier. This method involves placing the wood in a room with a dehumidifier running at maximum capacity. The dehumidifier will extract the moisture from the air, which will help to dry out the wood. However, it’s important to keep the room well-ventilated.
Use a Fan
A fan can be an effective tool for drying out your wood quickly. Place the wood in a well-ventilated area and aim the fan at it. The fan will circulate the air around the wood, which will help to evaporate the moisture from it. This method is best suited for smaller pieces of wood.
Split the Wood
Splitting the wood into smaller pieces can also help to dry it out more quickly. This will expose more surface area to the air, which will help to speed up the evaporation process. Additionally, smaller pieces of wood are easier to handle and store.
Store in a Dry Place
Once your wood has been dried out, it’s important to store it in a dry place to prevent it from absorbing moisture from the air. A covered area with good ventilation is ideal for storing dried-out wood. It’s important to keep in mind that different types of wood may require different drying times, so do your research before getting started.
Conclusion
In conclusion, drying out wood for cooking is a simple process that requires patience and attention to detail.
It’s important to remember that wet or green wood can produce excess smoke and affect the flavor of your food, so taking the time to properly dry out your wood can make all the difference in your cooking experience.