Blenders are the superheroes of the kitchen, capable of whipping up delicious smoothies, soups, and sauces in a matter of seconds. But what happens when your trusty blender starts leaking? It can be a frustrating experience to say the least. Picture this: you’ve just spent ten minutes gathering ingredients for your favorite smoothie, only to have it leak out all over your countertop. Not exactly the picture-perfect start to your day.
Don’t worry though – fixing a leaky blender jar is easier than you might think. In this blog post, we’re going to walk you through every step of the process. We’ll help you identify where the leak is coming from and provide you with effective solutions to fix it once and for all. Plus, we’ll even throw in some tips on how to prevent future leaks so that you can enjoy your blender without any headaches.
Whether you’re a seasoned chef or a newbie in the kitchen, this post is for you. We promise to make it fun and informative – no stuffy jargon or complicated instructions here. So buckle up and get ready for an exciting journey as we dive into the world of fixing leaky jars in blenders. By the time we’re done, you’ll be an expert at solving this pesky problem and enjoying your favorite blends mess-free.
Contents
Unplugging the Blender for Safety
Before you start fixing the issue, it’s essential to prioritize safety first. Unplugging the blender from the power source is crucial to prevent any accidental injuries or electrocution.
Why is unplugging the blender so important? The sharp blades in blenders can cause severe harm if not handled correctly. Even if the appliance is turned off, some residual energy stored in the motor can lead to accidents. Therefore, unplugging the blender before attempting to fix the jar is critical.
Once you have unplugged the blender, it’s time to assess the extent of the damage caused by the leaking jar. You can safely examine the blades and sealing gasket without worrying about any electrical hazards. Before proceeding with any repair work, ensure that all parts are dry and free from debris or food particles.
If your blender has a damaged or worn-out gasket, it may cause leaks. To fix this problem, replace the damaged gasket with a new one. After replacing the gasket, test the blender for any leaks before using it again.
Prevention is always better than cure when it comes to blenders. Here are some tips that can help prevent future leaks in your blender jar:
- Avoid overfilling the jar beyond its maximum capacity as this can cause pressure on the gasket leading to leaks.
- Regularly clean and maintain your blender to prolong its lifespan and prevent damages that could lead to leaks.
Removing the Blender Jar
Well, the good news is that fixing this issue is not as complicated as it may seem. The first step is to safely remove the blender jar from the base and inspect it for any damage. As an expert in this field, I have compiled some research notes to guide you through this process with ease.
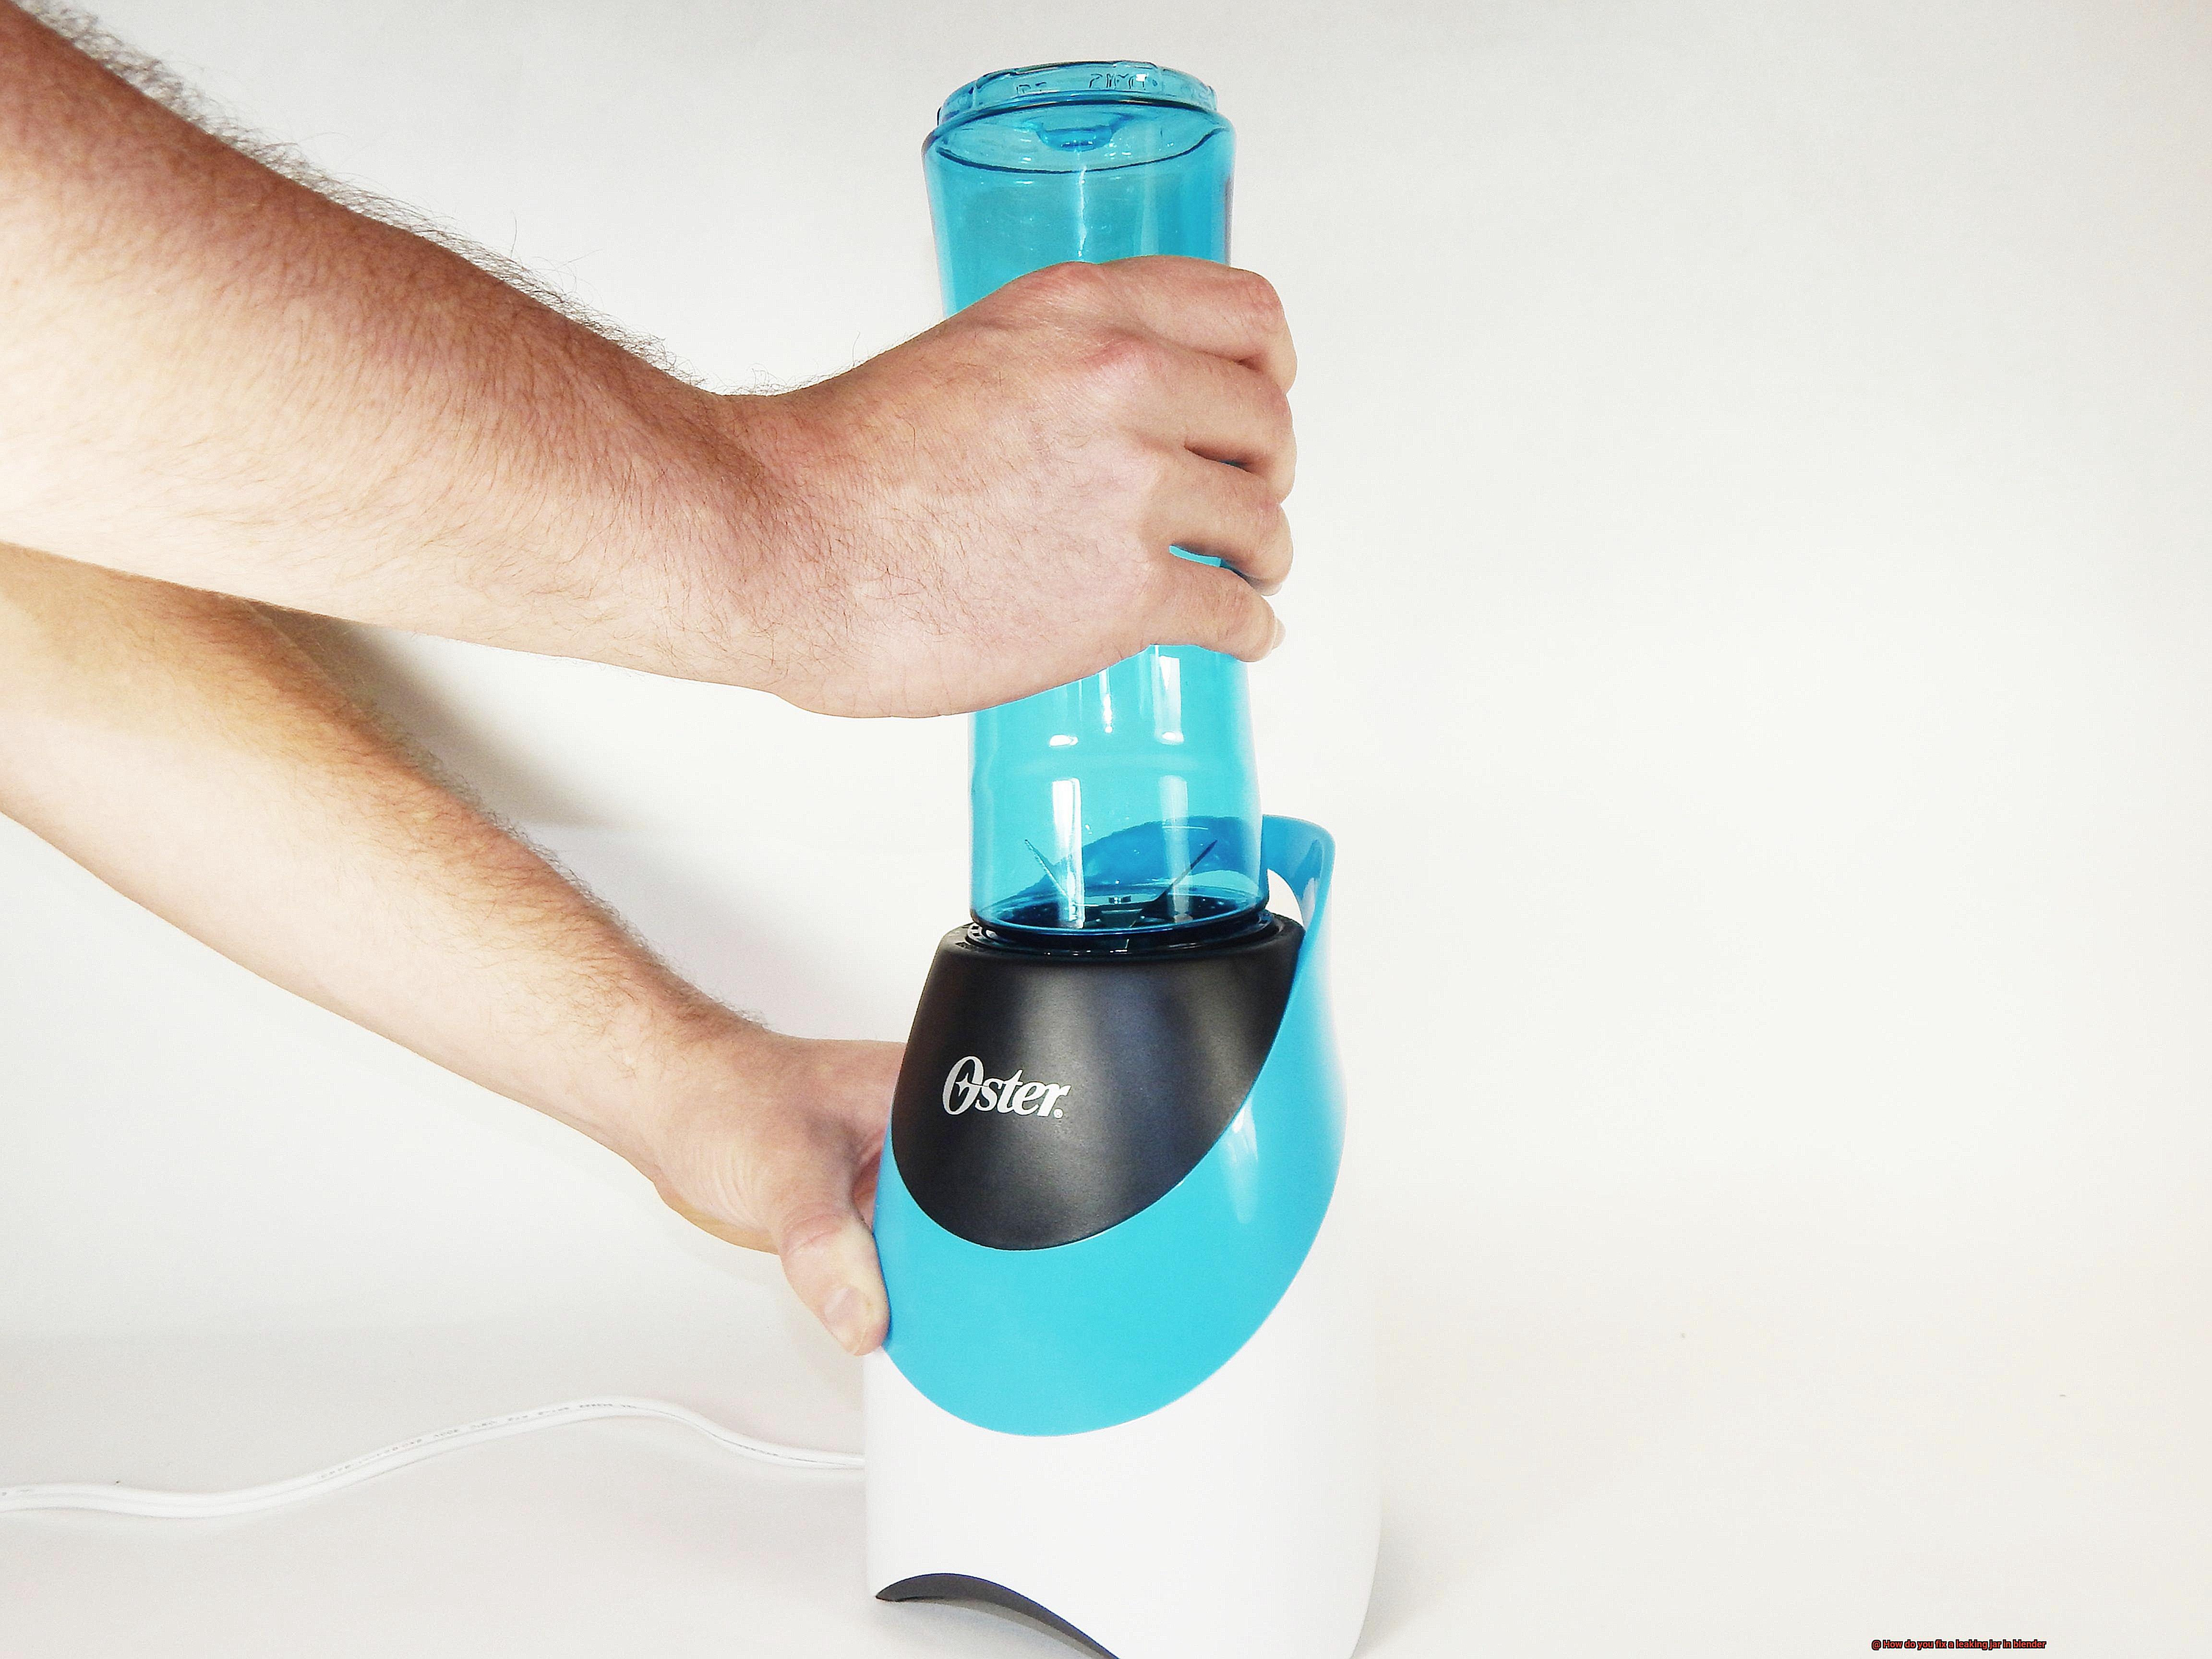
Before removing the jar, it’s crucial to ensure that the blender is unplugged and the blades have stopped moving. Once confirmed, locate the release button or lever on the base of the blender and press or pull it to release the jar. Some blenders may have a locking mechanism that needs to be turned before releasing the jar, so be sure to check your blender’s manual for specific instructions.
When removing the jar, it’s essential to handle it with care as it may be heavy and could easily break if dropped. A broken jar can cause injury or damage to the blender. After removing the jar, inspect it thoroughly for any cracks, chips, or other damage that may be causing the leaks. If visible damage is found, it’s best to replace the jar entirely.
However, if there is no visible damage to the jar, check the blade assembly and gasket for any signs of wear or damage. The gasket is a rubber ring that seals the blade assembly to the jar. If the gasket is worn or damaged, it may need to be replaced. Regularly maintaining and cleaning your blender can also prevent future leaks from occurring.
Accessing the Gasket
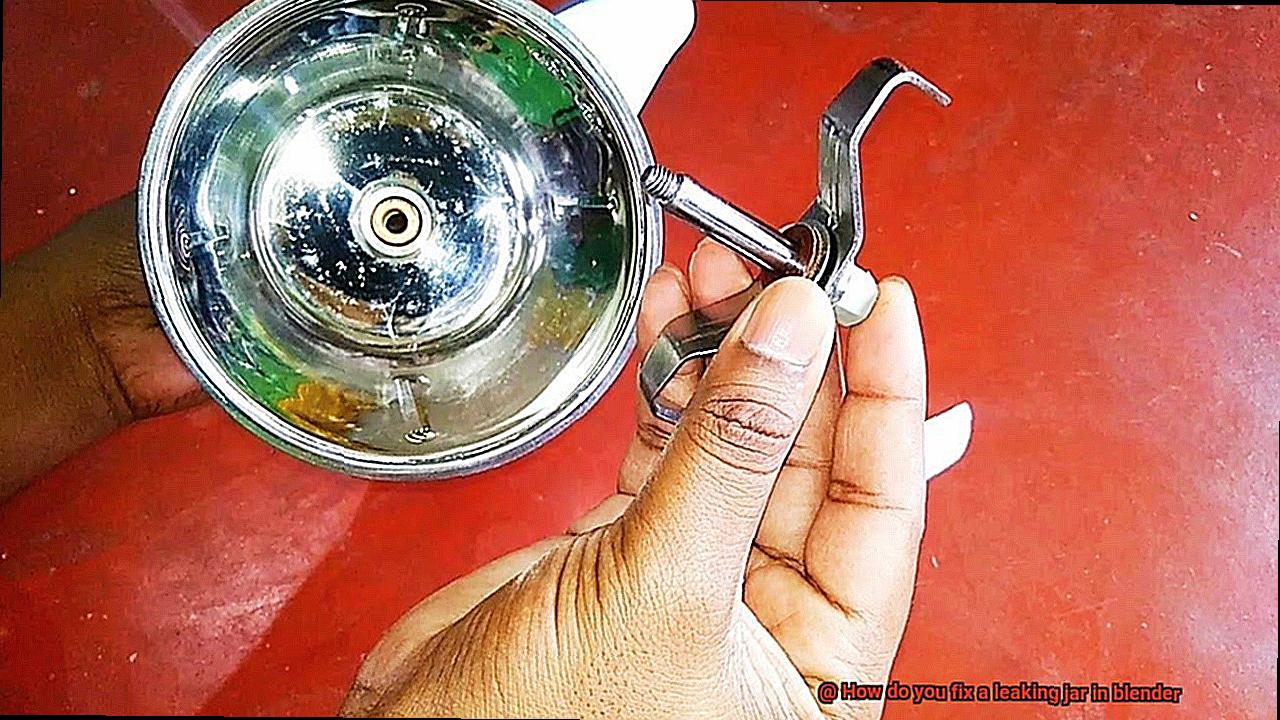
Accessing and inspecting the gasket is the first step to solving this problem like a pro. The gasket is a small rubber ring that sits between the blade assembly and the bottom of the jar, creating a tight seal that prevents liquids from leaking out during blending.
To access the gasket, start by unplugging your blender and carefully removing the jar from the base. Turn it upside down and locate the blade assembly, which is screwed onto the bottom of the jar. Unscrew it by turning counterclockwise to access the gasket.
Once the blade assembly is removed, inspect the gasket for any signs of damage or wear. Look out for cracks, tears, or other forms of wear that indicate it needs replacing. You can easily find replacement gaskets at kitchen supply stores or online.
If the gasket looks fine, give it a thorough cleaning with warm soapy water. Make sure to dry it completely before reassembling your blender. To create a tight seal, firmly tighten the blade assembly back onto the jar.
It’s important to note that sometimes a loose or damaged blade assembly can cause leaks even if the gasket is in good condition. Keep an eye out for any wobbling or looseness in the blade assembly and tighten it up or consider replacing it if necessary.
In summary, here are some simple steps to fix a leaking jar in your blender:
- Unplug your blender.
- Remove the jar from the base and turn it upside down.
- Unscrew the blade assembly counterclockwise to access the gasket.
- Inspect and replace the gasket if necessary.
- Clean and dry the gasket before reassembling your blender.
- Tighten the blade assembly firmly back onto the jar.
- Keep an eye out for any wobbling or looseness in the blade assembly and tighten it up or replace it if necessary.
Replacing the Old Gasket with a New One
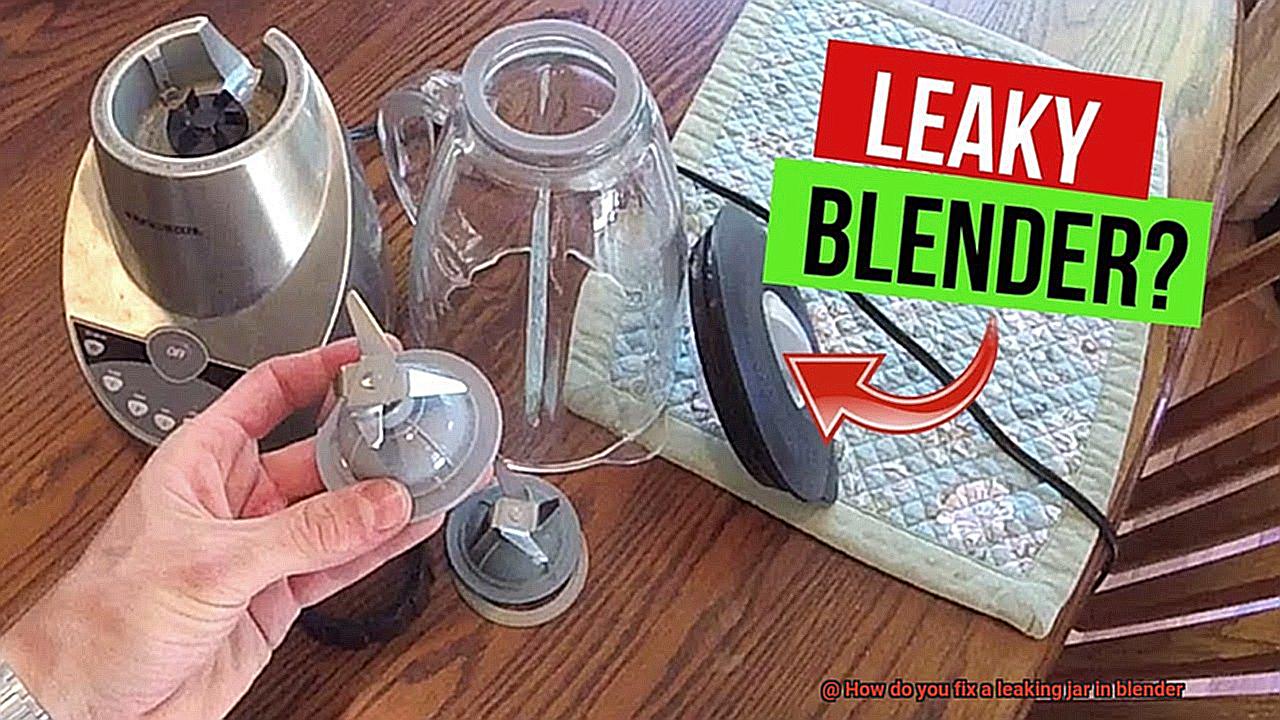
The solution may be as simple as replacing the old gasket with a new one. A worn-out or damaged gasket is one of the most common causes of blender leaks. This small rubber ring seals the blade assembly to the jar, but over time it can become brittle and crack, leading to spills during blending.
To replace the old gasket with a new one, you’ll need to start by identifying the make and model of your blender. This information can usually be found on the bottom of the blender or in the instruction manual. Once you know what type of gasket you need, you can purchase a replacement from either the manufacturer or a third-party supplier.
After obtaining your new gasket, it’s time to get started. First, unplug your blender and remove the blade assembly from the jar. Use a flathead screwdriver or another tool to gently pry out the old gasket from its groove in the blade assembly. Clean any residue or debris from the groove and surrounding area.
Next, insert the new gasket into the groove in the blade assembly, making sure it is seated securely and evenly. Then, reattach the blade assembly to the jar and tighten it firmly in place.
Before using your blender again, it’s crucial to test for leaks by filling the jar with water and blending on low speed for a few seconds. If there are no leaks or spills, congratulations. Your blender is now ready to use again.
So, replacing an old gasket with a new one is a straightforward process that can save you from dealing with messy leaks and spills. Here are some key steps to follow:
- Identify your blender’s make and model
- Purchase a replacement gasket from either the manufacturer or a third-party supplier
- Unplug your blender and remove the blade assembly from the jar
- Gently remove the old gasket with a flathead screwdriver or another tool
- Clean any residue or debris from the groove and surrounding area
- Insert the new gasket into the groove in the blade assembly, making sure it is seated securely and evenly
- Reattach the blade assembly to the jar and tighten it firmly in place
- Test for leaks by filling the jar with water and blending on low speed for a few seconds
Testing the Blender for Leaks
Blenders are a kitchen essential, but when they start to leak, it can quickly turn into a frustrating and messy experience. As an expert in this area, I understand how important it is to test your blender for leaks to ensure it’s functioning properly. Here are some helpful tips to get you started.
First, identify the potential sources of the leak which could be due to cracks in the jar, worn or damaged gaskets, or loose or faulty blades. Once you have identified the problem areas, it’s time to start testing.
Begin by filling the jar with water and securely placing it onto the blender base. Ensure that the jar is tightly screwed into place before turning on the blender. Next, observe the jar for any signs of leaking. Check all sides of the jar and inspect the bottom and top areas where the blade assembly connects to the jar.
Even if there are no visible signs of leaking, don’t stop there. It’s still a good idea to check for leaks by running the blender for a longer period of time. Try blending a thicker substance like a smoothie or soup for at least 5-10 minutes and check again for leaks.
If you do notice any leaks during testing, take immediate action to fix the problem before using the blender again. This may involve replacing a worn-out gasket, tightening loose blades, or purchasing a new jar entirely.
Regularly testing your blender for leaks is crucial in maintaining its functionality and safety. By preventing potential accidents and prolonging its lifespan, you’re ultimately saving yourself from future headaches and expenses.
Tips to Prevent Future Leaks in Your Blender Jar
You know how important it is to prevent future leaks. Here are some effective tips to help you avoid this issue and keep your blender running smoothly.
Ensure Proper Assembly
The first and most crucial step to prevent leaks is to ensure that your blender jar is correctly assembled. Check that the blade assembly is tightly screwed onto the bottom of the jar, and the gasket is properly positioned. This will create a tight seal between the blade assembly and the jar, preventing any leaks.
Avoid Overfilling
Overfilling your blender jar can cause pressure to build up, leading to leaks. Always check the maximum fill line before adding ingredients. It’s best to fill the jar no more than two-thirds full for optimal performance.
Mindful Blending
Blending at high speeds or for extended periods can also create excess pressure that leads to leaks. Start with a low speed and gradually increase as needed. This helps to reduce the pressure inside the jar and prevent any leaks from happening.
Thorough Cleaning
Cleaning your blender jar after each use is essential to prevent future leaks. Make sure to remove any food debris or residue from the gasket and blade assembly thoroughly. You can also disassemble the blade assembly for a more thorough cleaning.
Replace Gasket Periodically
Over time, gaskets can become worn or damaged, leading to leaks. Check your blender manufacturer’s recommendations for how often to replace the gasket. By replacing it periodically, you can ensure that it creates a tight seal between the blade assembly and the jar, preventing any leaks.
Cleaning and Maintaining Your Blender
Cleaning and maintaining your blender regularly is the key to preventing leaks and ensuring it lasts for years to come.
Here are some essential tips and tricks to keep your blender operating smoothly:
Disassemble and Rinse: Start by unplugging your blender and disassembling the jar from the base. Rinse the jar with warm water and dish soap, making sure to clean any residue or debris that could cause blockages or damage.
Clean Thoroughly: Use a soft sponge or brush to clean the blades and the gasket, which is a common culprit for leaks. Scrub away any food particles and rinse everything thoroughly.
Inspect Regularly: Check the gasket for any damage or wear and replace it if necessary. If you notice any cracks or damage to the jar, consider replacing it as well. Worn blades can also cause leaks, so check them for any signs of wear and replace them if needed.
Be Mindful While Blending: Avoid overfilling the jar and make sure the lid is securely in place before blending. Also, avoid blending hot liquids as they can create pressure inside the jar and cause leaks.
By following these simple steps, you can prevent leaks and keep your blender operating smoothly like a well-oiled machine. However, if you still experience a leaking jar despite taking these precautions, don’t worry. You can fix it by tightening loose screws or replacing damaged parts.
n6yWB4o3Pls” >
Conclusion
In conclusion, a leaky blender jar can be a major setback in the kitchen. The good news is that fixing it doesn’t have to be a daunting task. Armed with the right knowledge and techniques, you can quickly identify and tackle the root cause of the problem.
To start, always prioritize safety by unplugging your blender before attempting any repairs. Then, follow the steps outlined in this article to pinpoint the source of the leak and take action to fix it.
But why wait until your blender starts leaking? Prevention is key. Regularly cleaning and maintaining your blender will help keep leaks at bay. Avoid overfilling the jar beyond its maximum capacity, blend at low speeds, and replace worn-out gaskets periodically.
By implementing these simple tips, you’ll not only prevent leaks but also extend the life of your blender. Disassemble and rinse all parts thoroughly after each use, inspect regularly for damage or wear, and be mindful while blending.
Incorporating these practices into your routine will make fixing a leaky jar in your blender a thing of the past.