Ready to fire up the grill and cook up a storm for your loved ones? Before you get started, it’s crucial to know how to light lump charcoal with lighter fluid. While it may seem like a breeze, getting those coals to ignite evenly and stay burning can be quite the challenge if not done correctly.
First things first, let’s talk about the importance of using lump charcoal. Unlike briquettes, which are held together by a binding agent, lump charcoal is made from pure wood and burns hotter and faster, giving your food that mouth-watering smoky flavor we all crave. Once you’ve got your lump charcoal ready, it’s time to add some lighter fluid.
Now here’s where things can get tricky. You want to get the charcoal lit quickly but avoid using too much lighter fluid as this can leave your food with an unpleasant aftertaste. Instead, opt for a few splashes of fluid on the top and bottom layers of charcoal and let it soak in for a few minutes before lighting.
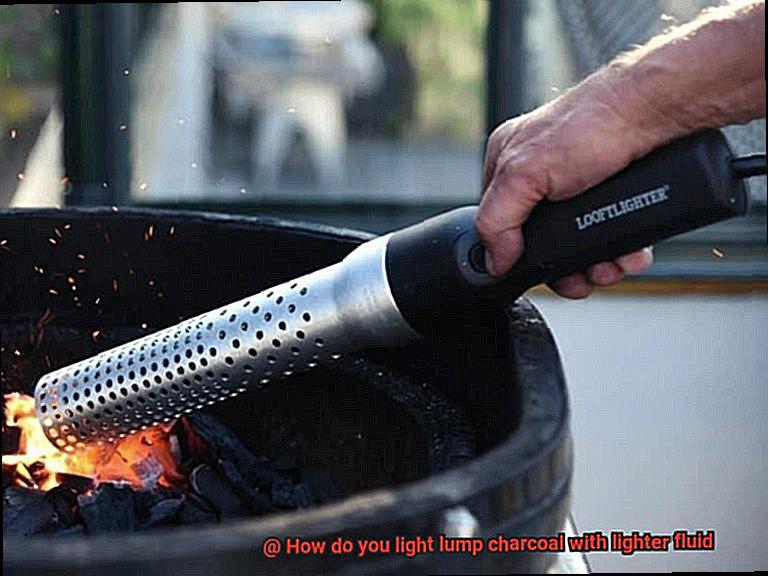
When you’re ready to light up, use a long lighter or matches to ignite the charcoal in several places. Remember to keep the lid off for a few minutes so that flames can grow and the charcoal can ash over before adding your cooking grate. And voila. Perfectly lit lump charcoal ready for grilling.
By following these simple steps, you’ll be able to enjoy an amazing meal cooked over perfectly lit fire. So gather around friends and family, fire up that grill, and let the good times roll.
Contents
What is Lump Charcoal?
Then you need to know about the magic of lump charcoal. But what exactly is it and how does it differ from other types of charcoal? Let’s explore.
Lump charcoal, also known as natural hardwood charcoal, is made by burning wood in the absence of oxygen. This process removes impurities and moisture, leaving behind pure carbon. The result is a high-quality fuel that burns hotter and cleaner than other types of charcoal. Unlike briquettes, which are compressed charcoal dust and fillers, lump charcoal is 100% natural and contains no additives or chemicals. This makes it the perfect choice for grill masters who want an authentic smoky flavor in their food.
Lump charcoal comes in various sizes and shapes, from small chips to large chunks. The size and shape of the charcoal affect how long it burns and how hot it gets. Larger pieces tend to burn longer and hotter, while smaller pieces ignite faster and are easier to control. So depending on what you’re cooking and your desired outcome, you can choose the right size of lump charcoal.
When using lump charcoal, it’s essential to select a high-quality brand that has been properly processed and screened for impurities. Some brands may contain rocks, dirt, or other debris that can affect the taste of your food or damage your grill. Always store your lump charcoal in a dry place to prevent moisture from affecting its quality.
To light lump charcoal with lighter fluid, arrange it in a pile or pyramid shape in your grill with enough space between the coals for air to circulate. Then pour about 1/4 cup of lighter fluid per pound of charcoal over the pile and let it soak for a few minutes before lighting it with a long match or lighter. Keep an eye on the flames and adjust the vents on your grill as needed to regulate temperature and airflow.
What is Lighter Fluid?
Lighter fluid is a must-have for any grill master or camping enthusiast. Let’s dive into what exactly lighter fluid is and how to use it safely.
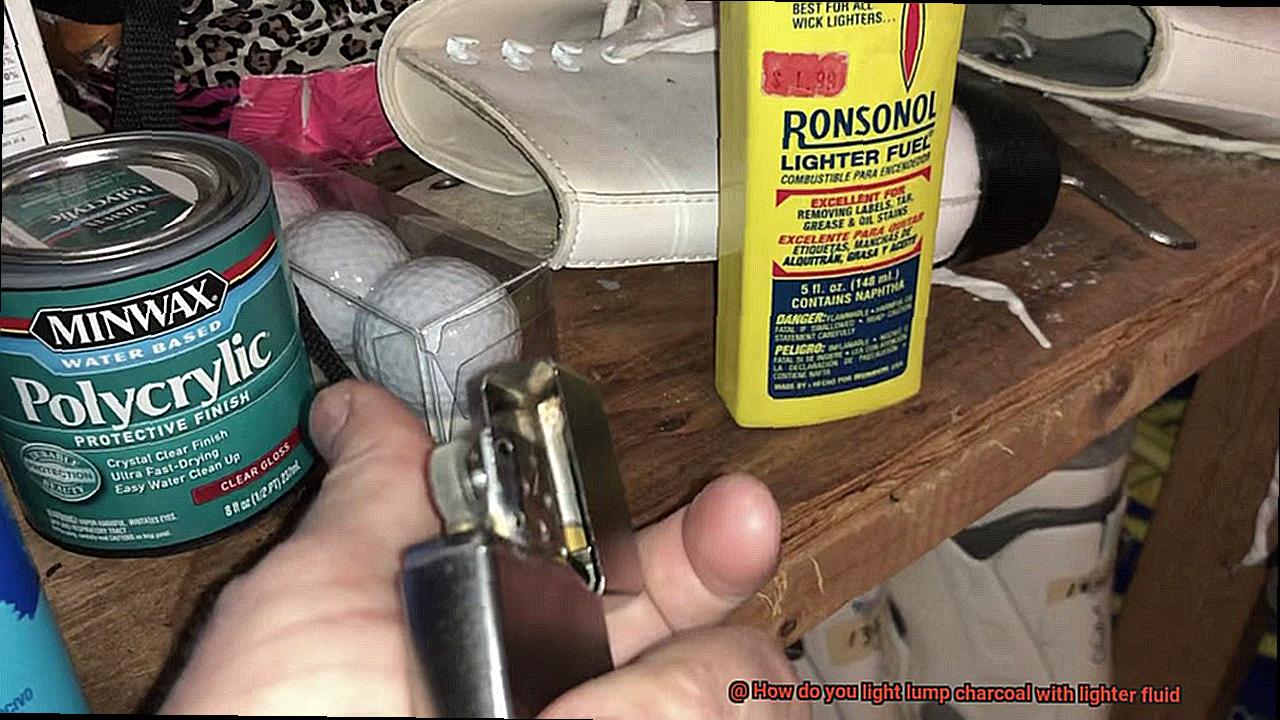
Lighter fluid is typically made from petroleum distillates and can come in liquid or gel form. Its main purpose is to ignite fires quickly and easily, without the need for matches or kindling. But it’s important to remember that this convenience comes with some serious safety risks.
When using lighter fluid, always follow the manufacturer’s instructions carefully. It should never be poured onto an open flame or hot coals, as this can cause dangerous flare-ups. And always store it in a cool, dry place away from heat sources and other flammable materials.
There are also different types of lighter fluid available on the market, each with their own unique properties. Some are designed for use with specific grills or charcoal, while others are more versatile and can be used with a variety of fuels. Make sure you choose the right one for your specific needs.
But when used correctly, lighter fluid can be a lifesaver. With just a small amount squirted onto your charcoal or wood chips, you’ll have a roaring fire in no time. Say goodbye to struggling with matches and kindling.
Safety Considerations for Using Lighter Fluid
You’ll likely be using lighter fluid to get your lump charcoal ignited. Although lighter fluid is an effective way to start your grill, it’s crucial to prioritize safety and take necessary precautions to prevent accidents.
Here are some vital safety considerations to keep in mind when using lighter fluid:
Firstly, always use lighter fluid in a well-ventilated outdoor area. Avoid using it indoors or near any source of heat, flame, or sparks. Keep in mind that flammable materials, such as dry leaves or paper, can quickly ignite and cause a dangerous situation.
Secondly, store your lighter fluid in a cool and dry place away from direct sunlight or heat sources. Keep it out of reach of children and pets to prevent accidental ingestion or misuse.
Thirdly, never pour lighter fluid directly onto burning coals or hot charcoal. This can lead to a hazardous flare-up that may result in severe burns. Instead, soak a few pieces of newspaper or cardboard in lighter fluid and place them on top of the charcoal. Use a long match or lighter to ignite the paper safely.
Fourthly, always have a fire extinguisher nearby in case of an emergency. Additionally, keep a bucket of water or sand handy in case you need to put out any flames quickly.
Lastly, once you’re done grilling, ensure that the charcoal is entirely extinguished before disposing of it. Hot coals can ignite nearby flammable materials or start fires, so don’t dispose of them near any combustible materials.
Preparing the Lump Charcoal
First and foremost, selecting the proper charcoal is crucial. Opt for lump charcoal, made from natural hardwood, as it burns hotter and faster than briquettes and adds a smoky flavor to your food. Avoid those with additives or chemicals, as they can compromise the taste.
Next, arrange the charcoal in a pyramid shape, leaving enough space between each piece for airflow. This ensures even ignition and enough heat to cook your food to perfection. Before lighting the charcoal, take a moment to remove any ash or debris from the bottom of your grill. This minimizes the risk of hot coals falling through and causing a fire hazard.
When adding lighter fluid, use caution not to overdo it. A small amount on top of the pyramid is all you need. Let it soak in for a few minutes before igniting to avoid sudden flames. And always stand back and have a fire extinguisher nearby.
Proper ventilation is key to a successful cookout. Set up your grill away from buildings and combustible materials in an area with open airflow.
Applying the Lighter Fluid
Grilling is an art that requires the right tools and techniques. One of the most crucial steps in this process is applying lighter fluid to light lump charcoal. As an expert in this area, I will show you how to do it like a pro.
Before you begin, gather all the necessary materials – lump charcoal, lighter fluid, and a lighter. It’s important to take a moment to read the instructions on the lighter fluid bottle before use to ensure that you use it safely and correctly.
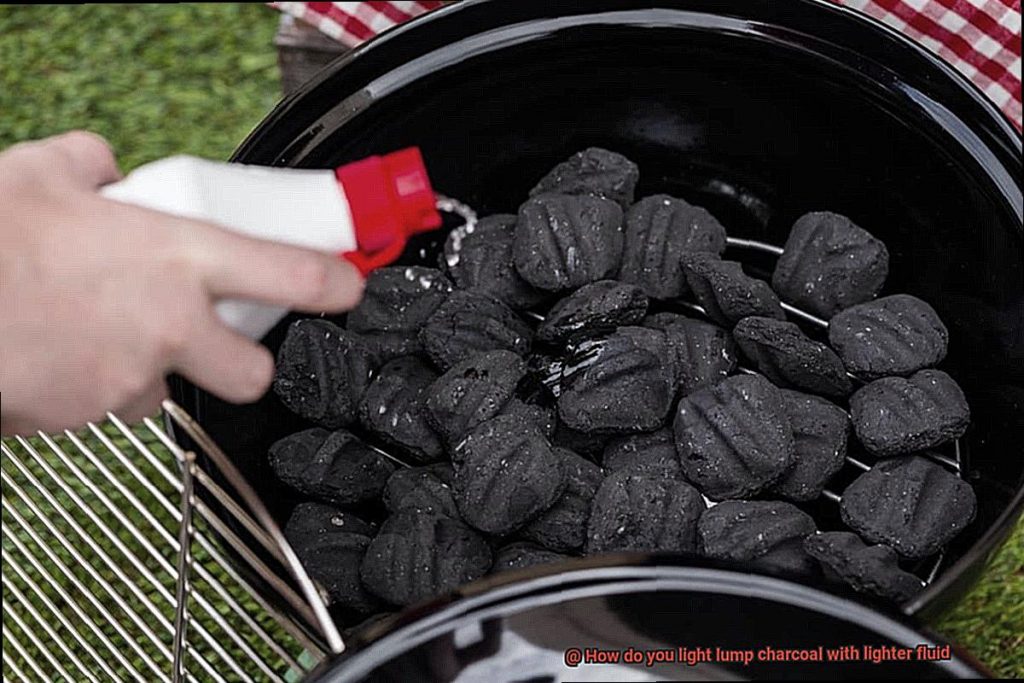
Once you have everything you need, it’s time to apply the lighter fluid. Pour a generous amount of fluid over the charcoal, making sure it’s fully saturated but not too much that it creates a safety hazard. A good rule of thumb is to use about 1/4 cup of lighter fluid.
Now comes the exciting part – lighting up your grill. Use a long-handled lighter or match and hold it close to the charcoal. Light in one or two places to ensure even burning. But be careful not to stand too close to the grill when lighting it up.
After lighting the charcoal, let it burn for about 10-15 minutes until it turns gray and ashy before spreading it evenly across the grill. This will give ample time for all of the coals to ignite fully, which ensures an even cooking surface.
One critical safety tip is never to add lighter fluid directly to an already lit fire. Doing so can cause dangerous flare-ups and ruin your cookout. Always apply the fluid before lighting the charcoal.
Igniting the Charcoal
Before you start cooking up some mouth-watering meals, you need to know how to ignite your charcoal properly. Follow these simple steps to get that perfect flame going.
Step 1: Prepping Your Grill
First things first, open up the grill’s vents wide open and remove the cooking grate to access the charcoal. Arrange the charcoal in a pile or pyramid shape, making sure to leave enough room between each piece for air to circulate. This will ensure that the fire spreads evenly.
Step 2: Adding Lighter Fluid
Now it’s time to add the lighter fluid. Hold the bottle about 6-8 inches away from the charcoal and squirt it in a slow and steady stream over the top and sides of the charcoal pile. But be careful not to go overboard with it, as too much lighter fluid can cause dangerous flare-ups.
Step 3: Soaking It Up
After adding the lighter fluid, wait for a few minutes to let it soak into the charcoal. This will give the fluid enough time to distribute evenly throughout the pile.
Step 4: Lighting It Up
It’s time to light up that charcoal. Use long-handled matches or a fireplace lighter to light the charcoal at several points around the pile. Once it’s lit, let it burn for about 10-15 minutes until it turns gray and ashy.
Safety always comes first when working with lighter fluid. Always read and follow the instructions on the bottle carefully and never add more lighter fluid once the charcoal is already lit. Doing so can lead to dangerous flare-ups.
So, here are the steps:
- Open up grill vents and remove cooking grate.
- Arrange charcoal in a pile or pyramid shape.
- Add lighter fluid slowly and carefully.
- Wait for it to soak in.
- Light charcoal at several points around the pile.
- Let the charcoal burn for 10-15 minutes until it turns gray and ashy.
Adjusting the Vents to Regulate Temperature and Airflow
Don’t overlook the importance of adjusting your grill vents to regulate temperature and airflow. It may seem like a daunting task, but with the right knowledge and practice, you’ll be grilling like a pro in no time.
Let’s start by examining the different types of vents that your grill may have. Depending on your grill model, you may have two or three vents located on the bottom and top. The bottom vents control the amount of oxygen that enters the grill, which affects the intensity of the fire. On the other hand, the top vents regulate the airflow and release smoke from the grill.
When lighting your lump charcoal with lighter fluid, make sure to open all vents fully to allow maximum airflow. This will help ignite your charcoal faster and create a more even heat distribution. Once you’ve achieved your desired temperature, it’s time to adjust the vents accordingly.
Here are some tips for adjusting your vents:
- To lower the temperature: close both vents partially, but avoid blocking them completely. This will reduce oxygen flow and decrease the fire’s intensity, resulting in a cooler and less intense fire.
- To increase the temperature: open the vents wider to allow more oxygen flow into the grill. This will create a hotter and more vigorous fire.
Remember to keep an eye on your temperature gauge or use a thermometer to monitor the internal temperature of your grill. Adjusting your vents is an ongoing process that requires practice and attention.
Letting Flames Die Down Before Placing Food on Grill
This is not just a matter of preference but a crucial step in avoiding burnt or overcooked food.
When you first light the charcoal, the flames can be quite high and intense. Waiting until the charcoal has turned gray and ashy is a good indication that the coals are hot enough for cooking, but the flames have died down to a manageable level. This guarantees that your food will cook evenly without getting charred.
Another useful tip for grilling with lump charcoal is to arrange your coals in a two-zone setup. This means that one side of the grill has all the hot coals for direct heat cooking, while the other side has no coals for indirect heat cooking. This allows for more control over the heat and prevents flare-ups from occurring. Plus, it allows you to cook different foods at different temperatures simultaneously.
To ensure that your food is grilled to perfection, use a grill thermometer to measure the temperature of the grill. The ideal temperature range is between 350-450 degrees Fahrenheit for most grilling purposes. This ensures that your food cooks evenly and retains its juicy flavors.
N19tUsCS7eQ” >
Conclusion
To sum it up, igniting lump charcoal with lighter fluid is a task that requires attention to detail. The key to achieving that irresistible smoky flavor we all crave is using high-quality natural hardwood lump charcoal. But be cautious not to overdo it with the lighter fluid as this can leave your food with an unpleasant aftertaste.
Safety should always come first when handling lighter fluid, so follow the manufacturer’s instructions closely. Proper ventilation is also crucial for a successful cookout, so choose an open-air area away from buildings and combustible materials.
Once the coals are lit, regulating temperature and airflow is essential for precise cooking. Adjusting the vents on your grill can help you achieve your desired heat level. And remember, let those flames die down before placing food on the grill to avoid burnt or overcooked meals.
For even more control over heat distribution, consider arranging your coals in a two-zone setup. This method allows you to move food between hot and cooler zones for optimal cooking.
By following these tips and techniques, you’ll be able to enjoy perfectly grilled meals every time.