Electric stoves are the backbone of any kitchen. But like any other frequently used appliance, they may eventually need some repairs or replacements. One of the most common issues you may encounter is a malfunctioning burner. Fear not. Replacing an electric stove burner is a skill that every home cook can learn.
Sure, it may seem intimidating at first, but with our step-by-step guide, you’ll be able to replace your faulty burner safely and quickly. We’ll cover everything from identifying the type of burner to sourcing the replacement, removing the old one, and installing the new one. And don’t worry – we’ll also go over safety precautions, common mistakes to avoid, and tips for purchasing replacement parts.
Whether you’re a seasoned pro or just starting out in the kitchen, this post is for you. By the end of it, you’ll have all the knowledge and confidence needed to replace your electric stove burner like a pro. No need to shell out big bucks for a professional – let’s get started.
Contents
Safety Precaution
To ensure your safety, you need to follow a few essential steps.
First and foremost, turn off the power supply to the stove. This can be accomplished by unplugging the stove from the wall or turning off the circuit breaker that powers the stove. This step is critical as it protects you from electrical shocks and fires during the replacement process.
Secondly, wait for the stove to cool down before attempting to replace the burner. Hot burners can cause severe burns and other injuries, which is why it’s recommended that you wait at least 30 minutes after using the stove before attempting to replace a burner.
In addition to waiting for the stove to cool down, wearing protective gloves when handling the burner can prevent potential injuries. Gloves can protect your hands from sharp or hot parts, ensuring that you don’t suffer from cuts or burns.
Lastly, always ensure that you have the correct replacement burner for your specific stove model. Using an incorrect or incompatible burner can damage your stove and potentially result in a fire hazard.
Removing the Old Burner
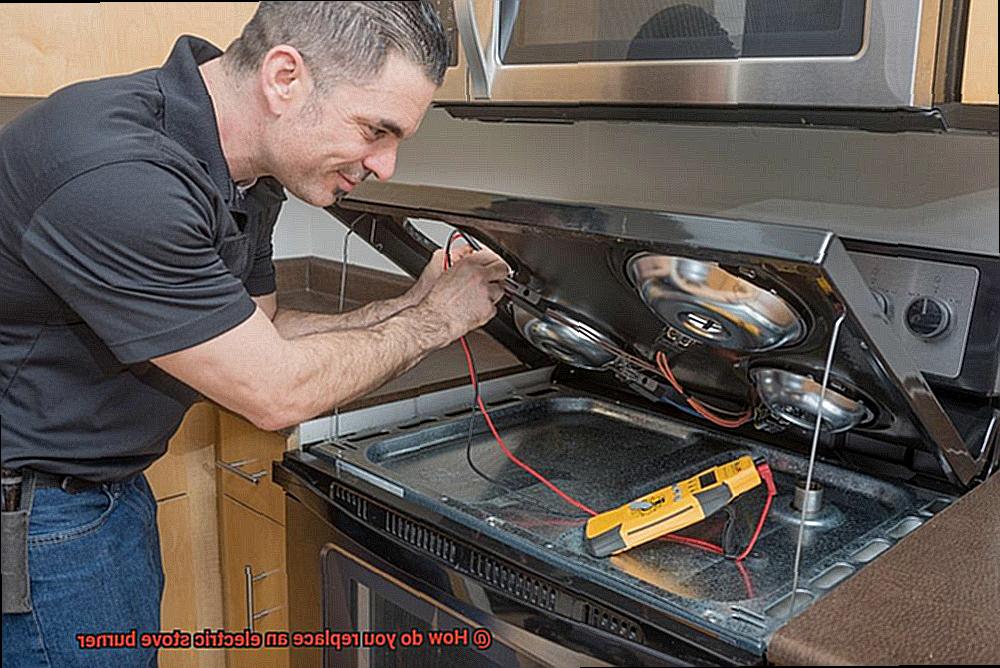
Replacing an electric stove burner may seem daunting, but removing the old one is a simple and straightforward process that can be done with a few basic tools. However, before you start, ensure that your stove is unplugged or turned off at the circuit breaker to avoid any electrical hazards.
Firstly, locate the burner you want to replace and identify its type of connection. Some burners may be held in place with screws, while others simply plug in and out. If your burner is held in place with screws, remove them using a screwdriver and carefully lift the burner out of its socket. Keep track of any screws or small parts and set them aside for later use.
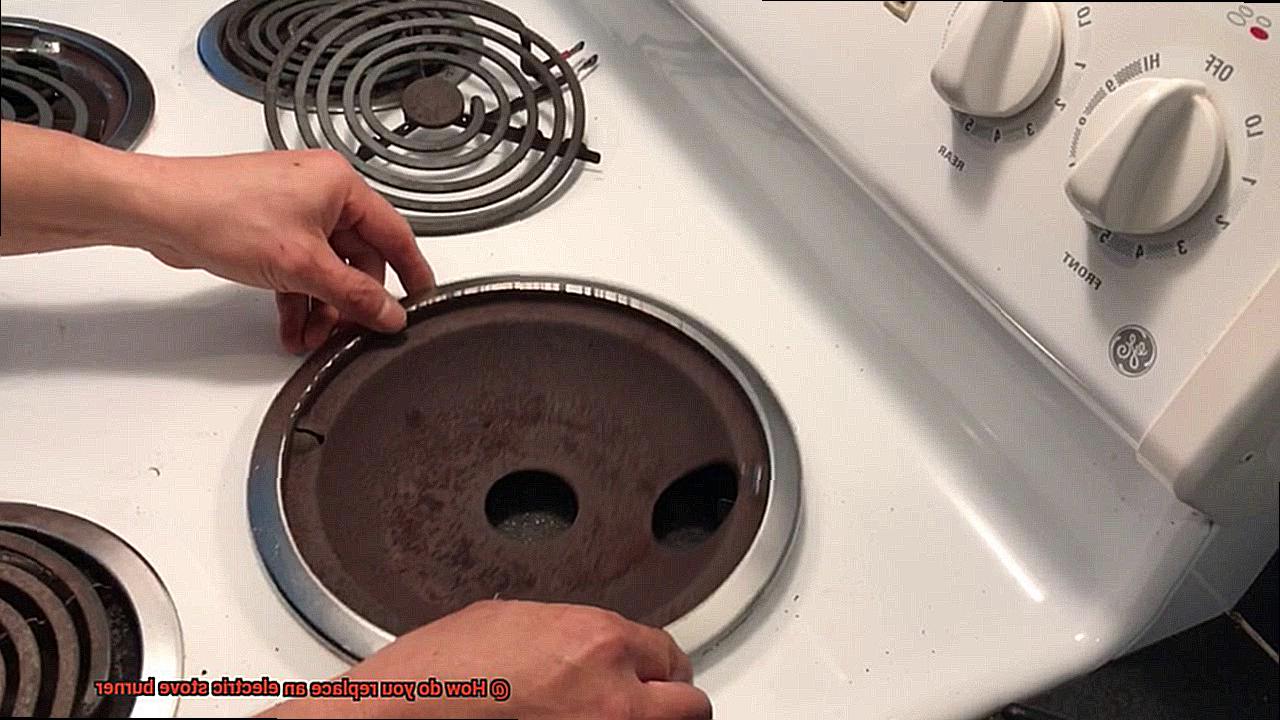
On the other hand, if your burner plugs in and out, gently grasp the edges of the burner and pull it straight up and out of its socket. It may require a bit of wiggling or twisting to loosen it from its connection.
Once you have removed the old burner, take a moment to inspect it for any signs of damage or wear and tear. If it appears to be in good condition, you may be able to reuse it in another spot on your stove. If not, dispose of it properly and move on to installing the new burner.
To recap, here are the steps to removing an old electric stove burner:
Ensure the stove is unplugged or turned off at the circuit breaker.
Locate the burner you want to replace and identify its type of connection.
Remove screws (if applicable) using a screwdriver or gently grasp the edges of the burner and pull it straight up and out of its socket.
Inspect the old burner for damage or wear and tear.
Dispose of it properly or reuse if possible.
Prepare for installing a new burner.
Inserting a New Burner
Replacing a faulty burner in your electric stove can be a breeze with the right approach. However, inserting a new burner is a crucial step that requires extra attention and care. Whether you’re an expert handyman or a newbie in the DIY world, it’s essential to put safety first and take your time to ensure that everything is done correctly.
Here are the steps to follow when inserting a new burner into your electric stove:
First and foremost, prioritize safety by turning off the power and unplugging your electric stove. This will prevent any electrical shock or burns while you work.
Next, remove the old burner by lifting it up and carefully pulling it out of its socket. Be sure not to touch any of the electrical connections or wires.
Take a moment to clean the socket where the old burner was removed from using a soft cloth or brush. This step ensures that your new burner fits snugly and securely.
Align the new burner with the socket and gently push it down into place. Make sure that it is level with the other burners on your stove and secured in place.
Finally, test the burner by turning on the power to make sure that it heats up properly and functions as expected.
These steps guarantee that you can safely and effectively insert a new burner into your electric stove. Remember, safety should always come first when working with electricity, so take your time to ensure that each step is done correctly.
Considerations for Different Models of Stove
It’s vital to keep certain considerations in mind to ensure a safe and successful process. Let’s dive into these crucial factors so that you can confidently replace your burner with ease.
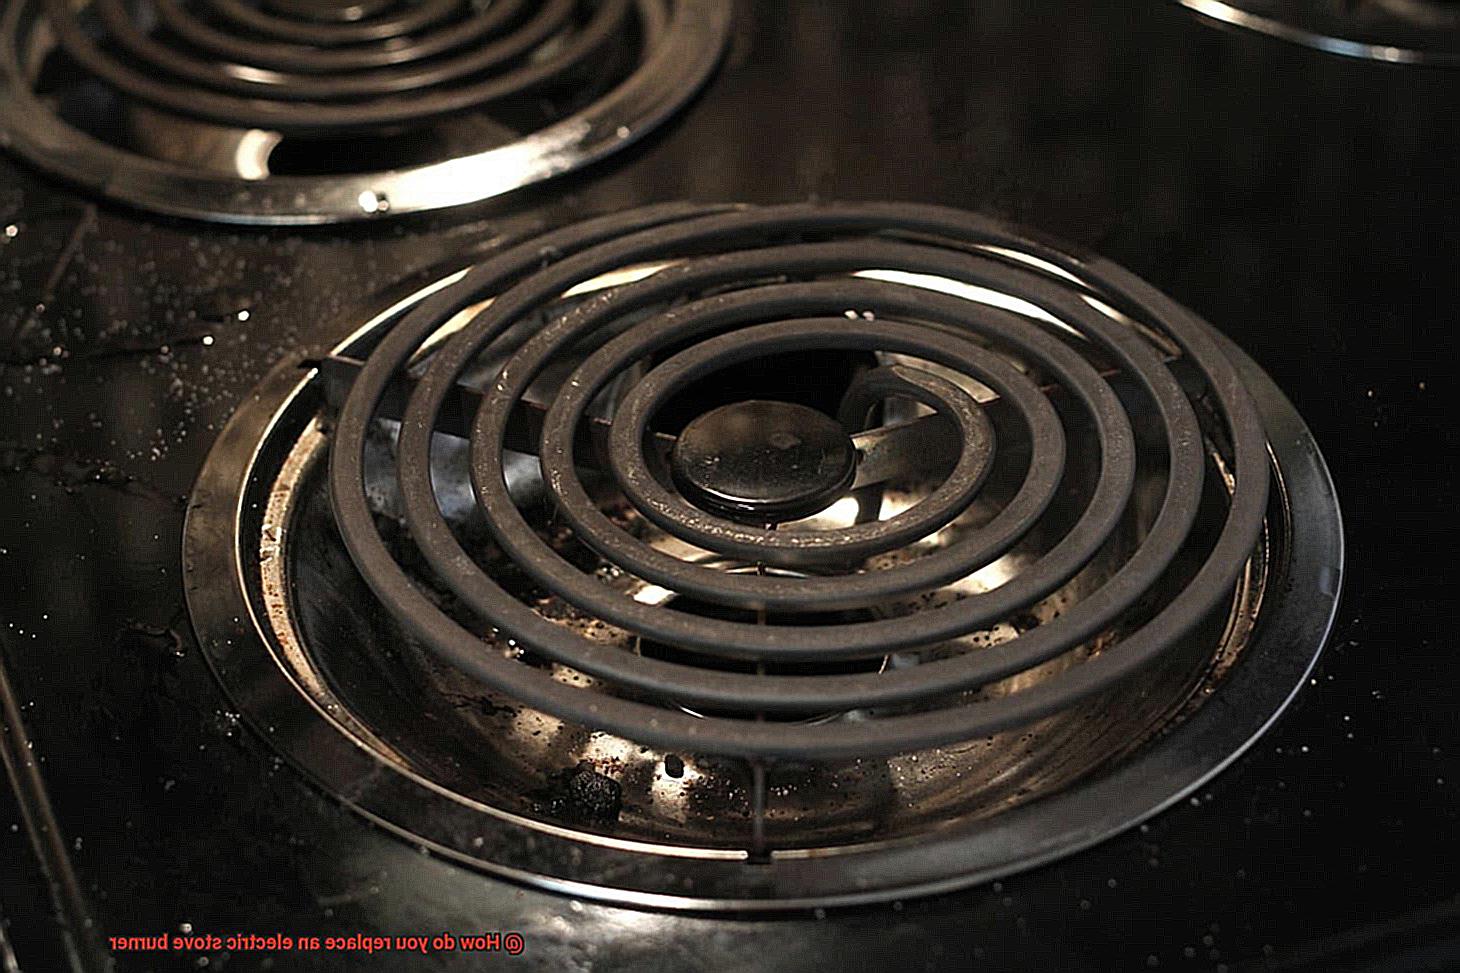
Firstly, the make and model of your stove is a critical factor to consider when replacing a burner. Different stove models come with different types of burners that may require specific tools or parts for replacement. Coil burners, for instance, are easier to replace as they sit on top of the stove and can be lifted off without any tools. In contrast, solid disk burners need screws or clips to hold them in place. To avoid any mishaps, it’s essential to check your stove’s manual or contact the manufacturer to determine what type of burner you have and the necessary tools required.
Secondly, the age of your stove is another crucial consideration. If you have an older stove, it may be challenging to find replacement parts, and it may be more cost-effective to replace the entire stove instead of just the burner. On the other hand, if your stove is still relatively new, you may be able to get replacement parts under warranty.
Lastly, some stoves may have unique features that require special attention when replacing a burner. For example, self-cleaning ovens may have special coatings or materials that can be damaged by using the wrong type of cleaner during replacement. Therefore, it’s essential to read your stove’s manual carefully and identify any special precautions or instructions before attempting to replace a burner.
Tools Required for Replacement
Don’t let a faulty electric stove burner put a damper on your cooking experience. With just a few basic tools and some careful attention, you can easily replace it yourself. But before you begin, make sure you have everything you need to get the job done right.
First and foremost, you’ll need a trusty screwdriver to remove the screws that keep the old burner in place. A flat-head screwdriver is recommended for better grip and control, so you can easily unscrew the old burner without any slips or mishaps.
Next, it’s crucial to have a replacement burner on hand that matches the specifications of your old one. This will ensure compatibility with your stove model and prevent any further issues down the line.
When it comes time to disconnect the wires attached to the old burner, insulated pliers are a must-have tool. This will help prevent any electrical shocks while you work.
As with any electrical appliance, safety should always be a top priority. It’s highly recommended to wear gloves while replacing the burner, as the stove may still be hot from previous use. Protect your hands from burns and stay safe throughout the process.
Last but not least, consider having some cleaning supplies on hand such as a cloth and cleaning solution. This is a great opportunity to give your stove and surrounding area a good clean while you replace the burner.
Tips for Successful Replacement
Replacing it can be a simple process with the right guidance. Here are some tips for a successful replacement:
Safety first
Always turn off the power to your stove before attempting any repairs. This will prevent any potential accidents or injuries.
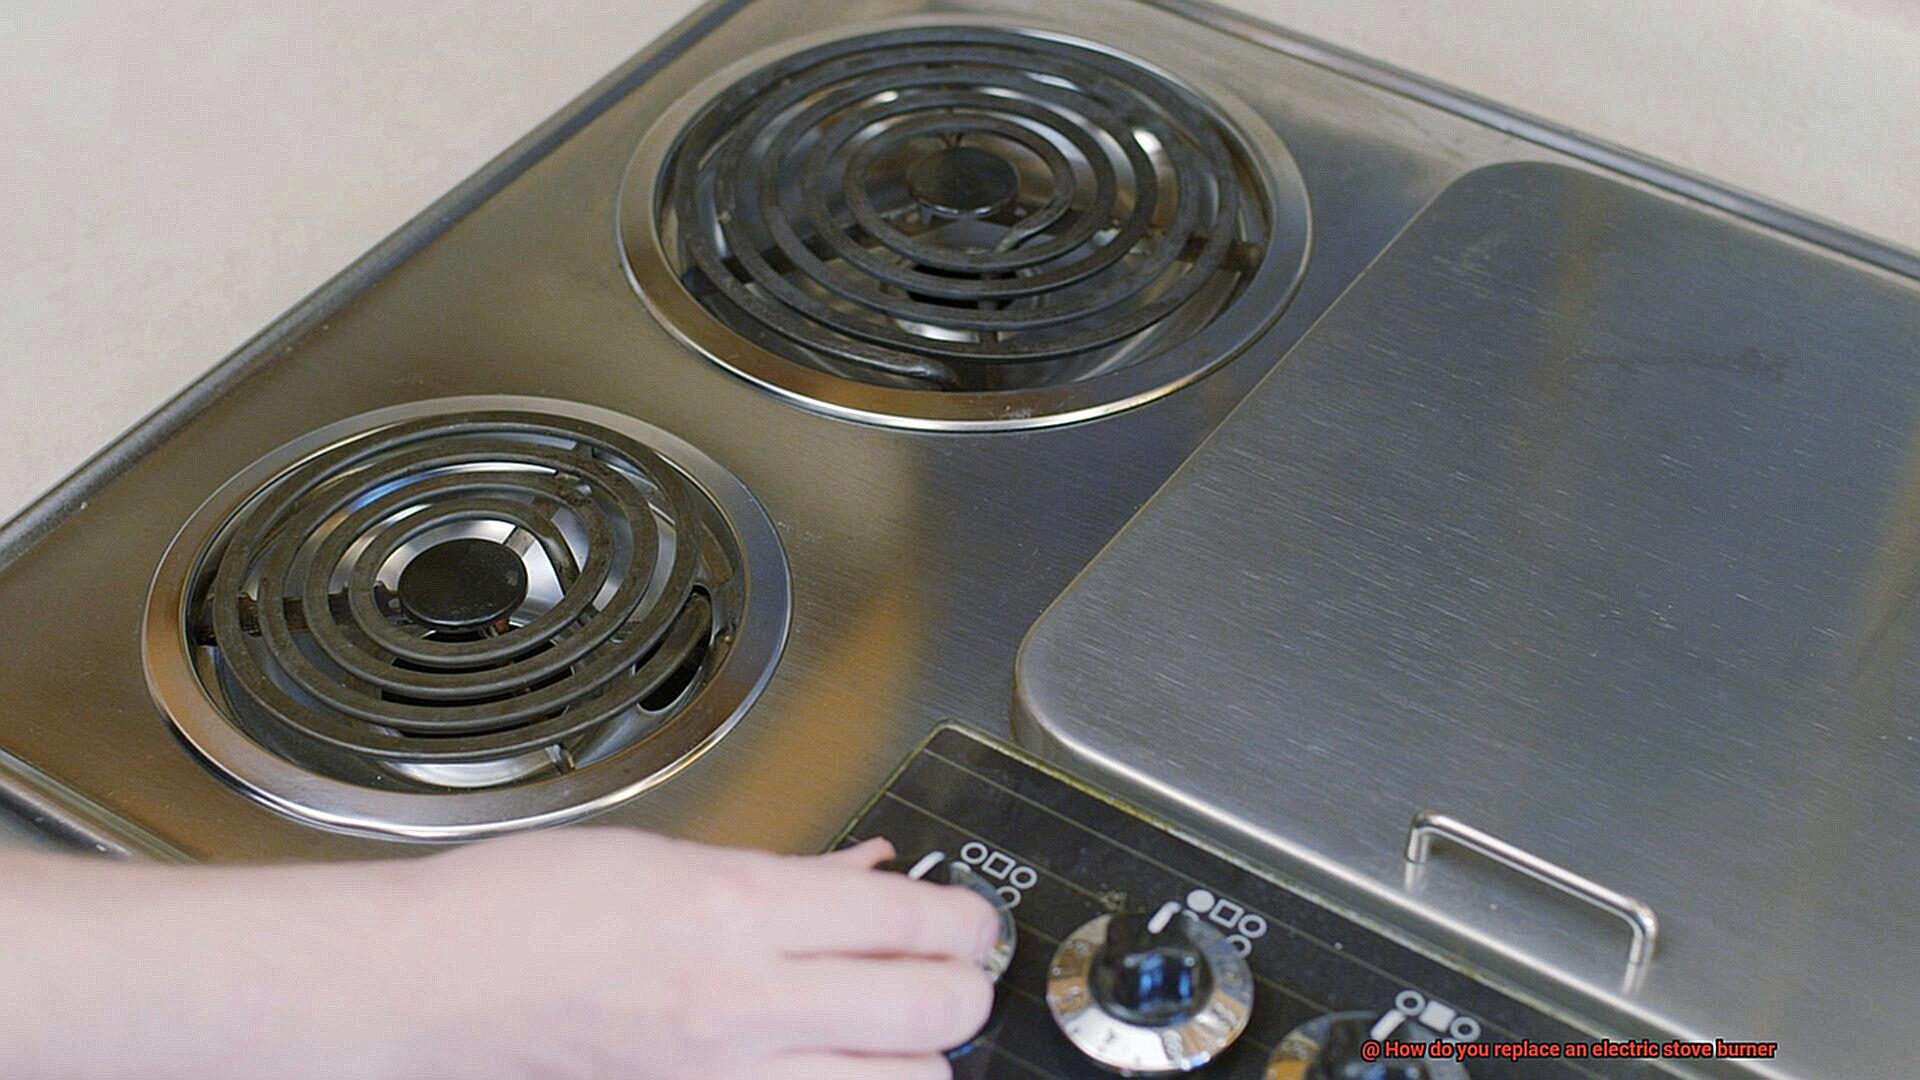
Know your burner type
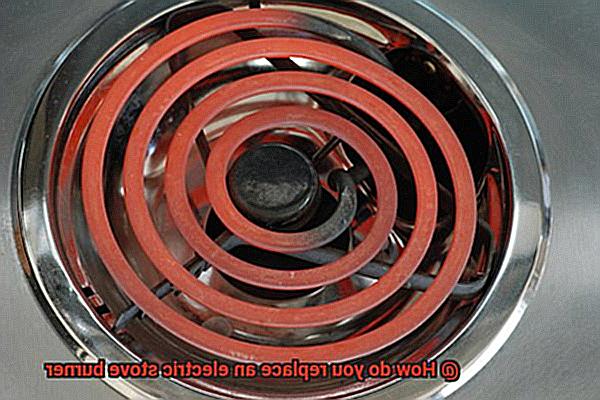
Coil and glass-top burners have different removal and installation methods. Make sure to identify which type you have before proceeding.
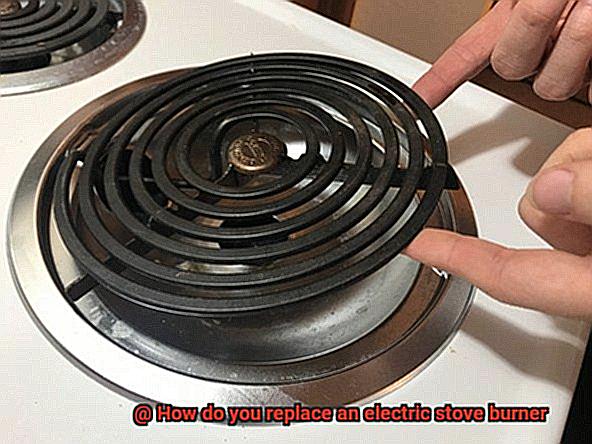
Remove the old burner with care
If the old burner is still hot from previous use, use gloves or a towel to handle it. Inspect it for any signs of damage or wear and tear that may have led to its malfunction.
Clean the area around the socket
Before installing the new burner, take the time to clean the socket or connection point to ensure a proper fit and prevent any future issues.
Install the new burner carefully
Align the new burner with the appropriate socket or connection point and firmly seat it in place. Double-check that it is securely installed before testing it out.
Test the new burner
Turn on the power to the stove and test out the new burner to make sure it heats up properly and evenly. If everything works as expected, you’re good to go.
Remember to consult your stove’s manual or contact the manufacturer if you have any questions or concerns about compatibility. And if you’re not comfortable with DIY repairs, don’t hesitate to seek professional help.
Troubleshooting Common Issues
Fear not, as troubleshooting these common problems is easier than you think. As an expert in electric stove burner troubleshooting, I have compiled a list of simple steps to help you diagnose and fix these issues.
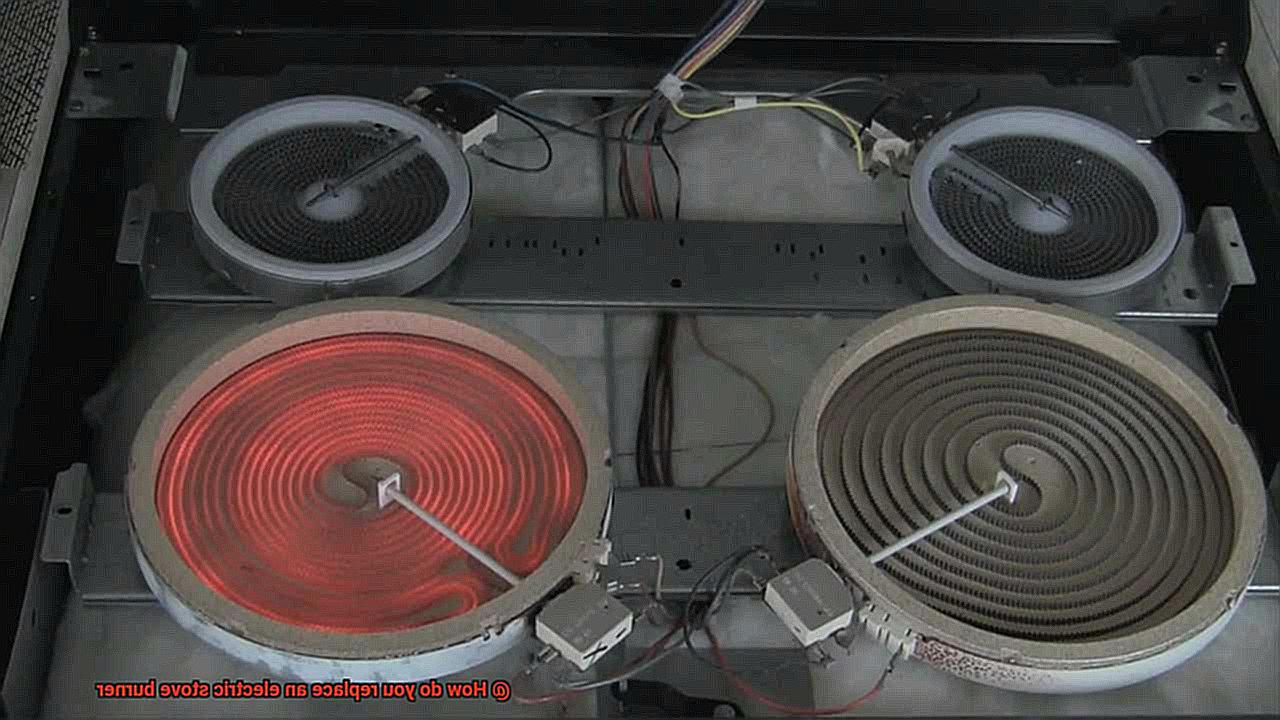
Firstly, if you’re having trouble with a burner that won’t heat up, there are a few potential culprits. It could be due to a faulty burner element, a malfunctioning switch, or a damaged receptacle block. To start, ensure that the burner is seated correctly in the receptacle block. If this doesn’t work, try swapping it with a functional burner to confirm if the issue lies with the element itself. If neither solution works, you may need to replace either the switch or the receptacle block.
Another common problem is when a burner heats unevenly or not at all on one side. This can be caused by a warped or damaged burner element, a dirty or corroded receptacle block, or a faulty switch. Inspect the burner element for any visible damage or warping. If it appears in good condition, clean the receptacle block using sandpaper or a wire brush. If this doesn’t solve the problem, you may need to replace either the element or the receptacle block.
Lastly, your electric stove burners may not sit level on the stove top, leading to uneven cooking. This could be caused by worn-out drip pans or loose connections between the burner and receptacle block. Begin by adjusting the drip pans to make sure they’re level and free from debris. If this doesn’t solve the issue, check that the connections between the burner and receptacle block are secure and tight. If they appear loose or worn out, consider replacing them.
Professional Assistance Options
Replacing an electric stove burner can be a tricky task, but don’t worry. There are many professional assistance options available to you. As an expert in this field, I have compiled some research notes to help guide you through the process.
Firstly, contacting the manufacturer of your stove is an excellent option. They may have a customer service department that can give you information on how to replace the burner or connect you with a certified repair person who can perform the job for you. This is especially helpful if your stove is still under warranty, as some manufacturers may offer free repairs or replacements for certain parts.
Another option is to contact a local appliance repair service. They likely have experience working with electric stoves and may be able to replace your burner quickly and effectively. However, this option can be more expensive than others, so be sure to shop around and compare prices before making a decision.
If you prefer to do the work yourself but still want guidance, many online resources such as instructional videos and forums provide step-by-step instructions and advice from other DIYers. These resources can be especially helpful if you’re trying to save money on repairs.
In summary, seeking professional assistance when replacing an electric stove burner is a wise choice if you lack confidence in your abilities or lack the necessary tools. Some other tips to keep in mind include:
- Comparing prices and reading reviews before choosing a local appliance repair service.
- Checking if your stove is still under warranty before contacting the manufacturer.
- Utilizing online resources for guidance when doing the work yourself.
_ojA20H6KeA” >
Conclusion
In conclusion, replacing an electric stove burner may seem daunting at first, but with the right tools and knowledge, it’s a task that any home cook can master. Prioritizing safety is key; remember to turn off the power supply, wait for the stove to cool down, and wear protective gloves when handling the burner.
Identifying the type of burner you have and finding the correct replacement are crucial steps in the process. Coil burners are straightforward to replace as they sit on top of the stove and can be lifted off without any tools. Solid disk burners require screws or clips to hold them in place.
When replacing a burner, it’s important to consider factors such as your stove’s make and model, age, and unique features. These considerations will help ensure that you choose the right replacement part for your specific stove.
If you’re not confident in your DIY repair skills, don’t worry. There are plenty of options available for professional assistance. You can contact your stove’s manufacturer or a local appliance repair service for help. Alternatively, if you prefer to do it yourself but still want guidance, online resources such as instructional videos and forums provide step-by-step instructions and advice from other DIYers.
With these tips in mind, you’ll be able to tackle this task with ease and confidence.