Ready to up your outdoor cooking game? It’s time to invest in a Blackstone griddle. This versatile cooking surface will have you whipping up everything from fluffy pancakes to sizzling stir-fries and juicy steaks with ease. But, if you’re new to griddle cooking or just got your hands on a Blackstone, you’ll need to know how to get it fired up and ready to go. Fear not, we’ve got you covered with everything you need to know about starting a Blackstone griddle.
First things first, let’s talk about the different types of Blackstone griddles available and which one is right for your needs. Once you’ve picked out the perfect griddle, it’s time to dive into the nitty-gritty of getting it heated up. We’ll cover tips for proper seasoning and temperature control so that your food comes out perfectly every time.
But wait, there’s more. We’ll also discuss common mistakes to avoid when starting your Blackstone griddle and provide some helpful hints for maintaining it over time. Whether you’re an experienced outdoor cooking pro or just starting out, a Blackstone griddle can take your culinary creations to the next level.
So what are you waiting for? Let’s get started and learn how to start your Blackstone griddle like a pro.
Contents
What is a Blackstone Griddle?
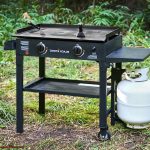
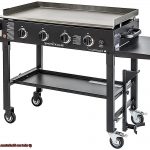
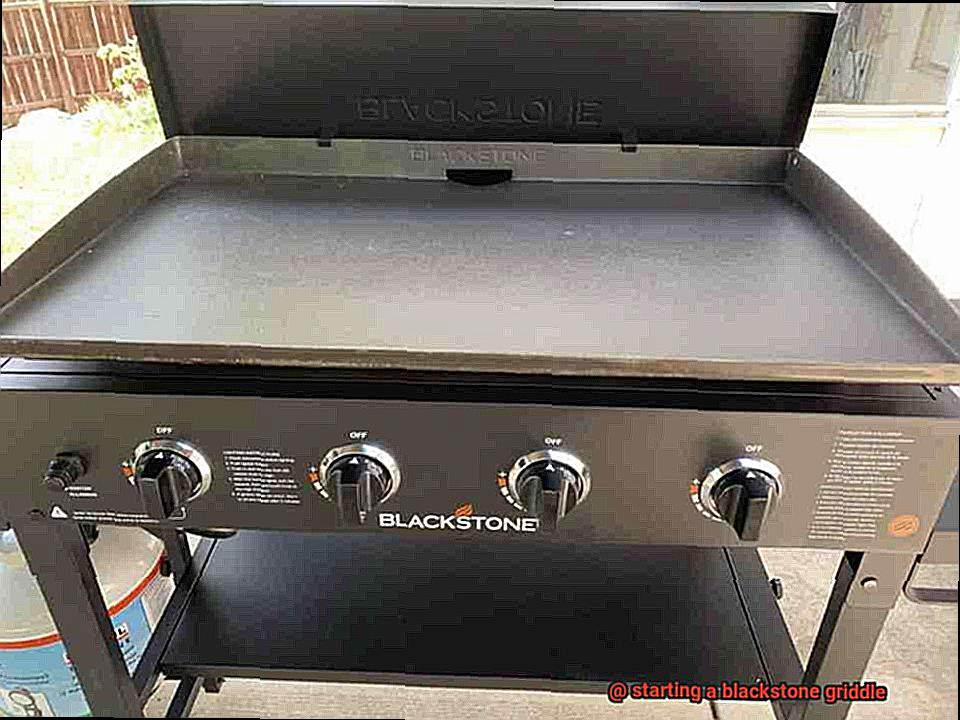
Then it’s time to upgrade your outdoor cooking game with a Blackstone Griddle. This versatile appliance features a flat cooking surface made of heavy-duty steel, making it perfect for cooking a wide range of foods directly on the surface.
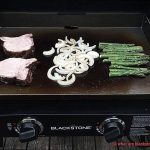
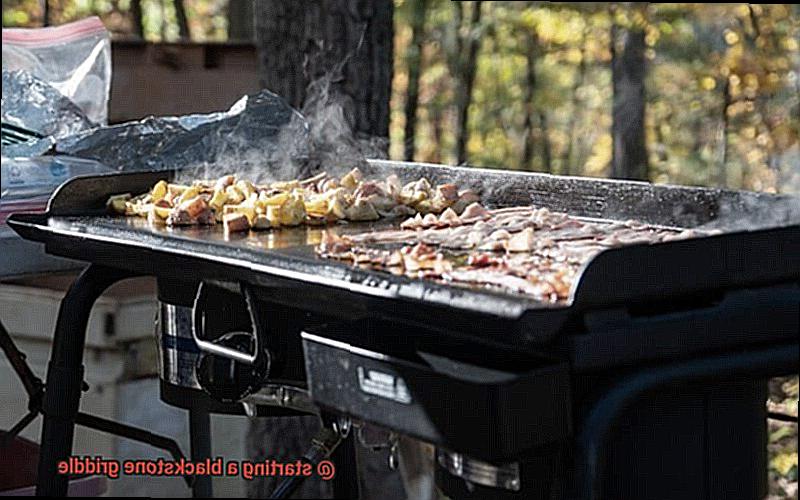
With the Blackstone Griddle, breakfast items like pancakes, eggs, and bacon cook up perfectly alongside burgers, steaks, and vegetables. The possibilities are endless with this appliance, making it a must-have for any outdoor cooking enthusiast.
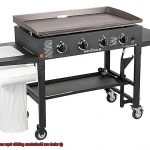
One of the most significant advantages of the Blackstone Griddle is its ability to cook food quickly and evenly. The flat surface heats up quickly and distributes heat evenly across the entire surface, resulting in faster and more efficient cooking times compared to traditional grills. Plus, the lack of grates means that delicate items like fish or vegetables won’t fall apart or stick to the grill.
Getting started with the Blackstone Griddle is easy once you know the steps. Proper assembly and connection to a propane tank are key, followed by thorough cleaning of the surface and applying a thin layer of vegetable oil to prevent food from sticking. After heating up for 10-15 minutes, adjust the temperature according to your recipe or preference and start cooking.
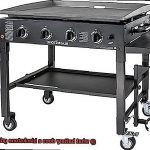
The Blackstone Griddle also offers multiple burners that can be independently controlled, allowing you to cook different foods at different temperatures simultaneously. And don’t forget to use high-quality utensils specifically designed for use on griddles, ensuring optimal performance.
Assembling the Blackstone Griddle
Assembling the griddle may seem daunting, but with the right guidance, it can be done with ease. Follow these simple steps to assemble your Blackstone Griddle in no time.
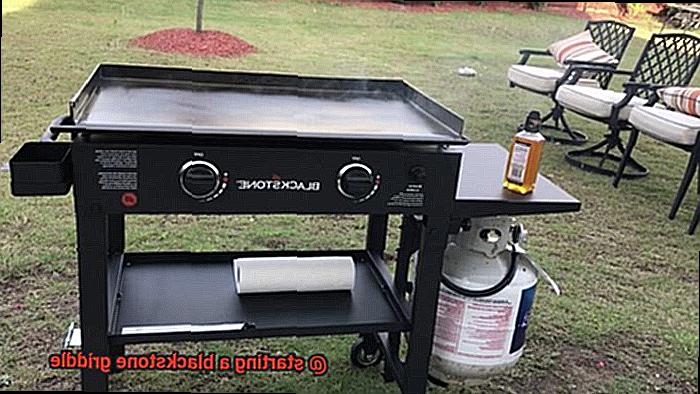
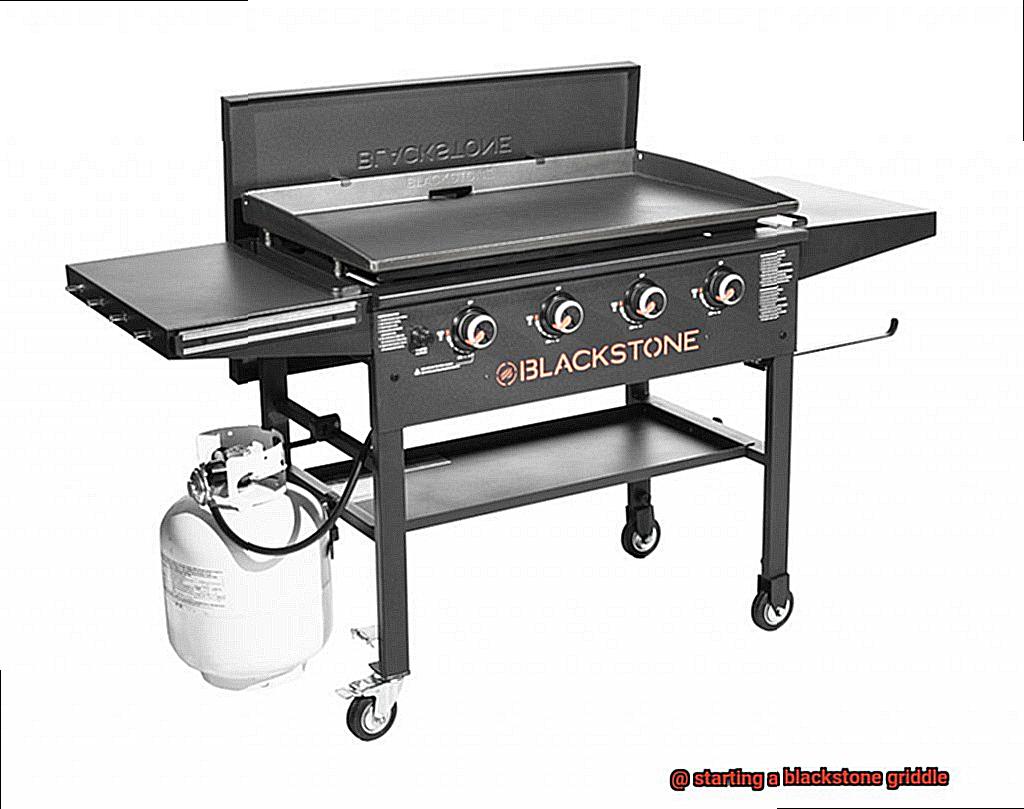
Firstly, unbox all the components and ensure that you have all the necessary parts before beginning the assembly process. The components of a Blackstone Griddle typically include the griddle top, legs, side shelves, grease tray, and regulator hose.
Next, attach the legs to the griddle top by sliding them into their designated slots. Secure them in place by tightening the screws with a wrench or pliers. A stable griddle is essential for safe and enjoyable cooking.
After attaching the legs to the griddle top, attach the side shelves using the screws provided. Make sure they are level with each other to prevent utensils and spices from sliding off.
The grease tray is an essential component of your Blackstone Griddle as it collects excess grease while cooking, making cleaning up a breeze. Attach it underneath the griddle top.
Finally, attach the regulator hose to your propane tank and connect it to your griddle’s gas intake valve. Before turning on your Blackstone Griddle, ensure that all connections are tight to prevent any gas leaks.
Prepping the Griddle Surface
Before you start flipping and sizzling, it is crucial to prep the surface for optimal performance. As an expert on this topic, let me guide you through the process step by step.
First and foremost, clear the griddle surface of any debris or dirt using a scraper or spatula. To ensure a clean surface, wipe it down with a damp cloth or paper towel.
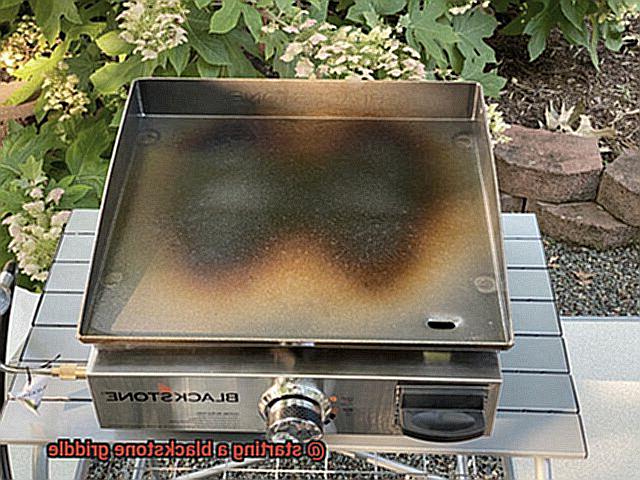
Next, it’s time to season the griddle surface. This important step not only prevents rust but also creates a non-stick surface that will make cooking a breeze. Preheat the griddle to high heat and apply a thin layer of oil such as vegetable or flaxseed oil. Smoothly spread it across the surface using a paper towel or brush. Heat for 15-20 minutes until it starts smoking then turn off the heat and let it cool down entirely before wiping away any excess oil residue.
Seasoning should be repeated several times until the griddle surface has a dark patina. Trust me; this extra effort will pay off in the long run with perfectly cooked meals every time.
Before starting to cook, ensure that your griddle is level. Even cooking is ensured by using a level tool to check if the griddle is level, and adjust its legs if necessary. This will prevent grease from pooling in one area and ensure evenly cooked meals.
Turning on the Heat
Well, before you get started, it’s crucial to know how to start it up safely and effectively. Here’s a step-by-step guide to help you get started.
First, make sure that all knobs, including the propane tank valve, are turned off. Safety should always be your top priority. Once everything is turned off, it’s time to connect the propane tank to the griddle using a gas hose and regulator. Be sure to check that the hose and regulator are securely attached and free of leaks.
Now it’s time to ignite the flame. Slowly turn on the propane tank valve and wait for a few seconds for the gas to flow into the system. Then, turn the griddle’s control knob by pushing it in and turning it clockwise to the high setting. Listen for the electric igniter sparking to light the propane gas.
If you find that the igniter does not spark or light up, there’s no need to worry. You can use a long-reach lighter to manually light the griddle. However, always keep the lid open and avoid leaning over it when igniting it.
As your griddle heats up, you’ll notice some smoking and an odor. Don’t be alarmed; this is perfectly normal and will eventually dissipate. To ensure that your griddle is at the right temperature for cooking, use an infrared thermometer to measure its surface temperature. The ideal cooking temperature for most foods is between 350°F and 400°F.
It’s crucial to remember that safety should always be your top priority when using a Blackstone griddle. So never leave it unattended while it’s heating up, keep a fire extinguisher nearby, and follow all manufacturer’s instructions.
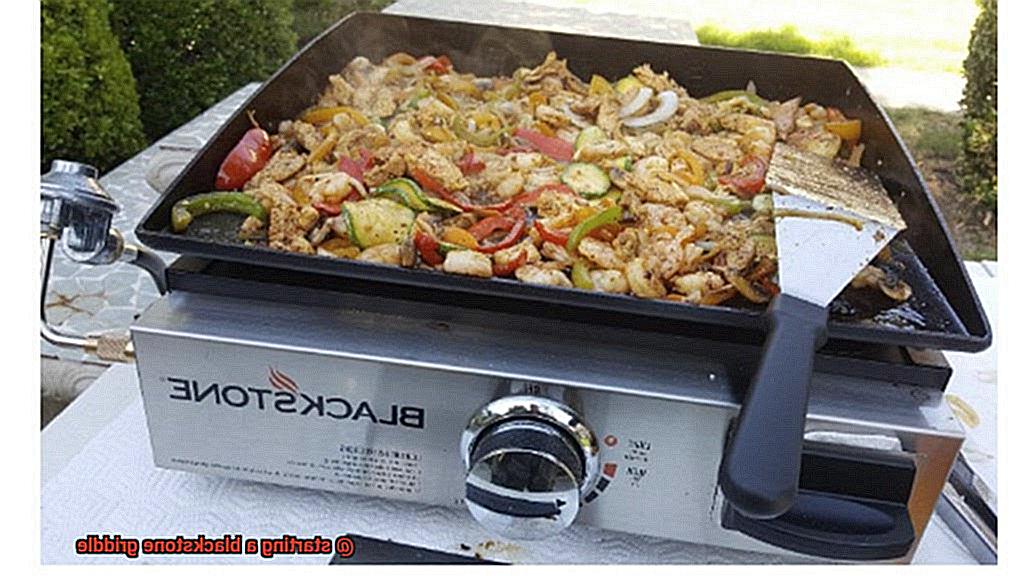
Cooking with a Blackstone Griddle
From crispy bacon to juicy steaks, this versatile tool can cook just about anything to perfection. But before you start whipping up your favorite meals, let’s talk about how to properly start your griddle.
First things first, let’s ensure your griddle is pristine. Use a scraper or spatula to remove any debris or grease from the surface. Now that it’s sparkling clean, it’s time to fire it up.
Starting your Blackstone Griddle is a breeze. Open the propane tank valve and turn on the gas flow. Press the igniter button to light the burner. If your griddle doesn’t have an igniter button, don’t worry; you can use a long lighter or match to manually light it. Just be sure to keep a fire extinguisher nearby for safety.
Once the burner is lit, adjust the temperature using the control knob. Remember, different foods require different temperatures. For instance, veggies need lower heat than meat. Keep an infrared thermometer handy to monitor the temperature and ensure accuracy.
Now that you’re armed with the basics, it’s time to get creative. Here are some tips for cooking up a storm on your Blackstone Griddle:
- Preheat: Always preheat your griddle before cooking. This helps food cook evenly and prevents sticking.
- Oil: Use oil or butter to prevent sticking and add flavor.
- Season: Don’t forget to season your food. Salt, pepper, garlic powder, and other spices can take your dish from good to great.
- Keep it clean: As you cook, use a scraper or spatula to keep the surface clean and free of debris.
Tips for Mastering the Art of Griddling
Look no further than these essential tips for mastering the art of griddling on your Blackstone Griddle.
Preheat Properly
Before you start cooking, it’s crucial to preheat your griddle for at least 10 minutes. This ensures that the surface is hot enough to sear and cook food evenly. Skipping this step can lead to uneven cooking and sticking.
Temperature Matters
The right temperature can make or break your griddling experience. Different foods require different temperatures for optimal cooking results. Keep in mind that a medium-high temperature is a good starting point for most foods, but adjust according to what you’re cooking.
Oil is Your Friend
Oiling your griddle before cooking is essential to prevent sticking and make cleanup easier. Use a spray oil or brush to apply oil lightly before adding any food.
Don’t Overcrowd
Overcrowding the griddle can lead to uneven cooking and sticking. Make sure there’s enough space between each piece of food to allow for even cooking.
Choose the Right Tools
Using the right tools can make a world of difference when griddling on your Blackstone Griddle. A metal spatula and tongs are essential for flipping and moving food around on the griddle surface. Avoid using plastic or silicone utensils as they may melt or warp.
Using High-Quality Utensils for Griddling
If you’re a fan of cooking on a Blackstone griddle, then you know that the right tools can make all the difference in achieving perfectly cooked meals every time. In fact, using high-quality utensils is essential for getting the most flavorful and delicious dishes.
One of the most important utensils for griddling is a spatula. A sturdy and wide spatula with a comfortable grip is a must-have for flipping, turning, and serving your food. Make sure to look for one with a beveled edge that allows you to slide underneath your food without ruining its texture. With a good spatula in hand, you’ll have full control over your meals and won’t have to worry about anything sticking or burning.
In addition to spatulas, tongs are another crucial tool for any griddle chef. Tongs are perfect for flipping and turning your food while it’s cooking and also come in handy when picking up and moving hot items. Look for tongs that have a non-slip grip and are long enough to keep your hands away from the heat. With the right tongs, you’ll be able to maneuver your food with ease and precision.
- A scraper is also an essential griddling utensil – especially when it comes to cleaning up afterwards. A scraper can easily remove any stuck-on food or debris from the surface of your griddle, making cleanup quick and easy. With a scraper on hand, you’ll be able to keep your griddle in top condition and ready for your next cooking adventure.
- But that’s not all – there are other useful utensils that can take your griddling game to the next level. Brushes are great for applying oil or marinade, basting covers trap heat and steam to cook your food faster, and temperature probes ensure that your griddle is at the correct temperature for cooking. These tools may seem small, but they can make a big difference in the quality of your meals.
Cleaning and Maintenance of the Blackstone Griddle
Then you know that this versatile piece of equipment is perfect for cooking up a storm, whether you’re making pancakes for breakfast or searing a juicy steak for dinner. But to keep your grill in top shape and ensure it lasts for years to come, you need to know how to clean and maintain it properly. As an expert on the subject, I’m here to share some tips and tricks with you.
Cleaning your Blackstone Griddle is essential after each use. First, turn off the heat source and allow the griddle to cool down completely. Then, using a scraper or spatula, remove any leftover food particles or debris from the surface of the griddle. This step is crucial because any grease or food buildup can cause rusting, corrosion, and damage to the griddle’s surface.
Next up, pour some hot water onto the griddle and use a sponge or cloth to clean it thoroughly. Stubborn stains or grease marks that are hard to remove can be tackled with a mixture of water and vinegar or a griddle cleaning solution. Always rinse the griddle with hot water after cleaning.
Drying your Blackstone Griddle thoroughly after cleaning is also important because any moisture left on the surface can cause rusting or corrosion. Use a clean cloth or paper towel to dry it completely.
To keep your griddle in top condition, apply a light coat of oil or seasoning after each use. This helps prevent rusting and keeps the griddle’s surface smooth and non-stick. It’s always best to use high-heat cooking oil such as vegetable oil for this purpose.
Routine maintenance is also necessary to keep your Blackstone Griddle in top condition. Check the propane tank for leaks or damage regularly, inspect the hoses for cracks or wear, and ensure that all connections are tight and secure. Also, check the ignition system regularly and replace any worn-out parts promptly.
By following these simple cleaning and maintenance tips, you can ensure that your Blackstone Griddle remains in top condition for years to come. Not only will this help prolong its lifespan, but it will also ensure that you get the best possible performance every time you fire up the grill. So go ahead, enjoy your Blackstone Griddle to the fullest, and keep it clean and well-maintained like a pro.
In summary, here’s a quick checklist for cleaning and maintaining your Blackstone Griddle:
Conclusion
In conclusion, starting up your Blackstone griddle is a breeze once you get the hang of it. To begin with, make sure you select the right type of griddle and assemble it correctly. Then, prep the surface by seasoning it and ensuring that it’s level. Once that’s done, it’s time to turn up the heat. Safely connect your propane tank to the griddle and ignite the burner using an igniter or long-reach lighter.
Now that your griddle is hot and ready to go, let’s talk about cooking like a pro. With high-quality utensils such as spatulas, tongs, and scrapers in hand, you’ll be able to whip up everything from fluffy pancakes to juicy steaks with ease.
And after cooking up a storm on your Blackstone Griddle, don’t forget about cleaning and maintenance. Regularly clean the surface after each use using hot water or vinegar-based solutions to keep your griddle in top condition.