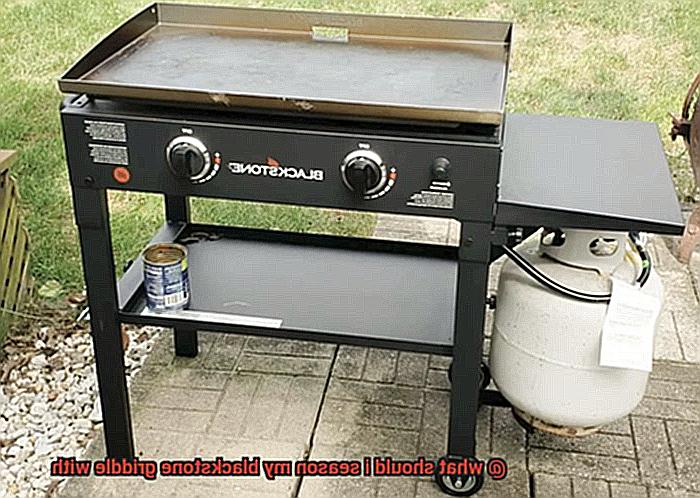
Imagine this: you’ve just invested in a gleaming Blackstone griddle, and your taste buds are already salivating at the thought of sizzling steaks, crispy bacon, and fluffy pancakes. But before you break out the spatula, there’s a crucial step that can make or break your grilling game: seasoning.
Seasoning your Blackstone griddle is like giving it a suit of armor – it protects against rust, prevents food from sticking, and adds flavor to your dishes. But what’s the secret sauce for seasoning? Oil is the answer, but not all oils are created equal. You’ll want to choose an oil with a high smoke point (think canola, vegetable, or grapeseed oil) that won’t burn or turn rancid when exposed to high heat.
But wait – don’t pour on the oil just yet. To properly season your Blackstone griddle, you’ll need to follow a few key steps. First off, give your griddle a thorough cleaning to remove any factory residue or debris. Then apply the oil evenly across the surface of the griddle using a cloth or paper towel. Finally, let it heat up on medium-high heat for about 15-20 minutes until it starts smoking and turns dark brown.
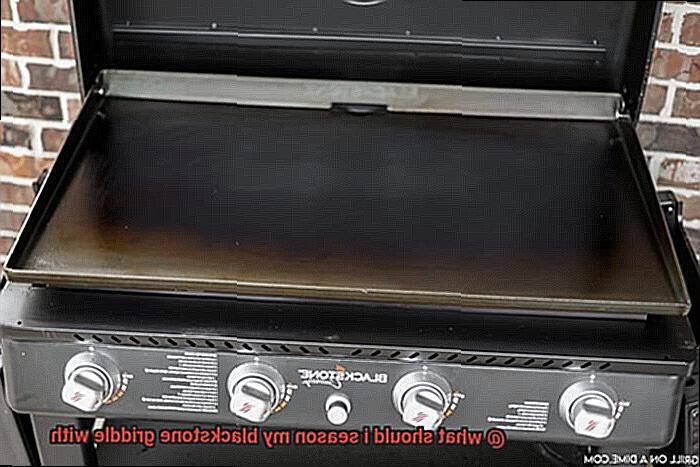
In this blog post, we’re going to dive deep into everything you need to know about seasoning your Blackstone griddle like a pro. We’ll walk you through each step of the process and share some tips for maintaining your griddle’s seasoning over time. So whether you’re a seasoned grill master or a newbie cook looking to up their game, get ready to unlock the full potential of your Blackstone griddle.
Contents
What Oils Can be Used to Season a Blackstone Griddle?
If you’re a Blackstone griddle aficionado, then you know that seasoning your cooking surface is essential to creating a non-stick cooking surface. But with so many oils to choose from, how do you know which one is best?
Let’s start with flaxseed oil, a popular choice among griddle enthusiasts. This oil has a high smoke point, meaning it can withstand high temperatures without burning and leaving residue on your griddle. Plus, flaxseed oil contains a high amount of linseed oil, which forms a durable and hard surface on your griddle.
Another option is vegetable oil, which has a high smoke point and is readily available in most kitchens. However, some people find that vegetable oil can leave a sticky residue on the griddle’s surface, making it more difficult to clean.
Canola oil is another great choice. It has a neutral flavor and a high smoke point, making it ideal for high-heat cooking. Additionally, canola oil is known for its ability to create a non-stick surface on the griddle.
If you’re looking for something different, consider grapeseed oil. It has a high smoke point and is packed with antioxidants, making it both healthy and effective for seasoning your Blackstone griddle. Alternatively, coconut oil adds a subtle flavor to food and has natural anti-bacterial properties that can be useful in food preparation.
Finally, if you’re looking for a flavor boost in your dishes, bacon grease can be an excellent choice for seasoning your Blackstone griddle. It adds smoky flavor to food and can be perfect for savory dishes like burgers and sausage.
No matter which oil you choose, proper seasoning techniques are essential to ensure that your Blackstone griddle is properly coated and ready for use. This involves cleaning the surface thoroughly, heating the griddle until it begins to smoke, applying a thin layer of oil, and letting it heat up for 15-20 minutes before wiping away any excess oil.
How to Clean and Prepare the Griddle for Seasoning
Getting your Blackstone griddle ready for seasoning is an essential step in ensuring that it performs at its best. Follow these simple steps to clean and prepare your griddle for seasoning:
Scraping off excess food and debris
The first step in cleaning your Blackstone griddle is to remove any excess food or debris from the surface using a scraper or spatula. This will help to get rid of any stubborn stains and prevent them from sticking to the surface.
Wiping with a damp cloth or paper towel
Next, use a damp cloth or paper towel to wipe off any remaining dirt or grease. This will help to remove any residual stains and prepare the surface for seasoning.
Use a grill cleaner or degreaser
If you find that there are some stubborn stains that won’t come off, you can use a grill cleaner or degreaser to help remove them. Make sure to follow the instructions on the product carefully and rinse the surface thoroughly with water after use.
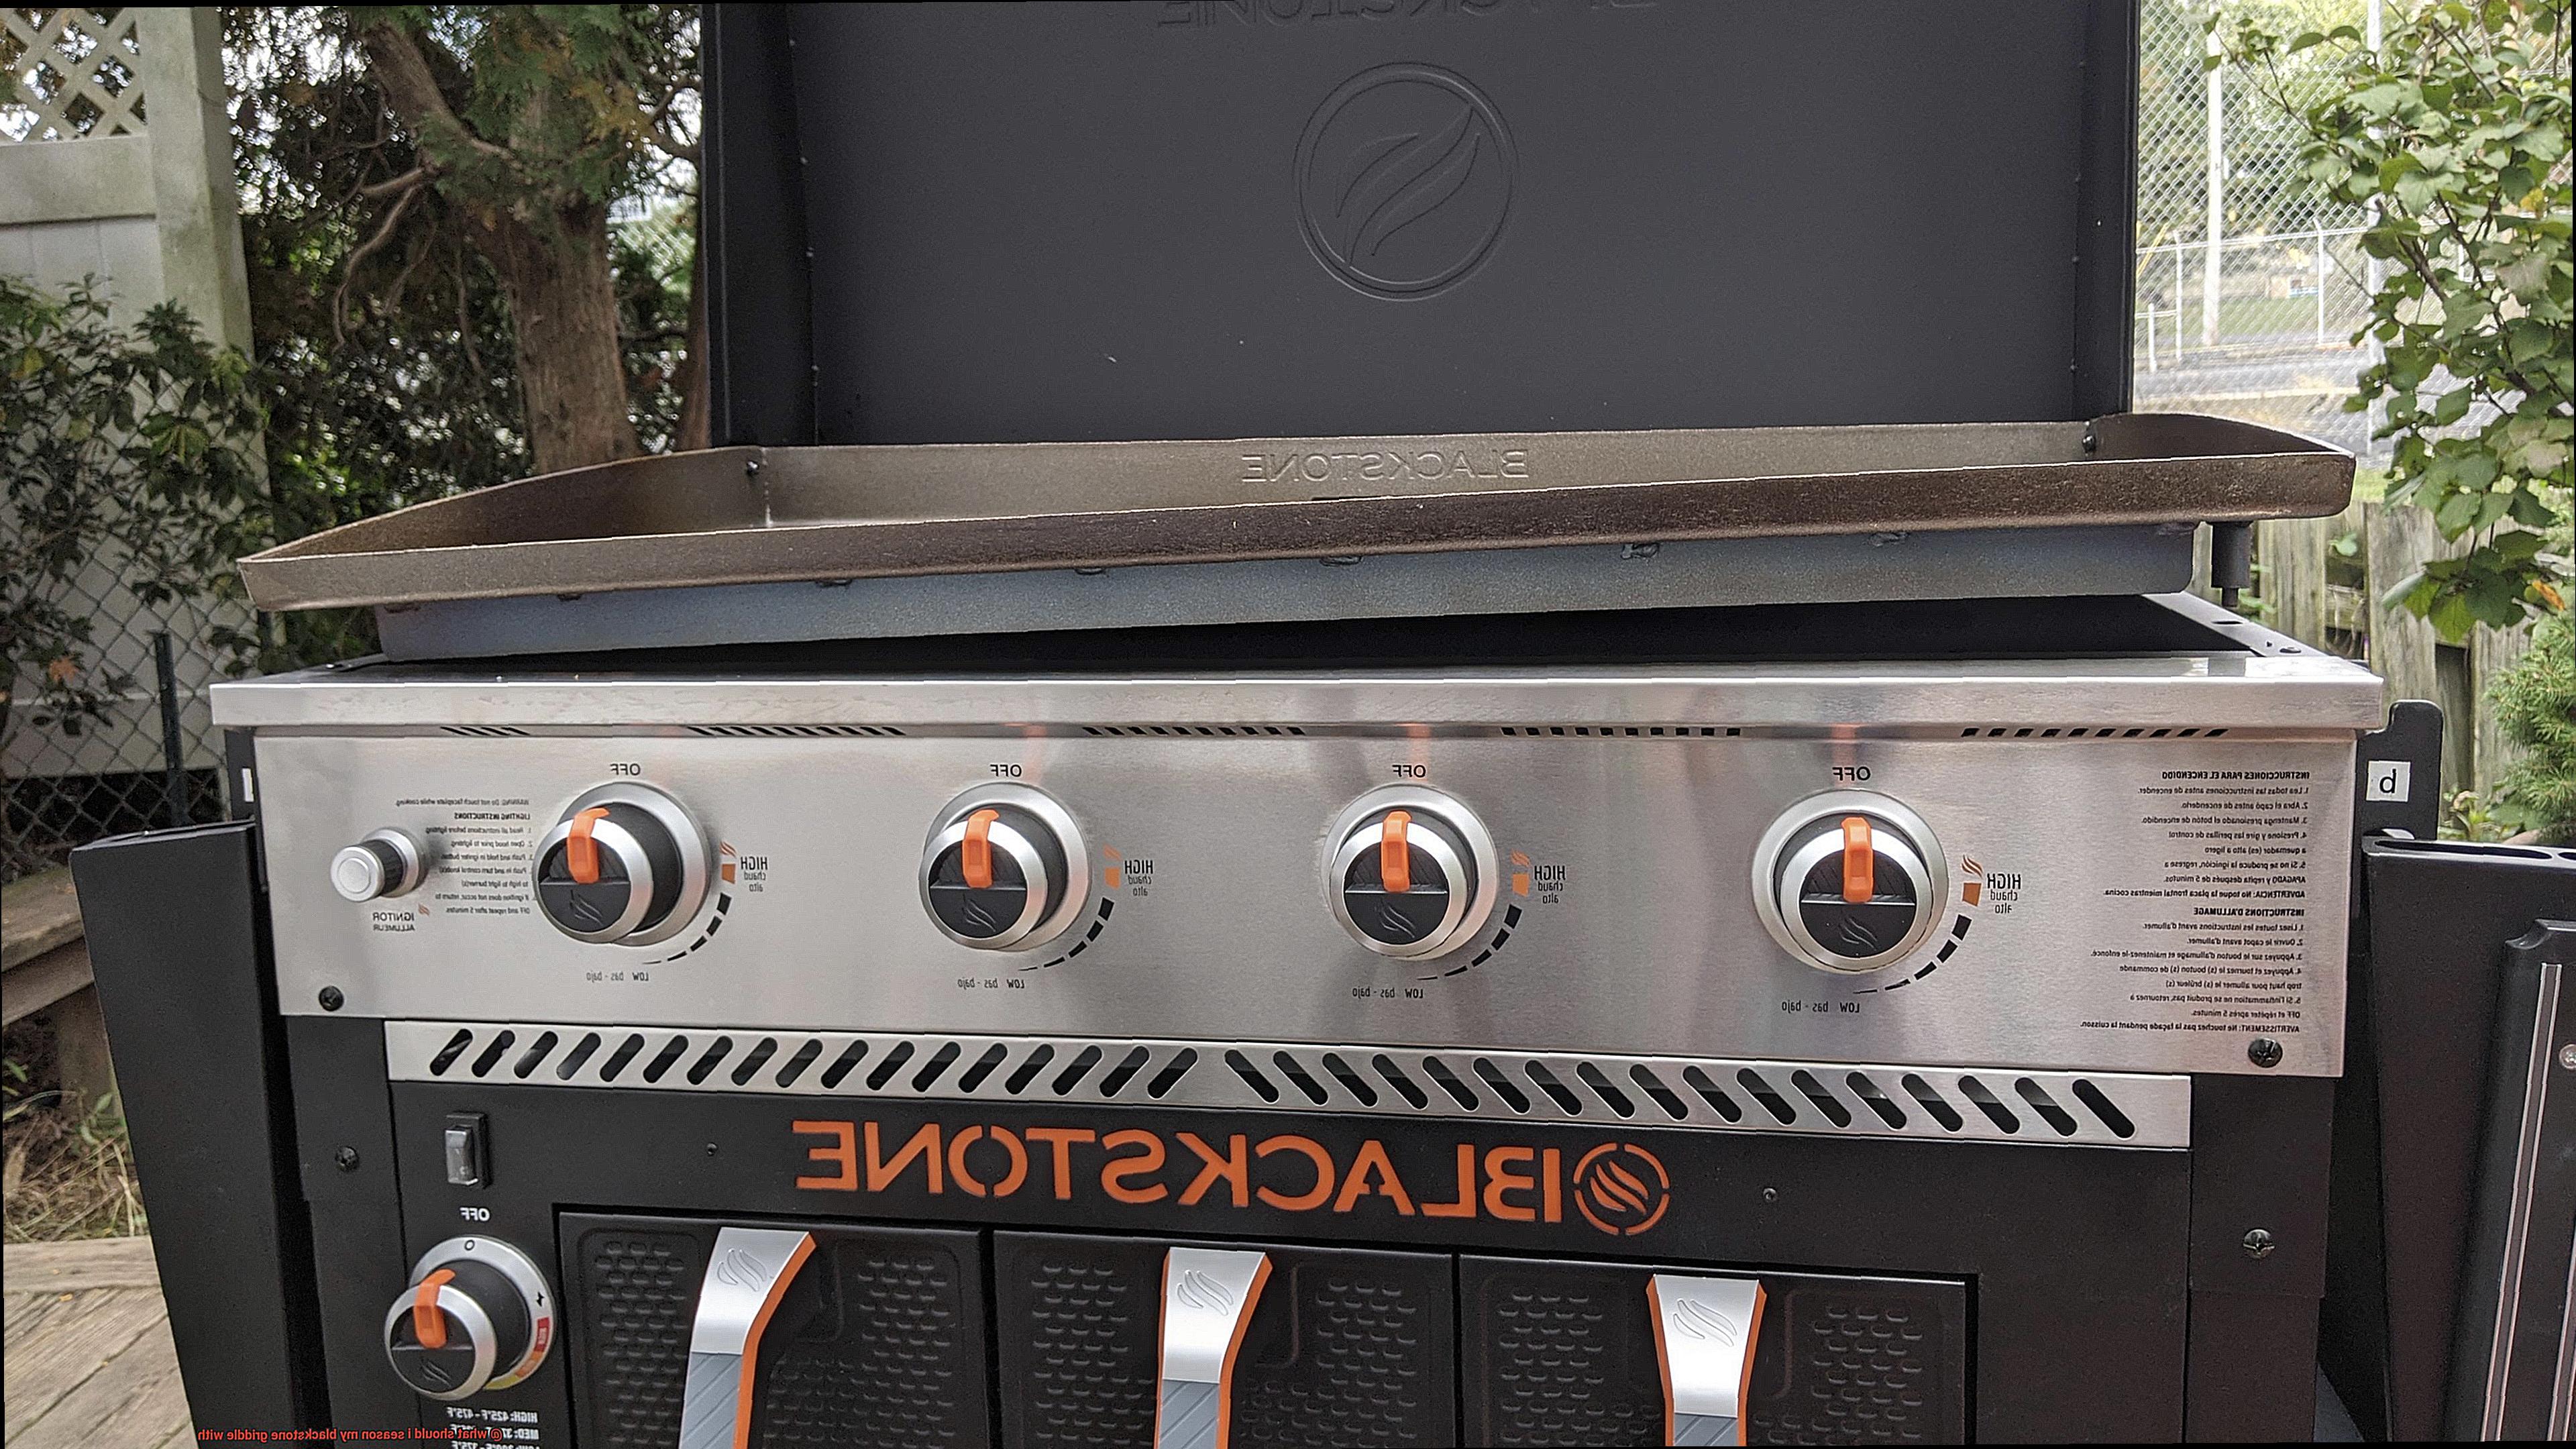
Rinse and dry
After cleaning the griddle, rinse it thoroughly with water and dry it off completely. It’s crucial to ensure that there is no moisture left on the surface as this can lead to rusting.
Heat up the griddle
Before applying oil, heat up the griddle for about 10-15 minutes on medium-high heat. This will help open up the pores in the metal and allow the oil to penetrate and bond with the surface.
Apply a thin layer of oil
Using a paper towel or cloth, apply a thin layer of oil all over the surface of the griddle. Make sure to cover every part of the surface, including the edges and corners. Vegetable oil, flaxseed oil, or any high smoke point oil can be used for seasoning.
Heat up again
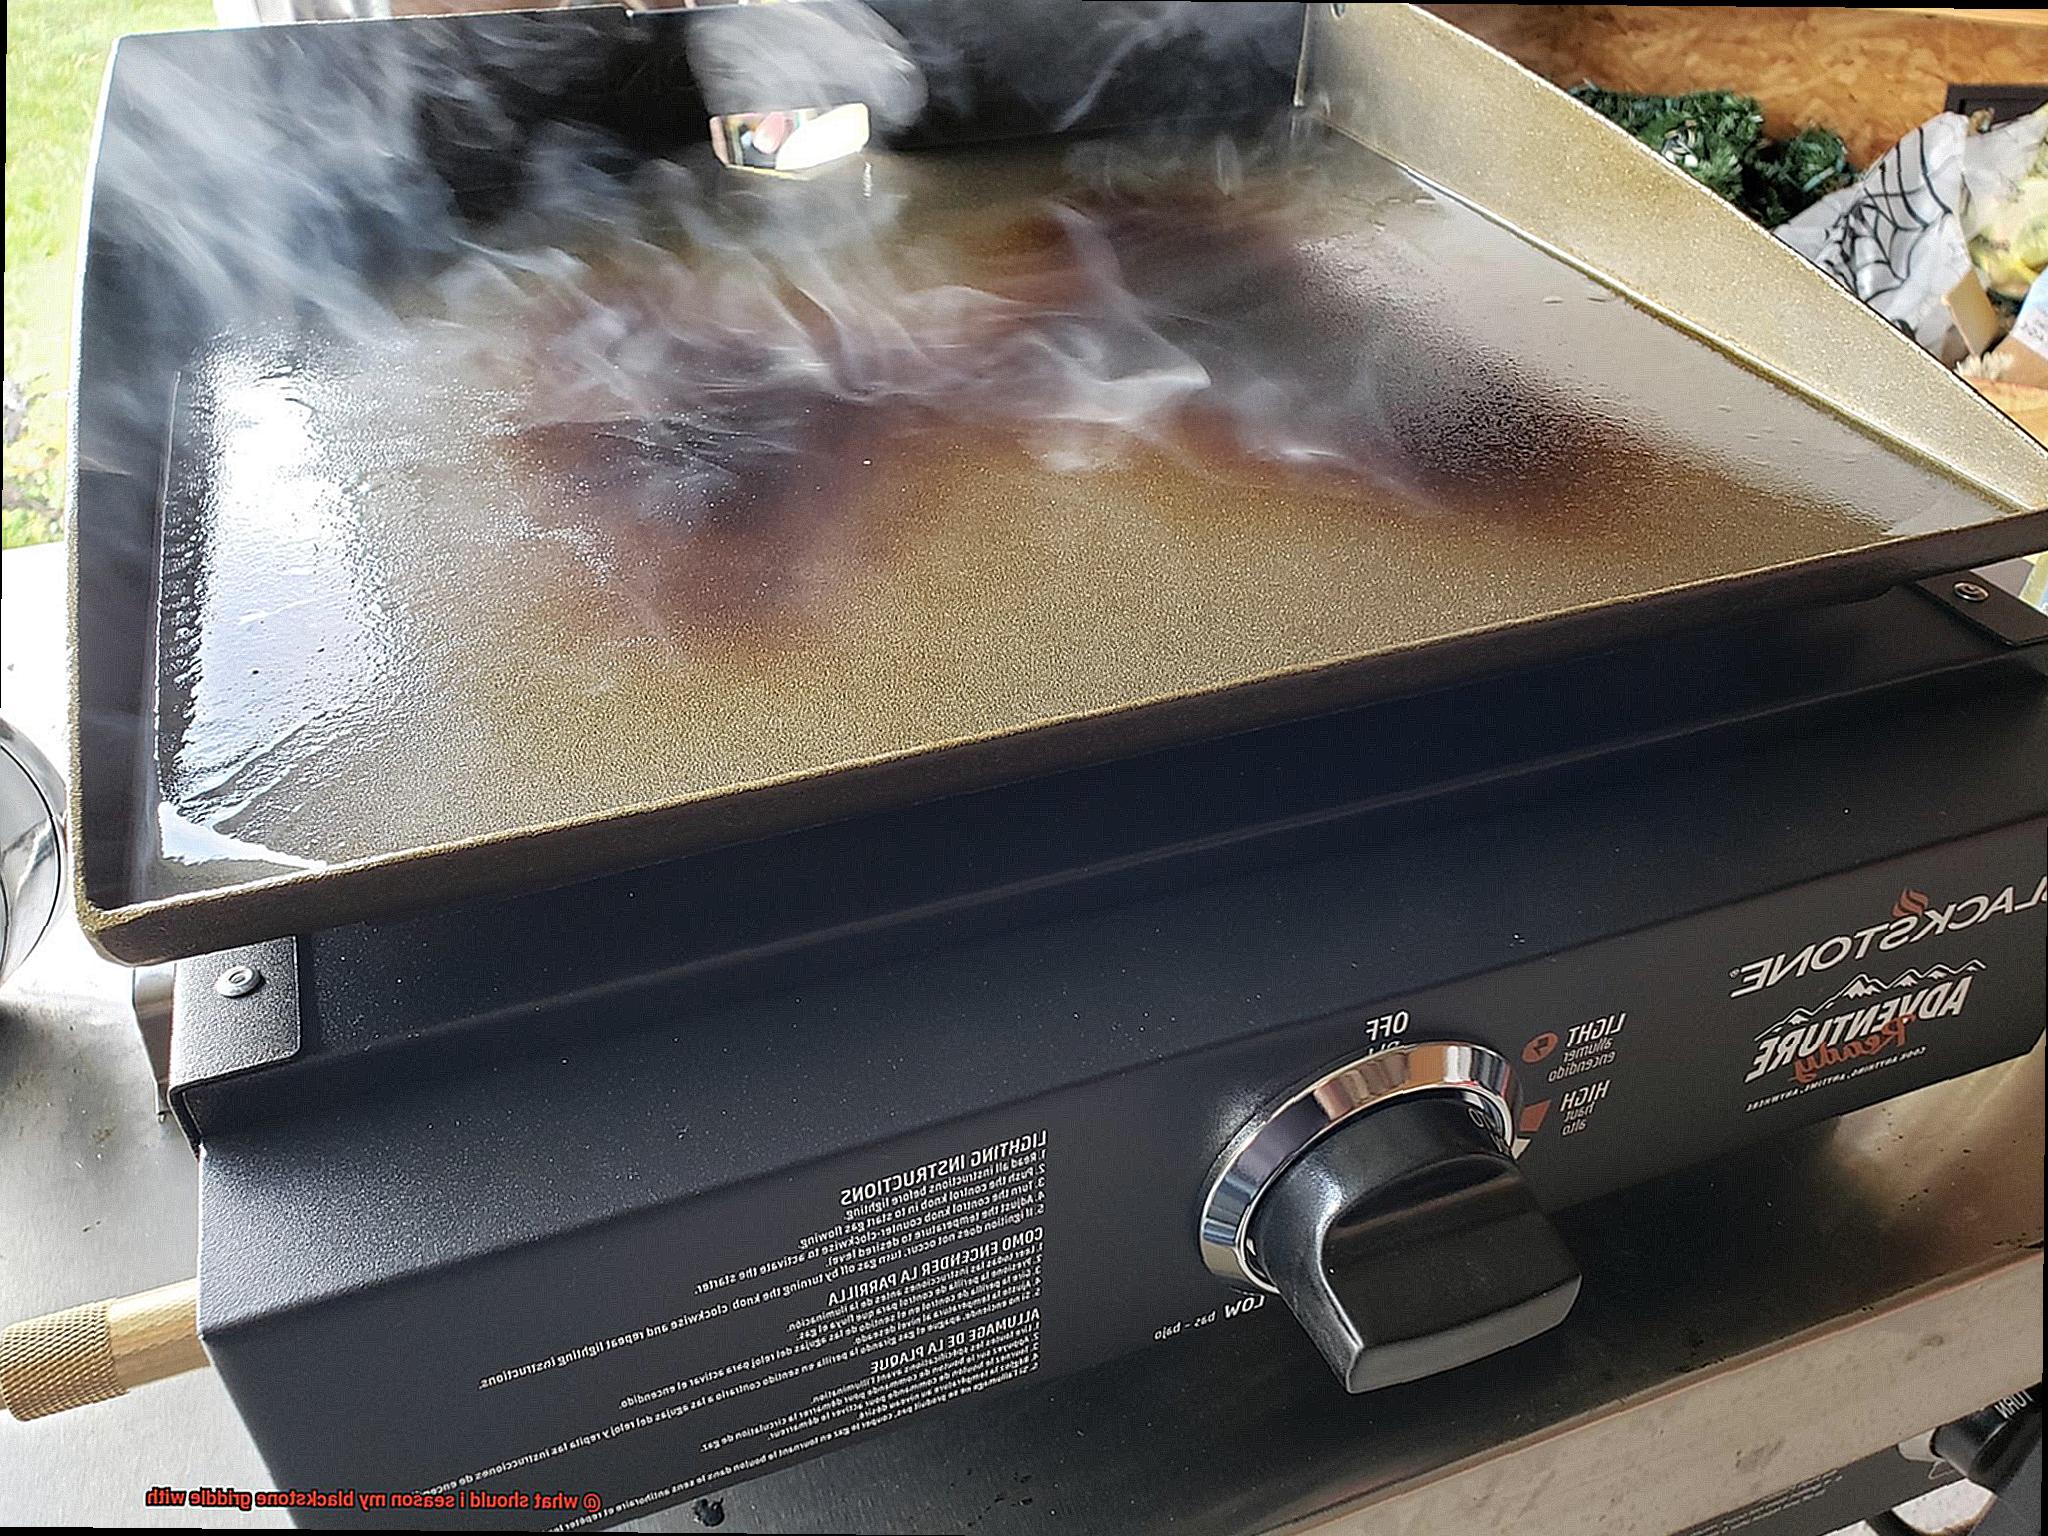
Heat up the griddle on high heat for about 20-30 minutes until the oil starts smoking. During this process, you may notice some smoke and fumes coming out of the griddle. It is normal and safe as long as you do not inhale them directly.
Let it cool down
After heating up the griddle for 20-30 minutes, turn off the heat and let it cool down completely. Once it has cooled down completely, wipe off any excess oil with a paper towel or cloth.
How to Apply the Oil on the Griddle
Applying oil is a crucial step in the process, but it needs to be done correctly. Here are five tips to help you apply oil like a pro.
Choose the right oil
The type of oil you use for seasoning your griddle matters. Look for an oil with a high smoke point, such as vegetable oil, canola oil, or grapeseed oil. These oils won’t burn or smoke excessively when exposed to high temperatures, and they’ll help create a non-stick surface on your griddle.
Clean and dry the griddle
Before applying any oil, make sure your griddle is clean and dry. Use a paper towel or cloth to wipe off any dirt or debris that may be present on the surface. This will ensure that the oil adheres to the metal surface evenly.
Use a paper towel or brush
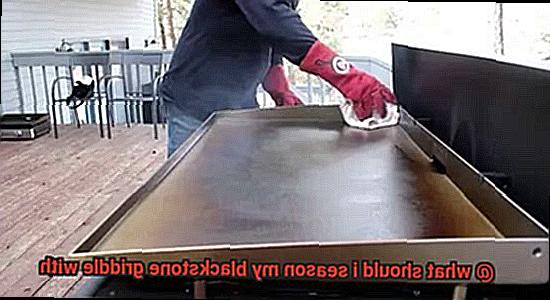
Pour a small amount of oil onto a paper towel or brush and use it to coat the entire surface of the griddle. Be sure to get into all the nooks and crannies so that there are no spots left unseasoned.
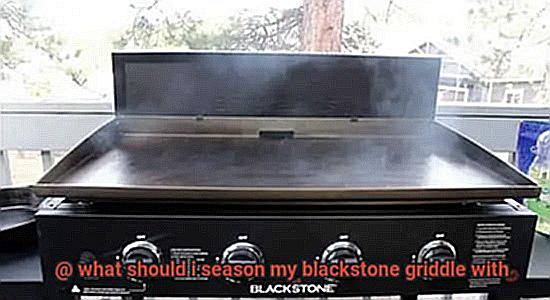
Heat the griddle
Once you’ve applied the oil, turn on your griddle and heat it up for a few minutes. This will help the oil penetrate the surface of the metal and create a non-stick surface. As the oil heats up, it will start to smoke, indicating that it is bonding with the metal surface of the griddle.
Repeat
You may need to repeat this process several times before your griddle is properly seasoned. After each use, add a little more oil and reheat the griddle to maintain the non-stick surface. Over time, you’ll notice a dark brown or black coating on your griddle known as “seasoning.” This coating will help create a non-stick surface on your griddle that makes cooking food more comfortable and prevents it from sticking.
Heating the Griddle After Applying Oil
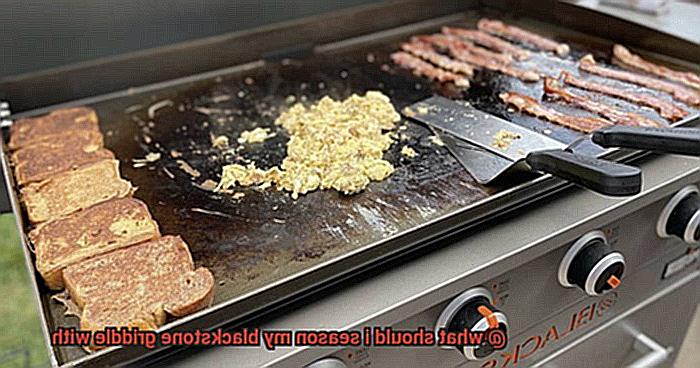
You have successfully seasoned it like a pro, and now it’s time to discuss the next crucial step – heating the griddle after applying oil.
But why is it necessary to heat the griddle after applying oil? When you apply oil to the surface of the griddle, it creates a protective layer that helps prevent food from sticking. However, heating the griddle after applying oil is essential because it allows the oil to penetrate and bond with the metal surface. This process creates a non-stick surface that makes cooking and cleaning up a breeze.
To heat the griddle after applying oil, turn on your Blackstone griddle to medium-high heat and let it heat up for about 10-15 minutes. This will give enough time for the oil to bond with the surface. To check whether it’s hot enough, sprinkle a few drops of water on the surface; if the water sizzles and evaporates quickly, your griddle is ready.
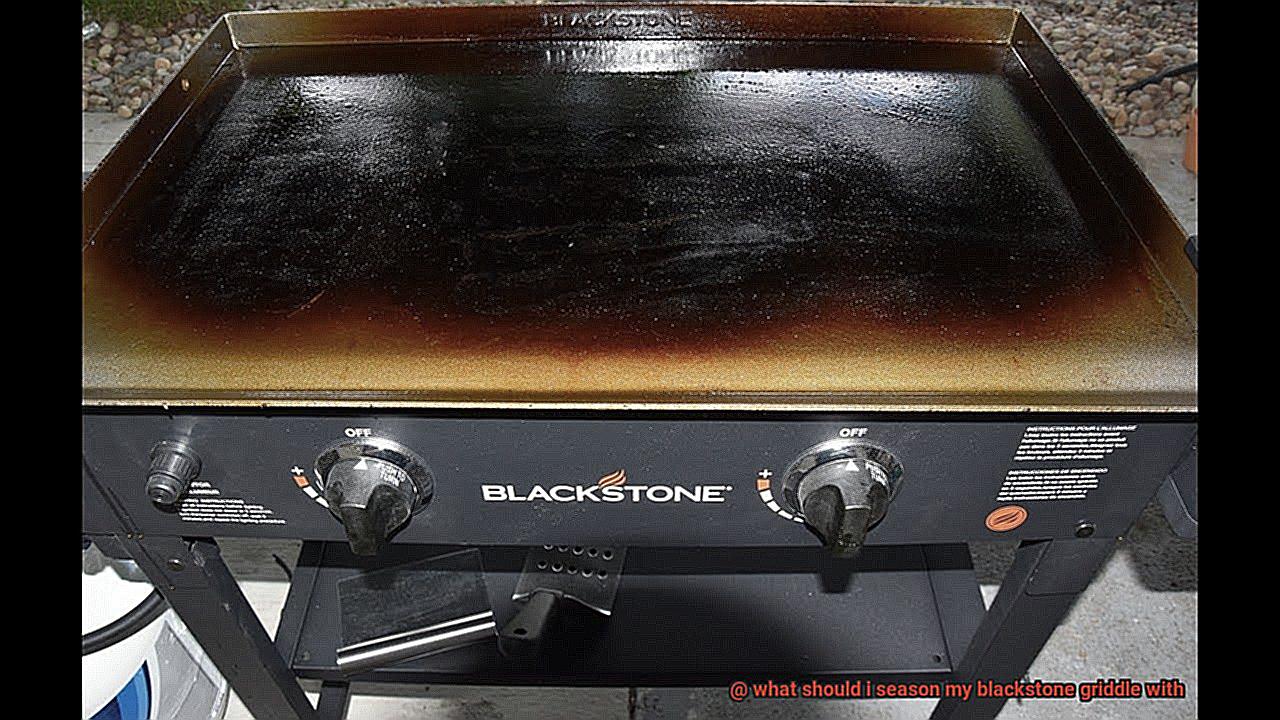
Once your griddle is heated, use a clean cloth or paper towel to wipe off any excess oil. Don’t be alarmed if you see some smoke during this process; it’s entirely normal as the oil bonds with the surface. Allow the griddle to cool down before wiping it again with a clean cloth or paper towel.
Apart from heating and wiping off excess oil, here are some additional tips to care for your Blackstone griddle:
- Avoid using soap or any abrasive materials when cleaning your Blackstone griddle after seasoning. Instead, use a scraper or spatula to remove any food particles and wipe clean with a damp cloth.
- Season your Blackstone griddle regularly to maintain its non-stick surface. You can do this by applying a thin layer of oil to the surface and heating it up for about 10-15 minutes.
- Store your Blackstone griddle in a dry place to prevent rusting.
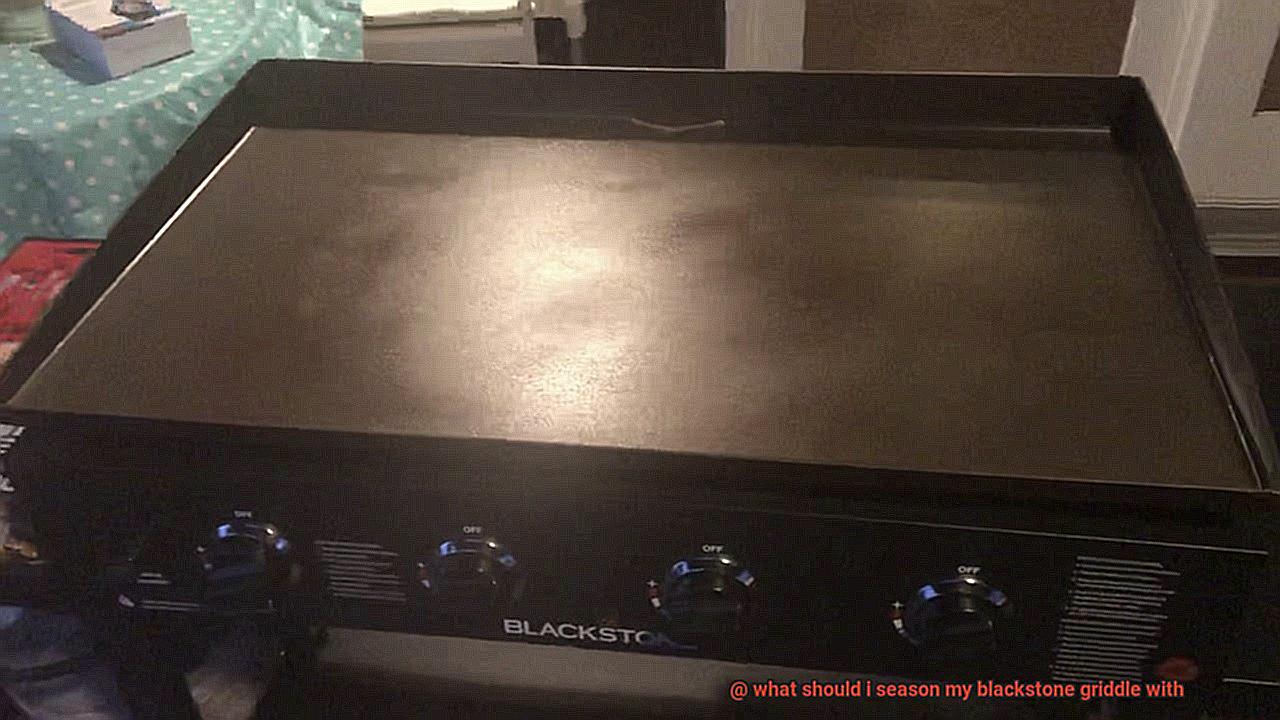
Cooling and Wiping Away Excess Oil
The seasoning process is crucial, and one of the most important steps is cooling and wiping away excess oil. Let’s dive deeper into why this step is essential and how to do it properly.
Firstly, after heating up your griddle for an hour and applying a thin layer of oil, it’s crucial to let the griddle cool down before wiping away any excess oil. This allows the oil to fully penetrate the surface of the griddle, creating a non-stick surface that will make cooking a breeze. Skipping this step can result in a sticky or gummy surface that is not ideal for cooking.
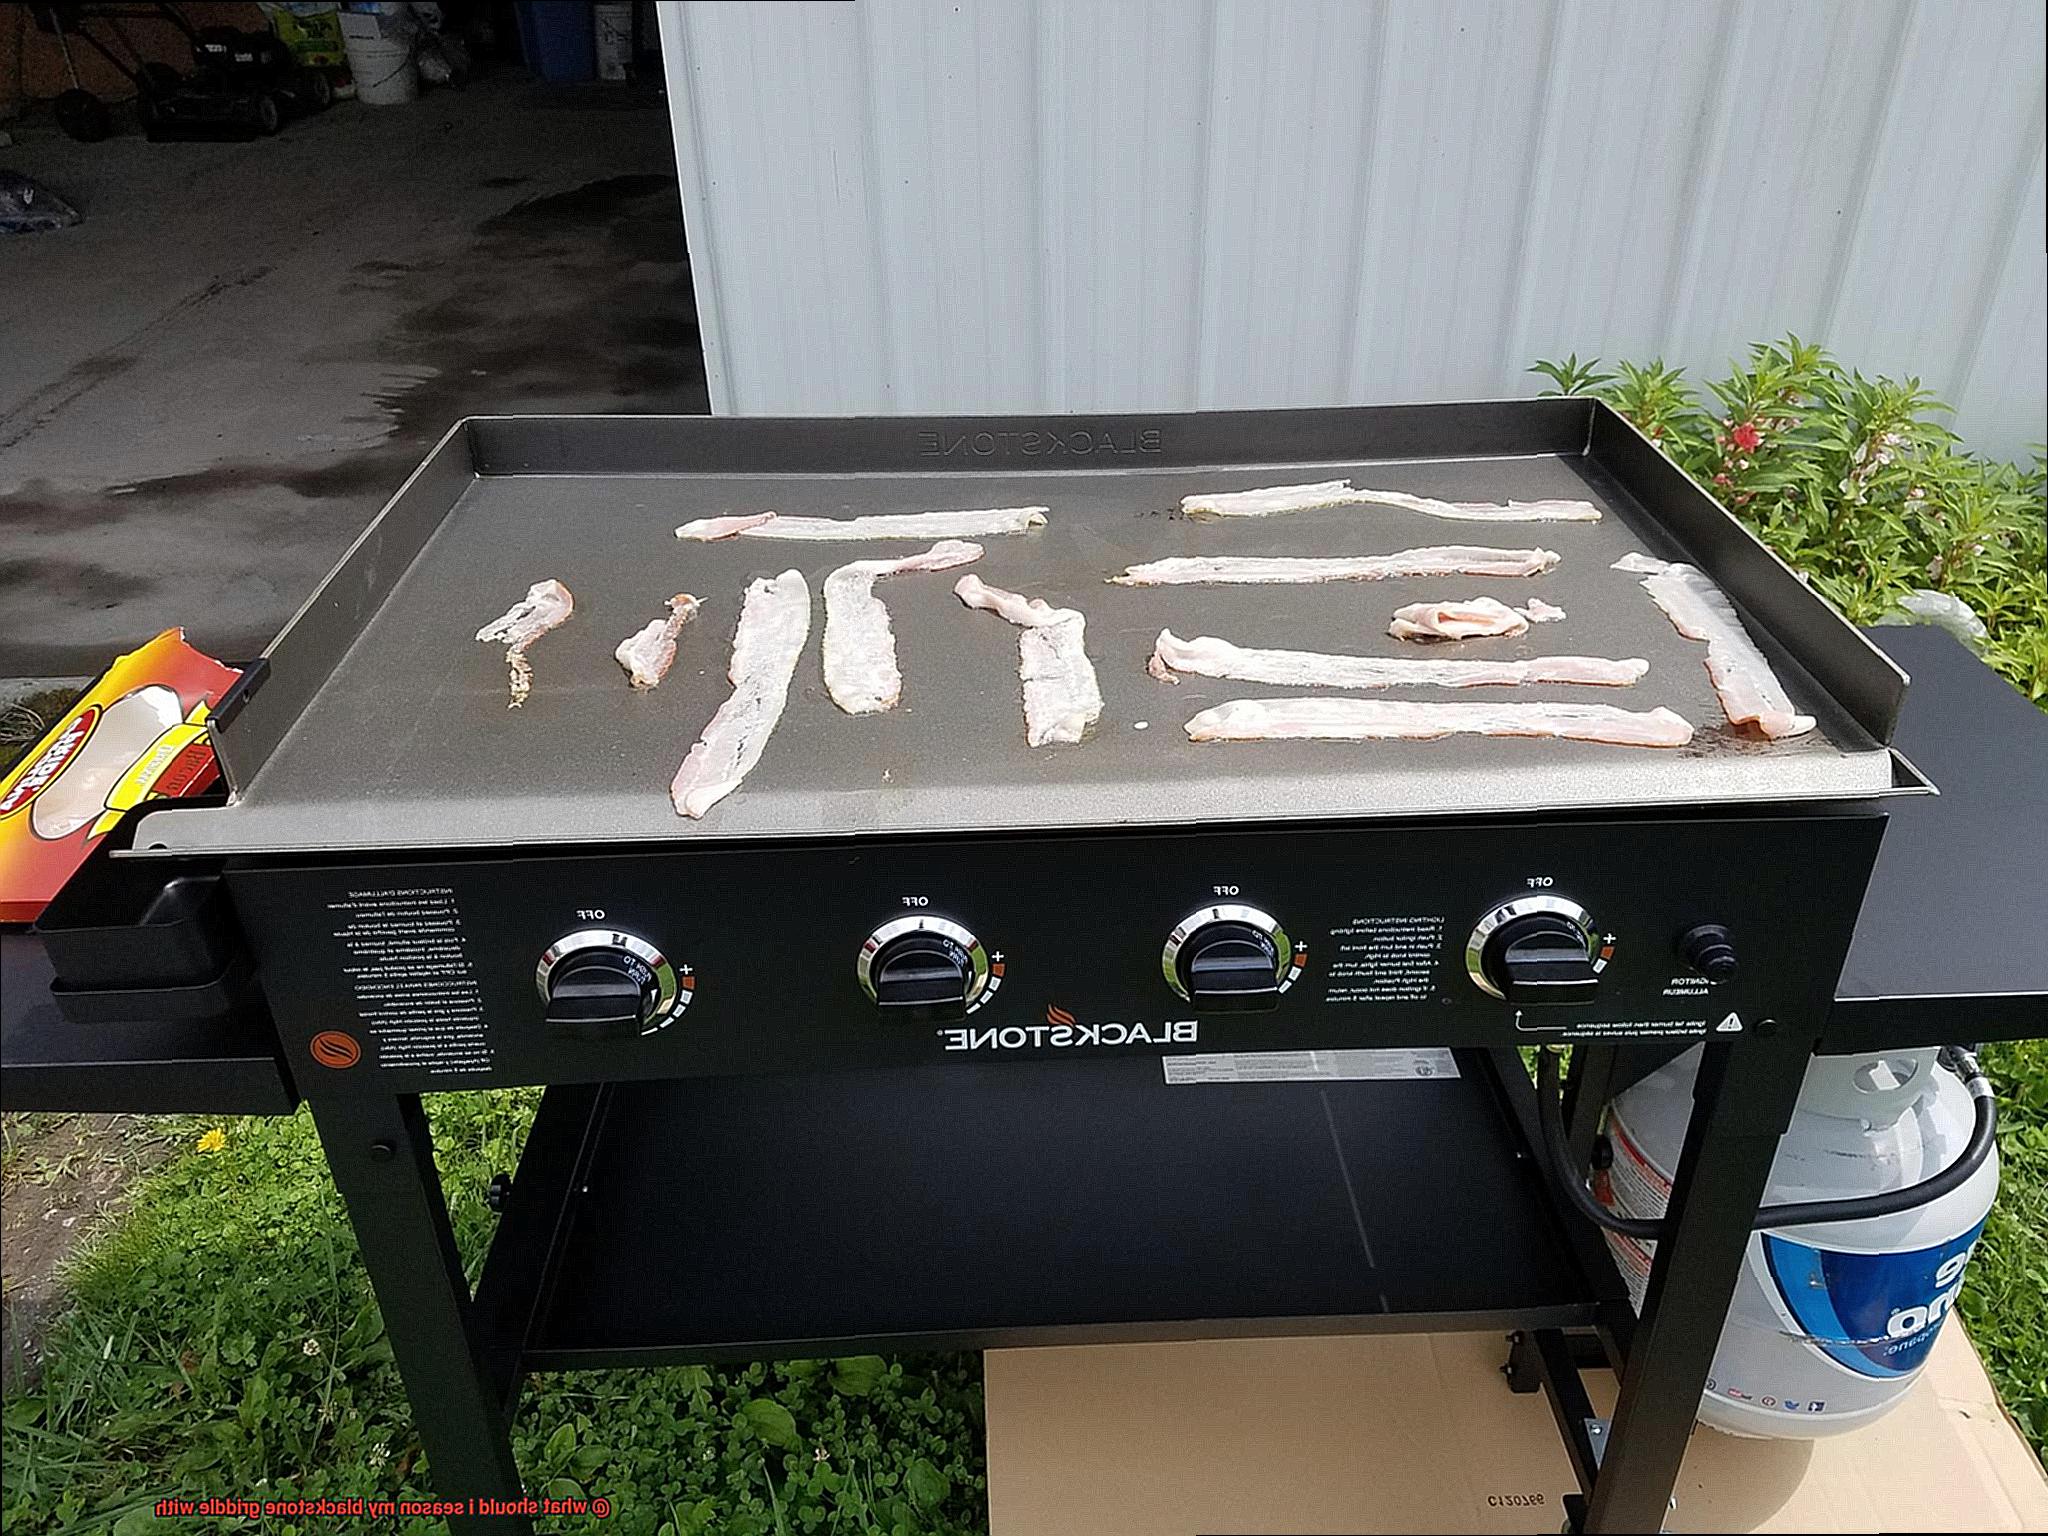
Secondly, wiping away excess oil is vital to prevent a buildup of oil on the griddle. Too much oil can lead to a sticky surface that is difficult to clean and can negatively impact the taste of your food. To avoid this, use a paper towel or clean cloth to wipe away any excess oil while the griddle is still warm. This not only removes any excess oil but also helps distribute the remaining oil evenly across the surface of the griddle.
It’s important to note that water or soap should never be used when wiping away excess oil. These substances can remove the seasoning and cause rusting on the griddle surface. Instead, use a dry paper towel or cloth.
Furthermore, repeating this process at least three times before using the griddle for cooking will ensure that your griddle is well-seasoned and ready to use. So take your time and master this crucial step in Blackstone griddle seasoning.
Re-Seasoning Your Blackstone Griddle Periodically
Then it’s time to talk about the importance of re-seasoning your griddle periodically. Over time, the seasoning on your griddle can wear off due to high heat, food debris, and cleaning products. Therefore, it is crucial to re-season your griddle periodically to maintain its non-stick surface and avoid rust or corrosion.
To start, the first step is to clean your Blackstone Griddle thoroughly. You can use a scraper or spatula to remove any food particles or debris from the surface. Then, use a damp cloth or paper towel to wipe away any remaining residue. Avoid using soap or abrasive cleaners as they can strip away the seasoning.
Once you have cleaned your griddle, it’s time to apply a new layer of seasoning. The most common method is to use oil. You can use any cooking oil with a high smoke point, such as vegetable oil, canola oil, or flaxseed oil. Apply a thin layer of oil all over the griddle surface with a brush or cloth.
Next, turn on your griddle to high heat and let it sit for about 15-20 minutes. This will allow the oil to bond with the griddle surface and form a non-stick layer. During this process, you may notice some smoke and odor, but that’s normal.
Once your griddle has cooled down, use a paper towel to wipe away any excess oil. Your Blackstone Griddle is now ready for use. Remember to re-season your griddle periodically, depending on how often you use it.
In summary, keeping your Blackstone Griddle well-seasoned is essential for maintaining its non-stick surface and ensuring delicious results every time you cook on it. To help make things easier for you, here are some additional tips:
- Use a high-quality oil to season your griddle. It’s worth the investment.
- Don’t forget to season your griddle after cleaning it, especially if you used soap or an abrasive cleaner.
- Re-season your griddle more frequently if you use it often.
- If you notice rust or corrosion on your griddle, it’s time to re-season it immediately.
Benefits of Seasoning Your Blackstone Griddle
Then it’s time to start seasoning. Not only does this simple step enhance the flavor of your food, but it also helps to prolong the lifespan of your griddle.
Let’s explore the benefits of seasoning your Blackstone Griddle in more detail. Firstly, it enhances the flavor of your food. As you cook on a seasoned griddle, the oil seeps into the pores of the surface, imparting a distinct flavor to your dishes. This adds depth and complexity to your meals, making them more enjoyable to eat.
In addition, seasoning your Blackstone Griddle makes cleaning up a breeze. A well-seasoned griddle will have a non-stick surface, which means that food won’t stick as easily. This makes cleanup quick and easy with just a paper towel or scraper.
Thirdly, seasoning helps prevent rust and corrosion from forming on your griddle. The oil used in the seasoning process acts as a barrier between the metal surface and oxygen, keeping rust at bay. This means that you can enjoy your griddle for years to come without worrying about replacing it anytime soon.
Lastly, seasoning improves overall performance by ensuring better heat distribution and reducing hot spots. This means that you can cook your food evenly and consistently, whether you’re cooking for a large group or trying to create a restaurant-quality meal at home.
Mistakes to Avoid When Seasoning Your Blackstone Griddle
But before you get carried away with the seasoning process, be aware of some common mistakes that many people make. By avoiding these errors, you can guarantee an evenly seasoned and well-prepared griddle for your cooking needs.
Firstly, make sure that you clean your griddle thoroughly before seasoning it. Leftover debris or dirt on the surface can lead to an uneven seasoning process that will negatively impact the quality of your food. So grab some soap and a sponge, and give your griddle a good scrub before going any further.
Next up is oil – everyone’s favorite ingredient. While it’s necessary for seasoning, using too much oil can cause pooling and uneven spots on your griddle’s surface. To avoid this, apply a thin layer of oil evenly across the surface of your Blackstone griddle. It’s also essential to use an oil with a high smoke point, like vegetable or canola oil. Using an oil with a low smoke point, such as olive oil, can leave a burnt taste and damage your griddle’s surface.
Lastly, don’t rush the seasoning process. It takes time for the seasoning to fully take effect, so be patient and let your griddle work its magic. Experts recommend seasoning for at least an hour, but some suggest up to four hours for optimal results. Rushing this process can lead to an unevenly seasoned surface and poor cooking results.
To summarize, avoid these common mistakes when seasoning your Blackstone griddle:
- Neglecting to clean the griddle thoroughly before seasoning
- Using too much oil during the seasoning process
- Using an oil with a low smoke point
- Not allowing enough time for the seasoning process to take place
RD1jpSXy3C0″ >
Conclusion
In conclusion, seasoning your Blackstone griddle is an essential step in creating delicious meals.
By following the steps outlined above, you can ensure that your griddle is properly seasoned and ready to use for all of your cooking needs. Remember to use high smoke point oils such as vegetable or canola oil, and to apply multiple layers of seasoning for the best results.
With a well-seasoned griddle, you’ll be able to cook up mouth-watering dishes that will impress even the most discerning taste buds.

