Have you ever savored the smoky, charred flavor of perfectly roasted peppers? The tender texture and bold taste make them an ideal addition to any meal. While many recipes suggest roasting peppers in the oven, nothing quite compares to the scrumptious simplicity of roasting them on the stove.
But how do you achieve that perfect roast? Is it as easy as placing a pepper on top of a burner? Not exactly. There are some tips and tricks that will ensure your peppers are roasted to perfection.
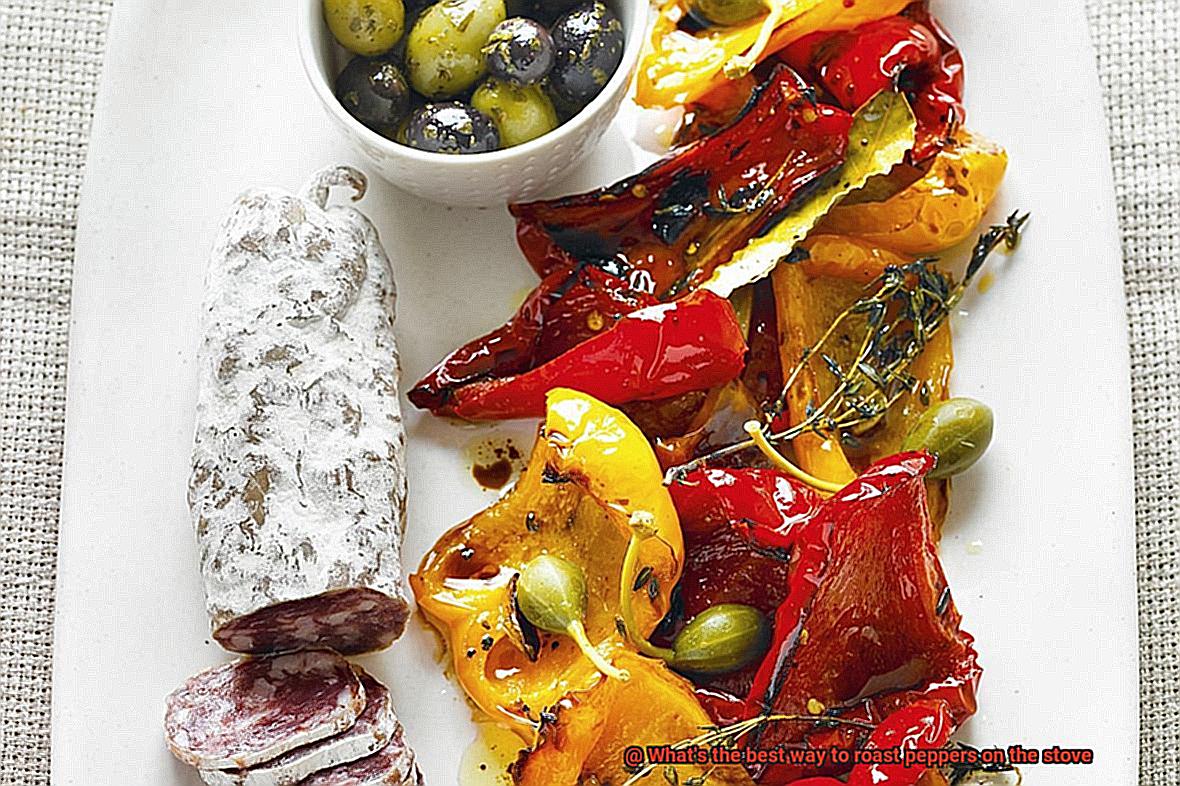
Firstly, selecting the right type of pepper is crucial. Although any pepper can be roasted on the stove, some varieties work better than others. Poblano and bell peppers are two popular choices, but why not experiment with others?
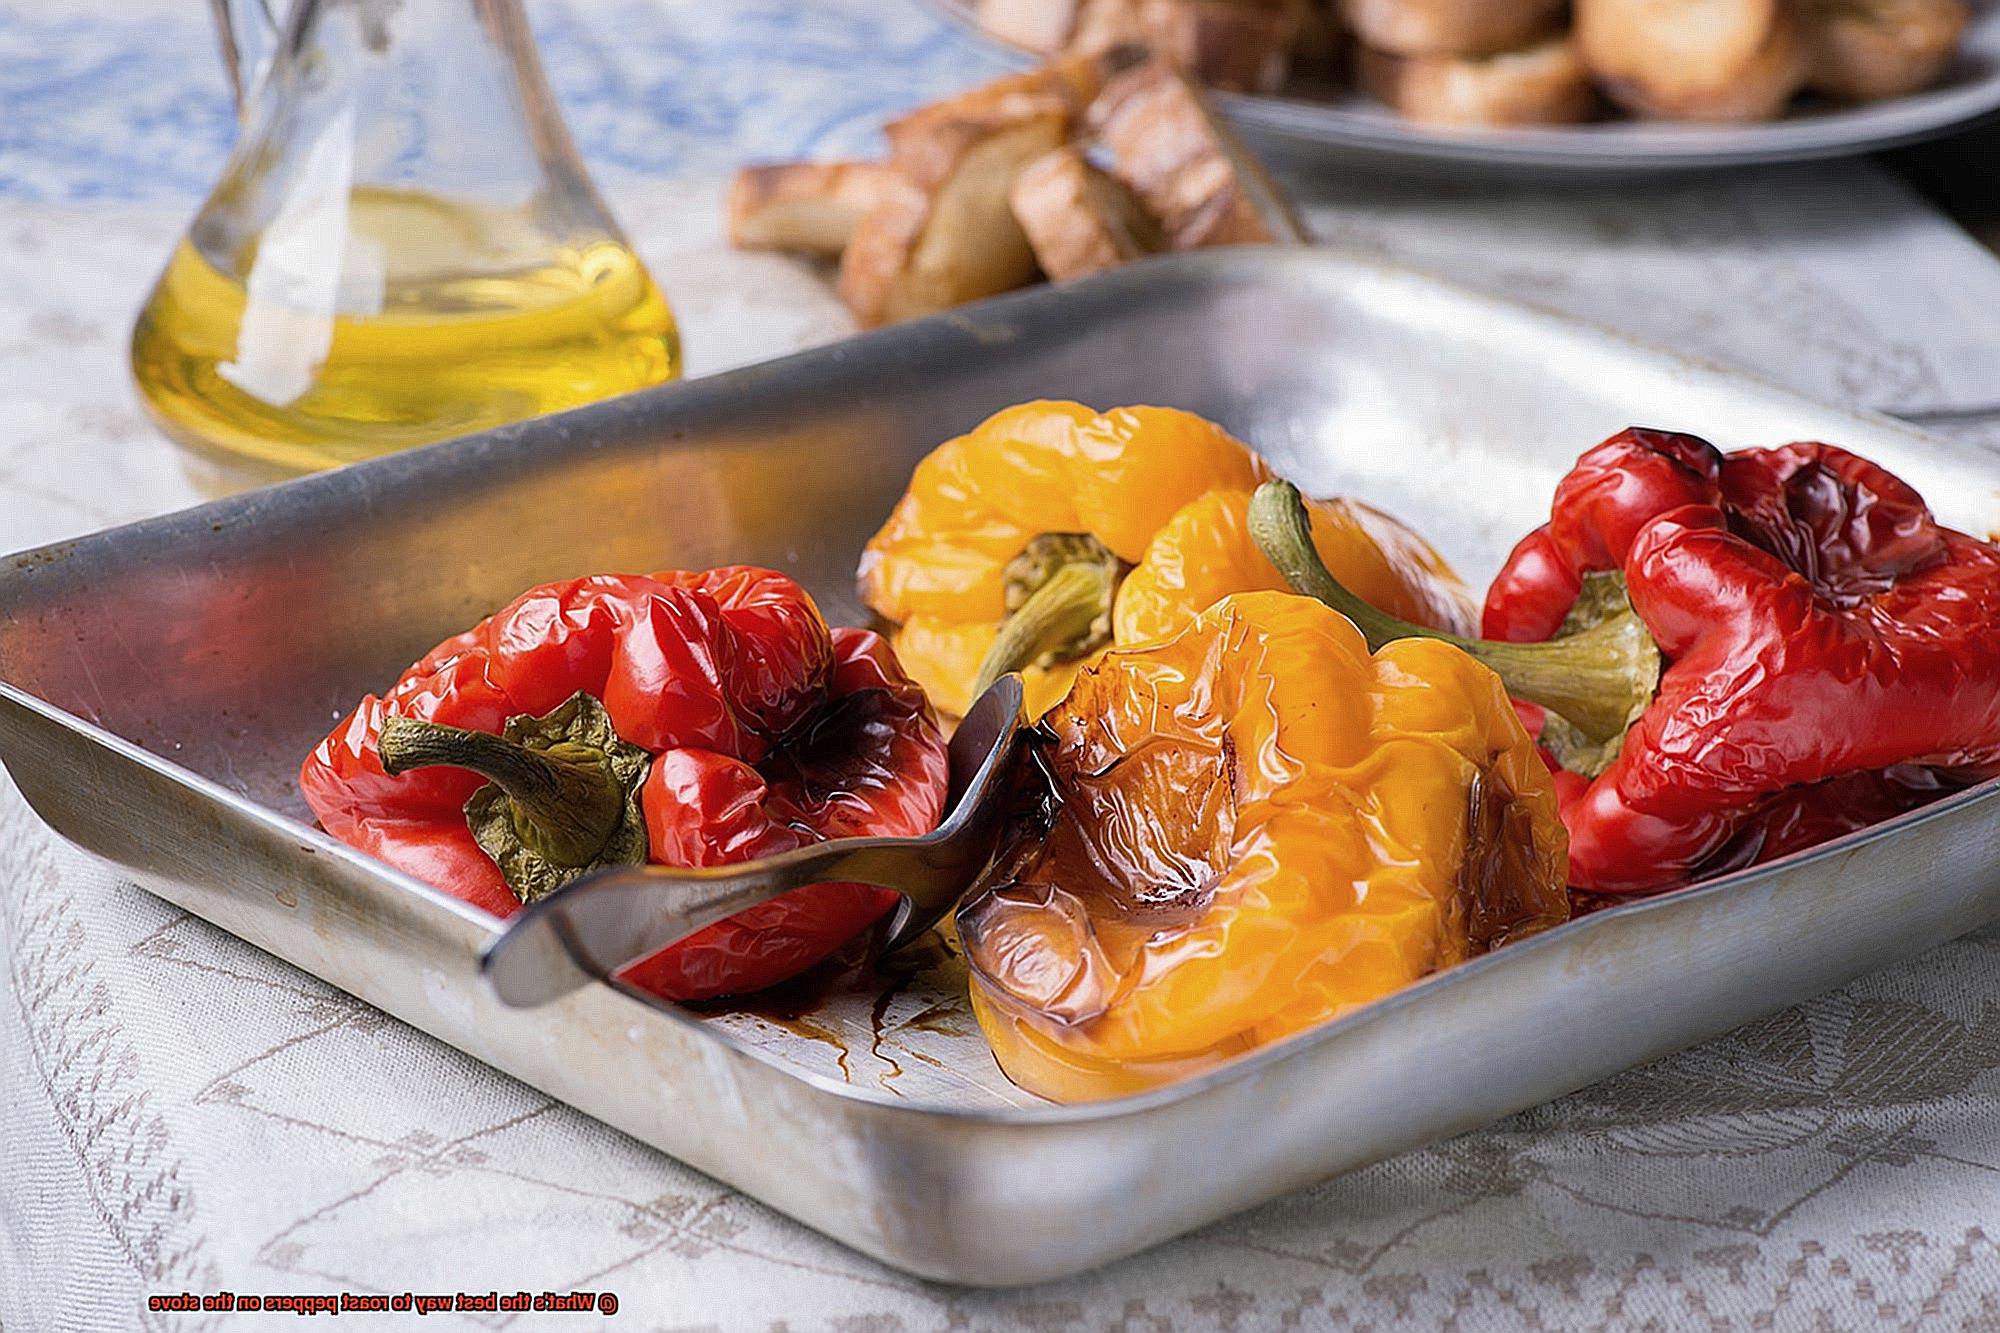
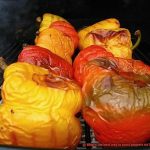
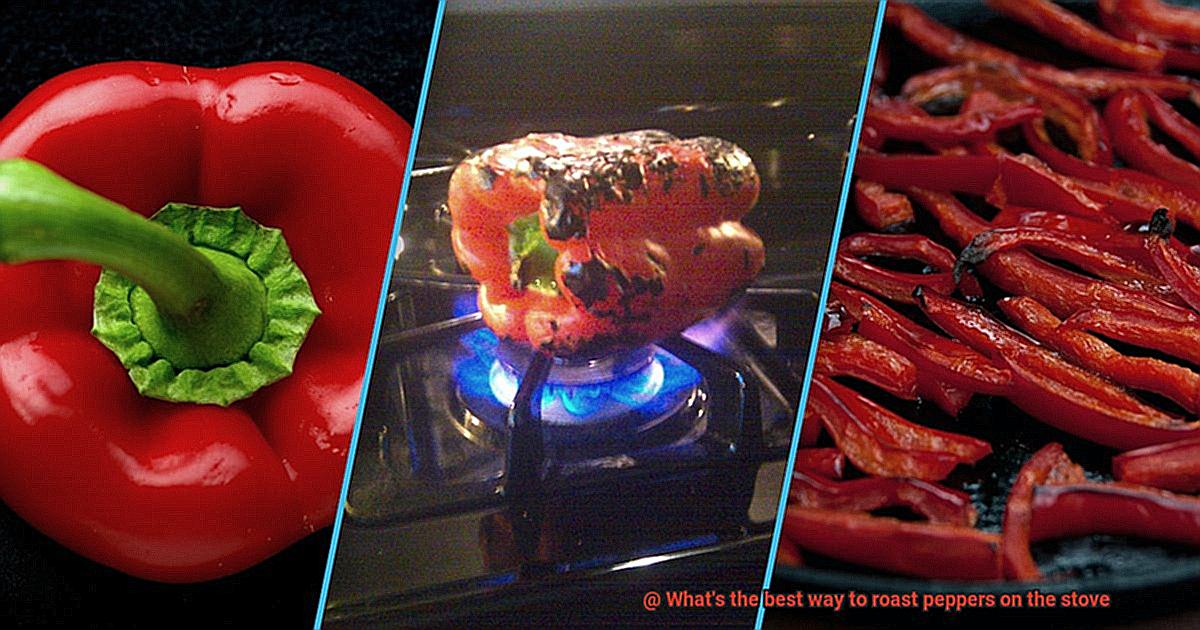
Once you’ve chosen your peppers, it’s time to roast them over an open flame. This can be done on a gas stove or grill. The key is to blacken the skin without burning the flesh inside – this typically takes between 5-10 minutes depending on size.
After blistering, remove from heat and let cool before peeling off the skin and removing seeds.
Roasting peppers on the stove is simple yet delicious – adding flavor with ease. Follow these tips for perfectly roasted peppers every time.
Contents
Choosing the Right Type of Pepper
Look no further than roasted peppers on the stove. But with so many varieties of peppers available, how do you choose the right one?
Let’s start with the classic choice for roasting: the red bell pepper. These sweet and mild peppers have a thick flesh that makes them perfect for grilling on the stove. Plus, they come in a rainbow of colors that can add some visual pizzazz to your dishes.
But if you’re looking for a slightly bolder flavor, consider the poblano pepper. This slightly spicy pepper has a thinner skin that blisters beautifully when roasted on the stove, adding a smoky depth to your dishes.
For those who crave heat, the jalapeño pepper is a go-to option. With its medium level of spiciness and thin skin that blackens easily during roasting, it’s perfect for adding some kick to your dishes.
It’s important to note that not all peppers are created equal when it comes to roasting. Thin-walled chili peppers, for example, can become too charred or even catch fire during the process. So be sure to choose a sturdy pepper that can hold up to high heat.
When selecting your pepper, look for ones that are firm, shiny, and free from any blemishes or soft spots. And don’t worry if some bits of skin remain after peeling – they’ll add an extra layer of texture and flavor to your dish.
Preheating the Stove Burner
Before you start, let’s talk about the essential step of preheating the stove burner.
To begin, choose a sturdy pan that can handle the heat. A heavy-bottomed skillet or cast-iron pan is ideal as they distribute heat evenly and prevent hot spots. Once you’ve selected your pan, place it on the stove and turn the heat to medium-high. Now, here comes the crucial part – allow the pan to heat up for at least 5 minutes until it reaches the perfect temperature. How do you know it’s ready? A drop of water should sizzle when it hits the surface.
But why is preheating the stove burner so important? Simply put, it ensures that your peppers cook evenly and develop a beautiful char on the outside. By preheating your skillet, you create a natural non-stick surface, preventing your peppers from sticking and making clean-up a breeze.
In addition to achieving perfectly roasted peppers, preheating also prevents them from becoming soggy. If you add peppers to a cold pan, they will steam rather than roast and will not develop that desirable charred flavor.
Now, you may be tempted to roast your peppers directly over an open flame on a gas stove burner or grill. While this method can yield delicious results, it can be messy and potentially dangerous if not done carefully. Preheating a skillet on the stove is a safer and more controlled way to roast peppers indoors.
Charring the Peppers on Both Sides
Look no further than charring peppers on both sides. This simple yet essential step will give your peppers a smoky and sweet flavor that is sure to impress. With a few easy tips, you’ll be able to roast perfect peppers on your stove every time.
To begin, preheat your cast-iron skillet or heavy-bottomed pan over high heat. Just like warming up before exercise, this will ensure even cooking and a beautiful char. Once the pan is hot, place your peppers directly onto it, ensuring that there is enough space between each pepper for even charring.
Now comes the waiting game. Let the peppers cook for approximately 5-7 minutes on each side, or until they start to blister and char. Using tongs, turn the peppers over to check their progress but avoid moving them around too much as this can prevent them from charring evenly.
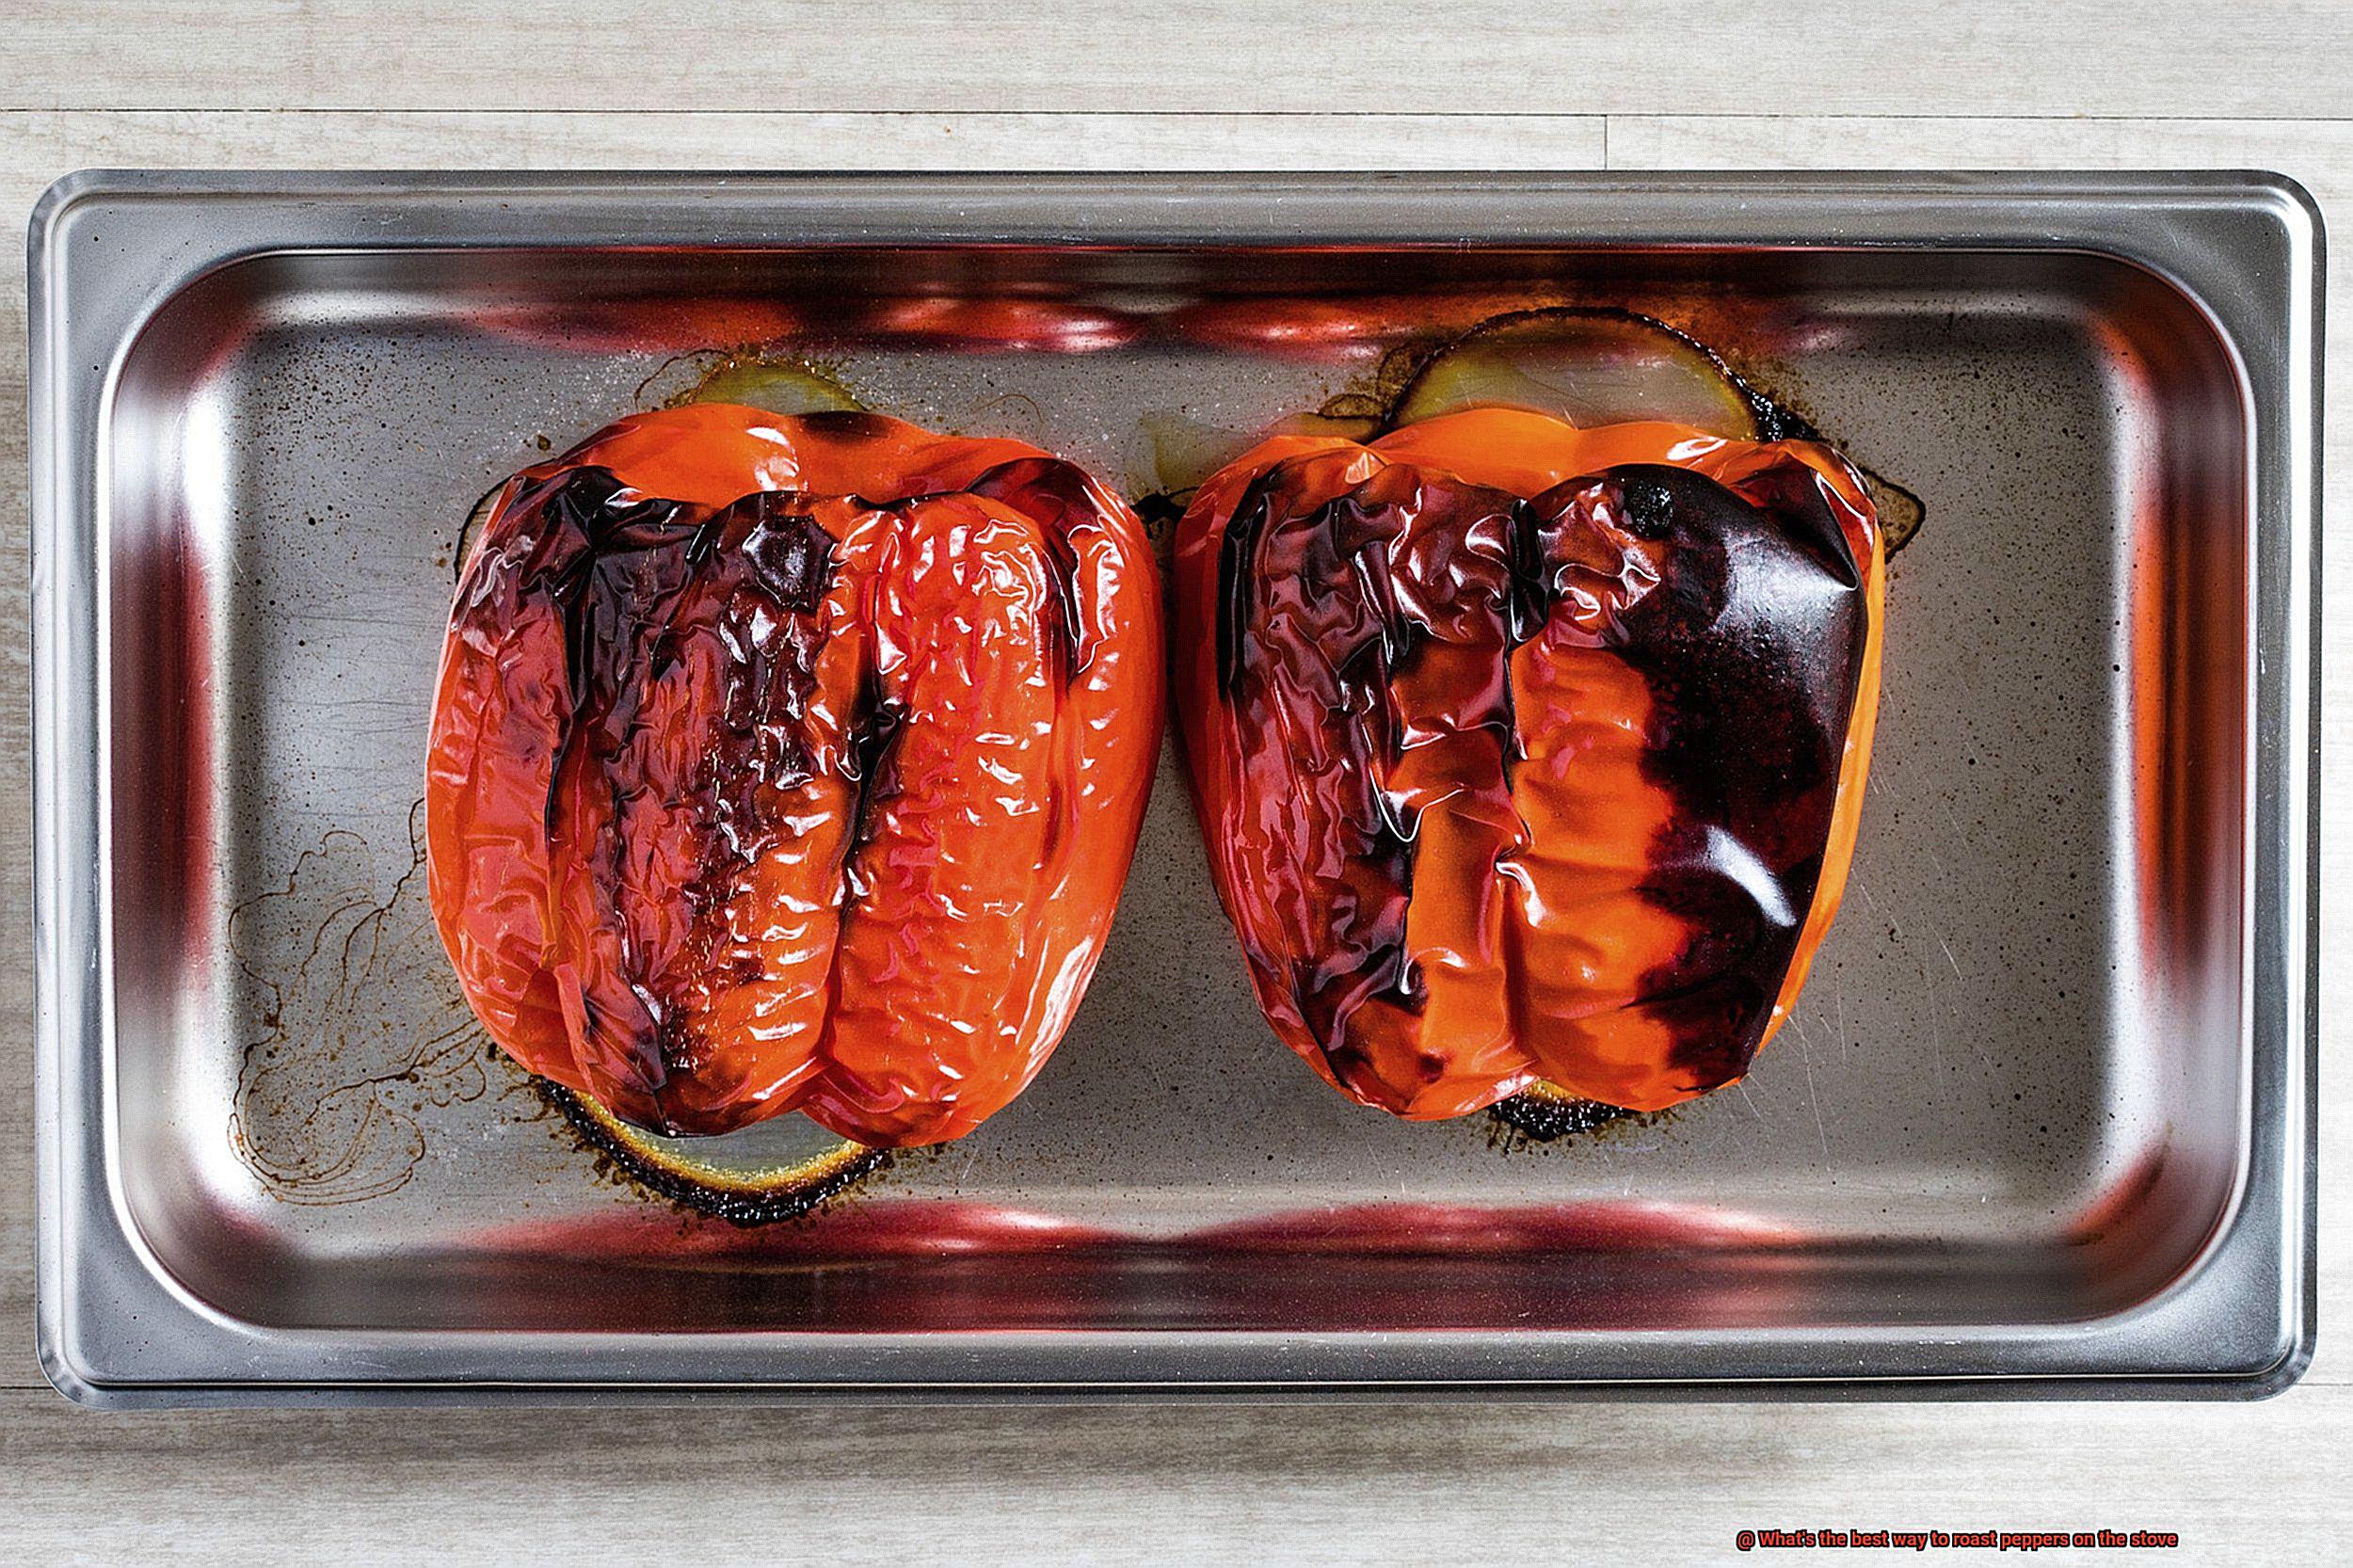
Once both sides are fully charred, remove the peppers from the pan and place them into a bowl. Cover the bowl with plastic wrap or a lid and let them steam for about 10-15 minutes. This will make it easier to remove the skin later on.
After steaming, remove the peppers from the bowl and transfer them onto a cutting board. Use a knife to gently scrape off the charred skin from each pepper. Alternatively, you can use your fingers to peel off any remaining skin. Once all of the skin has been removed, cut the peppers open and remove any seeds or stems.
Congratulations. You have now successfully roasted perfect peppers on your stove. Charring the peppers on both sides is an essential step in achieving that smoky and sweet flavor that we all love. Remember to be patient during this process and allow each side to fully char before flipping over. Here’s a quick recap of the steps:
- Preheat your cast-iron skillet or heavy-bottomed pan over high heat
- Place your peppers onto the pan, ensuring enough space for even charring
- Let the peppers cook for approximately 5-7 minutes on each side, without moving them too much
- Remove the peppers from the pan and let them steam for 10-15 minutes in a covered bowl
- Remove the skin from each pepper using a knife or your fingers
- Cut open the peppers and remove any seeds or stems
Steaming the Peppers
Look no further than steaming. This popular stove-top method not only ensures the peppers become soft and easy to peel, but it also maintains their nutrient content. Ready to learn how to steam your peppers like a pro? Let’s get started.
First things first, prep your peppers by washing them and removing the stem. Slice them in half lengthwise and scoop out the seeds and membranes. This step is vital for even cooking.
Next, fill a large pot with an inch or two of water and bring it to a boil. Place a steamer basket or colander inside, making sure the bottom of the basket sits above the water level. Now, add your pepper halves into the steamer basket, being careful not to stack them.
Cover the pot with a lid and let those beauties steam for 6-8 minutes or until they’re tender. Be sure to check regularly to prevent overcooking. Once done, remove from the steamer basket and let cool before peeling off the skin.
What’s great about steaming is that it doesn’t require any oil or seasoning, making it a healthy option that preserves most of the nutrients in the peppers. Use your steamed peppers in salads, sandwiches, soups, or as a side dish for any meal.
Removing the Charred Skin
If you’re a fan of roasted peppers, you know that removing the charred skin is crucial to ensure that they are mouth-wateringly delicious. However, this task can be daunting, especially if you’re not sure about the best method to remove the skin without damaging the flesh of the pepper. Luckily, there are several ways to remove the charred skin from roasted peppers.
One popular option is the steam method. To do this, place the roasted peppers in a bowl and cover them with plastic wrap. The trapped steam will work its magic and loosen the skin, making it easy to remove after about 15 minutes. You can then gently scrape off the skin with a knife or your fingers, revealing the tender flesh of the pepper underneath.
Another method is to place the roasted peppers in a paper bag and roll the top closed. This technique also uses steam to loosen the skin, but in a more contained way. After 10-15 minutes, you can remove the peppers from the bag and peel off the skin with a knife or your fingers. This method is perfect for those who prefer a more hands-off approach.
For those who prefer using water, rinsing roasted peppers under cold running water is another option. Although effective, this method may result in some loss of flavor if done improperly. To minimize this, use a gentle stream of water and don’t leave the peppers under the water for too long.
Regardless of which method you choose, it’s essential to be delicate when removing the charred skin from roasted peppers. You don’t want to damage the flesh underneath or lose any of that delicious flavor that makes roasted peppers so irresistible. Take your time during this process to ensure that your roasted peppers are ready for any recipe you have in mind.
Removing Seeds and Stem
If you’re a fan of roasted peppers, you know that removing the seeds and stem is crucial for a delicious and evenly cooked final product. Here’s why:
- Even cooking: The stem can be tough and take longer to cook, while the seeds can burn easily and create a bitter taste. By removing them, the pepper cooks more evenly.
- Better texture: Tough stems and crunchy seeds are not enjoyable to eat. Removing them makes for a smoother and more pleasant texture.
- Flavor control: Peppers have varying levels of heat depending on their seeds. Removing all of the seeds will give you a milder flavor, while leaving some or all of them in will make it spicier.
To properly remove the stem and seeds, first cut off the top of the pepper with a sharp knife and discard it. Then, cut the pepper in half lengthwise and gently scrape out the seeds and white membrane with a spoon or your fingers.
It’s important to note that some peppers, like jalapeños, have a lot of seeds that can add heat to your dish. If you prefer a milder flavor, make sure to remove all of them.
Another tip for handling hot peppers is to wear gloves or use a plastic bag to avoid any skin irritation or discomfort from the oils.
Chopping or Dicing the Roasted Pepper
To start, if you’re looking to use the roasted pepper as a topping for salads, pizza, or sandwiches, one popular method is to remove the stem and seeds from the pepper and slice it into thin strips. These strips will add vibrancy and taste to your dishes and are perfect for garnishing.
If you prefer a finer dice, you can first slice the pepper into thin strips, then chop those strips into smaller pieces. This method works especially well when adding the peppers to dishes like omelets, soups, or stews. It allows you to control the size of the dice and ensures that they are evenly dispersed throughout your dish.
Another technique is to chop the entire pepper into small dice before roasting it. This works wonders if you want to use the peppers as a base for dips or spreads like hummus or salsa. Chopping before roasting will give you a finer texture that blends beautifully with other ingredients.
Remember, it’s crucial to let the roasted peppers cool before handling them. This will make it easier to chop them without causing burns. Additionally, using a sharp knife will make the chopping process smoother and more efficient.
Storing Roasted Peppers
You know that roasting them can elevate any dish to new heights with their delicious flavor. But what about storing them? How can you make sure they stay fresh and tasty for as long as possible? Fear not, for I am here to guide you through the best ways of storing roasted peppers.
Let’s start with the simplest method – storing roasted peppers in an airtight container in the refrigerator. This is perfect if you plan to use your peppers within a few days. All you need to do is place your roasted peppers in a container and seal it tightly before placing it in the fridge. This method will keep your peppers fresh for up to 5 days.
But what if you have a big batch of roasted peppers that you want to keep for longer than 5 days? Freezing them is the best option. To freeze roasted peppers, simply spread them out on a baking sheet until they’re frozen solid, then transfer them to an airtight container or freezer bag. Your peppers will stay fresh for up to 6 months in the freezer this way.
If you’re looking for a more unique way of storing roasted peppers, consider preserving them in oil. Not only does this method preserve the peppers, but it also infuses them with delicious flavors from the oil and any herbs or spices added. To preserve roasted peppers in oil, peel and seed the peppers, cut them into strips or dice them, and pack them into a clean jar. Cover the peppers with oil (olive oil works well) and add any desired herbs or spices such as garlic or basil. Store the jar in the refrigerator and use within 2 weeks.
XKPoioELoho” >
Conclusion
Incorporating roasted peppers into your meals is a surefire way to add an explosion of flavor. The key to achieving perfectly roasted peppers on the stove is selecting the right type of pepper. Bell peppers, poblano peppers, and jalapeño peppers are popular choices that never disappoint.
Preheating your stove burner is crucial for even cooking and avoiding soggy peppers. To create that signature smoky flavor, char the peppers on both sides over high heat. The result will be a sweet and savory taste that will tantalize your taste buds.
After charring, removing the skin from the roasted peppers can be done using several methods such as steaming or placing them in a paper bag. Removing seeds and stems ensures even cooking, better texture, and more controlled flavor profiles. To chop or dice depends on personal preference and how you plan to use them in your dishes.
Storing roasted peppers can be done in an airtight container in the refrigerator for up to 5 days or frozen for up to 6 months. For added depth of flavor, try preserving them in oil with herbs and spices.
Don’t let fear hold you back from creating delicious roasted peppers at home. Armed with these tips and tricks, you’ll be able to impress your guests with perfectly roasted peppers every time.

