Are you tired of playing a game of chicken with your Spatchcock bird every time you cook it? Do you want to know the secret to achieving the perfect temperature for a succulent, mouth-watering meal? Look no further, my friend, because we’ve got all the juicy details.
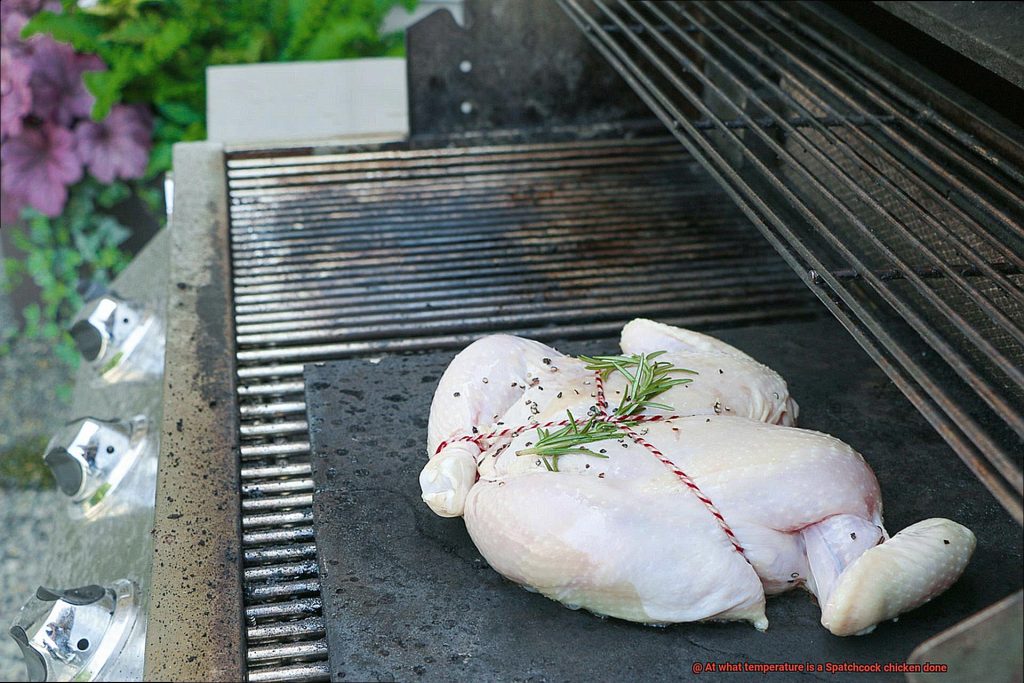
Spatchcock chicken is a cooking technique that involves removing the backbone and flattening the bird. It’s a favorite among chefs because it ensures even cooking and results in crispy skin that’s hard to resist. However, getting the timing just right can be tricky.
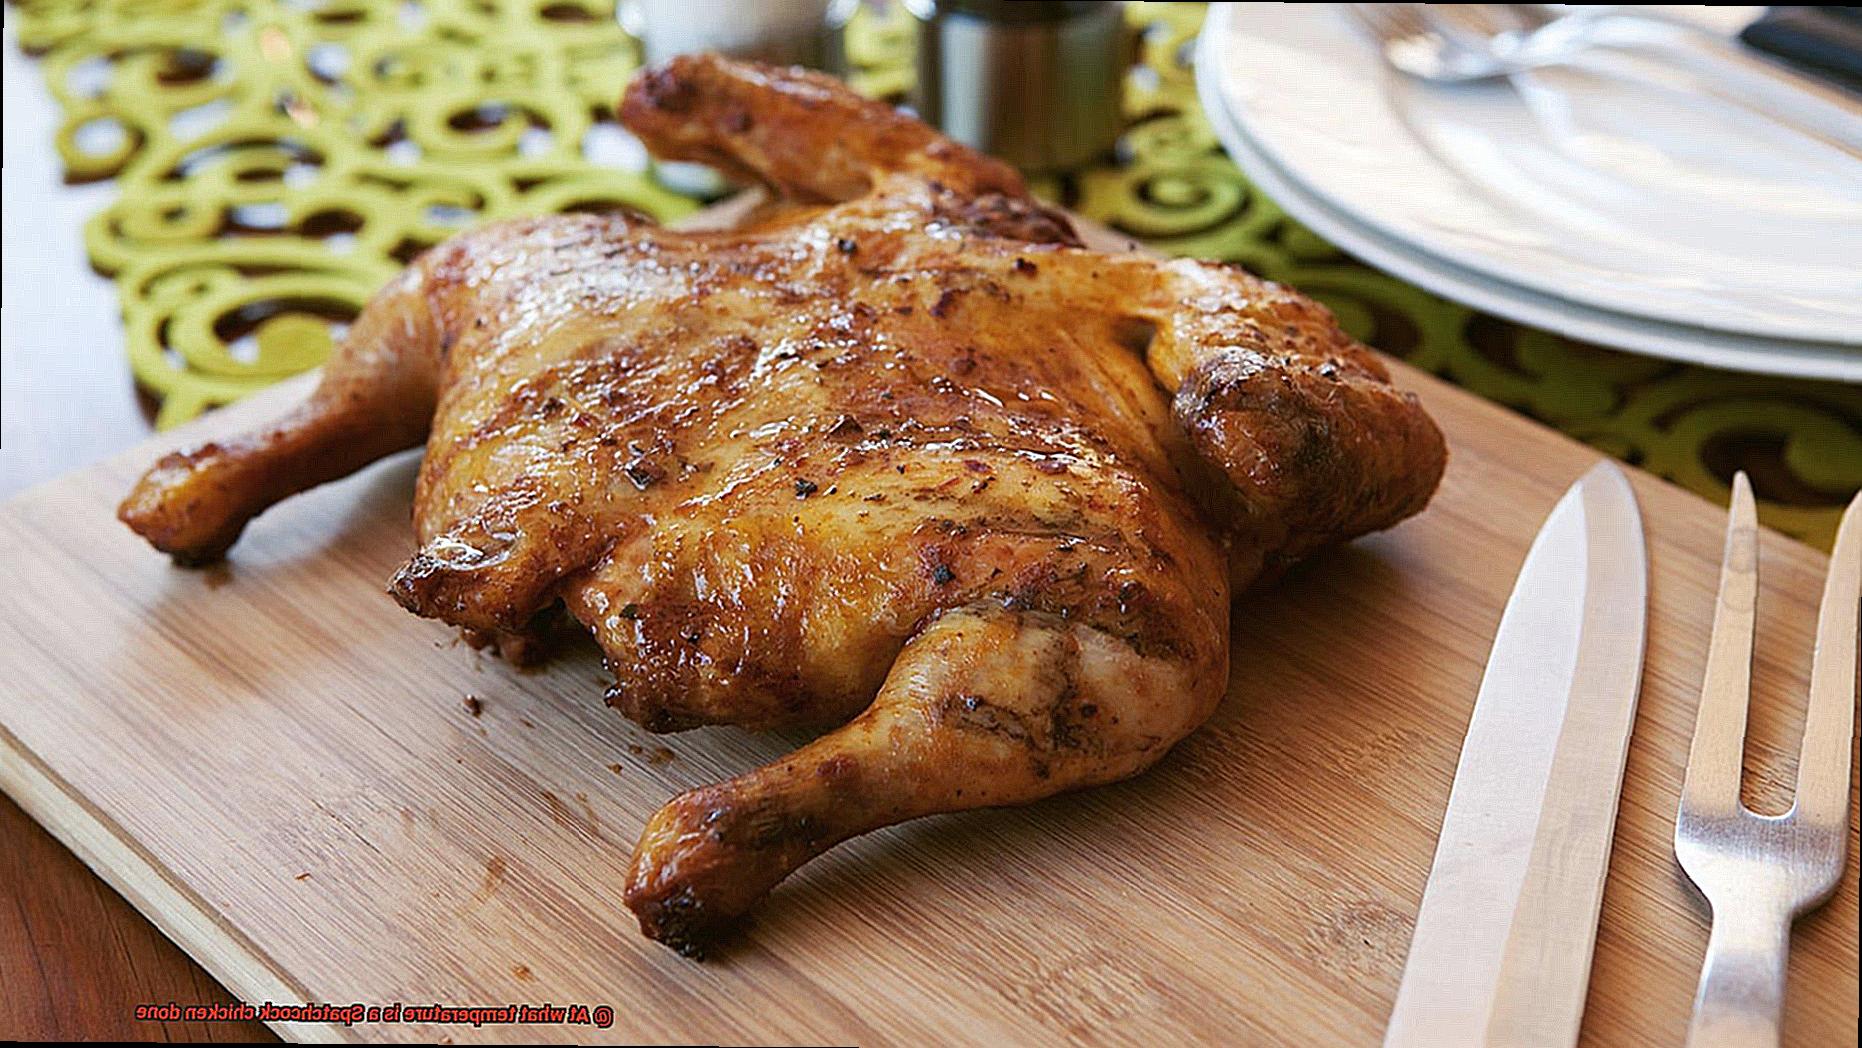
The truth is, there’s no one answer to this question. The perfect temperature for your Spatchcock chicken depends on several factors like its size, oven temperature, and how well-done you like your meat.
But don’t let that intimidate you. In this blog post, we’ll explore all the essential factors needed to cook up an impeccable Spatchcock chicken. We’ll cover recommended internal temperatures for different parts of the bird, tips for achieving crispy skin, and how to use a meat thermometer like a pro.
Are you ready to elevate your poultry game? Then let’s dive into our guide on mastering the art of cooking Spatchcock chicken.
Contents
Why Temperature Matters When Cooking a Spatchcock Chicken
When it comes to cooking a Spatchcock chicken, temperature is the key ingredient that makes all the difference. The internal temperature of the chicken determines whether or not it’s fully cooked and safe to devour. Undercooked chicken can cause serious health issues, so it’s crucial to know the proper temperature for cooking.
The ideal temperature for a Spatchcock chicken is 165°F (74°C). At this temperature, all harmful bacteria in the chicken will be eliminated, making it safe to consume. However, different parts of the chicken may cook at different rates, so it’s crucial to check the temperature in multiple areas using a meat thermometer inserted into the thickest part of the chicken without touching any bones.
The beauty of Spatchcocking a chicken is that it produces more even cooking throughout the bird. By removing the backbone and flattening the bird, you create a more uniform thickness that allows for more consistent cooking. But this also means that you need to be extra careful when monitoring the temperature to ensure that all parts of the chicken are cooked to perfection.
It’s also important to keep in mind that carryover cooking can raise the internal temperature by a few degrees even after you remove the chicken from heat. To avoid overcooking your chicken, remove it from heat when it reaches an internal temperature of 160°F (71°C) and let it rest for 5-10 minutes before carving. During this time, the internal temperature will continue to rise and reach the ideal 165°F (74°C).
The USDA-Recommended Temperature for Spatchcock Chicken
I’m here to guide you through the USDA-recommended temperature for doneness and some helpful tips to ensure your bird is cooked to perfection.
Firstly, let’s talk about safety. The USDA recommends that all poultry, including Spatchcock chicken, should be cooked to an internal temperature of 165°F (74°C). This is essential in destroying harmful bacteria such as salmonella, ensuring your meal is both safe and delicious.
To achieve this temperature, use a meat thermometer to check the internal temperature of the thickest part of the chicken. Be careful not to touch the bone with the thermometer, as this can result in an inaccurate reading.
But that’s not all – cooking time is also crucial when it comes to Spatchcock chicken. Cooking times vary depending on the size of your bird and cooking method used. A 3-4 pound Spatchcock chicken will take around 45 minutes to 1 hour to cook on a grill, while a larger 5-6 pound bird may take up to 1.5 hours. Keep this in mind when planning your meal.
And once you’ve cooked your Spatchcock chicken to perfection? Let it rest for at least 10 minutes before carving. This allows the juices to redistribute throughout the bird, resulting in a tender and flavorful meal.
Benefits of Spatchcocking a Chicken
This simple and effective technique involves removing the backbone from a chicken and flattening it out to cook it more evenly. Here are just a few reasons why you should give spatchcocking a try:
Firstly, spatchcocking reduces cooking time by up to 50%, allowing you to spend less time waiting for your chicken to cook and more time enjoying it with your loved ones. Plus, the flattened shape of the bird results in juicy meat and crispy skin.
But spatchcocking isn’t just about speed – it also ensures more even cooking. By removing the backbone and flattening the bird, the breast and thigh meat cook at the same rate, eliminating the common problem of dry breast meat.
And let’s talk about flavor. The larger surface area of a spatchcocked chicken allows for better absorption of seasoning and marinades, resulting in a bird that’s bursting with flavor from every bite.
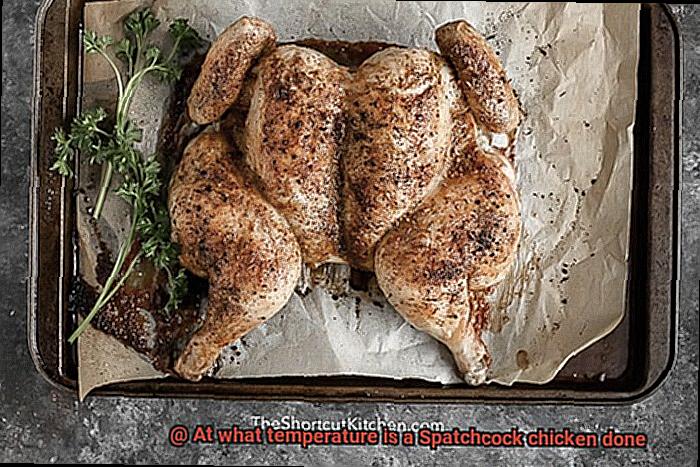
Finally, spatchcocked chickens are easier to carve than whole chickens. The flattened shape makes it easy to access all parts of the bird, so you can separate the meat from the bone with ease.
How to Measure the Internal Temperature of Your Spatchcock Chicken
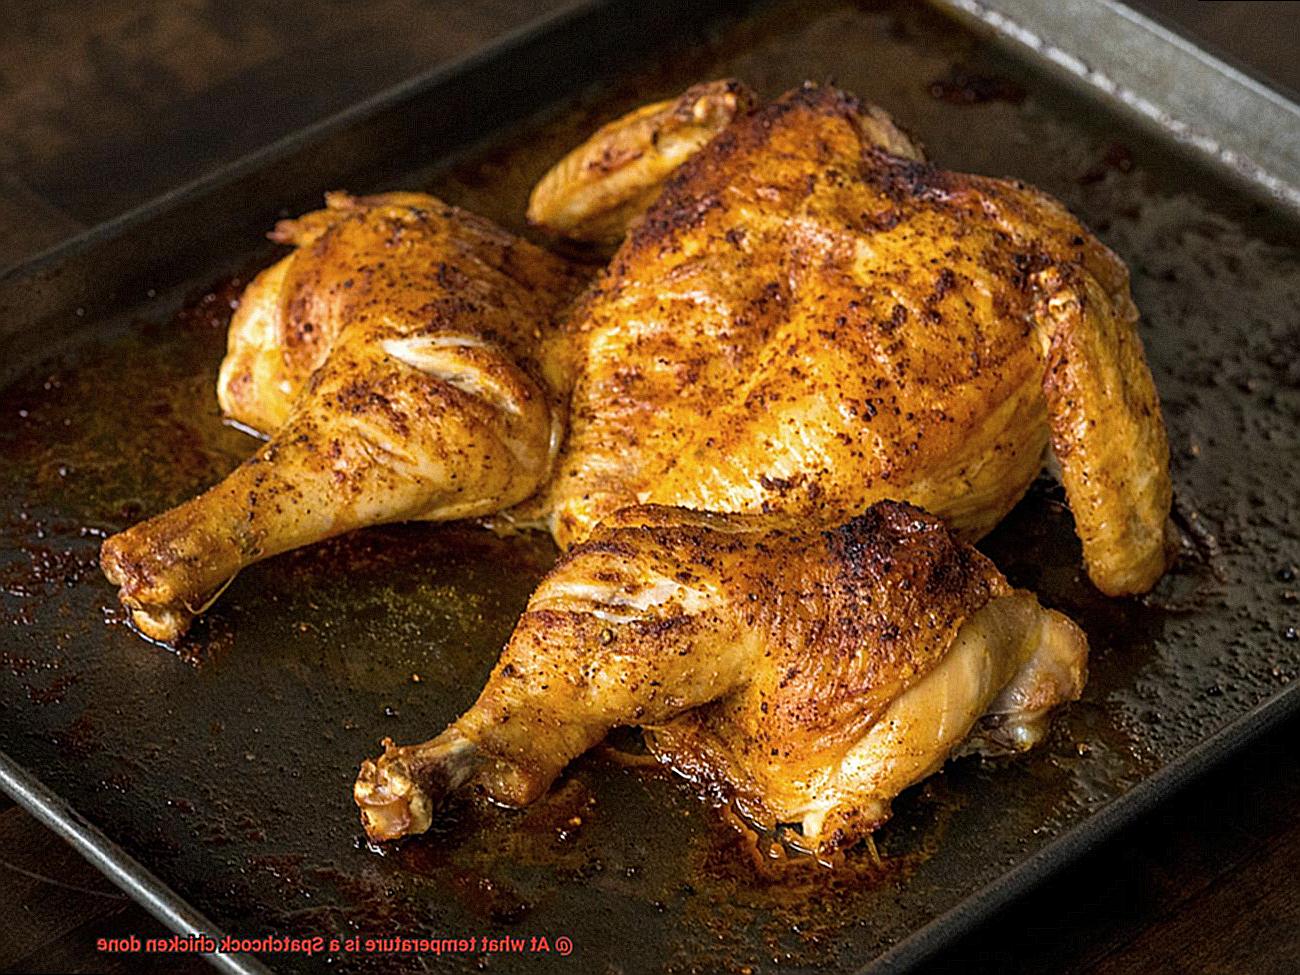
Spatchcock chicken is a mouth-watering dish that requires proper cooking to avoid any food safety issues. Measuring the internal temperature of your spatchcock chicken is crucial to ensure that it is safe and fully cooked. Here are five sub-sections that will explain how to measure the internal temperature of your spatchcock chicken.
Use a Meat Thermometer
A meat thermometer is an essential tool for measuring the internal temperature of your spatchcock chicken accurately. Whether you use a digital or analog thermometer, it is important to ensure that it is accurate and calibrated correctly. A meat thermometer will eliminate the guesswork and ensure that your chicken is cooked to perfection.
Insert Thermometer into the Thickest Part
To measure the internal temperature of your spatchcock chicken, insert the thermometer probe into the thickest part of the chicken’s breast. Avoid touching any bones as this can give you an inaccurate reading. By inserting the thermometer in the thickest part, you will get an accurate reading of the temperature.
Wait for Temperature Reading to Stabilize
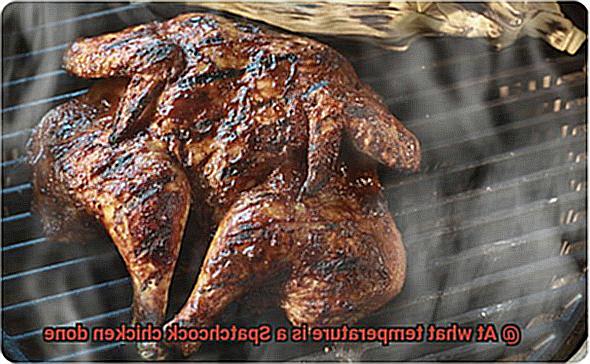
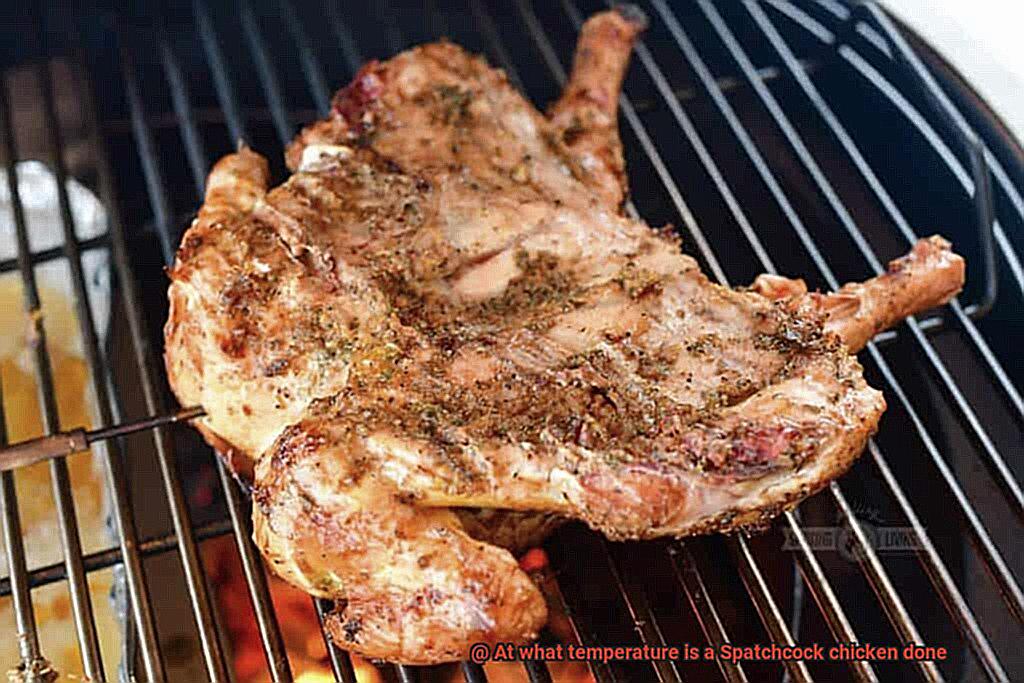
Wait for a few seconds until the temperature reading stabilizes, then check the temperature on the thermometer display. It is recommended to take multiple readings from different parts of the chicken to ensure that it is cooked evenly. This will help you determine if any part of your spatchcock chicken needs more or less time on the grill.
Check Ideal Internal Temperature
The ideal internal temperature for a spatchcock chicken is 165°F (75°C). Different parts of the chicken may reach their ideal temperatures at different times, so it is important to measure the temperature in multiple locations. The thighs and legs may take longer to cook than the breast, so make sure to check these areas too.
Let It Rest
Once you have achieved an internal temperature of 165°F (75°C), remove the spatchcock chicken from the grill and let it rest for a few minutes before cutting into it. This will allow the juices to redistribute throughout the meat, resulting in a more tender and flavorful bird. Cutting into your spatchcock chicken too soon may cause the juices to escape, making the meat dry and less flavorful.
Tips for Ensuring Food Safety with Spatchcock Chicken
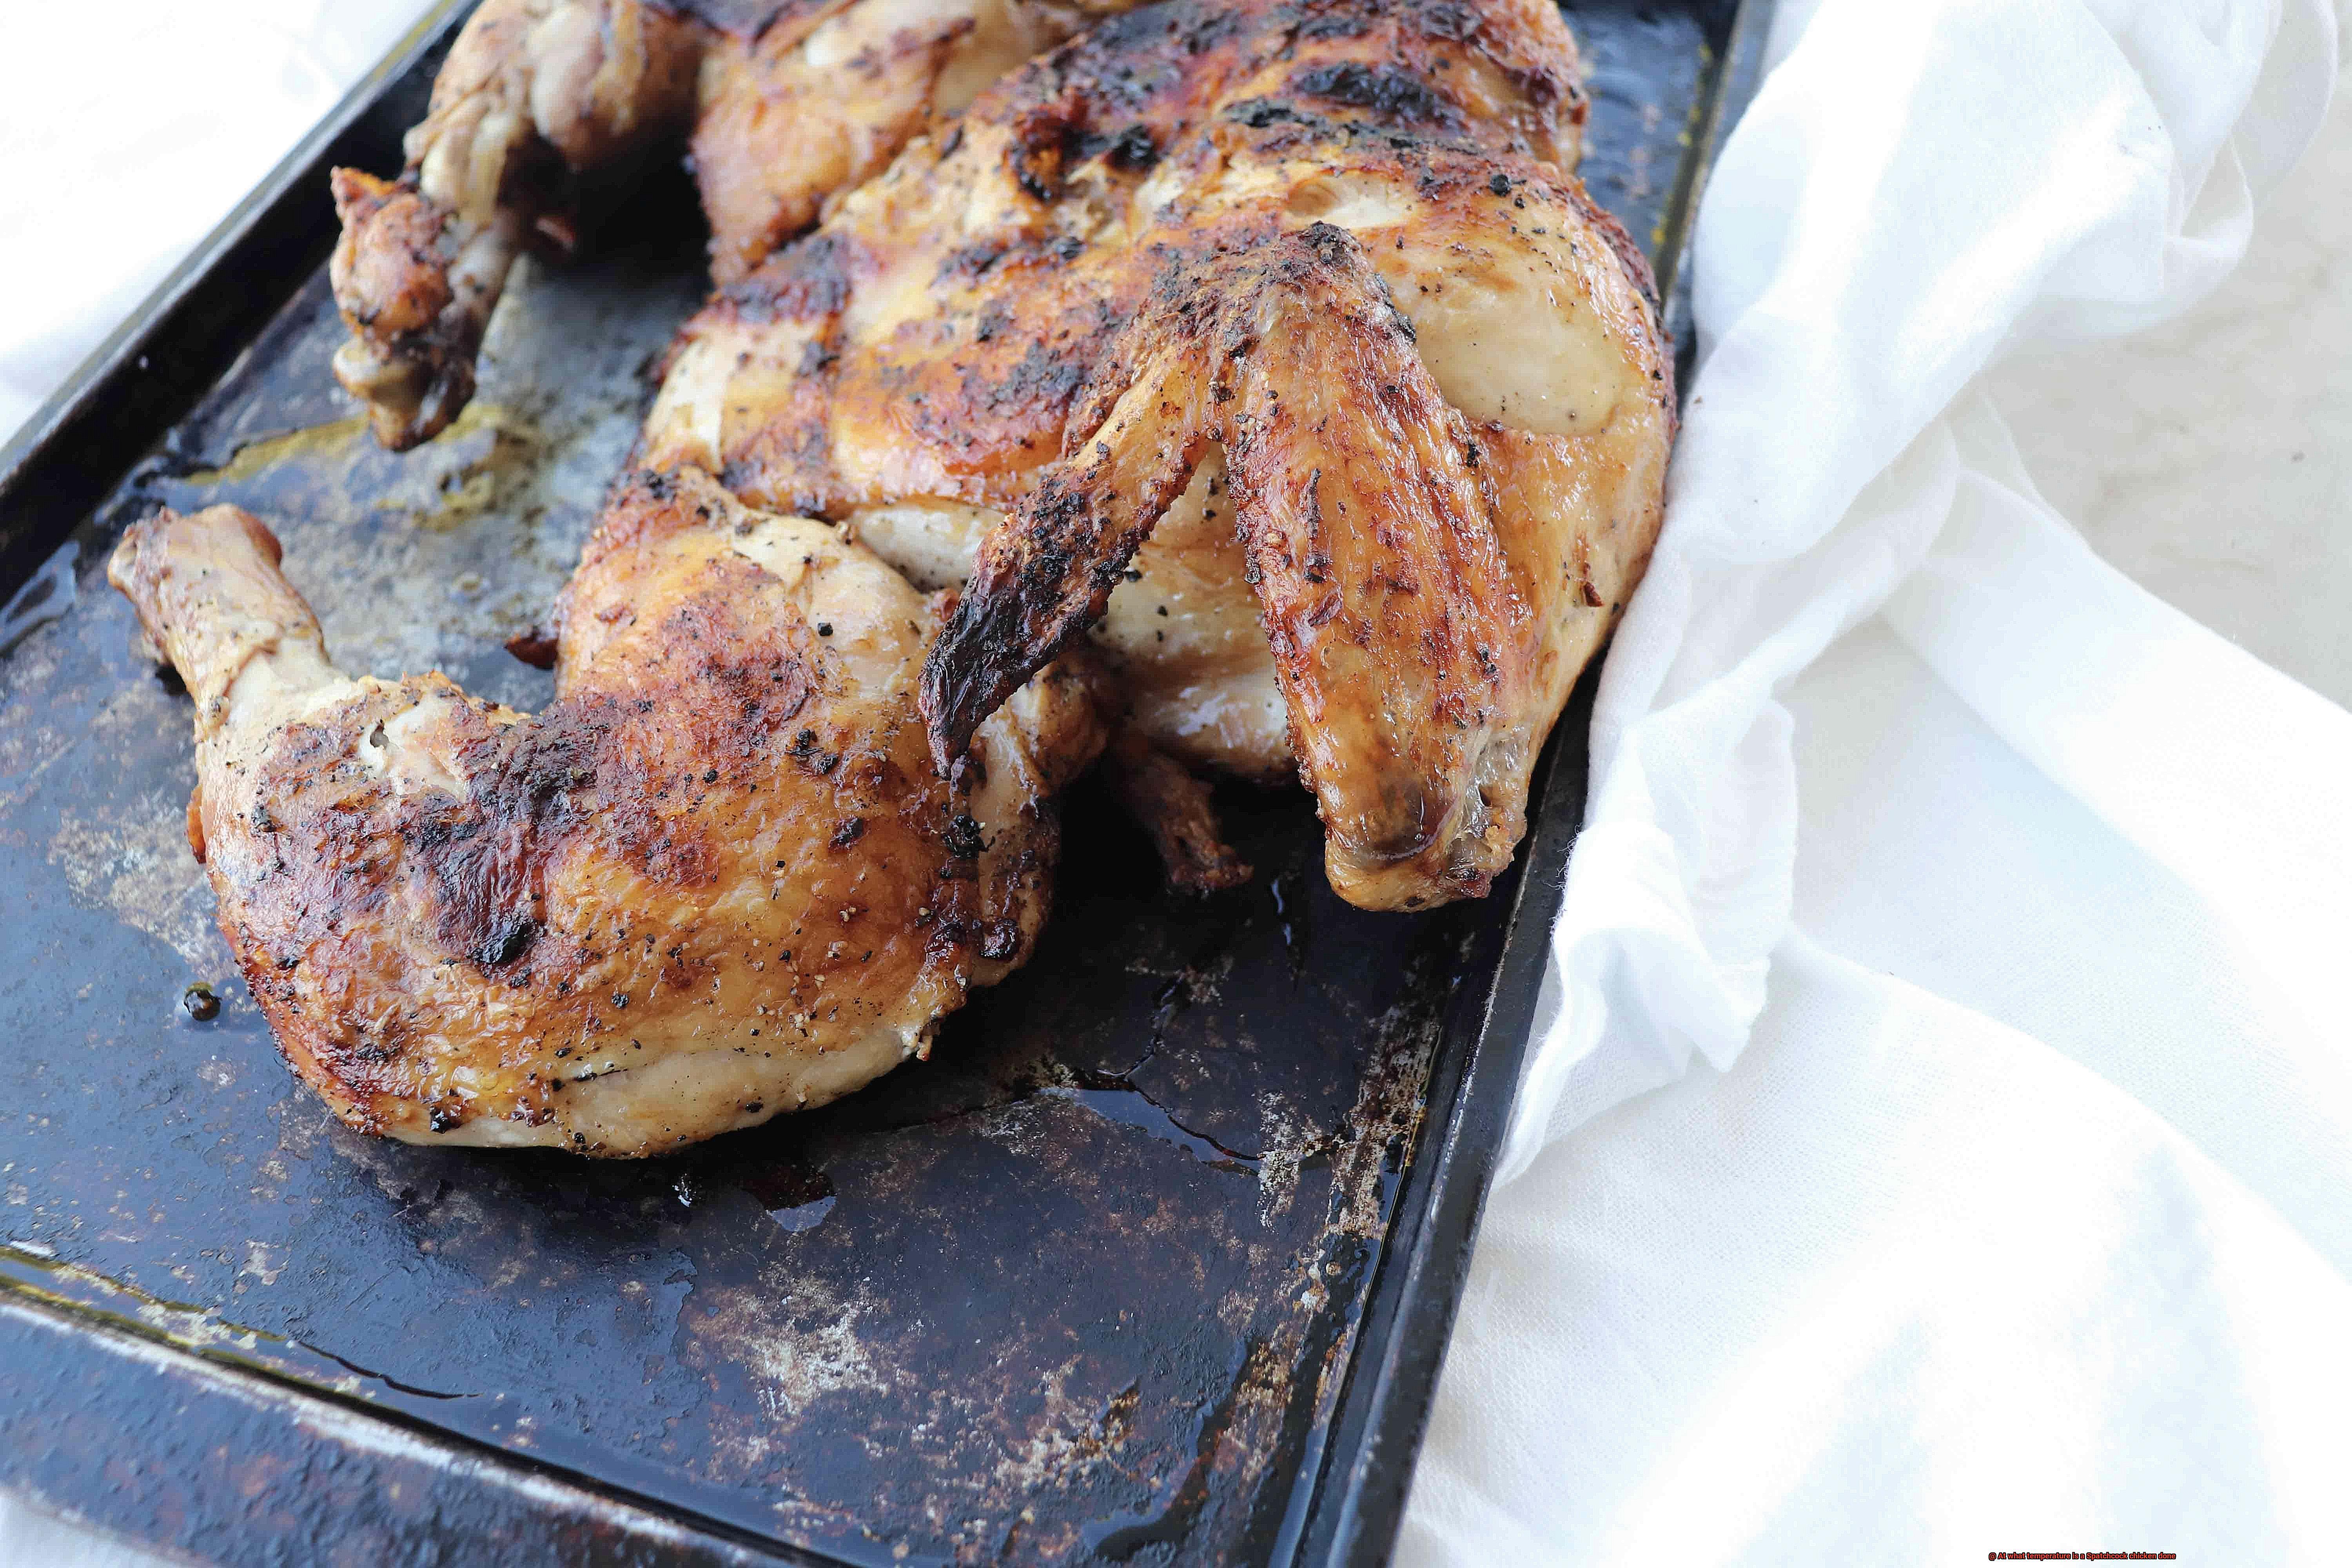
If you want to indulge in a mouthwatering Spatchcock chicken, it’s important to keep food safety in mind. Here are five tips that can help you ensure that your dish is safe to eat:
Use a meat thermometer
A meat thermometer is the best tool to check if your Spatchcock chicken is fully cooked. The internal temperature of the chicken should reach 165°F (74°C) in the thickest part of the meat. This temperature is crucial as it eliminates any harmful bacteria present in the chicken.
Wash your hands and utensils
Before handling any raw poultry, it’s essential to wash your hands and any utensils or surfaces that will come into contact with the meat. This simple step helps prevent the spread of harmful bacteria.
Marinate safely
If you plan on marinating your Spatchcock chicken, do so in the refrigerator and not at room temperature. Keeping it at a lower temperature prevents bacteria from growing on the chicken, ensuring that it stays safe to eat.
Don’t cross-contaminate
Raw poultry can easily transfer bacteria to other foods, so it’s crucial to keep it separate from other ingredients in your kitchen. Use separate cutting boards and utensils for raw chicken, and always wash them thoroughly before using them again.
Let it rest
After cooking, let your Spatchcock chicken rest for at least 5-10 minutes before carving into it. This step allows the juices to redistribute throughout the meat, resulting in a more tender and flavorful bird.
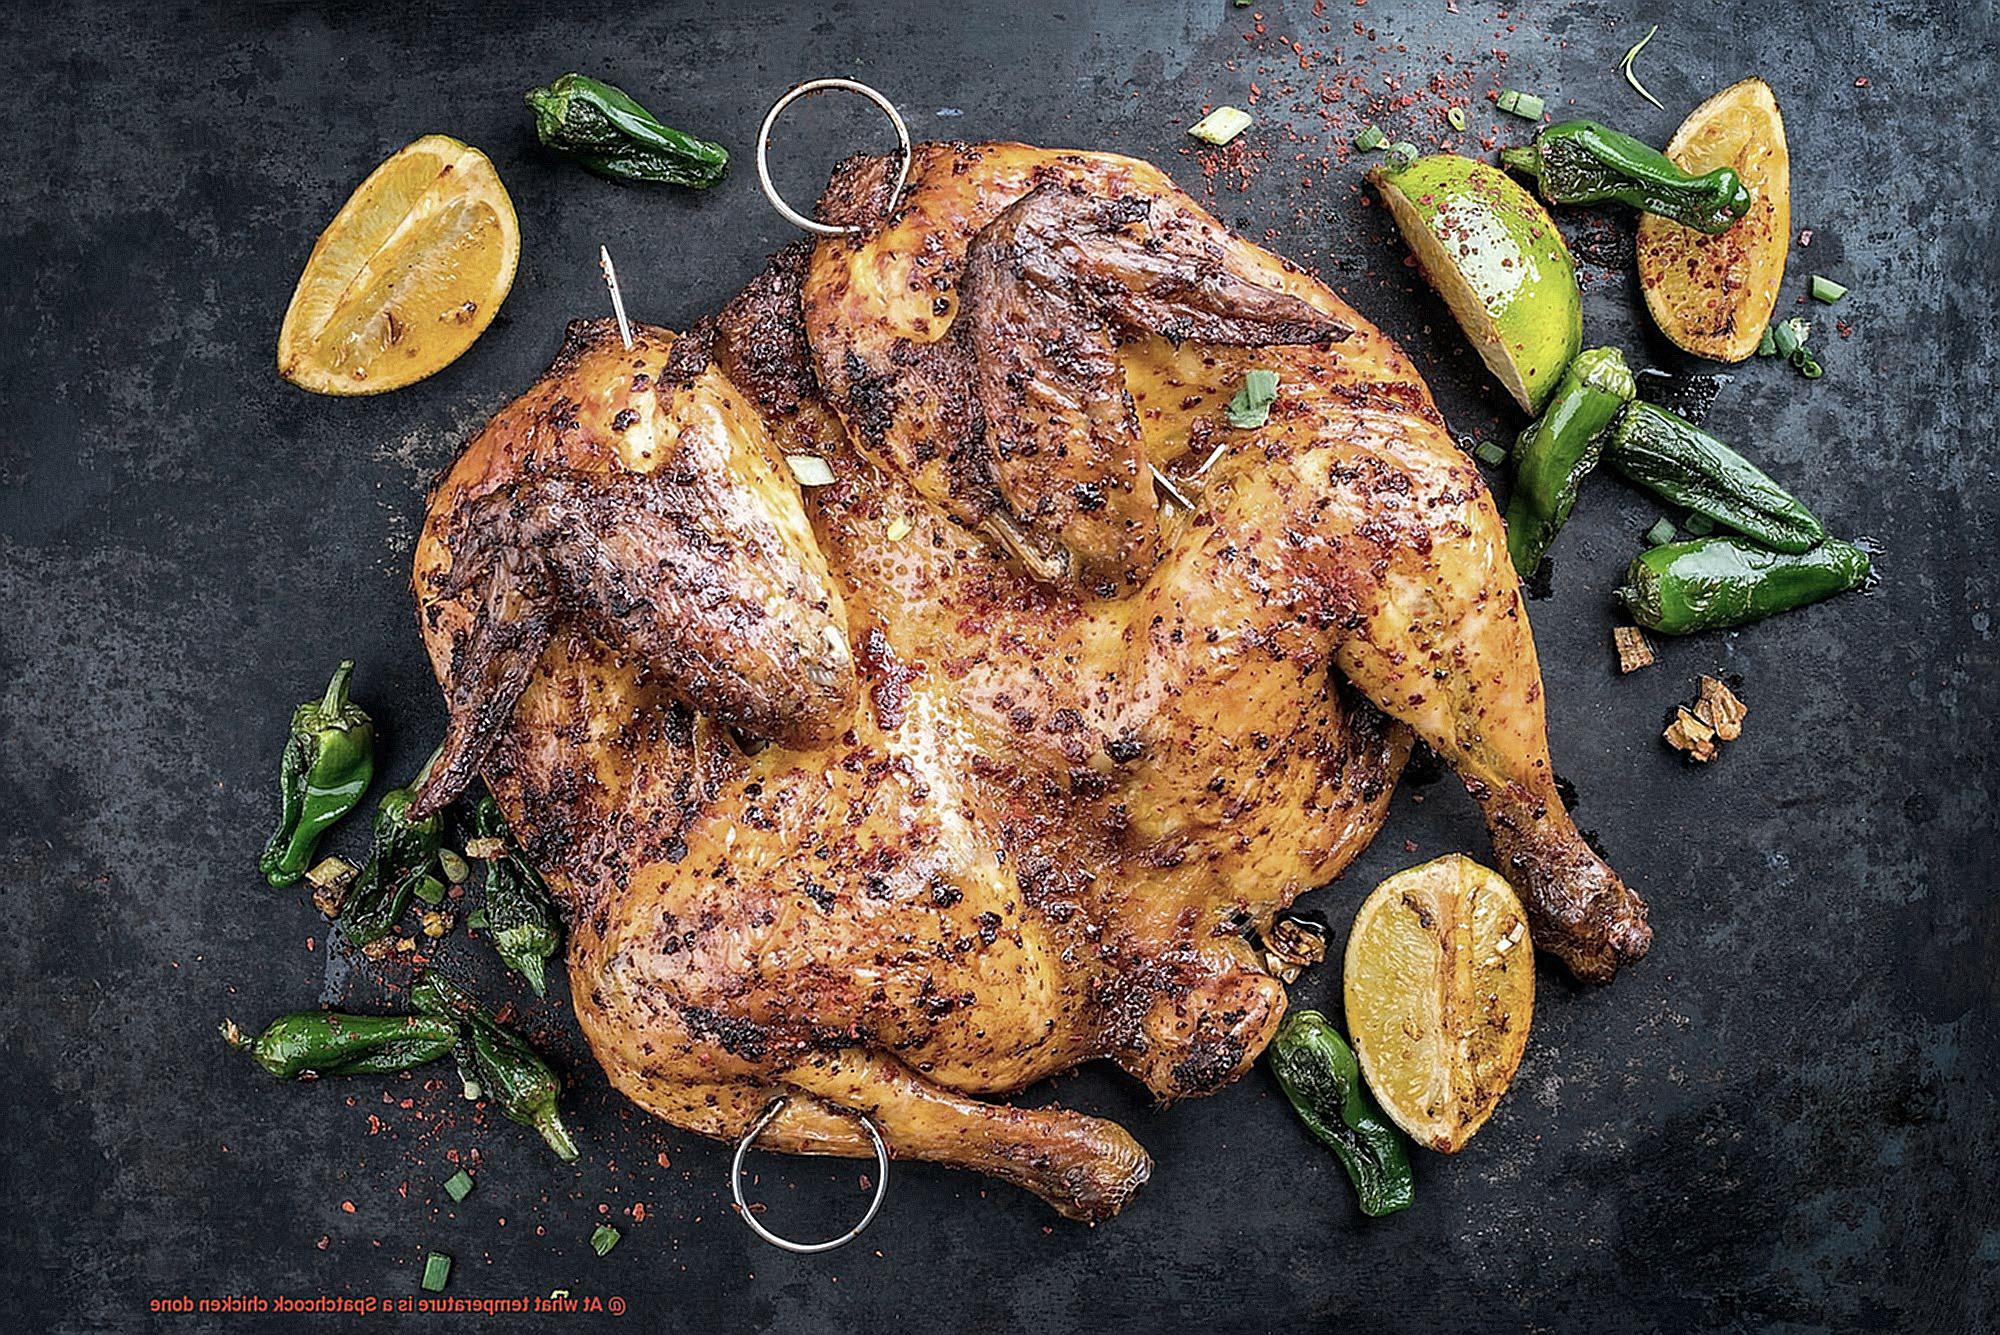
Lowering the Temperature Without Sacrificing Taste or Texture
I am here to share some expert tips that will help you lower the temperature while cooking your chicken, resulting in a succulent and delicious meal.
Firstly, one technique you can use to lower the temperature is indirect heat. This means that you do not place the chicken directly over the heat source. Instead, it is placed on the cooler part of the grill or in a roasting pan in the oven. The slower, more even cooking process helps to prevent burning and overcooking, resulting in a juicy and perfectly cooked chicken.
Secondly, basting your chicken with butter or oil is another great technique that helps regulate the temperature as it cooks. This method keeps the chicken moist and adds additional flavor to it, making it even more succulent and delicious.
Finally, using a meat thermometer is crucial when cooking spatchcock chicken. It gives you an accurate reading of its internal temperature and ensures that it is fully cooked. Inserting the thermometer into the thickest part of the chicken will give you an accurate reading, and it should reach an internal temperature of 165°F. This ensures that your chicken is not only delicious but also safe to eat.
Letting the Chicken Rest Before Carving
Well, the key to unlocking the full potential of your chicken lies in one crucial step – letting it rest before carving.
It may be tempting to dive right in after cooking, but trust us, giving your chicken 10-15 minutes to rest is a game-changer. During this time, the juices inside the meat redistribute evenly, resulting in a much more flavorful and tender final product. Cutting into your chicken immediately after cooking can cause the juices to escape, leaving it dry and tough.
Don’t worry about losing heat during the resting period – simply cover your chicken with foil or a lid to keep it warm. The few extra minutes are well worth it for the difference it makes in taste and texture.
To ensure your chicken is cooked to perfection, it’s essential to check its internal temperature. The ideal temperature for spatchcock chicken is around 165°F (74°C), which you can verify using a meat thermometer or by piercing the thickest part of the chicken with a fork. If the juices run clear and there’s no pinkness, then it’s done.
In summary, letting your spatchcock chicken rest before carving is an essential step in achieving a delicious and juicy final product. To make things even easier, we’ve put together a quick list of tips:
- Rest your chicken for at least 10-15 minutes before carving.
- Cover it with foil or a lid to keep it warm.
- Check its temperature using a meat thermometer or by piercing with a fork.
- Enjoy your mouth-watering feast.
QuWPLhC8ijs” >
Conclusion
In summary, achieving the perfect Spatchcock chicken requires a delicate balance of temperature, time, and technique. To ensure safe consumption, it’s crucial to cook the bird until its internal temperature reaches 165°F (74°C), checking multiple areas with a meat thermometer for even cooking.
But Spatchcocking isn’t just about food safety; it also results in more succulent and flavorful meat. By reducing cooking time and allowing for better absorption of seasonings and marinades, your Spatchcock chicken will be the star of any meal.
To achieve maximum tenderness and flavor, let your Spatchcock chicken rest for at least 10-15 minutes before carving. This allows juices to redistribute evenly throughout the meat, resulting in a more mouth-watering final product.
Of course, handling raw poultry like Spatchcock chicken requires special care. Use separate cutting boards and utensils for raw chicken, wash hands frequently during preparation, marinate safely in the refrigerator, use a meat thermometer to check internal temperature accurately, and always let it rest before carving.
Don’t be intimidated by Spatchcocking – with our comprehensive guide on mastering this art form, you’ll be able to achieve delicious results every time.

