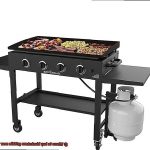
Summer is finally upon us, and it’s time to dust off the old grill for some classic BBQ action. But as you pull it out from storage, your heart sinks at the sight of rust that has taken over its once-shiny exterior. Don’t worry, though – before you give up hope and head to the store for a new model, there’s a simple solution that can bring your beloved outdoor cooking appliance back to life: painting.
Yes, you read that right. Painting a rusty grill is not only possible but also an effective way to restore it to its former glory. In this post, we’ll take a deep dive into the world of grill restoration and explore everything you need to know about painting your rusty grill. From which type of paint to use to how to prep and paint your grill correctly for long-lasting results – we’ve got you covered.
Not only will painting your rusty grill give it a fresh new look, but it can also help extend its lifespan and save you money in the long run. So don’t toss out that rusted grill just yet. Follow our step-by-step guide, and let’s make this summer’s BBQ sessions the best ones yet.
Contents
Assessing the Extent of Rust Damage
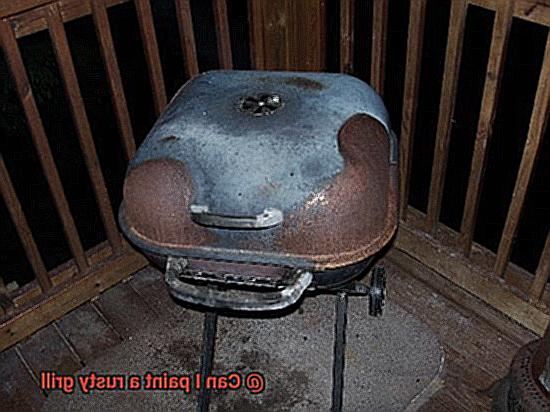
Grilling is a beloved pastime for many, but a rusty grill can quickly put a damper on the experience. Not only can it affect the taste of your food, but rust damage can also pose a serious health hazard. Before you dive into painting your rusted grill, it’s crucial to assess the extent of the damage.
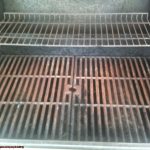
The first step in assessing rust damage is to carefully examine your grill for surface rust. This type of rust appears as small patches on the grill’s surface and can usually be removed with a wire brush or sandpaper. If the underlying metal is still solid and intact, you can proceed with painting.
However, if the rust has penetrated deep into the metal, it may not be possible to paint your grill. This type of rust damage is known as structural rust and often comes with pitting, flaking, and corrosion. Should your grill exhibit signs of structural rust, it may be unsafe to use and should be replaced altogether.
To assess the damage on your grill, take note of any signs of surface rust and their location and size. Use a wire brush or sandpaper to remove the rust and see how deep it goes. If the underlying metal is still solid, you can paint your grill with confidence.
When it comes to painting your grill, make sure to choose a high-heat resistant paint specifically designed for use on metal surfaces. Proper preparation is key in ensuring that your paint job lasts for years to come. After removing all surface rust, apply a rust converter to prevent further rusting and create a smooth surface for your paint to adhere to.
Be sure to follow the manufacturer’s instructions carefully when applying paint. Apply thin, even coats of paint with a brush or spray can and allow each coat to dry fully before proceeding with the next. Give your grill at least 24 hours to dry before using it again.
Cleaning and Preparing the Grill for Painting
Grilling is a beloved pastime, but a rusty and worn-out grill can ruin the experience. Don’t let that happen to you. With some effort and elbow grease, you can clean and prepare your rusty grill for painting. To ensure that the paint adheres correctly and lasts for a long time, it’s essential to follow these steps:
Gather all necessary materials and equipment before starting the cleaning process. You’ll need a wire brush, sandpaper, paint stripper, degreaser, gloves, safety glasses, and a respirator mask. Safety first.
Start by using a wire brush to remove any loose rust or flaking paint from the grill’s surface. Be careful not to damage any parts of the grill while doing this. Then use sandpaper to smooth out the surface of the grill and remove stubborn rust spots.
Apply a paint stripper to the grill’s surface to help remove any remaining paint and rust from the surface of the grill. Follow the instructions provided by the manufacturer and leave it on for the recommended time before using a scraper or wire brush to remove it entirely.
Use a degreaser to clean the grill thoroughly, removing any remaining contaminants such as grime, grease, and oils from the grill’s surface. Rinse off the degreaser with clean water and allow it to dry completely.
Now that your grill is nice and clean, it’s time to start painting. Use high-temperature paint suitable for grills and follow the manufacturer’s instructions carefully. Apply the paint evenly on all sides and allow it to dry completely before using your newly painted grill.
Choosing the Right Paint for Your Grill
The solution is simple: paint it. But, choosing the right paint is crucial to ensure that your grill looks great and lasts for years to come. In this article, we’ll discuss the different types of paints and coatings available for painting a rusty grill, and how to choose the right one.
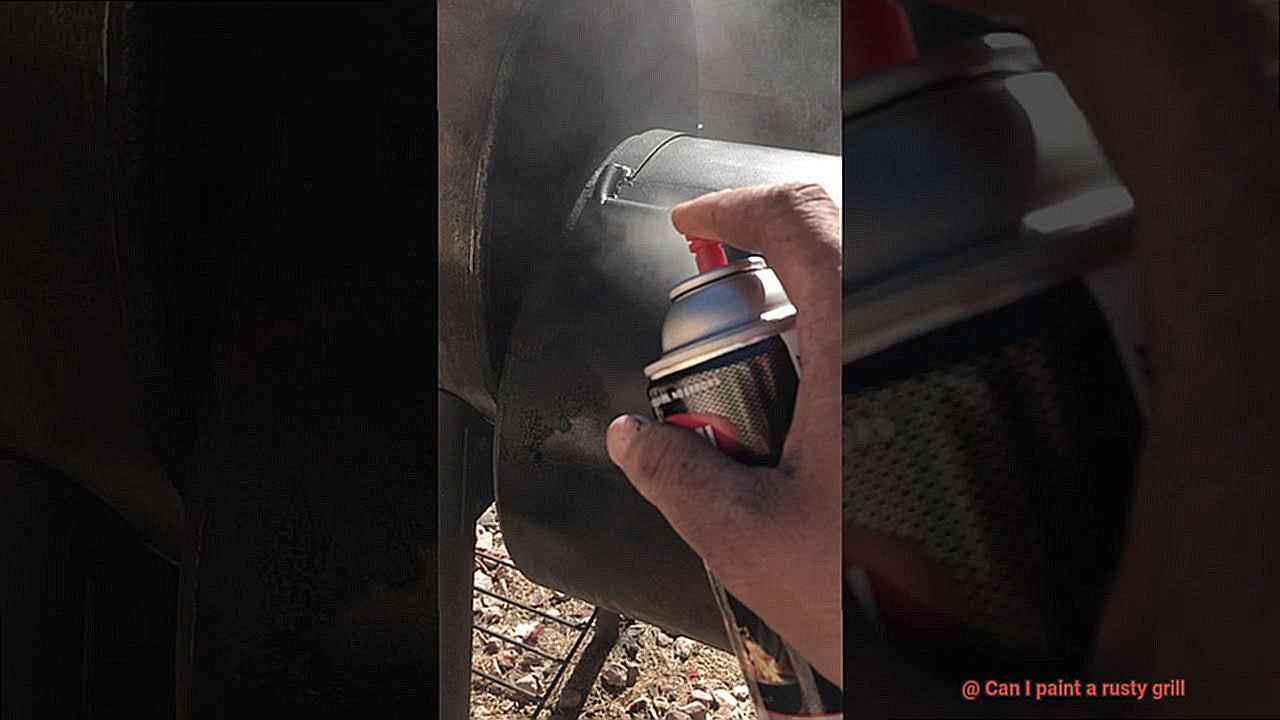
First and foremost, the paint you choose must be able to withstand high temperatures, resist rust and corrosion, and adhere well to the surface of the grill. One of the most popular types of paint for grills is high-heat spray paint. This type of paint is specially formulated to withstand temperatures of up to 1200 degrees Fahrenheit, making it ideal for use on grills that get extremely hot. High-heat spray paint also typically contains rust inhibitors to prevent rust from forming on the surface of the grill.
But if you’re looking for a more even finish than spray paint, brush-on high-heat paint may be a better option for you. It’s applied with a brush or roller and tends to be thicker than spray paint, making it more durable and better at resisting chipping and flaking.
When choosing a high-heat paint for your grill, it’s important to note that not all high-heat paints are created equal. Look for a product that is specifically designed for use on metal surfaces and has a high temperature rating. Some popular brands of high-heat paint for grills include Rust-Oleum, Krylon, and VHT.
Another option for protecting and enhancing the appearance of your grill is ceramic coatings. These coatings are extremely durable and can withstand temperatures of up to 2000 degrees Fahrenheit. They’re also highly resistant to corrosion and can help prevent rust from forming on your grill.
So, which option should you choose? Ultimately, it depends on your personal preferences and the condition of your grill. If you’re unsure which type of paint or coating is best for your grill, consult with a professional or do some research online before making a purchase. With careful consideration and proper application, you can give your rusty grill a fresh new look and protect it from further damage.
Applying the Paint to Your Grill
A fresh coat of paint can do the trick. However, before you get started, it’s essential to follow some critical steps to ensure that the paint adheres correctly and lasts as long as possible. As an expert in applying paint to grills, I’ve put together some research notes to guide you through the process effectively.
Step 1: Get Your Grill Ready
To begin painting your grill, you need to clean it thoroughly. You can use a wire brush, sandpaper, or even a pressure washer to remove any loose rust, dirt or debris. This step is crucial because it ensures that the paint adheres correctly and doesn’t peel off over time.
Step 2: Choose the Right Paint
Choosing the right paint for your grill is critical. Look for high-temperature grill paint that is designed explicitly for use on metal surfaces. These types of paints are formulated to withstand the heat generated by your grill and exposure to outdoor elements like sun, rain, and wind.
Step 3: Protect Areas You Don’t Want Painted
Before applying the paint, protect any areas of your grill that you don’t want to get painted. Masking tape or painter’s tape can be used to cover handles, knobs, and other parts of your grill that you want to keep free of paint. With proper protection, you’ll achieve a professional-looking finish without any accidental splatters.
Step 4: Apply Multiple Coats
Most grill paints require multiple coats to achieve full coverage and durability. Follow the manufacturer’s instructions carefully and allow each coat to dry completely before applying the next one. This step is crucial for achieving professional-looking results that will last for years.
Step 5: Let It Cure Completely
Once you’ve finished painting your grill, it’s vital to let it cure completely before using it again. This typically takes several hours or even overnight, depending on the weather conditions in your area. During this time, avoid touching or using the grill in any way that could damage the paint or prevent it from fully curing.
Tips for Successful Painting
Grilling is a beloved outdoor activity for many people, but a rusty grill can be a real buzzkill. The good news is that with a little elbow grease and the right techniques, you can give your old grill a fresh new look. Here are some tips for successfully painting your rusty grill.
- Preparing the Grill Surface: Proper preparation of the surface is key when it comes to painting your grill. Use a wire brush or sandpaper to remove any loose rust, debris, or flaking paint. If the rust has caused holes in the metal, it may be best to replace the grill altogether. However, if the rust is only surface-level and has not caused any structural damage, painting can be a viable solution.
- Choosing the Right Paint: When it comes to painting your grill, it’s important to choose the right type of paint. Look for high-heat resistant paint specifically designed for use on metal surfaces. Make sure that the paint has a minimum temperature rating of 500 degrees Fahrenheit and can resist fading and chipping.
- Applying Thin and Even Coats: When you’re ready to start painting, apply thin and even coats with a brush or spray can. Be patient and allow each coat to dry fully before applying the next one. This will help ensure that the paint adheres properly and dries evenly.
- Protecting Other Areas: Before you start painting, protect any areas of the grill that you don’t want to be painted, such as handles or cooking grates. You can use painter’s tape or aluminum foil to cover these areas and ensure that they stay clean and free from paint.
- Allowing Proper Curing Time: Once you’ve finished painting, let your grill dry for at least 24 hours before using it again. This will allow the paint to cure properly and prevent any harmful fumes from being released during your next grilling session. Follow the manufacturer’s instructions for curing time and temperature to ensure that the paint sets properly.
Finishing Touches and Final Considerations
Before you start cooking up a storm, there are a few finishing touches and final considerations to keep in mind.
Firstly, ensure that your grill is completely clean and dry before applying any paint. It’s essential to remove any rust, dirt, and debris from all surfaces of the grill. Don’t forget to inspect all areas for missed spots or areas that require touch-ups.
Choose the right type of paint for the job. High-temperature paint is recommended for grills as it can withstand the heat generated during cooking. Opt for a paint that is specifically designed for metal surfaces to ensure proper adhesion and durability.
Before painting your grill, apply a primer to enhance adhesion and durability of the paint. Follow the manufacturer’s instructions while using both primer and paint to ensure proper application. Apply multiple thin coats of paint with even strokes, rather than one thick coat, to prevent drips and ensure even coverage. Allow each coat to dry completely before applying another.
After painting, it’s crucial to properly cure your grill before using it for cooking. This involves heating the grill slowly over several hours to allow the paint to fully cure and harden.
It’s important to note that high-temperature paint can emit fumes during the curing process. Follow proper ventilation guidelines and avoid inhaling any harmful chemicals.
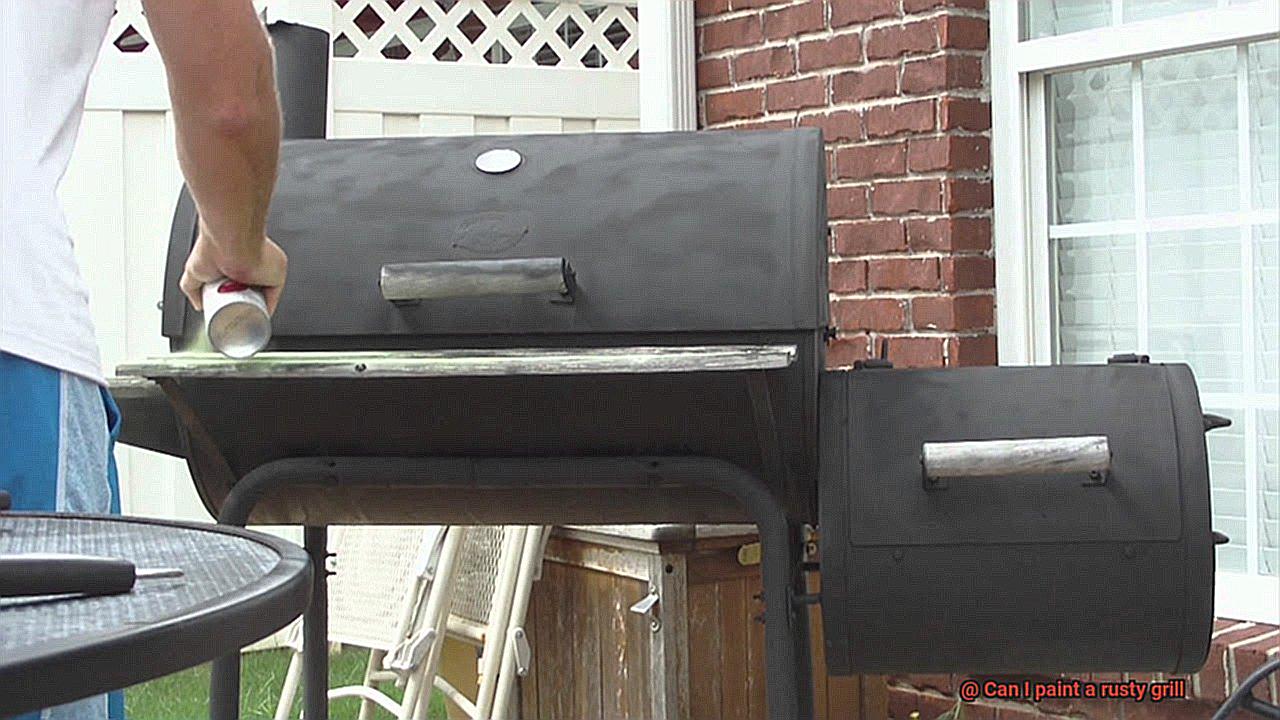
Now that you’ve completed all the necessary steps, you’re ready to start cooking on your newly painted grill. However, it’s recommended to start with some low heat cooking first to allow the paint to continue curing while preventing potential damage from high heat.
Safety Measures to Take When Painting a Rusty Grill
It’s grilling season, and you want your trusty grill to look its best. But before you start painting your rusty grill, it’s crucial to take the necessary safety measures to protect yourself from harmful chemicals and fumes that may arise during the painting process. Here are some essential safety measures to keep in mind when painting a rusty grill:
- Protective Gear – Gloves, goggles, and a mask are non-negotiable when it comes to painting a rusty grill. These protective gears will shield you from skin or eye irritation and inhalation of harmful fumes.
- Well-Ventilated Area – Ensure that you work in an area with proper air circulation. This will help you avoid inhaling any toxic fumes that may be released during the painting process.
- Thorough Cleaning – Before painting your grill, clean it thoroughly to eliminate any loose rust or debris. Use a wire brush or sandpaper to remove any flaky rust or loose particles that may interfere with the painting process.
- Rust Converter Primer – Applying a rust converter primer on your grill will prevent further rusting and ensure that the paint adheres well to the surface.
- High-Temperature Resistant Paint – When selecting paint for your grill, choose high-temperature resistant paint that can withstand the heat of the grill. This will prevent the paint from peeling or chipping off when exposed to high temperatures.
- Follow Manufacturer’s Instructions – Properly follow the manufacturer’s instructions when applying paint and allow sufficient time for drying. Avoid using the grill until the paint has fully cured and dried.
Professional Alternatives to Painting a Rusty Grill
Before you grab a can of paint, consider these professional alternatives that can help restore your grill without resorting to painting.
First, you can use a wire brush or sandpaper to remove the rust from the grill grates. While it may be a time-consuming task, it’s an effective way to get rid of the rust and prevent it from spreading. Once you’ve removed the rust, make sure to season the grates with oil to protect them from future rusting.
Another alternative is to use a rust converter. These chemicals react with rust and convert it into a stable compound that can be painted over. It’s a quick and easy solution that can save you time and effort. Simply apply the rust converter to the affected areas and follow the manufacturer’s instructions.
If your grill is severely rusted, replacing some parts may be necessary. This could include the grates, burners, or even the entire grill body. While it may seem like an expensive option, remember that replacing parts can extend the life of your grill and ensure that it continues to function properly.
Lastly, consider using high-temperature paint specifically designed for grills. This type of paint can withstand high temperatures and is formulated to adhere to metal surfaces. However, it’s important to note that painting over rust may only provide a temporary solution and may not address the underlying issue.
2ObBpwabNmg” >
Also Read: Can You Paint Grill Grates?
Conclusion
In conclusion, don’t let a rusty grill ruin your summer BBQ plans. With the right tools and techniques, you can easily paint your grill and restore it to its former glory. However, before you begin, it’s crucial to assess the extent of rust damage and determine if painting is a safe option.
Choosing the right type of paint is key. Look for high-temperature resistant paint specifically designed for metal surfaces to ensure long-lasting results. Applying multiple thin coats with even strokes will prevent drips and ensure an even finish.
Safety should always be a top priority when painting a rusty grill. Make sure to wear protective gear like gloves, goggles, and a mask while working in a well-ventilated area.
If you’re hesitant about painting your grill or want professional alternatives, consider using a rust converter or replacing some parts of the grill like grates or burners.
By taking these steps, you can give your rusty grill a fresh new look while extending its lifespan and saving money in the long run. So why wait?