Hey there, backyard chefs. Are you ready to fire up that electric smoker and enjoy some mouth-watering smoked meats and veggies? We know we are. But let’s be real – cleaning that smoker after a delicious meal can be a daunting task. So, the big question is: can you clean the inside of an electric smoker? The answer is a resounding yes.
In this blog post, we’re going to dive into all the juicy details about how to clean the inside of an electric smoker. We’ll cover everything from gathering your cleaning supplies to safely and effectively scrubbing away any grime or residue. Plus, we’ll throw in some handy tips and tricks to make the process a breeze.
But why bother cleaning your electric smoker in the first place? Well, for starters, it helps ensure that harmful bacteria doesn’t stick around and ruin your next cookout. Plus, keeping your smoker clean can help prolong its lifespan and maintain its overall quality.
So whether you’re a seasoned pro or new to the world of electric smokers, this post is for you. Get ready to take your outdoor cooking game up a notch with our expert advice on cleaning the inside of your beloved appliance.
Contents
Benefits of Cleaning the Inside of an Electric Smoker
If you’re a fan of smoked meats and own an electric smoker, then you know how important it is to maintain the appliance to ensure the best possible flavor. Cleaning the inside of your electric smoker is not only essential for hygiene reasons but also crucial for the overall taste and quality of your smoked meats. In this article, we will explore the benefits of cleaning the inside of an electric smoker.
First and foremost, regular cleaning and maintenance can extend the life of your appliance. Grease and residue buildup can cause rust and corrosion, which can damage your smoker and make it unusable over time. By cleaning your smoker on a regular basis, you can prevent this from happening and ensure that your appliance lasts for years to come.
Another benefit of cleaning the inside of an electric smoker is that it helps maintain consistent temperatures throughout the cooking process. When grease and debris accumulate on the heating elements or inside walls of the smoker, it can cause hot spots and uneven cooking. By keeping these areas clean, you can ensure that your food cooks evenly at the desired temperature.
Moreover, cleaning your electric smoker ensures that any harmful bacteria or pathogens are eliminated from the cooking surface. This is especially important if you frequently smoke raw meats or fish, as these foods are more susceptible to bacterial growth. By regularly cleaning and sanitizing your smoker, you can reduce the risk of foodborne illness and keep your guests safe.
Finally, a clean electric smoker can significantly improve the overall flavor of your food. Grease and residue buildup can impart a foul taste to your meats, while a clean smoker allows the natural flavors to shine through. Additionally, a clean smoker allows smoke to circulate more effectively, resulting in a more flavorful finished product.
To clean the inside of an electric smoker, start by unplugging it and allowing it to cool down completely. Then remove all racks and components from inside the smoker and use a soft-bristled brush or sponge with a mild cleaning solution to clean the interior of the smoker. Make sure to pay special attention to any areas where there may be built-up grease or other residue. Avoid using harsh chemicals or abrasive scrubbers as these can damage the interior of the smoker. Rinse it thoroughly with clean water and allow it to dry completely before reassembling it for use.
Preparing the Electric Smoker for Cleaning
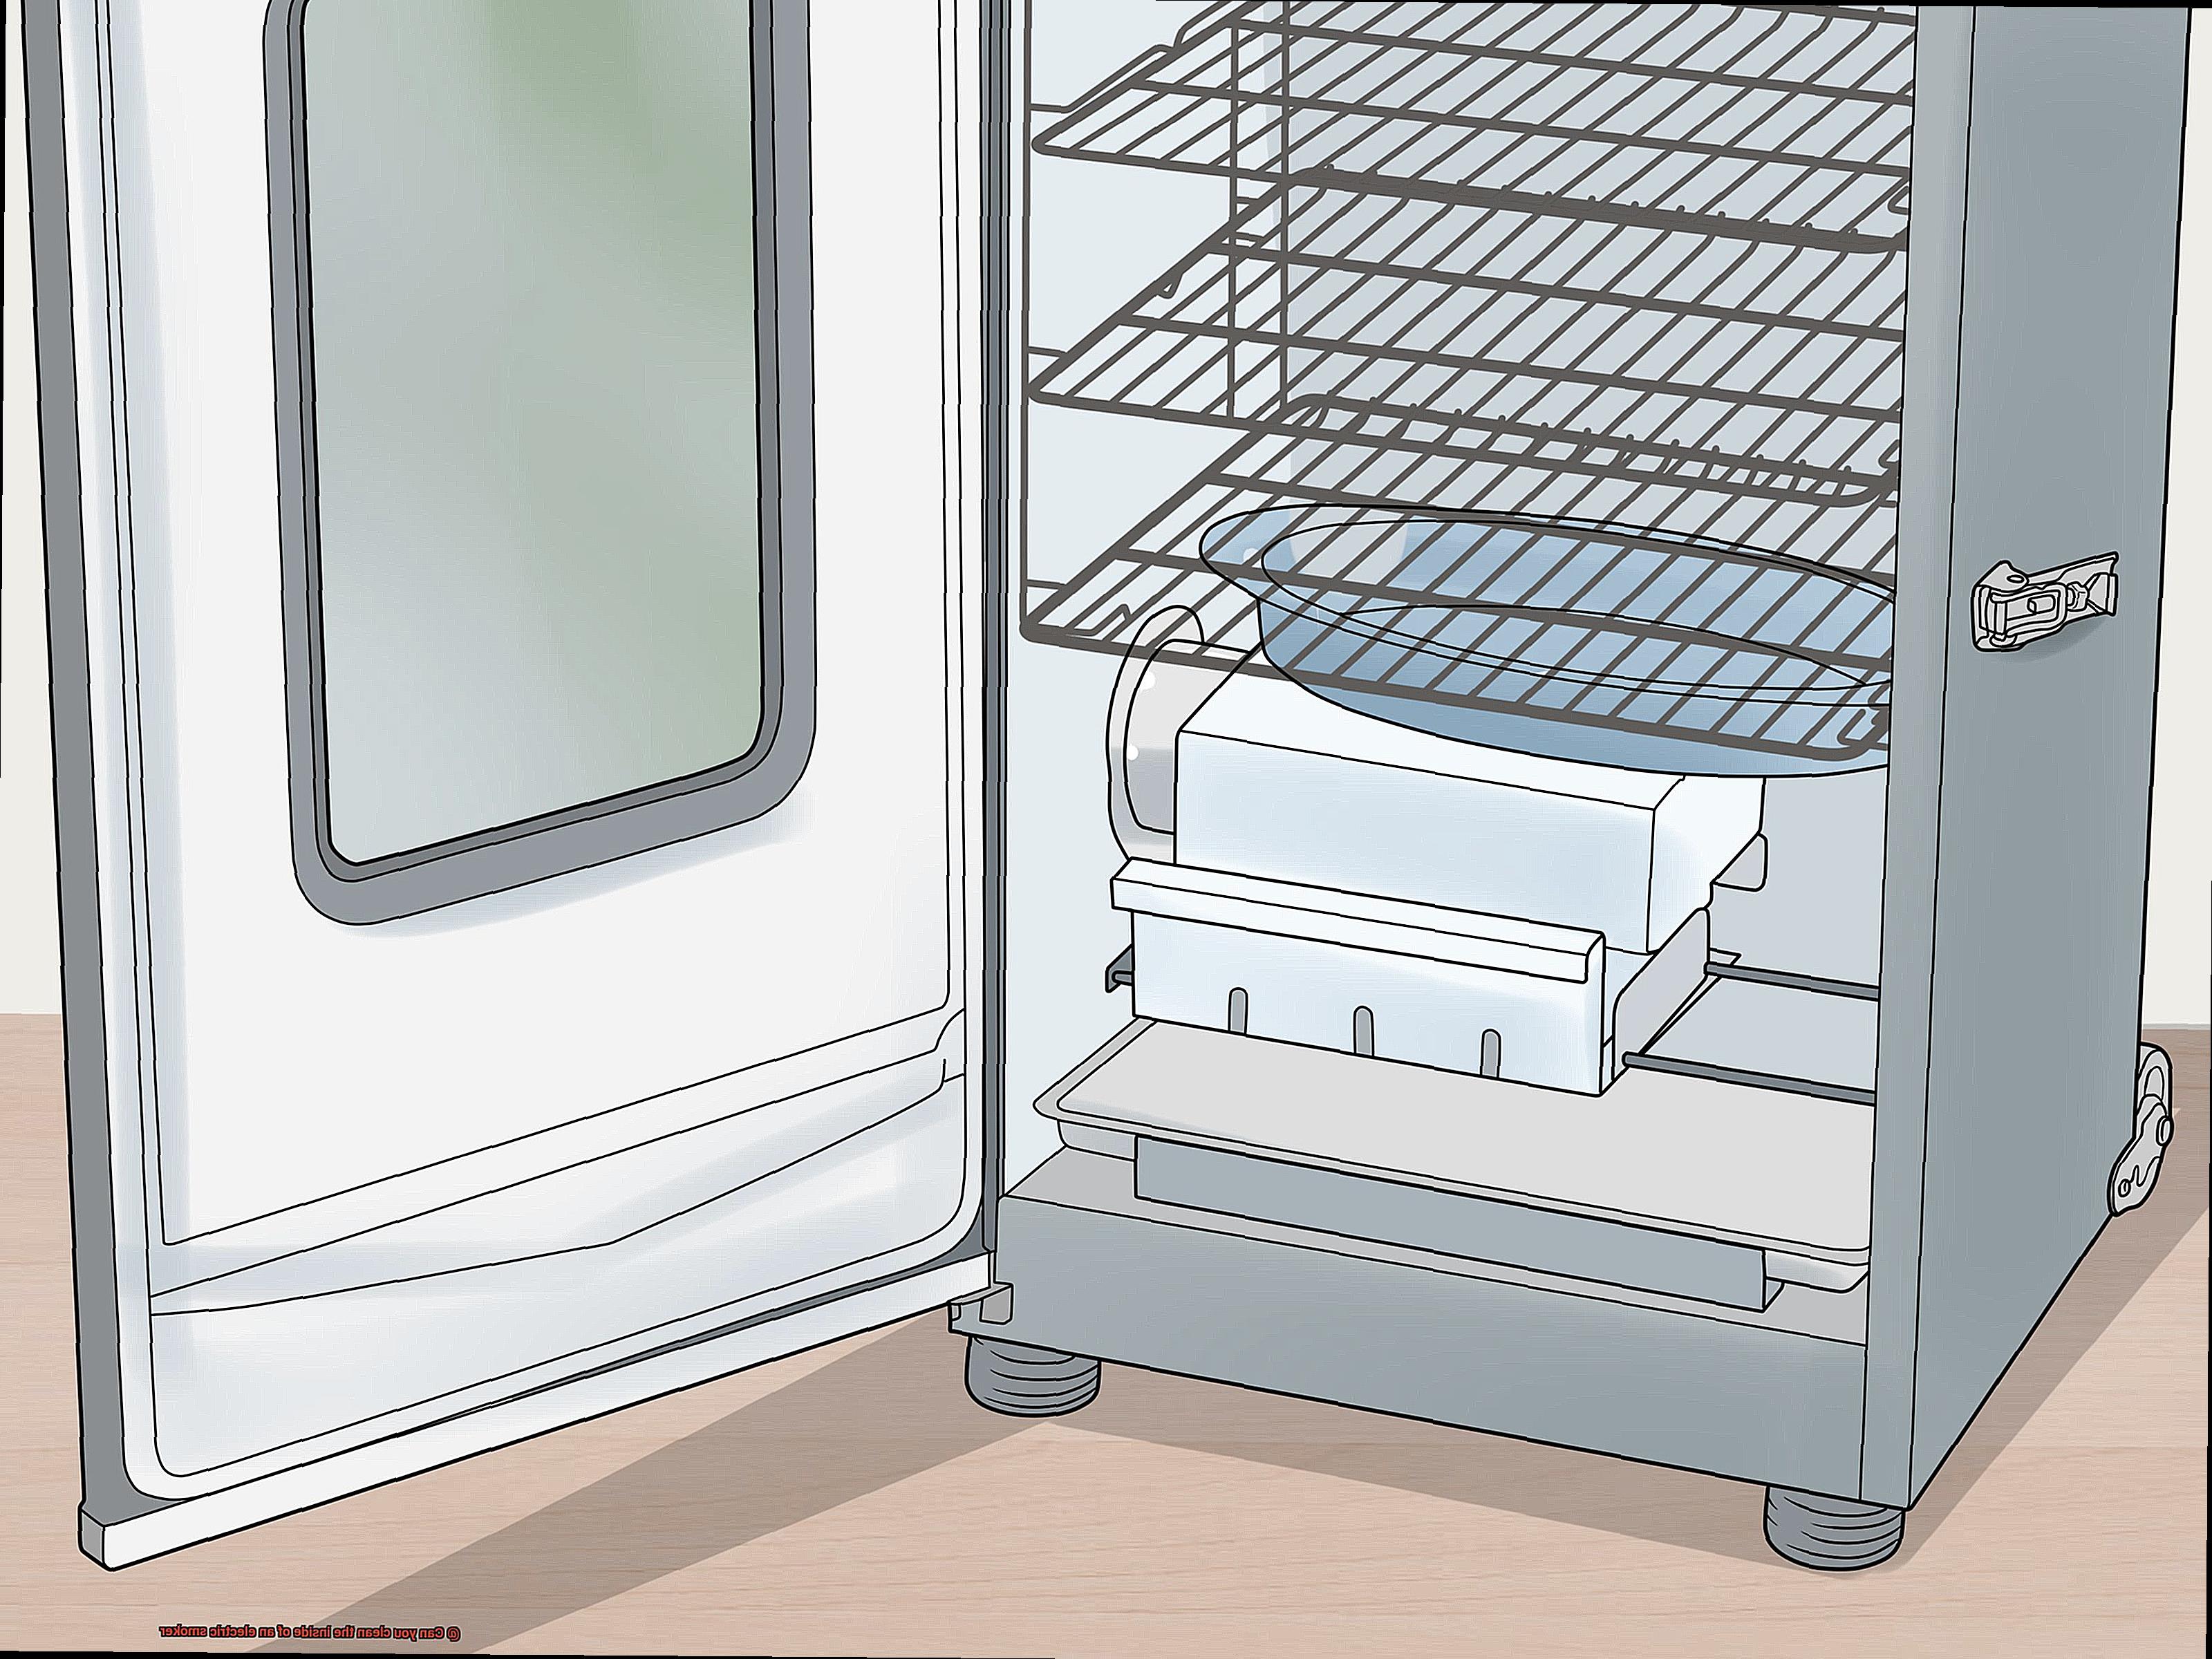
Before you begin, it’s essential to prepare your electric smoker for cleaning properly. Firstly, ensure that your smoker is completely cool and unplugged. This prevents any electrical component damage or injury to yourself. Once confirmed, remove all the racks, trays, and water pan from inside the smoker. These removable parts can be washed with soap and water or in your dishwasher, following the manufacturer’s instructions. If they are particularly dirty, soak them in warm soapy water for a few minutes before washing them.
Now it’s time to tackle the interior walls, ceiling, and floor of your smoker. Use a soft-bristled brush or sponge to scrub down these areas with warm soapy water or a specialized smoker cleaner. Pay attention to any areas that are stained or have built-up residue. Be sure to get into all the nooks and crannies for a thorough clean.
After giving the interior of your smoker a good scrub down, rinse it off thoroughly with clean water. You can use a hose or bucket of water for this purpose. Ensure that you remove all traces of soap or cleaner from inside the smoker. Use a clean towel or cloth to dry off the interior of the smoker.
Before reassembling your electric smoker, inspect all the parts for damage or wear and tear. Replace any damaged or worn parts before using your smoker again. An excellent tip is to keep spare parts on hand to ensure you have them when you need them.
Cleaning the Interior of the Electric Smoker
Regularly cleaning the interior of your smoker will prevent the buildup of grease and smoke residue, which can affect its efficiency and even cause it to malfunction. So, let’s dive into this step-by-step guide on how to clean the interior of your electric smoker like a pro.
Step 1: Safety First
Before starting the cleaning process, safety comes first. Unplug your electric smoker from the power source and allow it to cool down completely. Once cooled, remove all the removable parts such as racks, drip pans, water pans, etc. These parts should be washed separately with soap and warm water.
Step 2: Scrub It Up
Now that you have removed all the removable parts, it’s time to scrub the interior walls and ceiling of your electric smoker. Use a soft-bristled brush or sponge and a mixture of warm water and mild detergent to remove stubborn stains and residue. Don’t forget to pay close attention to the corners, crevices, and other hard-to-reach areas of your smoker.
Step 3: Rinse Thoroughly
After scrubbing, rinse the interior of your electric smoker thoroughly with clean water to remove any soap or detergent residue. A damp cloth or sponge will do the trick for this task. However, avoid using a hose or spray nozzle as this can damage the electric components of your smoker.
Step 4: Dry It Out
Once you have rinsed the interior of your electric smoker, wipe it dry with a clean towel or cloth. You may also leave it open for some time to air dry completely before reassembling it.
Step 5: Removable Liners
Some electric smokers come with removable liners that make cleaning easier. If your smoker has a removable liner, simply remove it and wash it separately with soap and water.
Pro Tip: To prevent the buildup of grease and smoke residue in the first place, consider using aluminum foil or disposable drip pans on the bottom rack of your electric smoker. This will make cleaning a breeze, and you can simply remove and discard them after use.
Special Attention to Grease and Residue Build-up
If you’re an avid fan of smoking meats, then you know how important it is to keep your electric smoker in top condition. One of the biggest culprits that can cause issues with your smoker is grease and residue buildup. But fear not, we’ve got you covered with these essential cleaning tips.
Step 1: Safety first.
Before you start cleaning your electric smoker, make sure to unplug it and let it cool down completely. This is crucial to avoid accidents or injuries.
Step 2: Remove all internal components.
Take out the racks, drip pans, and water pans and give them a good soak in warm soapy water. This will help loosen any stubborn stains or grease. Remember to use a non-abrasive cleaner to avoid damaging the surfaces.
Step 3: Clean the interior walls and surfaces.
Now it’s time to tackle the interior walls and surfaces. Use a damp cloth or sponge to wipe them down, adding a mild detergent for more stubborn stains. Avoid using harsh chemicals or abrasive scrubbers that could scratch or damage the surfaces.
Step 4: Use specialized cleaning solutions for tough stains.
For those tougher grease and residue buildups, specialized cleaning solutions can be a lifesaver. These solutions are formulated with powerful degreasers that can break down even the most stubborn stains.
Step 5: Rinse and dry all components.
After all the cleaning is done, give all the components a thorough rinse and dry before reassembling them in the smoker. This will prevent any soap residue or moisture from being left behind and causing rust or corrosion.
Rinsing and Drying the Electric Smoker
Fellow grill masters, we all know that nothing beats a perfectly cooked BBQ meal, and keeping our electric smokers in tip-top condition is essential to achieving that. In the previous section, we talked about how to clean the interior surfaces of the smoker by removing internal components and using specialized solutions. Now, let’s dive into the crucial step of rinsing and drying your electric smoker.
After you’ve scrubbed off any visible buildup or stains from the interior surfaces of your electric smoker, rinsing it thoroughly with water is essential. This step ensures that all traces of cleaning solution or soap residue are removed, leaving your smoker fresh and clean. However, it’s important to be careful when rinsing your electric smoker since water can damage its electrical components.
To avoid any potential hazards, use a damp cloth or sponge to wipe down the interior surfaces of your electric smoker instead of spraying water directly on it. This way, you can ensure that no water enters its electrical components while still cleaning it effectively.
Once you’ve finished rinsing your electric smoker, leave it open, and let it air dry completely. Depending on the humidity level in your area, this process may take several hours, but it’s critical to make sure that every nook and cranny of your smoker is entirely dry before using it again.
If you’re in a hurry to use your electric smoker again, resist the temptation to use heat sources like hairdryers or heaters to speed up the drying process as they can damage your electric smoker. Instead, use a fan or a dry towel to wipe down any remaining moisture.
Remember that it’s crucial to ensure that your electric smoker is entirely dry before using it again. Moisture mixing with electricity can lead to potential hazards and storing a damp electric smoker can lead to mold and mildew growth. This can damage both your smoker and pose health risks.
Reassembling the Electric Smoker After Cleaning
Now, it’s time to reassemble the appliance and get it ready for some mouth-watering grilling. As an expert in reassembling electric smokers, I understand that it can be a tricky process. However, by following a few simple steps, you can ensure that your electric smoker is functioning properly and safely.
First and foremost, it’s crucial to ensure that all components are thoroughly dry before reassembling the smoker. Any moisture left inside the appliance can lead to damage to the heating element and other electrical parts. Therefore, take your time and allow everything to air dry completely. Avoid using any heaters or hairdryers to speed up the process, as this can cause further damage to your appliance.
Once you’ve ensured that everything is dry, start with the racks and drip pan. Place them in their designated positions and make sure they are securely in place. These components will hold your food while it cooks, so it’s essential to ensure they’re correctly positioned.
Next up, attach any additional components like the water bowl or wood chip tray. These should fit snugly into their designated spaces to ensure proper function during cooking.
Now comes the most crucial step – reconnecting all electrical and heating elements. This step requires extra attention to detail, so double-check that all plugs and wires are connected correctly and securely before turning on the smoker. A loose connection can cause issues with the appliance or even lead to a potential hazard.

It’s important to keep in mind that some electric smokers may have specific reassembly instructions provided by the manufacturer. Always refer to your user manual for any specific instructions or precautions before reassembling your electric smoker.
Tips for Maintaining Your Electric Smoker
If you’re an outdoor cooking enthusiast, you know the importance of maintaining your electric smoker. A well-cared-for electric smoker not only lasts longer but ensures the safety and deliciousness of your food. This post will guide you through how to clean the inside of your electric smoker to maintain its efficiency and safety.
Clean After Every Use
Cleaning the inside of your electric smoker after every use is essential to prevent any build-up of grease, smoke, and other debris that can make your smoker less efficient and cause a fire hazard. Don’t neglect this step.
Use a Damp Cloth
To clean the inside of your smoker, opt for a damp cloth or sponge. Avoid harsh chemicals or abrasive materials that can damage the surface of your smoker. Always choose gentle cleaning solutions if necessary.
Remove Racks and Drip Pans
Take out the racks and drip pans from your smoker to clean them separately. You can wash them with soap and water or put them in the dishwasher. Don’t forget about these parts, which can accumulate grease and residue over time, compromising the taste of your food.
Scrub the Interior
Using a soft-bristled brush or scrubber, gently remove any remaining residue on the interior walls of your smoker. Be careful not to damage the heating element or other parts when scrubbing.
Check the Seals
Regularly inspect the gaskets and seals around the door of your electric smoker. If you notice any cracks or damage, replace them immediately to prevent smoke and heat from escaping.
ea67eL0Uu5c” >
Conclusion
In conclusion, neglecting to clean the inside of your electric smoker can lead to disastrous consequences. Not only is it a breeding ground for harmful bacteria and pathogens, but it can also negatively impact the overall quality of your food. However, taking the time to properly clean and maintain your electric smoker can extend its lifespan, ensure consistent cooking temperatures, and enhance the flavor of your meals.
To get started on cleaning the inside of your electric smoker, first unplug it and let it cool down completely. Then remove all racks and components before using a soft-bristled brush or sponge with a gentle cleaning solution to scrub away any visible buildup or stains. Be sure to pay extra attention to areas where grease or residue may have accumulated.
After giving the interior surfaces a good scrubbing, rinse everything thoroughly with water before drying off any excess moisture. Finally, reassemble the appliance according to manufacturer instructions.
To keep your electric smoker in tip-top shape, make sure to clean it after every use by wiping down with a damp cloth and removing racks and drip pans for separate cleaning. Gently scrub the interior without damaging any parts and inspect gaskets and seals around the door regularly.
By following these simple steps, you can enjoy perfectly smoked meats and veggies while ensuring that your electric smoker lasts for years to come.