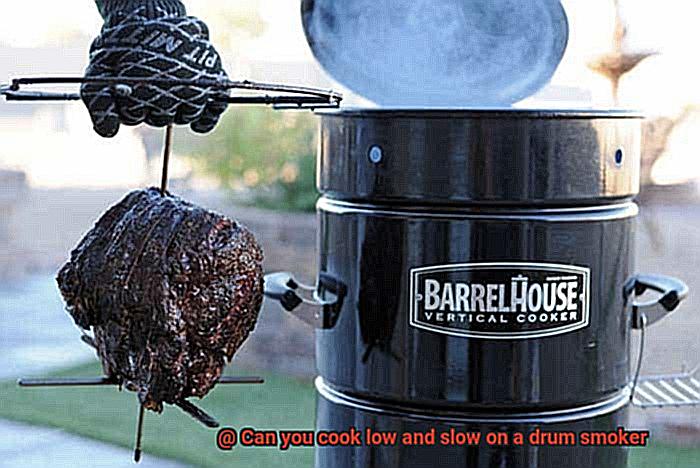
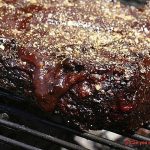
Today, we’re diving into the world of low and slow cooking on a drum smoker. You know, that magical method that gives you melt-in-your-mouth goodness with every bite.
But can you really achieve that coveted low and slow style on a drum smoker? Absolutely.
So, put on your apron and get ready to smoke up a storm.
Contents
What is Low and Slow Cooking?
Take your grilling skills to the next level with the art of low and slow cooking on a drum smoker. This culinary technique, renowned for its tender and flavorful results, is a game-changer for barbecue enthusiasts. In this comprehensive guide, we will explore the ins and outs of low and slow cooking, revealing how to achieve mouthwatering dishes that will leave your guests begging for more.
The Magic of Low and Slow Cooking:
Low and slow cooking is a testament to patience and precision. By cooking at low temperatures (between 225°F to 275°F) for an extended period of time, you allow tough cuts of meat to undergo a remarkable transformation into juicy, tender goodness. The slow breakdown of collagen in the meat results in a melt-in-your-mouth texture that is unparalleled. Furthermore, the long cooking time allows flavors to develop and meld together, creating a depth of taste that will tantalize your taste buds.
The Drum Smoker Advantage:
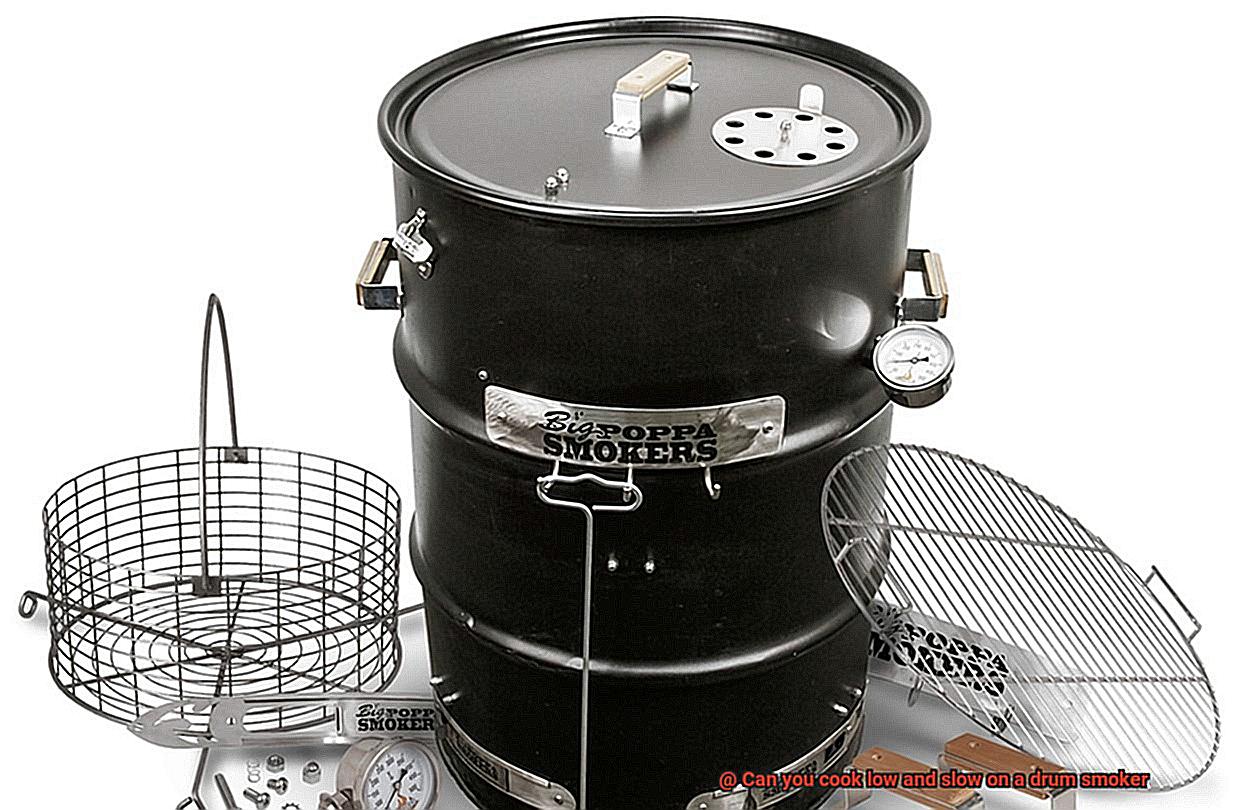
Drum smokers are the secret weapon of low and slow cooking. Their ingenious design ensures even heat distribution and retention, making them the perfect companion for maintaining a consistent low temperature throughout the cooking process. With their drum shape expertly trapping heat and smoke inside, you have complete control over the cooking environment, guaranteeing uniform cooking.
Getting Started:
Embark on your low and slow cooking journey by preparing a clean drum smoker. Remove any ash or debris from previous cooks to ensure optimal airflow and temperature control. Start your fire with charcoal using a chimney starter for an even burn, eliminating any lighter fluid residue that could taint the flavor of your food.
Mastering Temperature Control:
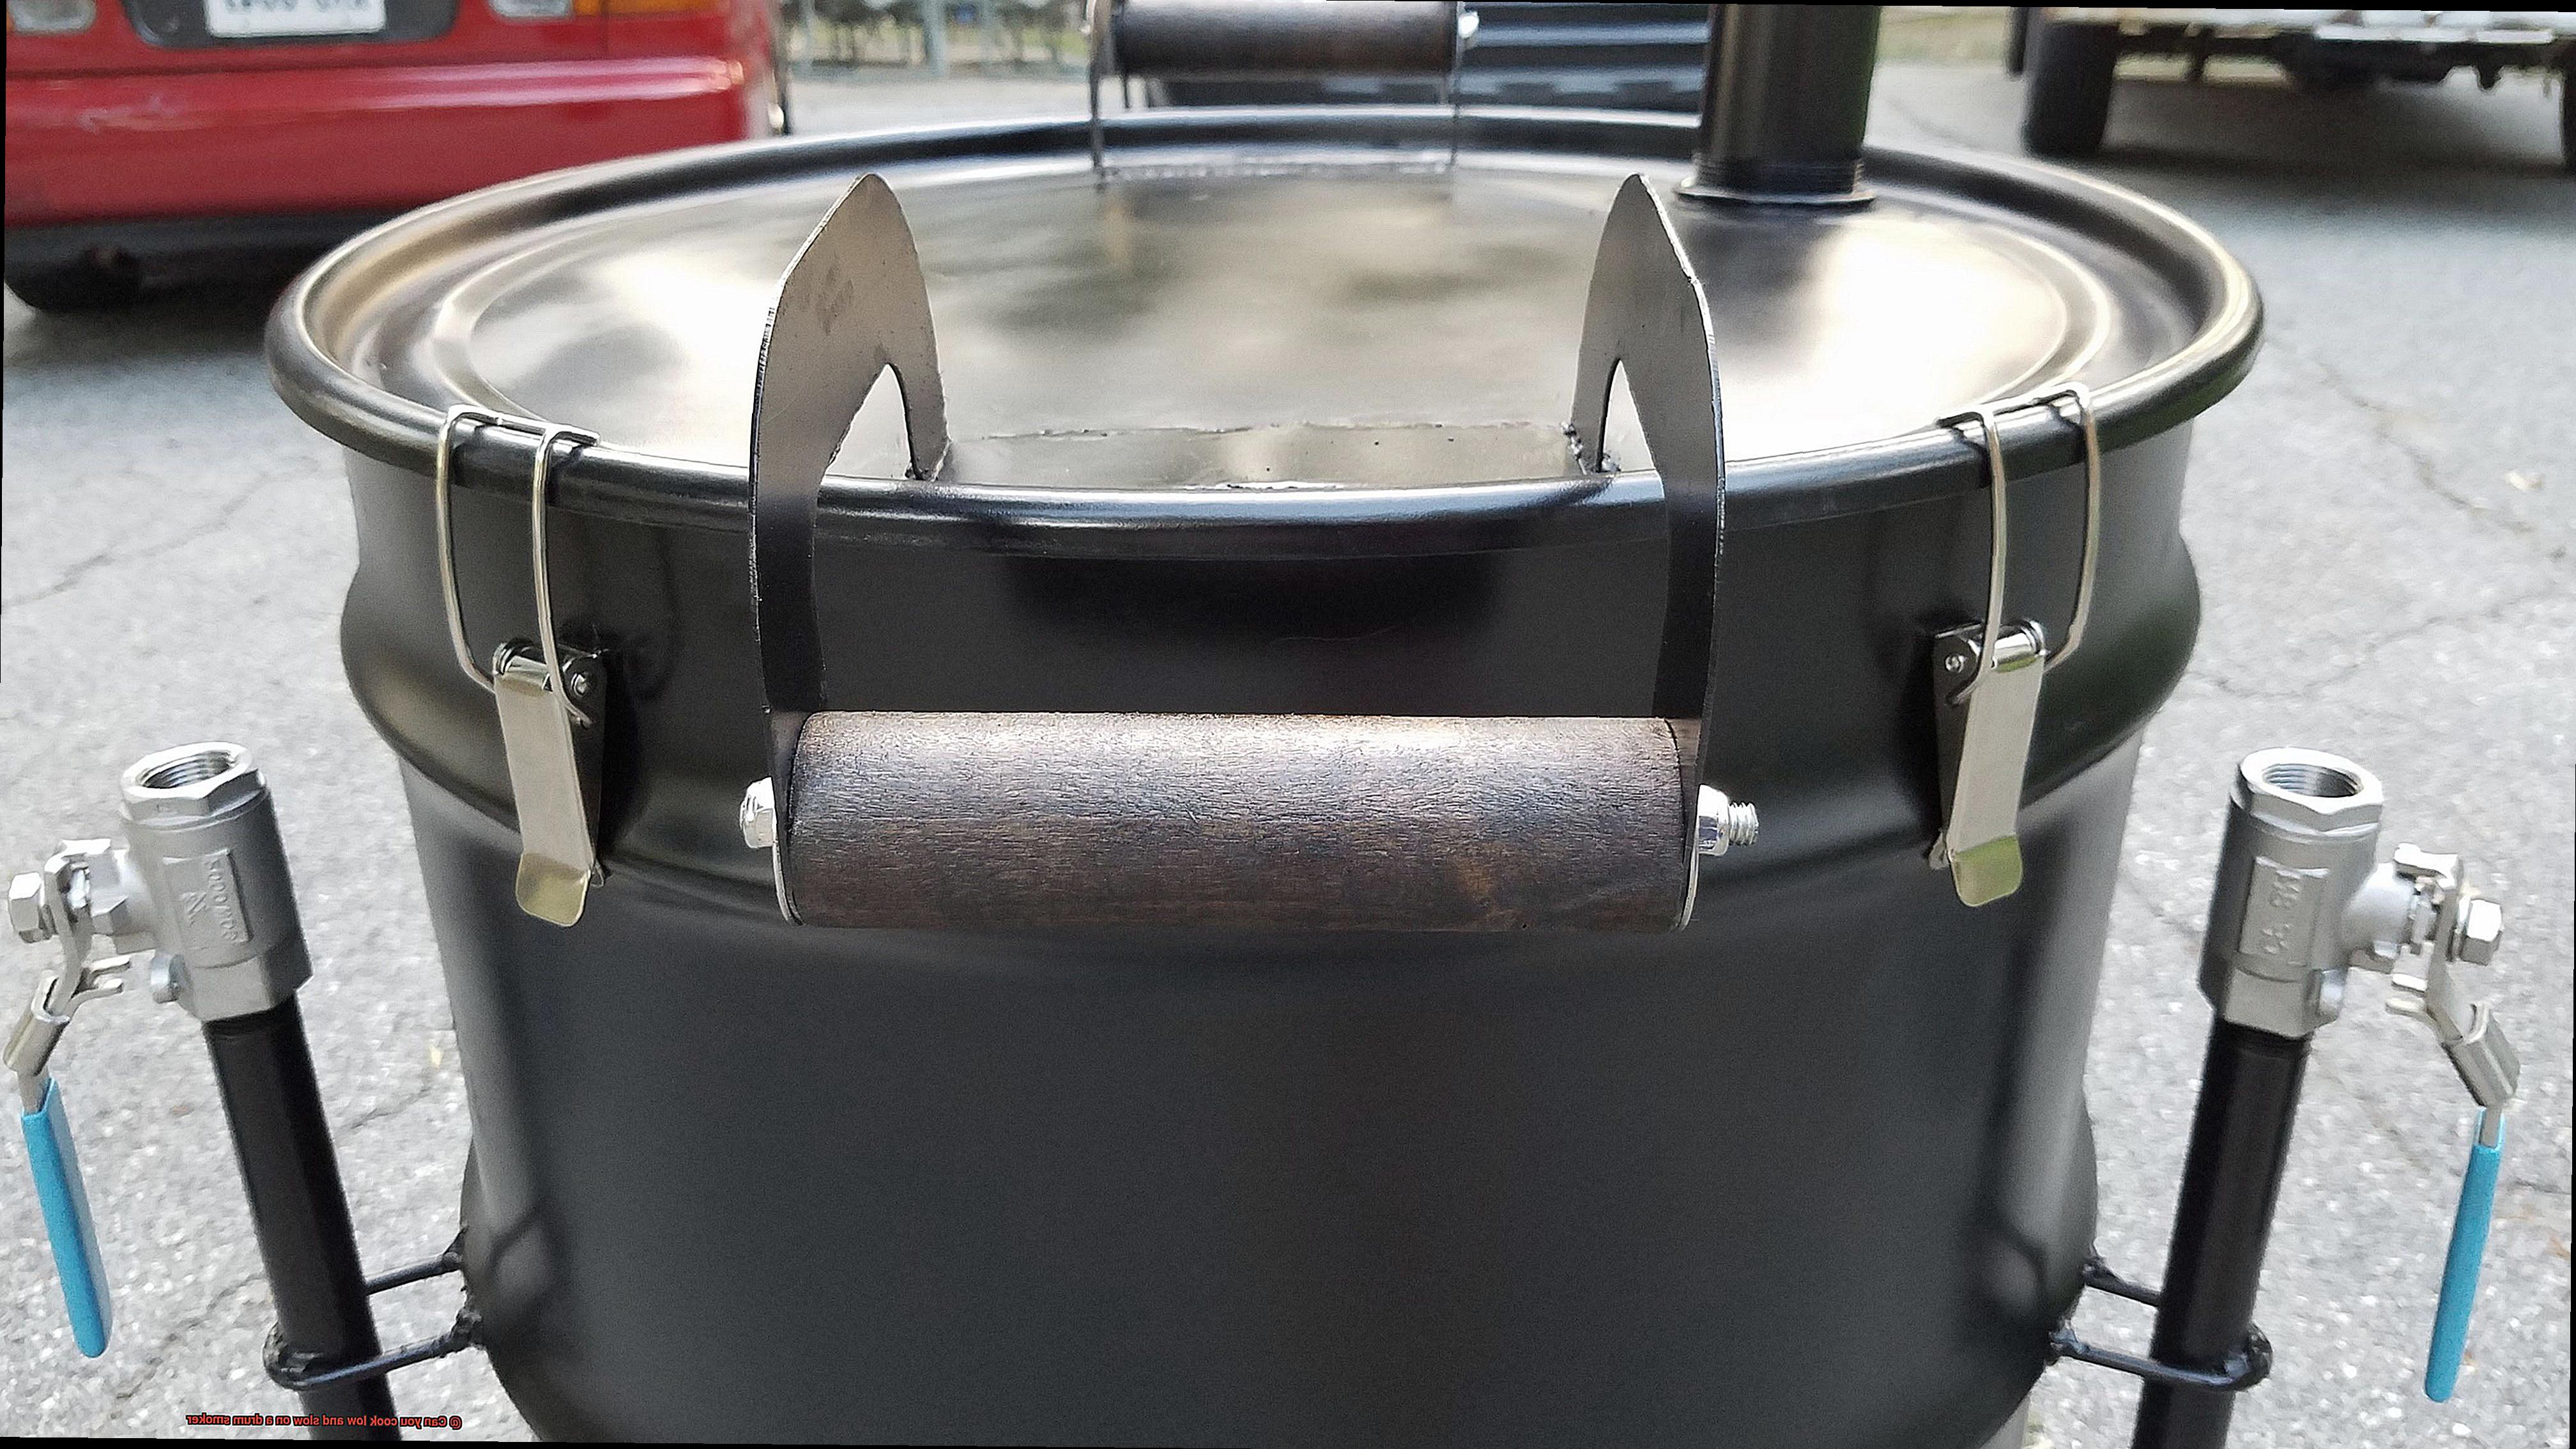
Temperature control is key to achieving success in low and slow cooking. Skillfully adjust the intake and exhaust vents on your drum smoker to regulate airflow, opening them for higher temperatures or closing them for lower temperatures. Vigilantly monitor the temperature throughout the cook and make adjustments as needed. Remember, practice makes perfect, and you will become more intimately acquainted with your drum smoker’s settings over time.
The Wait is Worth It:
Low and slow cooking is not for the impatient, but the rewards are unquestionably worth it. Whether you’re smoking meat or grilling vegetables, the slow cooking process elevates flavors to new heights and produces outstanding results. So sit back, relax, and revel in the enticing aroma of your drum smoker as it works its magic. Resist the urge to constantly check on your food – trust the process and allow the flavors to develop.
Exploring Beyond Meat:
Low and slow cooking on a drum smoker is not solely reserved for meat. Many vegetables, such as corn on the cob or potatoes, can also benefit from this technique. The slow cooking process intensifies and develops the flavors of vegetables, resulting in delectable side dishes that complement your main course perfectly.
Benefits of Drum Smokers for Low and Slow Cooking
Low and slow cooking is a method that brings out the best flavors in food by cooking it at a low temperature over an extended period of time. When it comes to achieving this delectable cooking technique, drum smokers are the ultimate tool. These smokers offer a range of benefits that make them perfect for low and slow cooking.
One of the standout features of drum smokers is their exceptional heat retention and distribution. Constructed from sturdy steel drums, these smokers excel at maintaining a consistent temperature throughout the cooking process. With their cylindrical shape, drum smokers allow for efficient heat circulation, ensuring that your food cooks evenly from all sides. No more worrying about hot spots or uneven cooking.
But it’s not just about even cooking; it’s also about flavor. Drum smokers are designed to maximize smoke and heat exposure to your food, resulting in a heavenly combination of smoky goodness and tender meat. The efficient airflow within the drum smoker helps infuse your food with that irresistible smoky flavor we all know and love.
Drum smokers are also incredibly versatile. Not only can they be used for smoking, but they can also be used for grilling and even baking. This opens up a world of possibilities for culinary exploration. Imagine perfectly smoked ribs one day, mouthwatering grilled burgers the next, and a deliciously baked dessert for the grand finale. With a drum smoker, you have the freedom to experiment and create a wide range of dishes.
In addition to their versatility, drum smokers are also fuel-efficient. Their design requires less fuel compared to other types of smokers, saving you money and reducing your environmental impact. Who knew that being eco-friendly could taste so good?
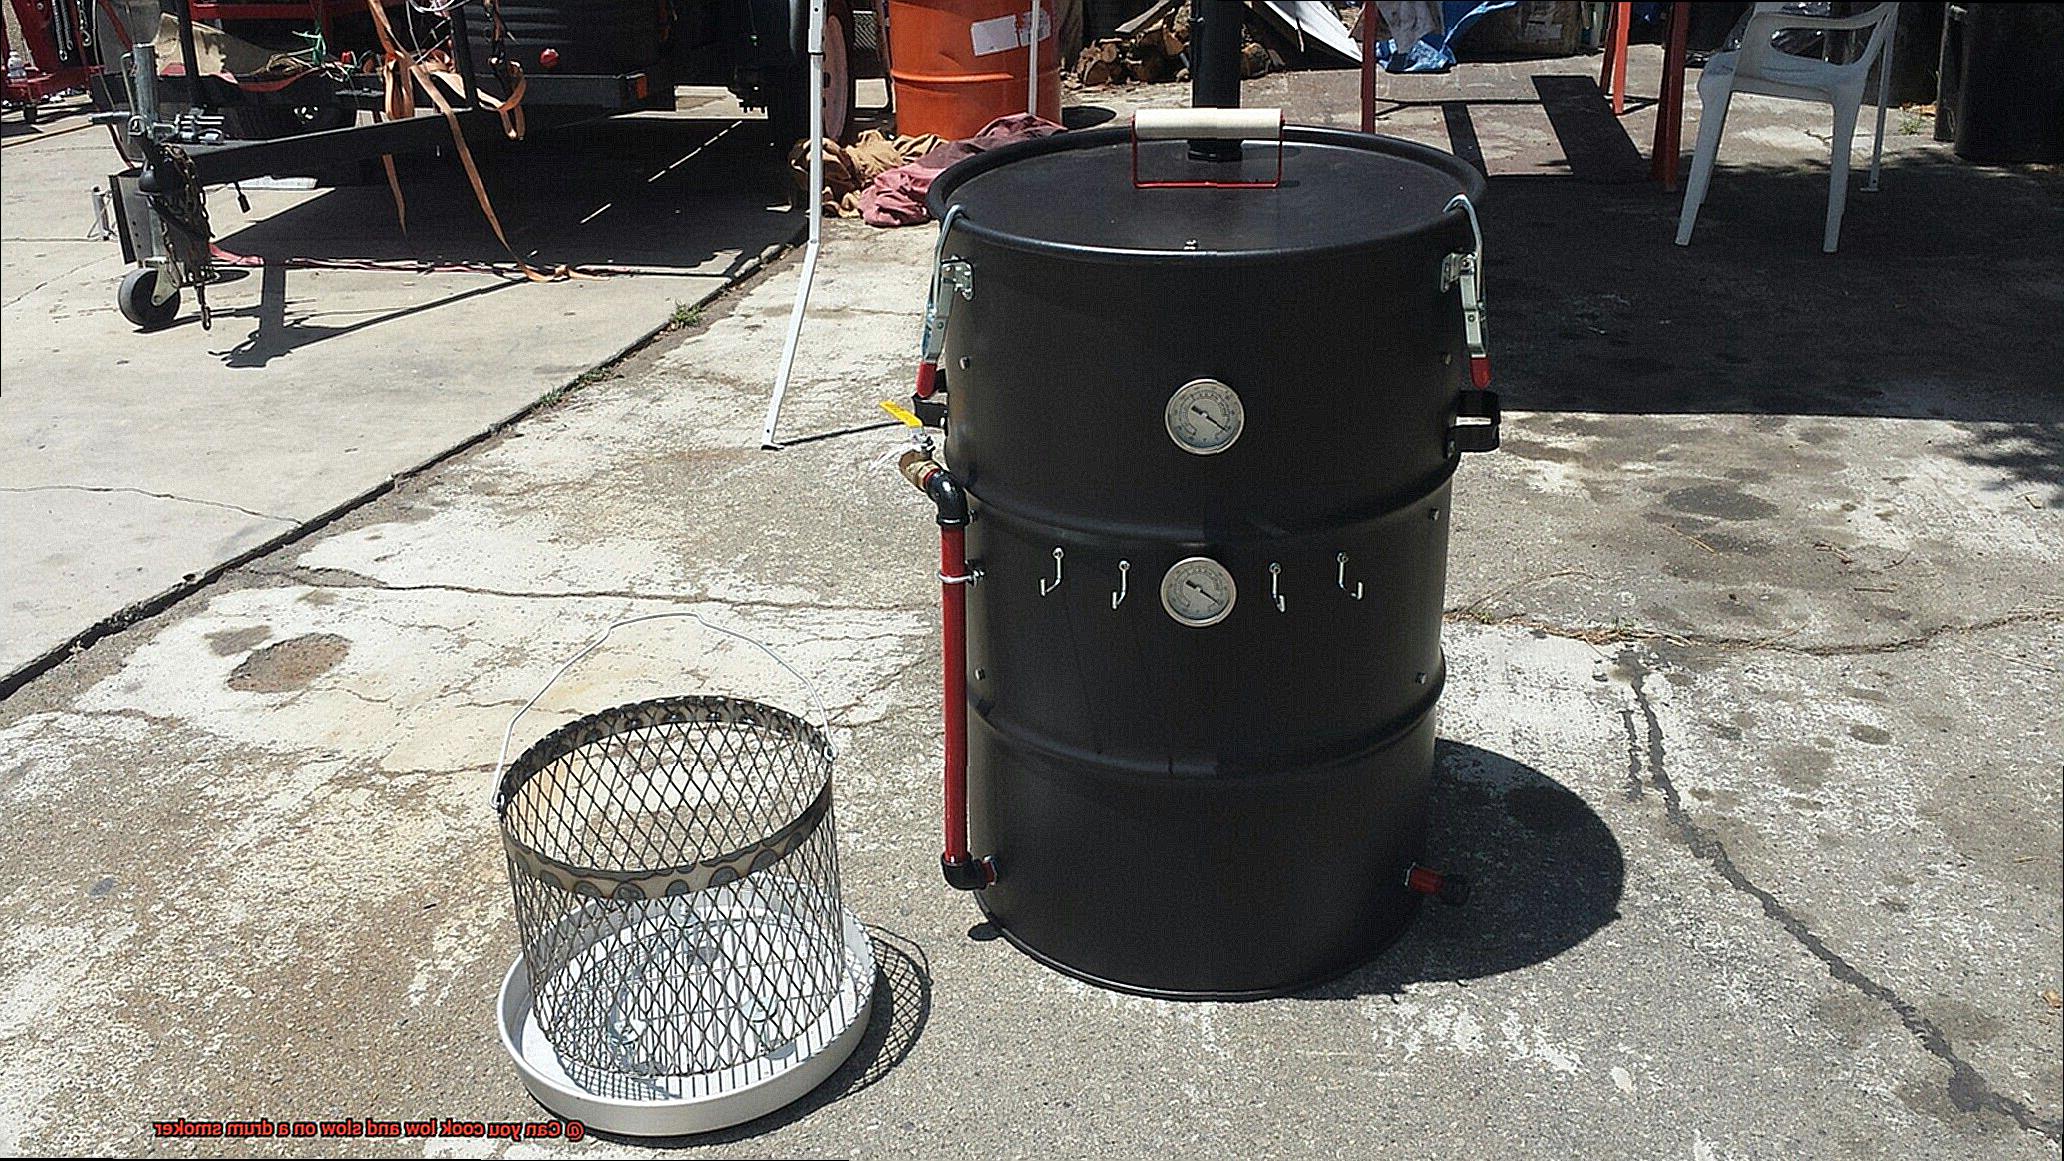
Despite their incredible capabilities, drum smokers are surprisingly easy to use. With just a few adjustments, such as controlling the air vents and adding wood chips for smoke, you can achieve amazing results. Whether you’re a seasoned pitmaster or a novice griller, drum smokers make low and slow cooking accessible to everyone.
Another advantage of drum smokers is their high level of customizability. Many manufacturers offer a range of accessories and add-ons to enhance your cooking experience. Whether you need additional racks for increased cooking capacity, a temperature gauge for precise monitoring, or a rotisserie attachment for added versatility, drum smokers can be tailored to meet your specific needs.
Lastly, drum smokers are often more affordable compared to other types of smokers on the market. This means that you can enjoy the benefits of low and slow cooking without breaking the bank. With a drum smoker, you can achieve professional-level results without the hefty price tag.
Preparing the Drum Smoker for Low and Slow Cooking
Renowned for its exceptional heat retention and even distribution, the drum smoker is the perfect tool for achieving succulent low and slow cooked dishes. In this comprehensive guide, we will take you through the essential steps to prepare your drum smoker for mouthwatering, fall-off-the-bone goodness. Let’s ignite the fire and embark on an unforgettable culinary journey.
Step 1: Clean It Up.
Before diving into your cooking adventure, it is crucial to give your drum smoker a thorough cleaning. Remove any remnants of ash or charcoal from previous cookouts to ensure a clean slate for your culinary masterpiece. This step is vital in order to avoid any unwanted flavors or residues that may taint your food.
Step 2: Unleash the Power of Seasoning
Just like seasoning a cast-iron skillet, preparing your drum smoker is incomplete without this essential step. Coat the interior with a high-heat oil such as vegetable or canola oil, allowing it to heat up to approximately 250°F for around two hours. The process of seasoning not only creates a non-stick surface but also eliminates any manufacturing odors or residues. Think of it as giving your drum smoker its very own unique flavor profile.
Step 3: Charcoal and Wood Setup
Now it’s time to set the stage for low and slow cooking magic. Fill your charcoal basket with high-quality briquettes or lump charcoal that burns evenly, providing a consistent heat source throughout your cooking journey. Say no to lighter fluid or self-lighting charcoal, as they can impart unwanted flavors to your food. On top of the hot coals, add wood chunks or chips of your choice – such as hickory, mesquite, apple, cherry, or oak – to infuse your dishes with delightful smoky aromas. Soak the wood chips in water for approximately 30 minutes beforehand to ensure a longer-lasting smoke.
Step 4: Ignite the Fire
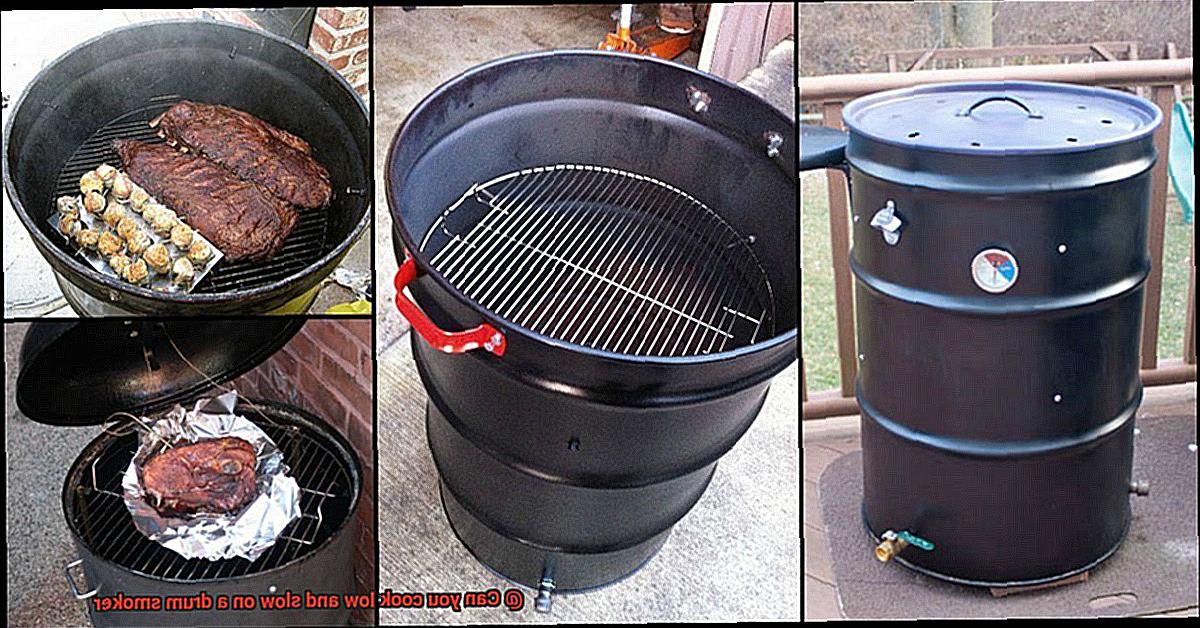
Now it’s time to set the fire ablaze and let the mesmerizing dance of smoke begin. Use a chimney starter or electric starter to ignite the charcoal. Once the coals are lit, carefully pour them into the charcoal basket of your drum smoker. Ensure optimal airflow by keeping all vents fully open, allowing a steady flow of oxygen. Fine-tune the temperature by adjusting the vents, aiming for a range of 225°F to 275°F.
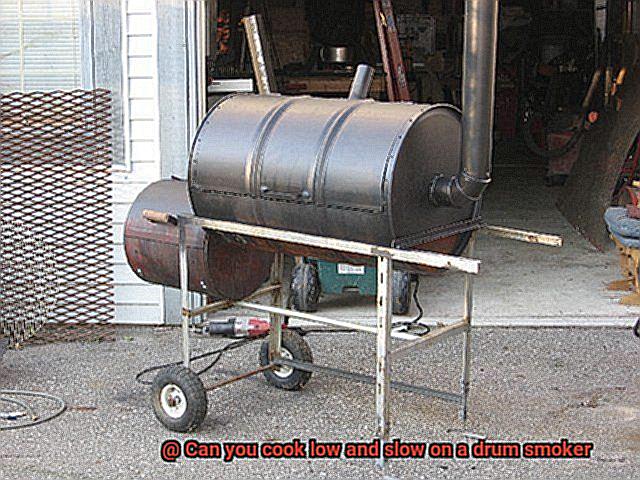
Lighting the Charcoal or Wood Chunks
In our previous section, we delved into the art of preparing our drum smoker for the ultimate low and slow cooking experience. Now, it’s time to tackle the crucial step of lighting the charcoal or wood chunks. Fear not, for we have an arsenal of tried and true methods that will have your fuel burning bright in no time.
Method 1: The Classic Chimney Starter
Behold, the timeless champion of charcoal ignition – the chimney starter. This ingenious tool guarantees easy and even lighting of your fuel. Let’s embark on this fiery adventure:
- Begin by placing a few sheets of crumpled newspaper or mesmerizing fire starter cubes in the bottom compartment of the chimney starter. This is where the magic begins.
- Fill the top compartment with an army of charcoal or wood chunks, ready to spring into action.
- Ignite the newspaper or fire starter cubes from below and witness as flames dance their way up, gradually setting ablaze the awaiting fuel.
- It takes approximately 15-20 minutes for the fuel to be fully ignited, adorned in a cloak of enchanting grey ash.
Once your charcoal or wood chunks are alight with passion, carefully pour them into the heart of your drum smoker’s firebox. Ensure an even distribution for a symphony of consistent heat and smoke.
Method 2: Electric Starters for Quick Ignition
For those seeking swift ignition minus the hassle, consider employing an electric starter or an electrifying electric charcoal starter. Watch as this method sparks joy:
- Nestle the electric starter among your eagerly awaiting charcoal or wood chunks.
- Plug it in and let it bask in its own electrifying glory until the fuel succumbs to its sizzling touch.
- While waiting, treat yourself to a cup of coffee, for this method ignites the flames in no time. The aroma of both coffee and anticipation fills the air.
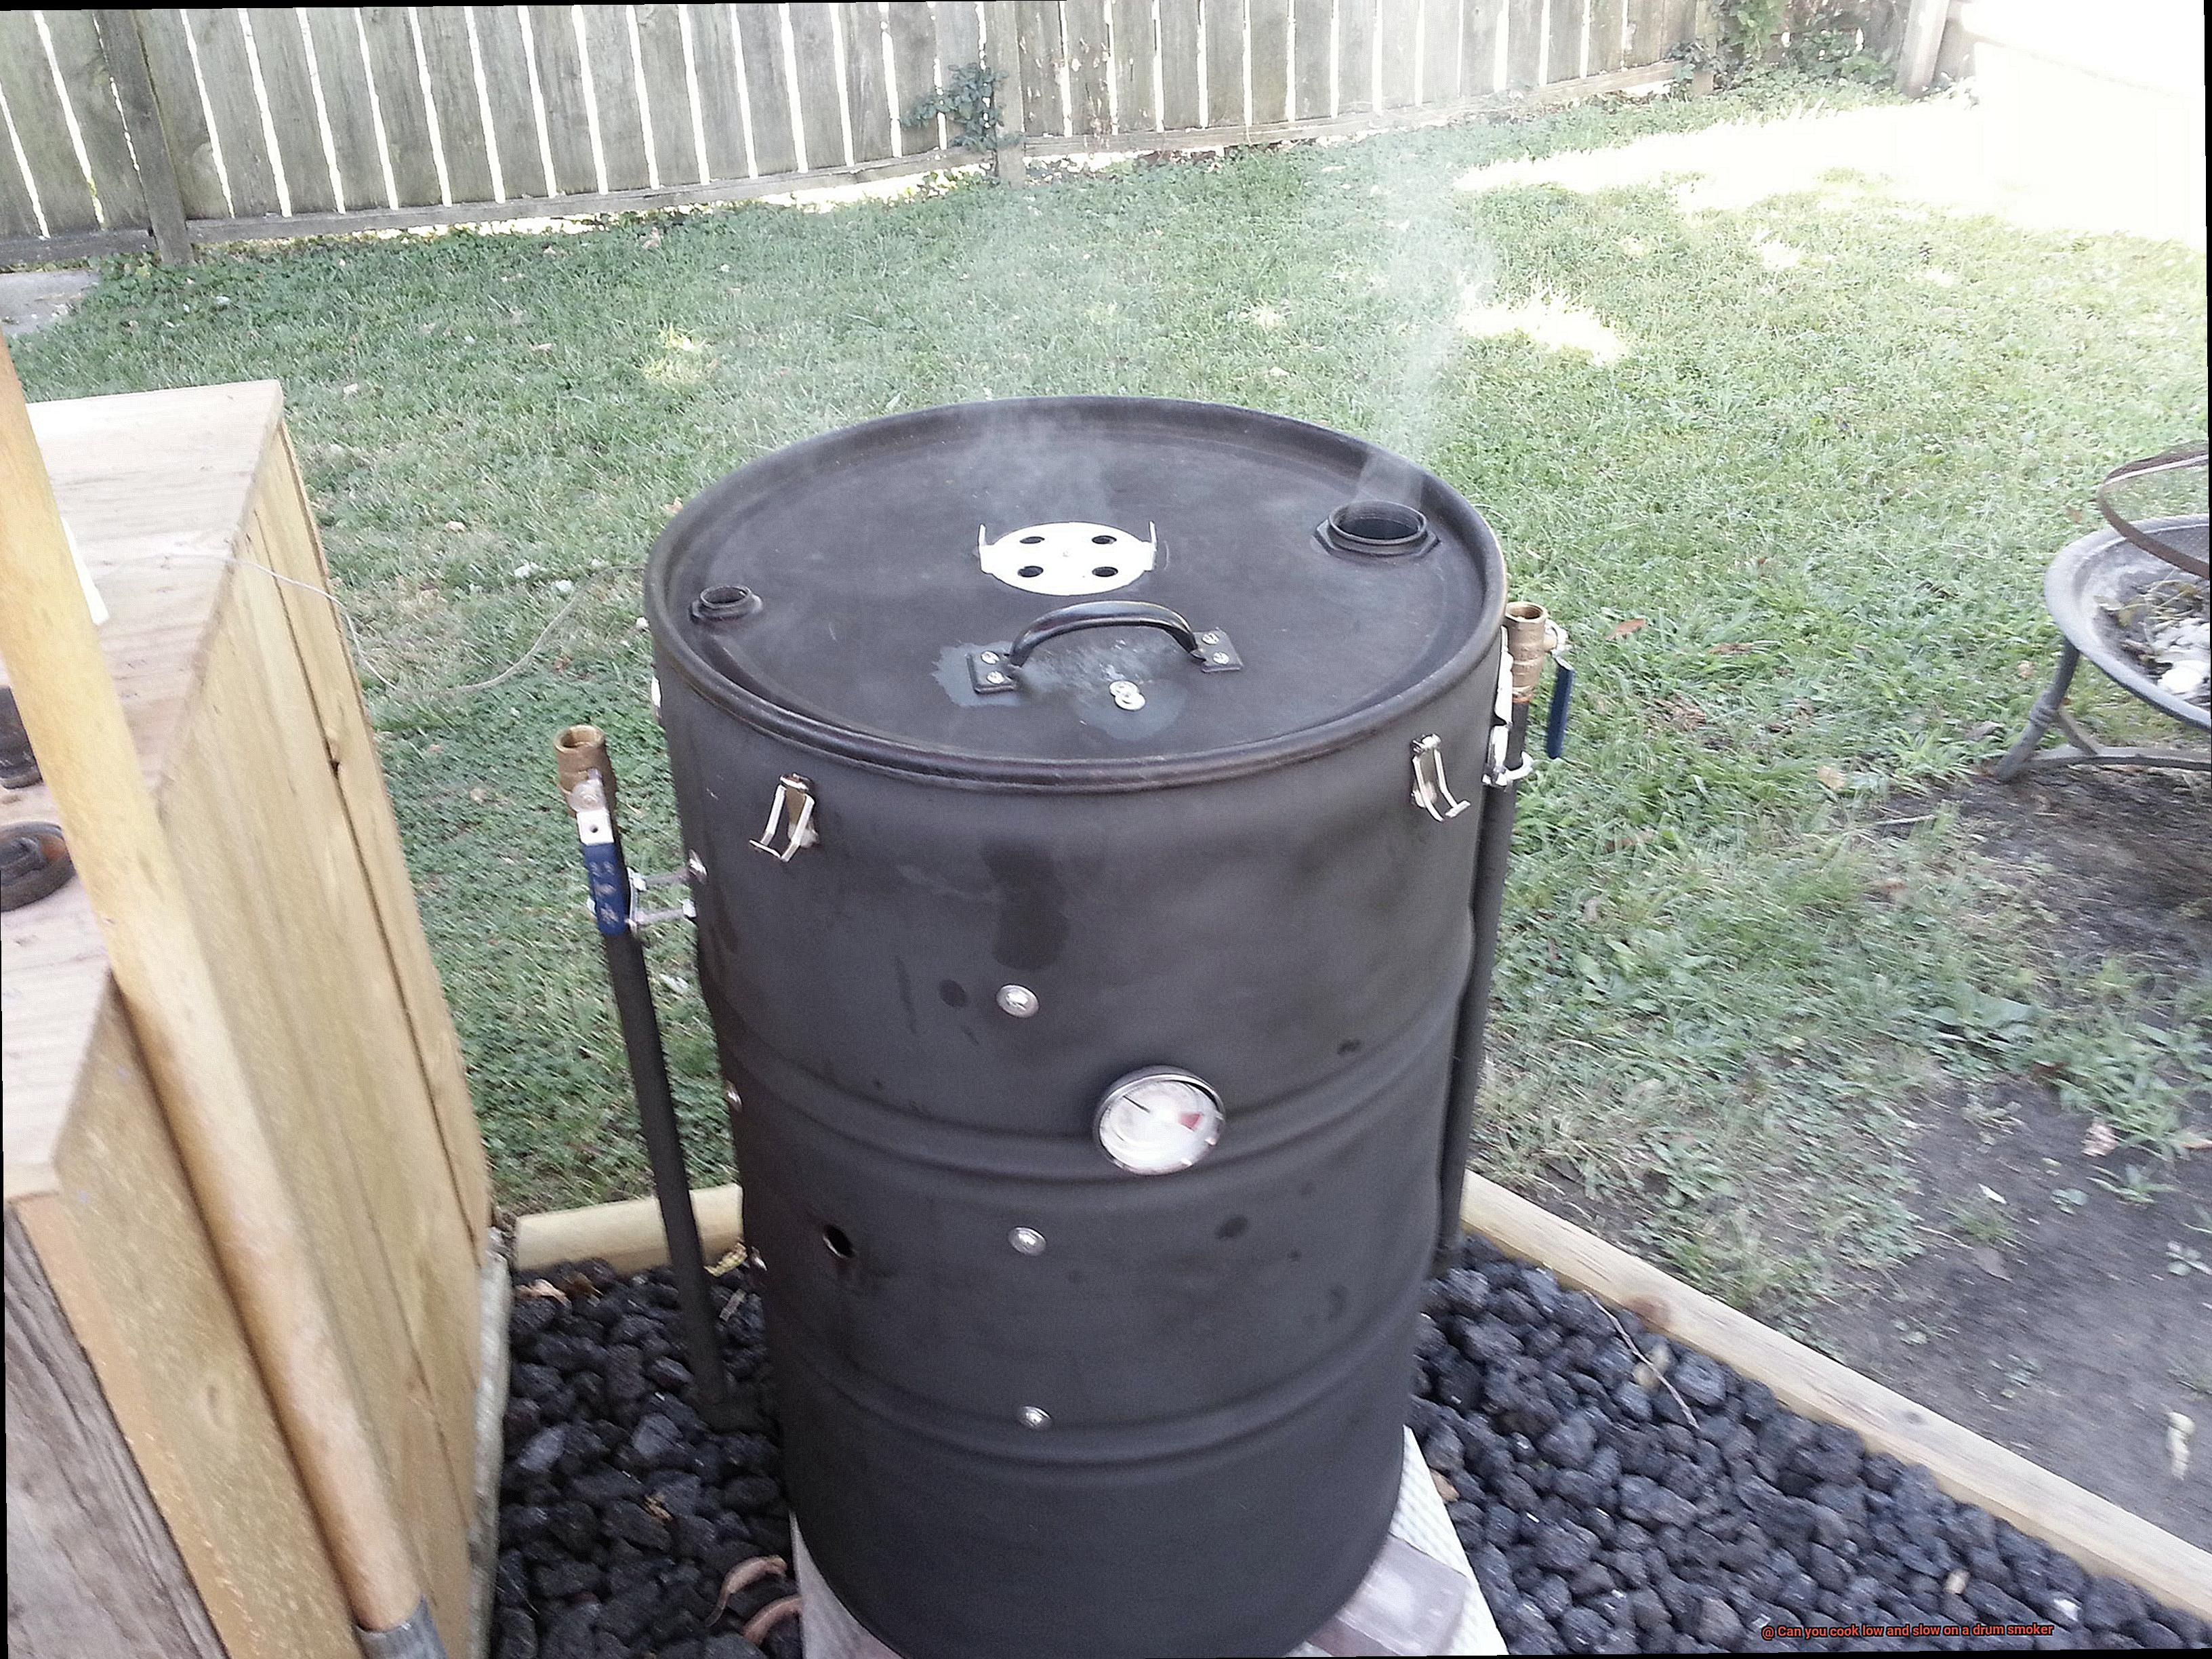
Pro Tip: Soak Your Wood Chunks for a Steady Release of Smoke
Should you choose to wield wood chunks for an extra smoky embrace, immerse them in water for approximately 30 minutes before lighting their fiery spirits. This simple act prevents them from burning too quickly, ensuring a steady release of tantalizing smoke throughout your culinary quest. Trust us, your taste buds will serenade you with gratitude.
Remember, Patience is Key
No matter which method you select, grant your fuel the gift of time, allowing it to fully ignite and reach the desired temperature before introducing your food to the smoker’s embrace. This act bestows upon you the gift of consistent heat and smoke levels, crafting a mouthwatering masterpiece.
Maintaining a Steady Temperature in the Drum Smoker
Maintaining a steady temperature in a drum smoker is the holy grail of low and slow cooking. It’s what separates the amateurs from the pitmasters, and it’s what ensures that your meat comes out perfectly tender and flavorful every time. But how do you achieve this elusive balance of heat and time? Let’s break it down.
First and foremost, let’s talk about air flow. Picture this: a symphony of smoke swirling around your drum smoker, dancing with the heat to create a culinary masterpiece. Proper air flow is the conductor that orchestrates this beautiful dance. Most drum smokers come with adjustable vents or dampers that allow you to control the airflow. By tweaking these vents, you can regulate the amount of oxygen that enters the smoker, which in turn affects the intensity of the fire and the temperature inside.
Now let’s dive into fuel selection. Think of your fuel as the heart and soul of your drum smoker. Charcoal briquettes are like steady, dependable companions that provide a consistent and long-lasting source of heat. Lump charcoal, on the other hand, is like a fiery comet that burns hot and fast, perfect for searing steaks but not ideal for low and slow smoking. Choose your fuel wisely, my friend.
Next up, we have fire management. It’s all about starting small and building up from there. Just like a budding romance, you don’t want to rush things and risk getting burned. Start with a small fire and gradually add more fuel as needed. This way, you’ll avoid sudden temperature spikes that can turn your masterpiece into a disasterpiece. And don’t forget about water pans or drip pans – they’re like little guardians of temperature stability, providing moisture and acting as a heat sink to keep things in check.
Temperature monitoring – the ever-watchful eye that keeps everything in line. Many drum smokers come with built-in thermometers, but do yourself a favor and invest in a separate digital thermometer for accuracy. This way, you can closely observe the temperature inside the smoker and make adjustments as needed. Remember, knowledge is power.
Last but not least, patience is your secret weapon. Rome wasn’t built in a day, and neither are perfectly smoked meats. It takes practice, trial, and error to find that sweet spot of airflow, fuel, fire management, and temperature control that works best for your drum smoker. Be patient, my friend, and embrace the process. The journey to that mouthwatering end result is just as important as the destination.
Placing the Meat on the Cool Side of the Drum Smoker
Now, we’re going to uncover the secret behind achieving that delectable low and slow cook that will leave your taste buds dancing with delight. So, grab your tongs and let’s embark on this smoky adventure.
Imagine a drum smoker, emanating heat from its fiery depths, ready to transform your chosen cut of meat into a succulent masterpiece. But before you take the plunge into grilling glory, it’s imperative to understand the significance of placing your meat on the cool side of the drum smoker.
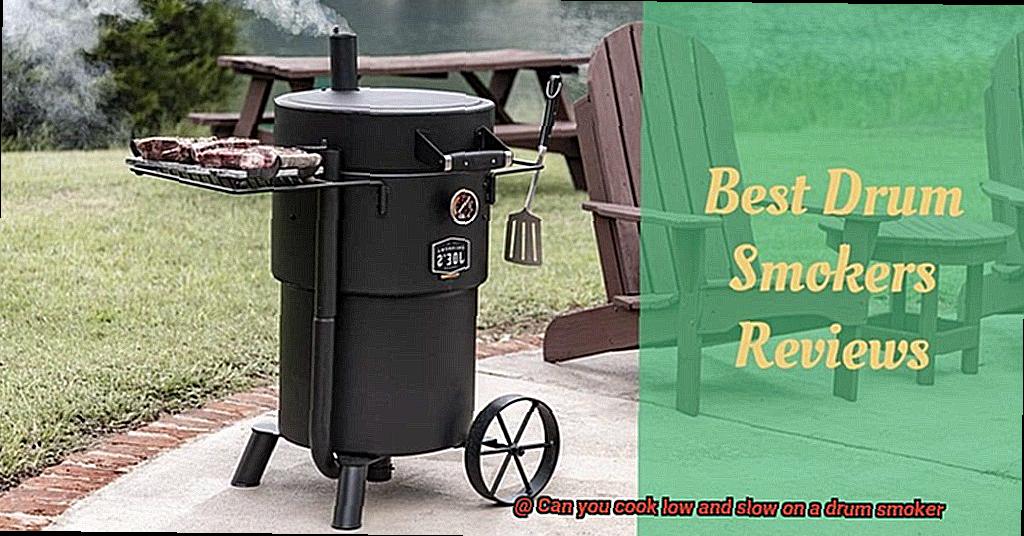
The cool side, my friends, is where the magic happens. It’s the area of the drum smoker that isn’t directly over the fire or heat source. This is where you want your meat to luxuriate in all its slow-cooking glory.
Why is this crucial? Because the cool side offers something extraordinary – indirect heat. This gentle embrace of warmth ensures that your meat cooks evenly and retains its juicy tenderness. No more dry and overcooked disappointments.
To position your meat on the cool side, acquaint yourself with the layout of your drum smoker. Most drum smokers have a fire basket or charcoal grate on one side, with a rack or cooking surface above it. Now, guess where the cool side is? Yes, it’s opposite the fire.
Here’s a pro tip: create a separation between your meat and the heat source by utilizing a rack or cooking grate. This simple trick elevates your meat’s slow-cook experience to perfection.
But wait – there’s more. Placing a water pan between the fire and your meat not only regulates temperature but also infuses moisture into the cooking process. Imagine tender, juicy ribs with a hint of smoky goodness – pure heaven.
Now, dear grill enthusiasts, vigilantly monitor the temperature. A trusty thermometer becomes your best friend, ensuring that your meat cooks at the desired low and slow temperature. Remember, patience is key.
Speaking of patience, resist the urge to incessantly check or flip your meat while it’s cooking. Opening that lid too frequently can cause temperature fluctuations and prolong cooking time. Trust in the process and let that drum smoker weave its magic.
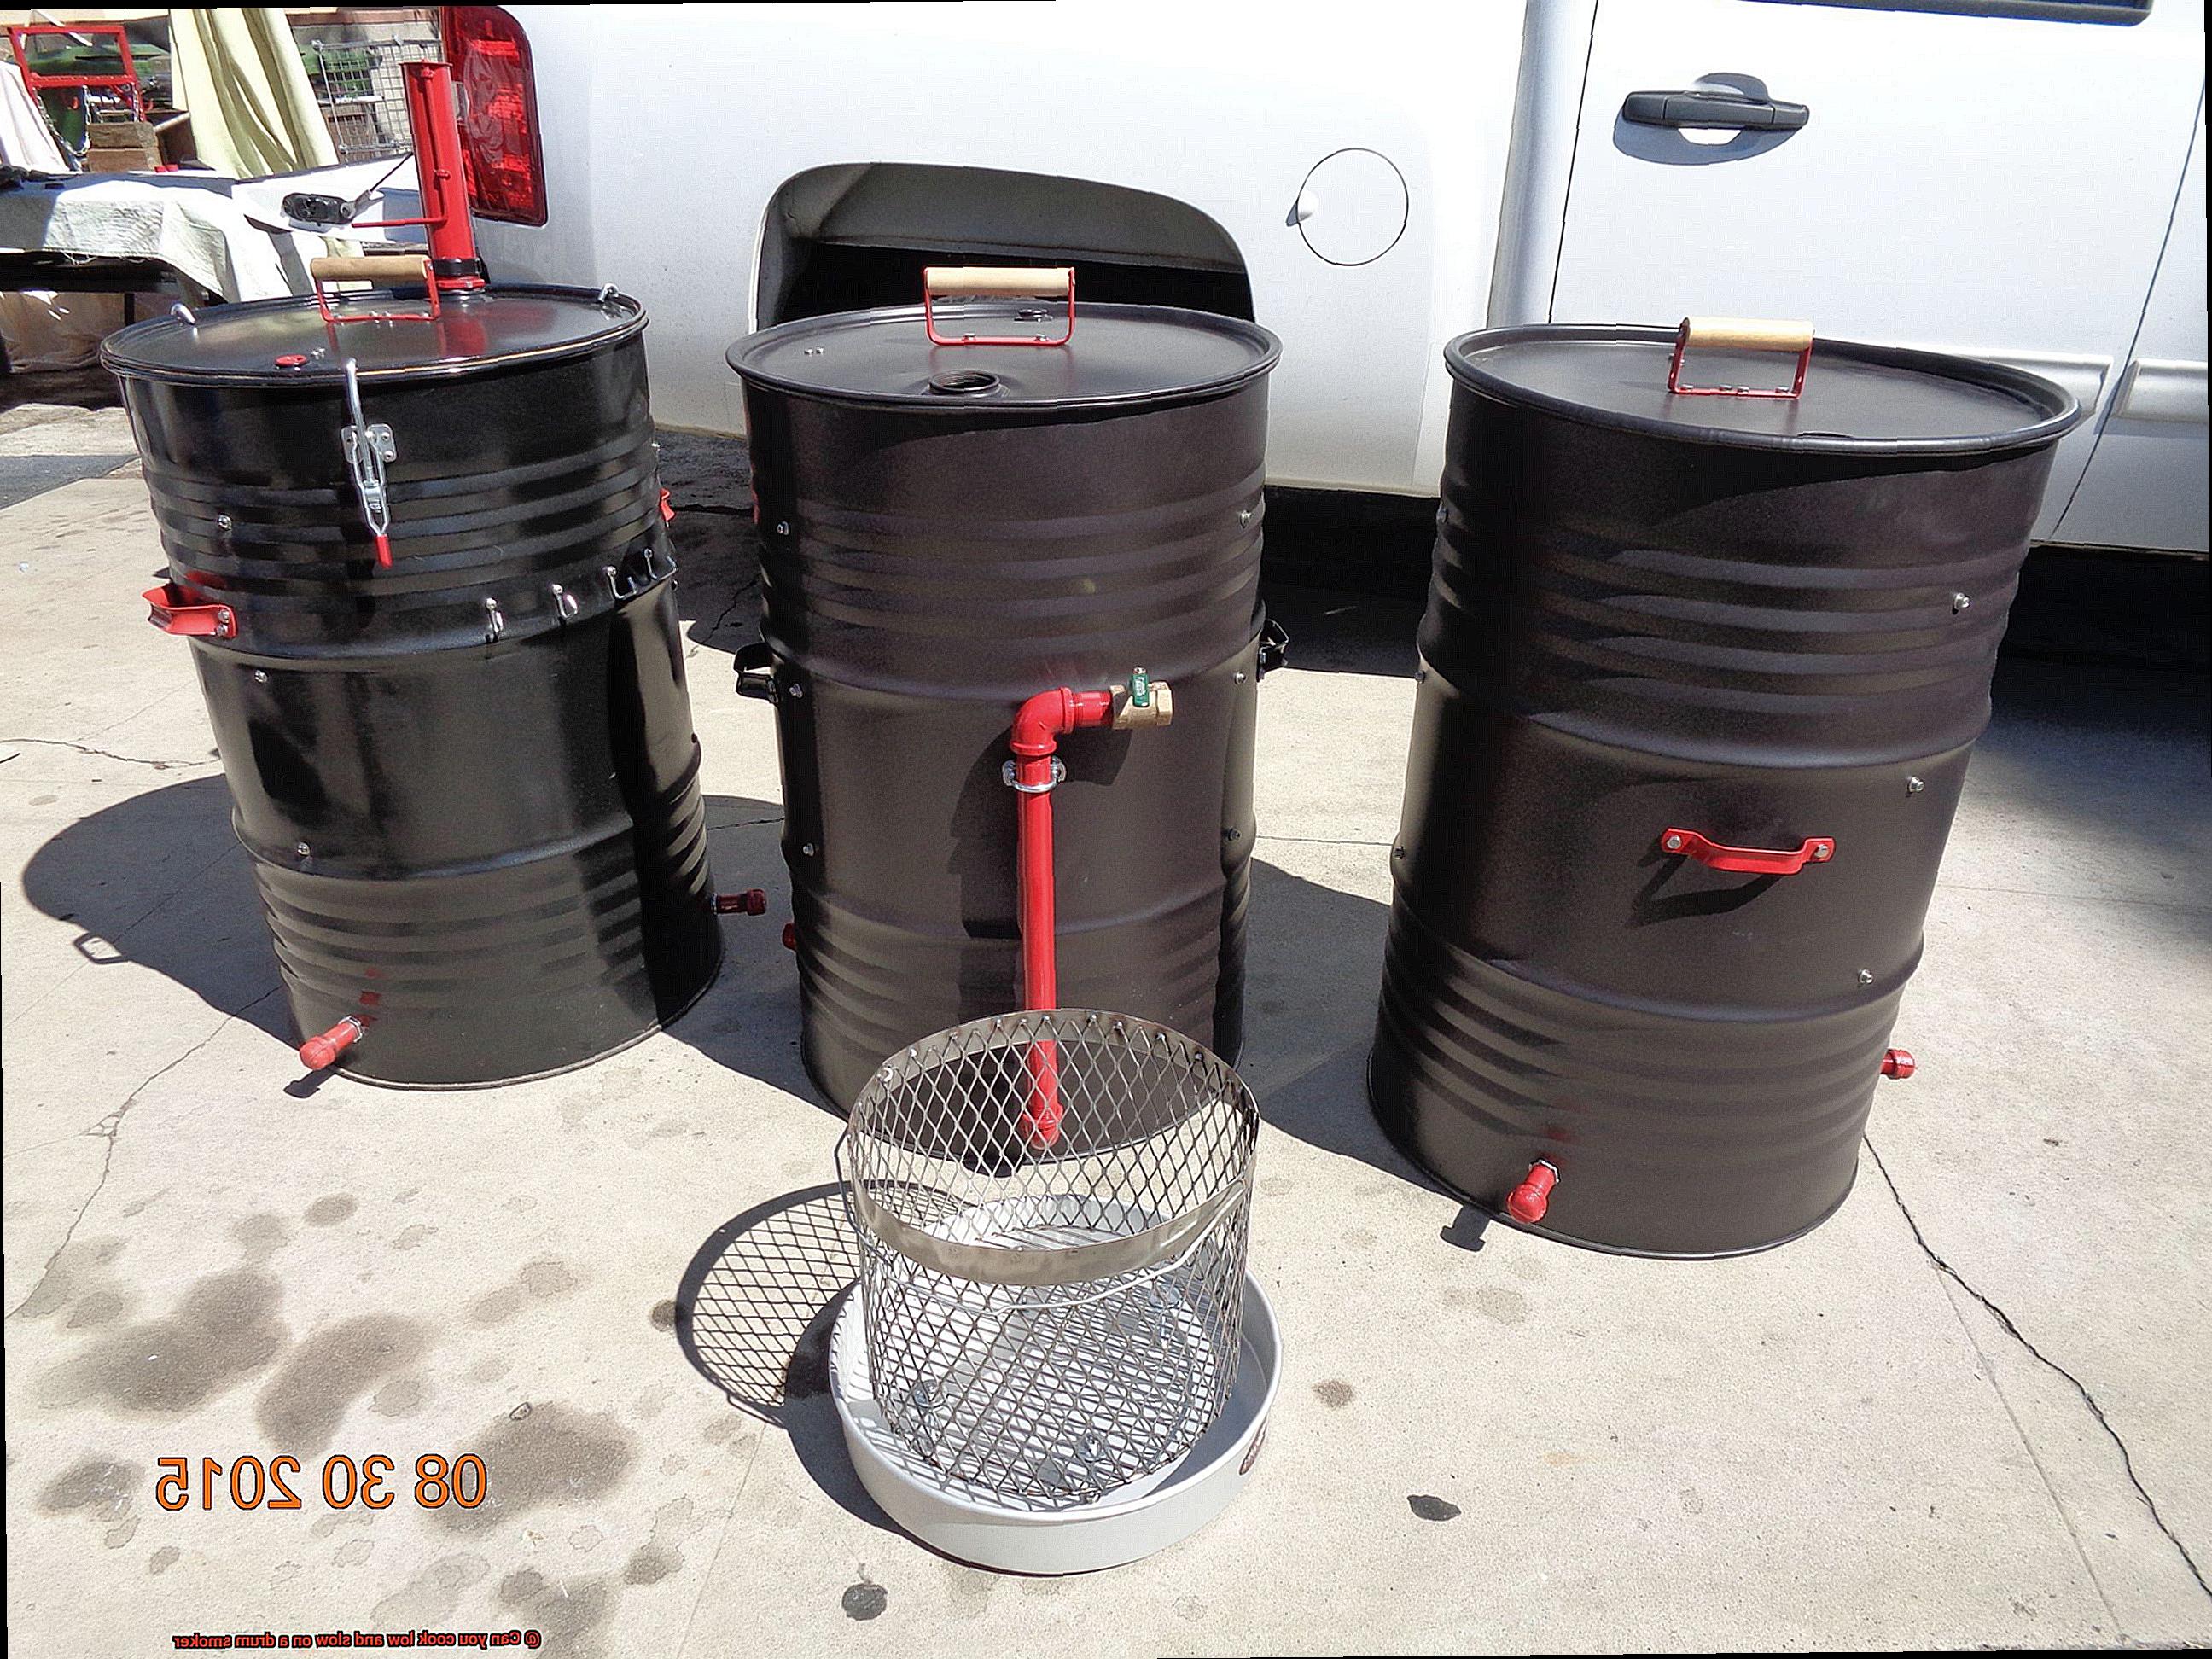
One last thing – different cuts of meat possess unique cooking times and temperature requirements. Before embarking on your grilling adventure, research each cut to ensure it receives the love and attention it deserves.
Monitoring Internal Temperatures with a Meat Thermometer
If you want to achieve that mouthwatering, melt-in-your-mouth tenderness and flavor when cooking low and slow on a drum smoker, then monitoring the internal temperature of your meats is an absolute must. Trust me, it’s not as complicated as it sounds. With the help of a reliable meat thermometer, you’ll be on your way to grilling greatness in no time.
Let’s dive into why monitoring internal temperatures is so important. Firstly, when cooking low and slow on a drum smoker, maintaining a consistent temperature is crucial. Drum smokers can have hot spots and temperature fluctuations, making it challenging to achieve an even cook. By using a meat thermometer, you can monitor the internal temperature of your meat and make necessary adjustments to maintain that steady cooking environment.
Now that you have your meat thermometer in hand, it’s time to talk about the different types available. There are analog thermometers with traditional dials and digital thermometers with quick and accurate readings. Personally, I prefer digital thermometers because they give me peace of mind knowing my meat is cooking at the perfect temperature.
When inserting the thermometer into your meat, aim for the thickest part without touching any bones or fat. This will give you the most accurate reading of the internal temperature. Different meats have different internal temperature recommendations for safe consumption. For example, poultry should reach an internal temperature of 165°F (74°C), while beef brisket is typically cooked to around 195°F (90°C). It’s essential to refer to a reliable temperature guide for specific recommendations based on the type of meat you’re cooking.
While cooking low and slow on a drum smoker, regularly checking the internal temperature of your meat is crucial. This ensures it reaches the desired temperature without overcooking. Patience is key here – the cooking process can take several hours or even overnight. But trust me, it’ll be worth it when you take that first succulent bite.
Once your meat has reached the recommended internal temperature, resist the temptation to dive right in. Let it rest for a bit before slicing. This allows the juices to redistribute, resulting in a more flavorful and tender final product. Use your meat thermometer to confirm that the internal temperature remains stable during the resting period.
Patience is Key When Low and Slow Cooking on a Drum Smoker
Get your drum smoker ready, because the secret ingredient you need for this journey is patience.
Consistent Temperature Control:
Maintaining a consistent temperature throughout the cooking process is paramount when using a drum smoker. Fluctuations in temperature can wreak havoc on your dish, so be prepared to vigilantly monitor and adjust the temperature. Remember, slow and steady wins this race.
Extended Cooking Times:
Low and slow cooking often involves larger cuts of meat that demand extended cooking times. Whether it’s a succulent pork shoulder or a tantalizing beef brisket, be prepared to invest anywhere from 8 to 12 hours or even longer. Don’t rush the process – allow the flavors to develop at their own exquisite pace.
Resisting Temptation:
The temptation to peek under the lid or crank up the heat can be tantalizingly strong, but resist. Opening the lid frequently or adjusting the heat disrupts the airflow and temperature stability, leading to uneven cooking or extended cooking times. Trust in the process and let your drum smoker work its enchantment.
Flavor Development:
Patience allows the smoke and seasonings to penetrate deep into the meat, creating a symphony of rich and complex flavors. Each hour on the drum smoker adds another layer of deliciousness, so sit back, relax, and let those flavors reach their full potential.
Resting Period:
After removing your perfectly cooked meat from the drum smoker, resist the urge to dive right in. Instead, grant it a well-deserved rest for at least 15-30 minutes. This resting period helps redistribute the juices throughout the meat, resulting in a juicier and more flavorful end product. Trust us, the anticipation will make it even more worthwhile.
Practice Makes Perfect:
Low and slow cooking on a drum smoker is an art that requires practice. Each cookout presents an opportunity to learn and refine your techniques. Experiment with different flavors, temperatures, and cooking times until you achieve the desired results. Don’t let setbacks discourage you – your patience will be rewarded tenfold.
3-LSP091iO8″ >
Conclusion
In conclusion, the answer is a resounding yes – you can absolutely cook low and slow on a drum smoker. The unique design of these smokers allows for excellent temperature control and heat distribution, making them ideal for long, slow cooking sessions. Whether you’re smoking a brisket, ribs, or even a whole turkey, the drum smoker will deliver mouthwatering results every time.
The key to successful low and slow cooking on a drum smoker lies in mastering the art of airflow control. By adjusting the vents and dampers strategically, you can maintain a consistent temperature throughout the cooking process. This slow and steady approach allows the meat to tenderize slowly, resulting in incredibly juicy and flavorful results.
One of the advantages of using a drum smoker for low and slow cooking is its fuel efficiency. These smokers are designed to be highly efficient in terms of charcoal usage, allowing you to achieve long cook times without constantly adding more fuel. This not only saves you money but also ensures that your meat is infused with that distinct smoky flavor from start to finish.
Furthermore, drum smokers are known for their versatility when it comes to cooking different types of meats. Whether you’re smoking pork shoulder for pulled pork or preparing succulent smoked chicken wings, the drum smoker’s consistent heat distribution ensures that each piece of meat is cooked evenly and thoroughly.
In conclusion, if you’re looking to master the art of low and slow cooking, investing in a drum smoker is definitely worth considering. With their excellent temperature control, fuel efficiency, and versatility, these smokers are perfect for achieving those melt-in-your-mouth results that barbecue enthusiasts crave.

