Imagine the feeling of pride and satisfaction that comes with smoking a mouth-watering brisket all day long, slowly adding the perfect blend of spices and creating an aroma that fills the air. You can’t wait to dig in and savor every juicy bite. But, life happens, and you’re forced to put your plans on hold for five hours. Panic sets in – will your hard work go to waste?
Fear not, my friend. Holding brisket in a cooler for five hours is a popular method for keeping it warm and ensuring it stays moist. However, it’s not as simple as just leaving it out on the counter. You need to know what kind of cooler to use, how to prepare the brisket for storage, and important food safety guidelines to follow.
In this blog post, we’ll explore everything you need to know about holding a brisket in a cooler. Whether you’re an experienced pitmaster or just starting out on your smoking journey, mastering this technique will ensure that your brisket is always ready to impress – even if unexpected circumstances arise.
So grab a drink (or two) and let’s dive into the world of brisket storage. We’ll cover all the tips and tricks you need to make sure your delicious creation stays safe and tasty until it’s time to chow down.
Contents
What is a Brisket?
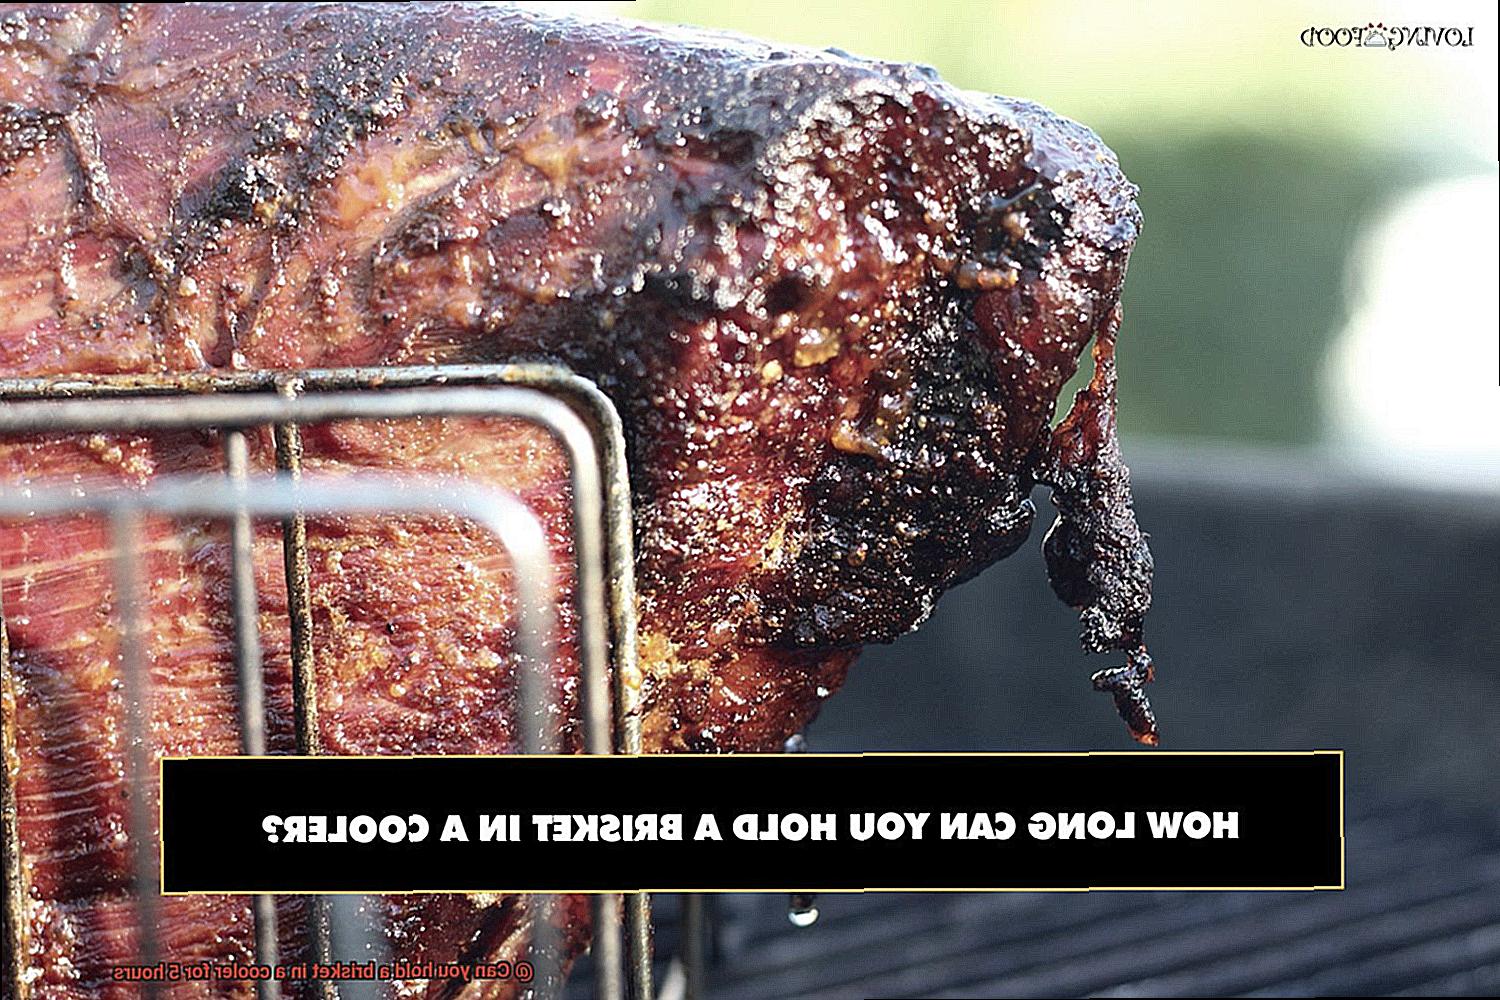
Brisket is a mouth-watering cut of meat that comes from the breast or lower chest of a cow. It is a tough cut that requires some patience and a little know-how to prepare it just right.
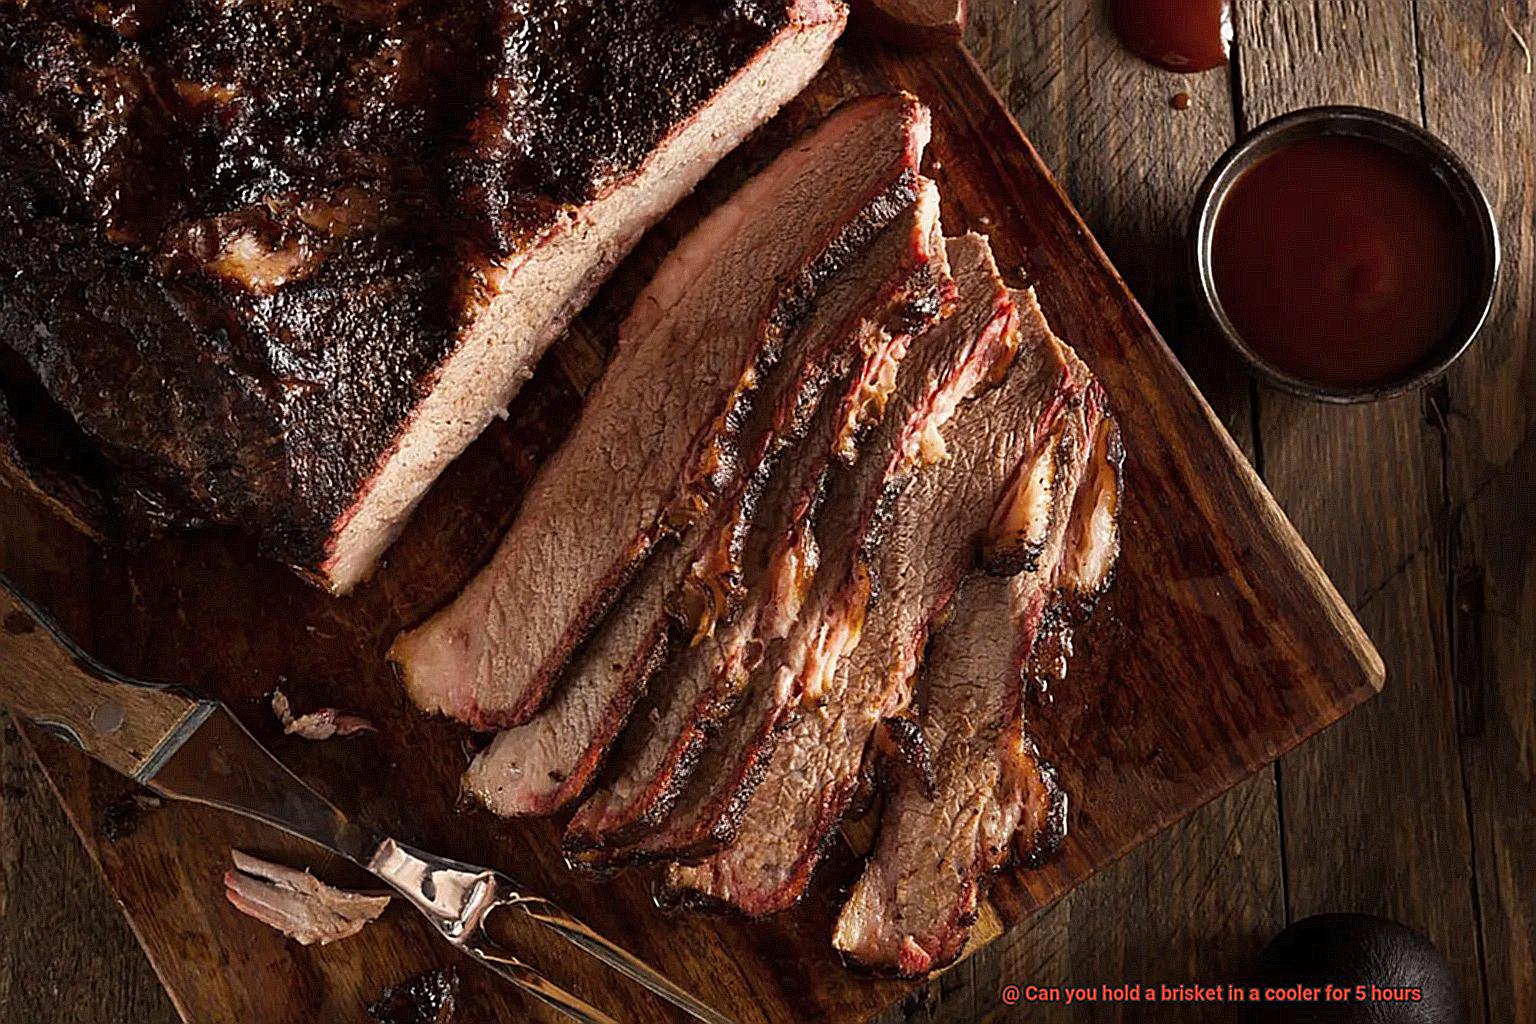
The brisket is made up of two distinct muscles separated by a layer of fat. The leaner and flatter muscle, known as the “first cut” or “flat cut,” is perfect for slicing, while the thicker, more marbled muscle, known as the “second cut” or “point cut,” is ideal for shredding.
When buying brisket, look for one with good marbling and a thick layer of fat on top. The fat will help keep the meat moist while cooking. Briskets can weigh anywhere from 5-20 pounds, so choose a size that matches your needs. Keep in mind that they shrink by about 30% during cooking, so plan accordingly.
One of the most popular ways to cook brisket is to smoke it for hours until it becomes tender and full of flavor. However, it can also be braised, roasted or slow-cooked in a crockpot. For those who want to take their brisket game up a notch, sous vide cooking is also an option.
It’s important to note that when cooking brisket, food safety should always be a top priority. Cook it to an internal temperature of at least 145°F to ensure any harmful bacteria are destroyed. Once cooked, hold it in a preheated cooler for up to 5 hours as long as the internal temperature remains above 140°F.
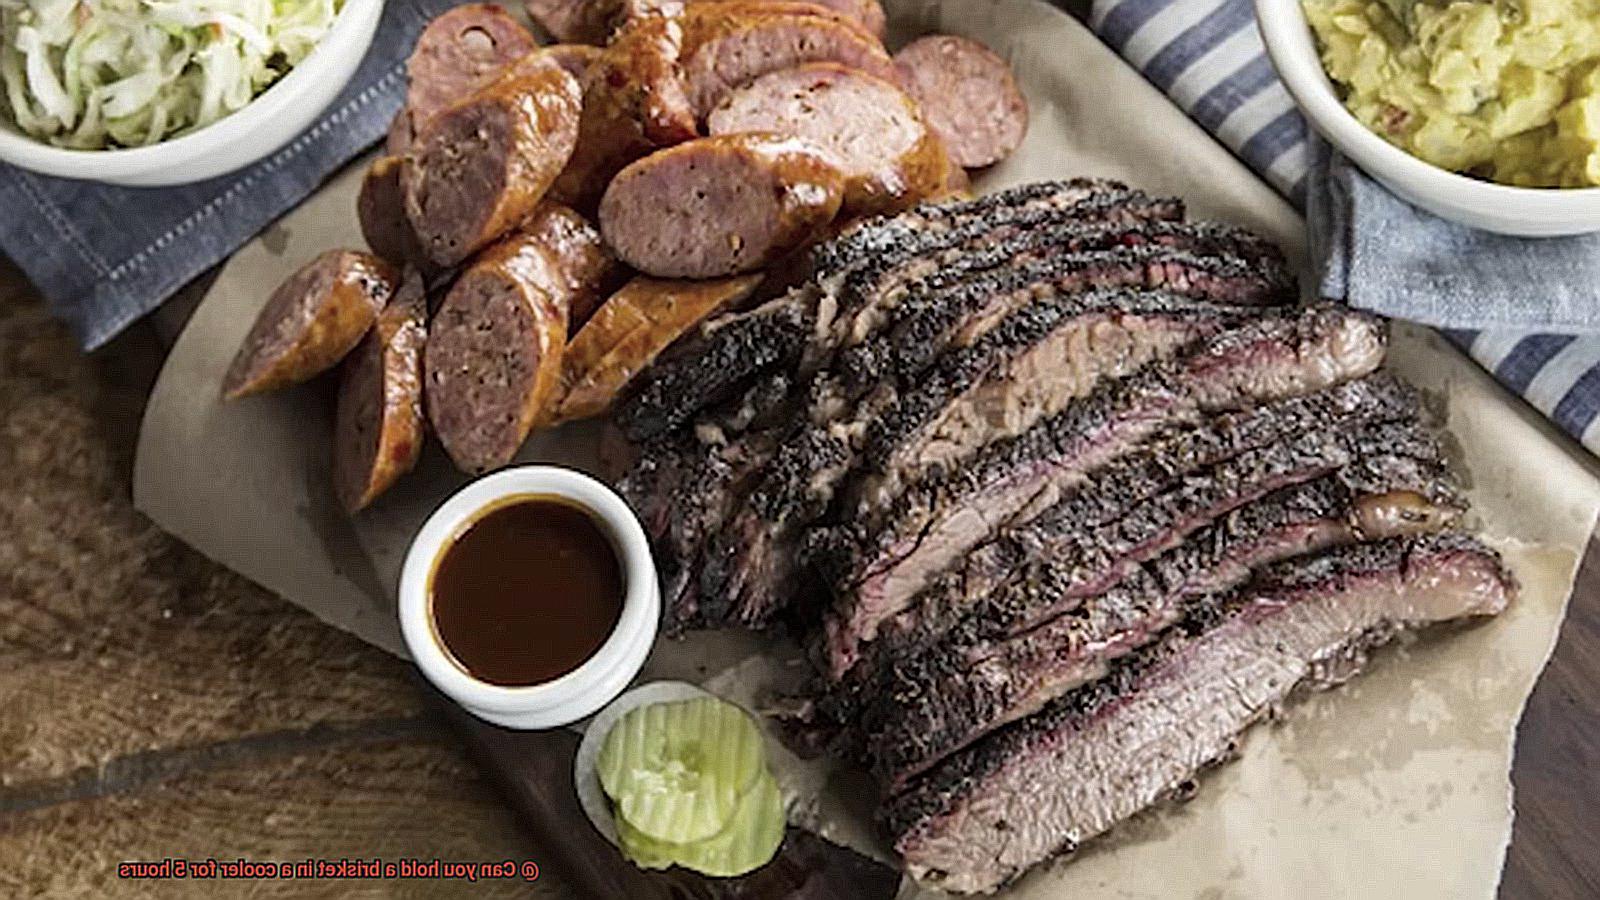
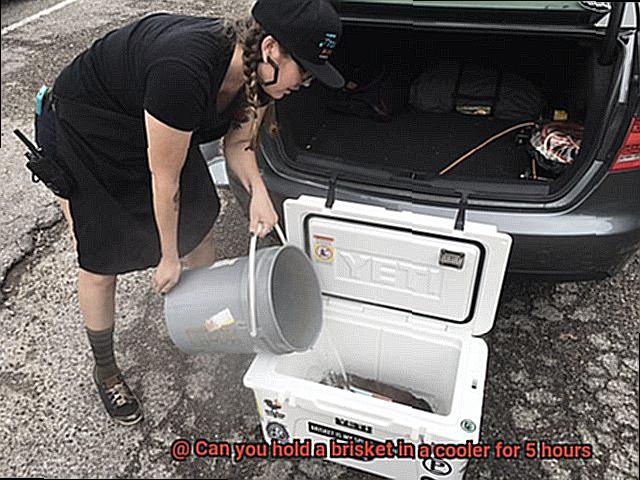
To keep the brisket at a safe temperature, use a high-quality cooler and preheat it before placing the brisket inside. Preheat by filling it with hot water and letting it sit for at least 30 minutes before draining the water and adding the brisket.
Food Safety Considerations When Grilling a Brisket
As you create your mouthwatering masterpiece, it’s essential to prioritize food safety. Here are some expert tips to ensure that your brisket is not only cooked to perfection but also safe to eat.
Firstly, start with high-quality meat. Look for a well-marbled brisket with a thick layer of fat, which will give your brisket that irresistible flavor and juiciness. When it comes to cooking the brisket, ensure that its internal temperature reaches at least 145°F (63°C) and is held at that temperature for at least 3 minutes. This is the only way to kill off any potentially harmful bacteria.
After your brisket has reached the desired internal temperature, it’s time to wrap it tightly in foil or place it in an airtight container before placing it in a cooler. This step is crucial to prevent any contamination from outside sources. However, don’t forget to monitor the temperature of your cooler and ensure it stays below 40°F (4°C) to prevent the growth of harmful bacteria. Adding ice or frozen gel packs can help maintain a safe temperature.
While holding your brisket in a cooler is an excellent way to keep it fresh and juicy, it’s imperative not to keep it there for too long. It’s recommended to hold your brisket in a cooler for no more than 4 hours to ensure maximum freshness and safety. After this time, either consume or refrigerate your brisket.
In summary, consider these food safety tips when grilling a brisket:
- Use high-quality meat.
- Cook the brisket to an internal temperature of at least 145°F (63°C) for three minutes.
- Wrap the brisket tightly in foil or place it in an airtight container before placing it in a cooler.
- Monitor the temperature of your cooler and keep it below 40°F (4°C).
- Only hold your brisket in a cooler for up to 4 hours.
Is it Safe to Hold a Brisket in a Cooler for 5 Hours?
Worry no more. As an expert on grilling, I can tell you that it is safe to hold a brisket in a cooler for up to 5 hours, but it’s crucial to consider some essential factors.
Firstly, make sure that your brisket has been cooked to an internal temperature of at least 190°F before holding it in a cooler. This temperature ensures the elimination of harmful bacteria and guarantees that your meat is safe to eat. Once cooked, wrap your brisket tightly in foil or butcher paper and place it in a preheated cooler lined with towels or blankets to insulate the meat and maintain its warmth.
It’s vital to note that holding your brisket in a cooler for too long could cause it to overcook. The heat from the meat will radiate outwards even when wrapped tightly, which can further tenderize the meat and enhance its flavor. However, if you’re planning on holding your brisket for more than five hours, consider using a sous vide machine instead. This precision cooking method involves sealing your meat in an airtight bag and cooking it at a low temperature for an extended period. Sous vide cooking ensures that your meat stays perfectly cooked and safe to eat without drying out or overcooking.
Preheating the Cooler
First and foremost, take the time to clean your cooler thoroughly before placing your brisket inside. This simple step will prevent any harmful bacteria from growing on your precious meat.
Now onto the preheating process. Fill your cooler with hot water for at least 30 minutes before adding in your brisket. This will ensure that the cooler is at an optimal temperature to keep your meat warm and juicy. Remember to drain the water before placing your brisket inside to avoid any unwanted water accumulation.
But why stop there? Go the extra mile and preheat your cooler with hot towels. This added step can make all the difference in maintaining a constant temperature throughout the cooking process, resulting in a perfectly cooked brisket every time.
Wrapping the Brisket Tightly
Now that we’ve covered how to preheat your cooler, it’s time for the next crucial step in achieving mouthwatering brisket – wrapping it tightly. But why is this step so important? Wrapping the brisket ensures that it stays tender and juicy by locking in moisture and heat. However, you want to make sure that the wrapping is tight enough to keep the moisture inside without affecting the texture of the bark.
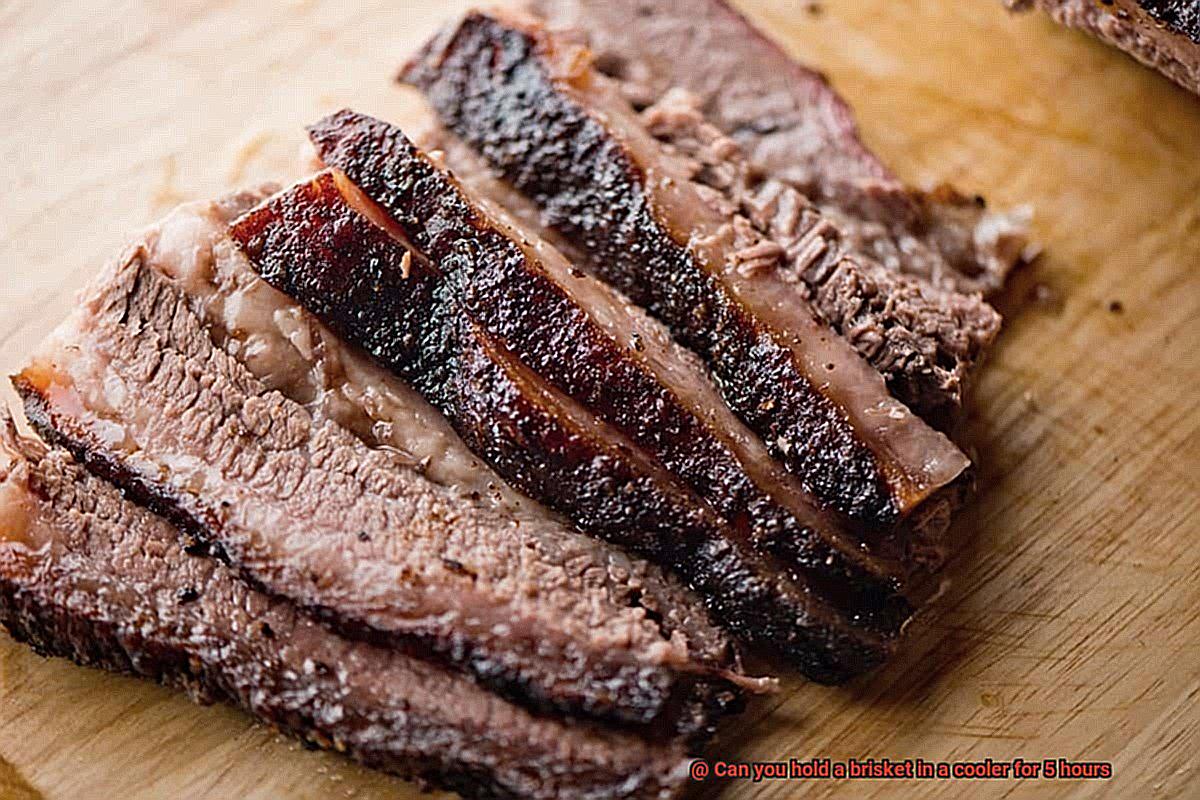
Now, let’s dive into the options for wrapping your brisket. One popular method is the Texas Crutch, which involves wrapping the brisket in foil after a few hours of smoking. This technique helps retain heat and moisture, speeding up the cooking process and preventing the meat from drying out. However, some pitmasters argue that this method can result in a softer bark and less distinct smoke flavor.
Another option is butcher paper. This allows the meat to breathe while still retaining moisture, resulting in a more pronounced smoke flavor and a firmer bark. Butcher paper also prevents any potential issues with uneven cooking caused by air pockets forming during wrapping. Just remember to wrap it tightly to seal in all those delicious flavors.
Regardless of which method you choose, make sure that your wrapping is tight and secure. Any gaps or holes can cause precious heat and moisture to escape, leaving you with dry and tough meat. Proper wrapping techniques will ensure that your brisket remains juicy and tender even after being held in a preheated cooler for several hours.
To summarize, wrapping the brisket tightly is crucial for achieving tender and juicy meat. Whether you prefer foil or butcher paper, make sure that your wrapping technique is on point. Remember to seal in all those delicious flavors by wrapping tightly, preventing any air pockets from forming along the way.
Monitoring the Internal Temperature of the Brisket
Then, monitoring the internal temperature of your brisket is a crucial step in achieving that succulent, juicy, and tender result that will have your taste buds dancing with joy.
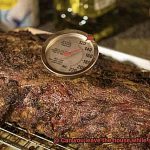
To get started, you’ll need a reliable meat thermometer. Whether you prefer a digital or analog version, make sure it’s calibrated correctly and insert it into the thickest part of the brisket without touching any bones. This will give you an accurate reading of the internal temperature.
Now, while the USDA recommends cooking beef to an internal temperature of 145°F for medium-rare, 160°F for medium, and 170°F for well-done, many brisket enthusiasts prefer to cook to a higher internal temperature, often between 195°F and 205°F. This higher temperature range ensures that the connective tissue in the brisket breaks down properly, resulting in that melt-in-your-mouth tenderness that we all love.
But achieving your desired internal temperature is only half the battle. To ensure optimal flavor and tenderness, it’s crucial to rest the brisket before slicing. Resting times can vary depending on the size of the brisket, but a general rule of thumb is to rest for at least 30 minutes before slicing. This allows the juices to redistribute throughout the meat and creates a more flavorful and tender eating experience.
If you plan on holding your brisket in a cooler for 5 hours or more, it’s important to continue monitoring the internal temperature periodically. Use a digital thermometer with a temperature alarm that will sound if the temperature drops below a certain level and keep the brisket wrapped in foil or butcher paper while in the cooler to retain moisture and prevent any bacteria growth.
JTVVfsSeZ84″ >
Conclusion
In conclusion, holding a brisket in a cooler for up to 5 hours can be a game-changer for your next BBQ. But it’s not just about throwing it in and hoping for the best. To achieve that juicy, fall-off-the-bone goodness, you need to follow some crucial steps.
Firstly, preheating the cooler is essential to ensure that it maintains its temperature and doesn’t cool down your brisket. Secondly, wrapping your brisket tightly with foil or butcher paper will help retain heat and moisture, resulting in tender meat that melts in your mouth.
Using high-quality meat and cooking it to an internal temperature of at least 145°F for three minutes is crucial. And when holding it in the cooler, make sure to line it with towels or blankets to maintain its warmth.
Periodically monitoring the internal temperature while holding your brisket in the cooler is also key. You don’t want to overcook or undercook your meat after all that effort.
With these expert tips and tricks under your belt, you can confidently smoke that mouth-watering brisket without worrying about unexpected circumstances ruining your hard work.

