Imagine the mouthwatering scent of a wood-fired pizza wafting through the air. The crust perfectly charred, the cheese melting and stretching with every bite. It’s a culinary masterpiece that tantalizes taste buds and brings pure joy. But what if you don’t have a fancy wood-fired pizza oven? Don’t fret, my friend, because today I’m about to let you in on an incredible secret – making pizza on a pellet grill.
When you think of a pellet grill, juicy smoky meats probably come to mind, but pizza? Oh yes, my dear reader. Pellet grills are not just for grilling steaks and burgers. With their precise temperature control and versatile cooking capabilities, they can transform into your very own pizza-making powerhouse.
Now, you might be wondering how this sorcery works. Well, it all comes down to those magical pellets. These tiny compressed wood pieces ignite to create a consistent heat source that turns your grill into an oven-like wonderland. As the grill reaches the perfect temperature, that heat is evenly spread throughout the cooking chamber, ensuring every pizza comes out flawlessly cooked.
In this blog post extravaganza, we’ll take you on a journey through the art of making pizza on a pellet grill. We’ll cover everything from preparing the dough to selecting drool-worthy toppings and achieving that coveted crispy crust. Get ready for some expert tips and techniques that will elevate your pizza game to astonishing heights. Prepare to astound your loved ones with pizzas so good they’ll think you’ve opened up your own pizzeria.
Whether you’re an experienced pellet grill aficionado or simply a passionate pizza lover seeking new culinary adventures, this blog post is here to unlock a world of flavor and creativity right in your backyard. So put on your apron and fire up that pellet grill because we’re about to embark on an epic journey of pizza-making perfection that will leave your taste buds begging for more.
Contents
Benefits of Making Pizza on a Pellet Grill
With its ability to infuse smoky flavors, reach scorching temperatures, and offer convenient cooking, the pellet grill opens up a whole new world of culinary possibilities. In this article, we will delve into the unmatched advantages of making pizza on a pellet grill and discover how it can elevate your pizza-making game to extraordinary heights.
Unleash the Smoky Symphony:
Prepare yourself for a flavor symphony like no other as you embark on the journey of making pizza on a pellet grill. By using wood pellets as fuel, the pellet grill imparts a mesmerizing smoky essence to your pizza. Each bite becomes an enchanting combination of crispy crust, luscious toppings, and a deep, aromatic smokiness that tantalizes your taste buds. It’s an experience that transports you to the heart of an authentic pizzeria.
Scorching Heat for Perfect Perfection:
The pellet grill’s capability to reach staggering temperatures is key to achieving unforgettable pizza perfection. With blazing temperatures ranging from 500-700°F (260-370°C), the pellet grill replicates the intense heat of traditional wood-fired ovens. This searing heat ensures rapid cooking, resulting in a flawlessly crispy and evenly browned crust that provides a solid foundation for all your delectable toppings.
Consistent Heat Dance:
In the art of baking pizzas, temperature control is paramount. Fortunately, the pellet grill masters this aspect with finesse. Its unrivaled heat distribution guarantees an even cooking experience, eliminating any dreaded hot spots that could ruin your creation. Bid farewell to undercooked centers or charred edges – with the pellet grill’s precision, you can achieve a harmonious balance between a crisp base and a perfectly cooked topping.
Versatility Unveiled:
Unleash the full potential of your pizza-making endeavors with the unparalleled versatility of the pellet grill. Many pellet grills come equipped with pizza stone or pizza oven attachments, enabling you to create an authentic pizzeria atmosphere right in your own backyard. These accessories emulate the intense heat and even distribution of traditional pizza ovens, paving the way for restaurant-quality results that will astound your guests.
Tools and Ingredients You Need for Grilling Pizza
If you’re ready to elevate your pizza game and embark on a mouthwatering journey of grilling pizzas on a pellet grill, then buckle up. In this guide, we’ll explore the must-have tools and ingredients that will help you achieve perfectly cooked, smoky, and extraordinary pizzas that rival those from an authentic pizzeria. Get ready to impress your taste buds and become the ultimate pizza grilling master.
Pellet Grill: The Fire That Ignites Flavors
To kick-start your pizza-grilling adventure, you’ll need a reliable pellet grill. These grills are designed to replicate the intense heat of traditional wood-fired ovens, infusing your pizza with that irresistible smoky flavor. Look for a pellet grill that can reach scorching temperatures of at least 500°F to ensure quick and even cooking.
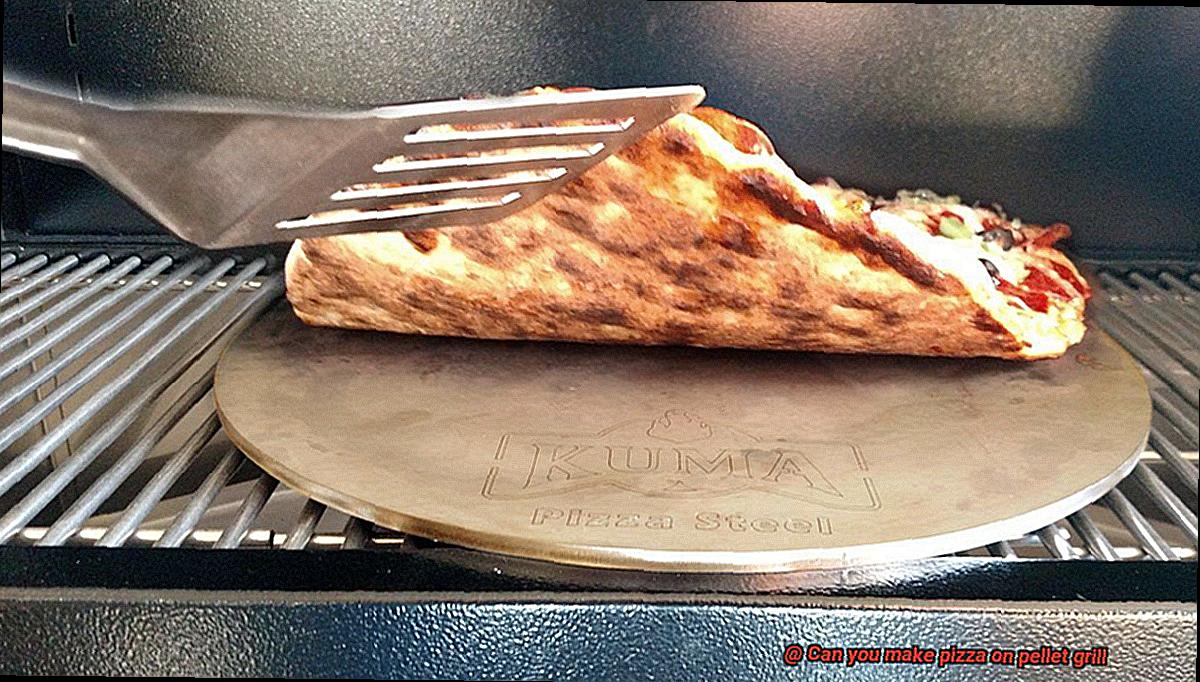
Pizza Stone: The Foundation of Crispy Perfection
No pizza-grilling journey is complete without a trusty pizza stone. This essential tool helps distribute heat evenly and prevents your dough from sticking to the grill grates. Find a pizza stone that fits your pellet grill perfectly, allowing ample room for airflow around it. This ensures that your crust becomes crispy and golden brown, reminiscent of the pizzas from your favorite pizzeria.
Pizza Peel: The Artistic Canvas for Your Culinary Masterpiece
Transferring your pizza onto and off the grill with finesse requires a reliable pizza peel. This large, flat paddle with a handle allows you to slide your creation onto the hot stone effortlessly. Opt for a peel made of sturdy wood or metal that can support the weight of your magnificent creation without any mishaps.
Pizza Dough: The Pillar of Pizza Greatness
Every great pizza starts with remarkable dough. You have two options here – either make your own from scratch or purchase pre-made dough from a trusted source. If you choose to make your own, find a recipe specifically designed for grilling, as it needs to be more resilient to withstand the intense heat of the grill and retain its perfect texture.
Preheating Your Pellet Grill
But before we dive into creating mouthwatering masterpieces, let’s talk about a crucial step in the process: preheating your pellet grill. As an expert in all things pizza and pellet grills, I’m here to guide you through the steps required to achieve pizza perfection. So grab your apron and let’s get started.
Step 1: Choosing the Right Wood Pellets
The key to preheating your pellet grill for pizza is selecting high-quality wood pellets. Opt for pellets specifically designed for grilling, as they deliver excellent flavor and consistent heat. Fill up your hopper with these flavor-packed pellets, ensuring a steady supply throughout the cooking process.
Step 2: Setting the Temperature
With your hopper filled with fantastic wood pellets, it’s time to set the temperature on your pellet grill. For pizza cooking, aim for a temperature between 500-550 degrees Fahrenheit. This blazing heat ensures a quick and even cooking process, resulting in that coveted crispy crust and gooey cheese.
Step 3: Preheating Process
Patience is key during the preheating process. It typically takes around 10-15 minutes for your pellet grill to reach the desired temperature, depending on its size and model. As the grill gradually heats up, keep the lid closed to maintain a consistent internal temperature.
Step 4: Prepare Your Dough and Toppings
While your pellet grill is heating up, take this time to prepare your pizza dough and gather all your delicious toppings. Make sure everything is ready and easily accessible once your grill has reached the desired temperature.
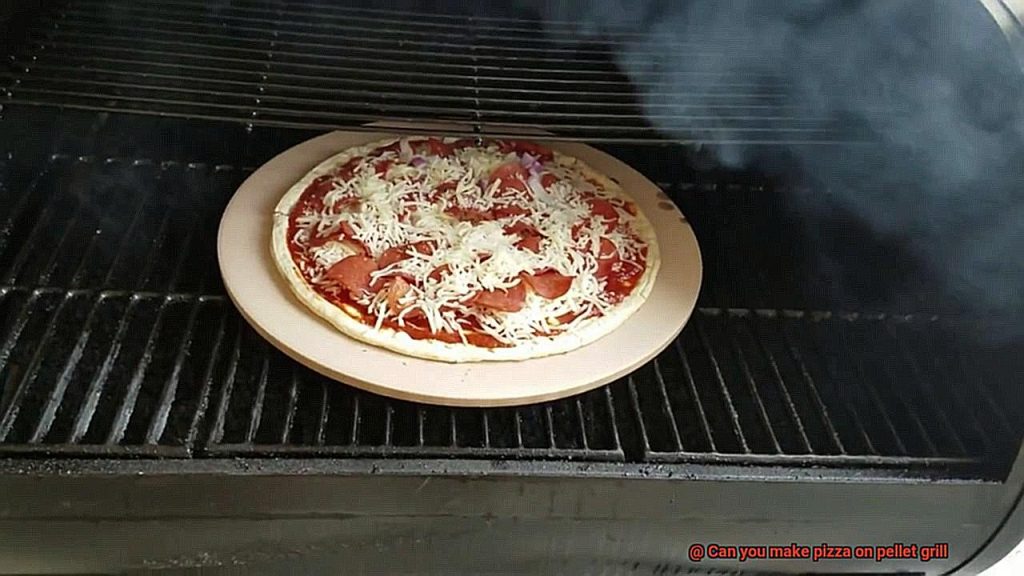
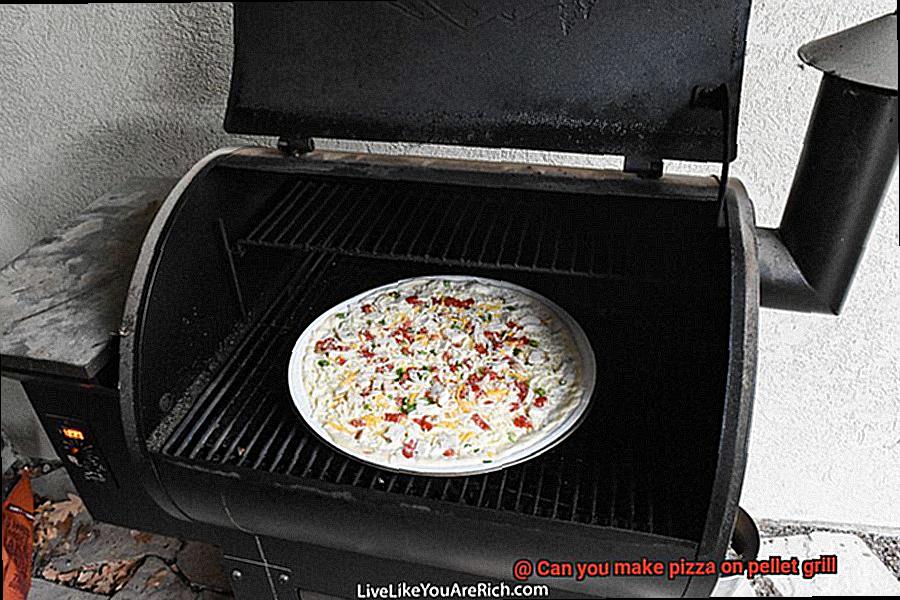
Step 5: Place Your Pizza on the Grill
Once your pellet grill has reached the optimal temperature, it’s time to place your pizza on the grates. Some pellet grills come with a pizza stone or baking steel accessory that helps distribute heat evenly, resulting in an even crispier crust. If you don’t have a specific pizza accessory, no worries. You can cook your pizza directly on the grates using a pizza peel or parchment paper for easy removal later.
Preparing the Dough
Get ready to elevate your pizza game as we delve into the crucial step of preparing the dough for your pellet grill. As your trusted guide in all things pizza and pellet grills, I will lead you through the process of creating a mouthwatering dough that will take your pizzas to new heights. So, put on your apron and let’s embark on this culinary adventure.
Step 1: Gather Your Ingredients
Before we begin, let’s ensure we have all the essential ingredients. To achieve perfection, you’ll need flour, water, yeast, salt, and olive oil. The choice of flour is critical, with high-protein bread flour or Italian 00 flour being favored by pizza aficionados for a chewy and crispy crust.
Step 2: Mixing Magic
Now that we have our ingredients ready, it’s time to work our magic. In a mixing bowl, combine the flour, yeast, and salt. Gradually add water and olive oil while stirring until a rough dough forms. This is where the alchemy begins.
Step 3: Knead Like a Pro
Let your hands do the talking – quite literally. Transfer the dough onto a floured surface and knead it for approximately 10 minutes. Kneading helps develop gluten in the dough, giving it that irresistible elasticity and structure.
Step 4: Proofing Perfection
After giving your dough some love through kneading, it’s time to let it rest and rise. Place the dough in a clean bowl greased with olive oil. Cover it with a damp cloth or plastic wrap and let it proof in a warm place for at least an hour, or until it doubles in size. This step allows the yeast to work its magic, releasing carbon dioxide and creating a light and airy texture.
Step 5: Shaping Sensation
Once your dough has proofed and risen beautifully, it’s time to shape it into individual portions for your pizzas. Gently punch down the dough to release any air bubbles that may have formed. Divide the dough into desired portions and shape each one into a smooth ball by tucking the edges underneath. Cover the shaped dough balls with a cloth and let them rest for another 15-30 minutes to allow the gluten to relax.
Transferring the Dough onto the Grill
Get ready to elevate your pellet grill pizza game as we delve into the critical step of transferring the dough onto the grill. With finesse and technique, we will ensure that your crust emerges flawlessly crispy. So, grab your rolling pin and let’s uncover the secrets to achieving pizza perfection.
Step 1: Shaping and Stretching the Dough:
Before we embark on the transfer, let’s shape and stretch our dough to guarantee an even cook and a tantalizingly crispy crust. Whether you prefer a round or rectangular canvas, use your hands or a rolling pin to create the perfect foundation for your pizza masterpiece.
Step 2: Preheating and Cleaning the Grill:
To avoid any sticky situations, it’s essential to preheat your grill and give those grates a thorough cleaning. Preheating creates a non-stick surface, while diligently removing any debris guarantees seamless dough execution. Grab your brush or scraper and show those grates some love, ensuring they’re free from unwanted remnants.
Step 3: Adding a Non-Stick Layer:
Now that our grill is primed and spotless, let’s provide an additional layer of non-stick protection. Lightly coat the surface where you’ll place your dough with olive oil, cornmeal, or flour – whatever tickles your taste buds and ensures easy removal once cooked.
Step 4: The Gentle Transfer:
With our perfectly shaped dough and pristine grill, it’s time for the moment of truth – transferring the dough onto the grill. Handle it with care, gently placing it onto the preheated grates. Remember, we want our pizza to be a culinary masterpiece, not a patchwork quilt.
Step 5: Perfecting the Placement:
As your dough confidently rests on the grill, ensure it is centered and evenly distributed for consistent cooking. Close the lid of your grill, creating an environment that retains heat flawlessly. Our pizza is in good hands now.
Step 6: Monitor and Adjust:
As our pizza begins its transformation, keep a watchful eye to prevent burning or uneven browning. Feel free to rotate or move the pizza around the grill for even cooking. A trusty pizza peel or spatula can be valuable tools for these adjustments.
Cooking the Pizza
Imagine the sun-kissed warmth of a lazy afternoon, the tantalizing scent of a wood-fired pizza wafting through the air, and the sizzle of a pellet grill as it brings your culinary masterpiece to life. Get ready for a journey into the world of pizza perfection on a pellet grill. In this guide, we’ll uncover the secrets to crafting the ultimate grilled pizza—from preheating techniques to selecting the perfect toppings. So don your apron and prepare to amaze friends and family with your newfound grilling prowess.
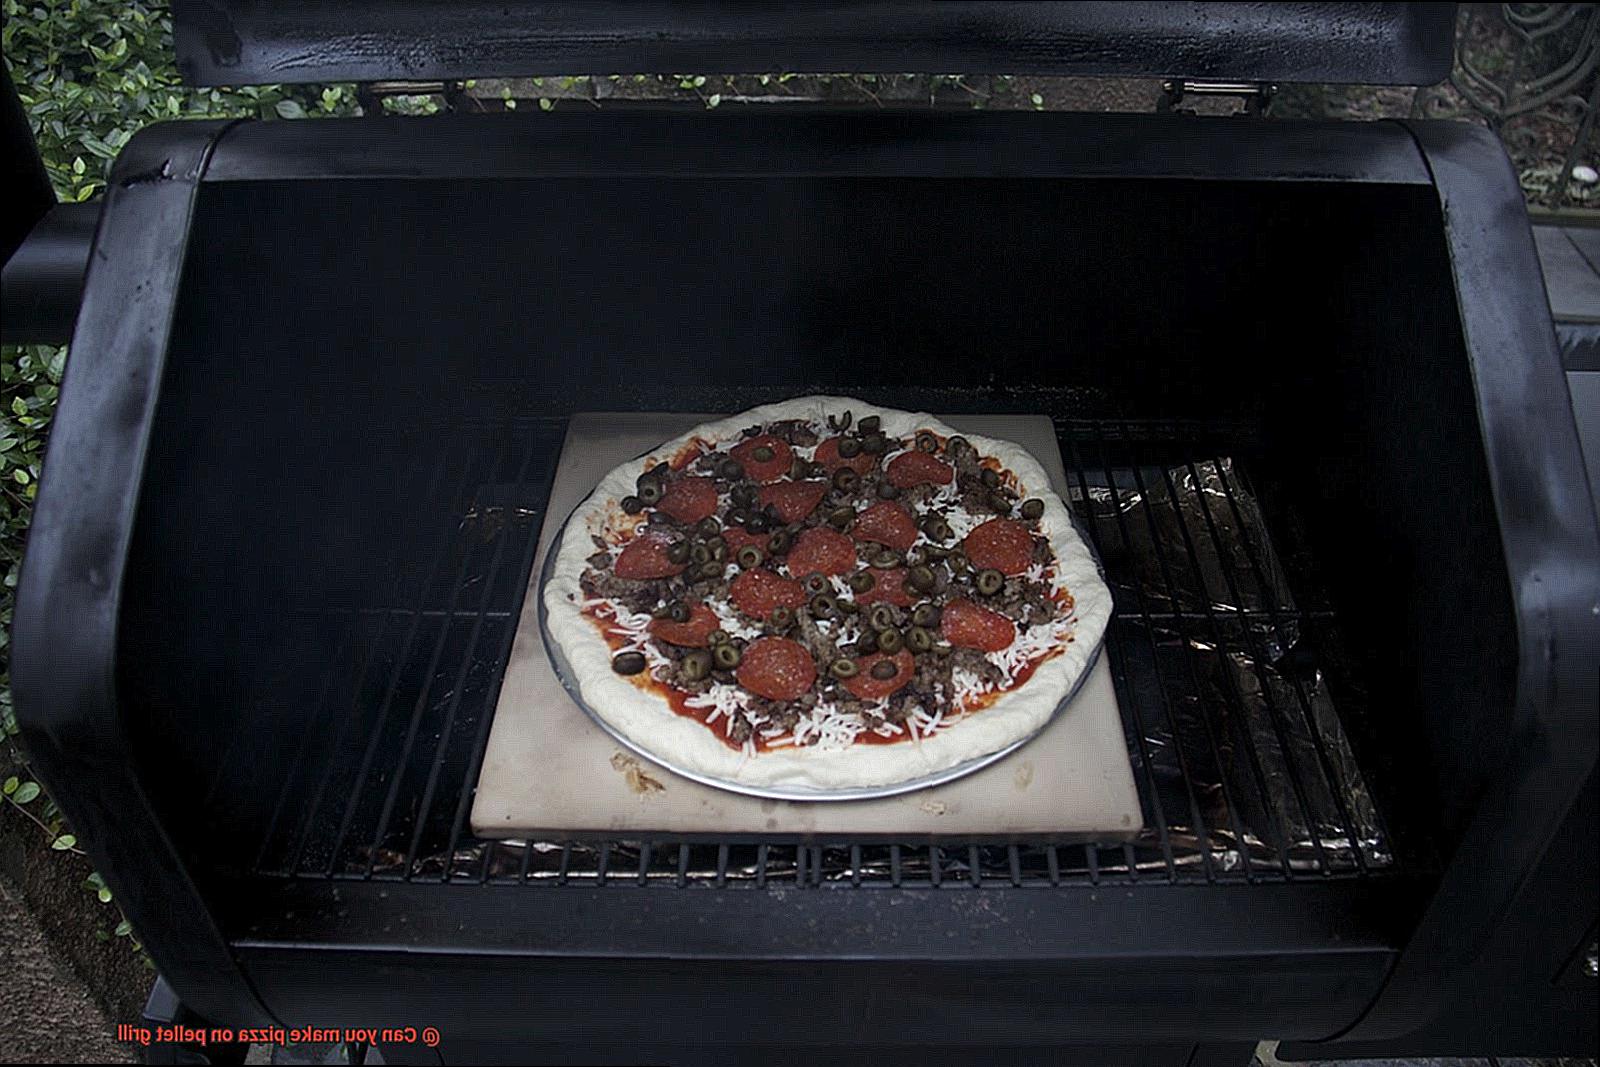
Preparation is Key: Preheating and Choosing the Right Surface
To achieve pizza perfection, preparation is key. Begin by preheating your pellet grill, cranking up the temperature to a blazing 500°F. This ensures even cooking and that coveted crispy crust we all adore.
For that crispy goodness and evenly cooked pizza, opt for a pizza stone or baking steel. These trusty companions distribute heat flawlessly, resulting in that irresistible crunch. Place them on the grill while it preheats, allowing them to reach their full potential before you embark on your pizza creation.
The Dough: The Foundation of Pizza Greatness
Now that our grill is primed and our cooking surface is hot, let’s talk dough—the heart and soul of any great pizza. Select a dough recipe that boasts elasticity and ease of handling, capable of withstanding the high temperatures of your pellet grill.
Once you’ve found the perfect dough recipe, it’s time to shape it into your desired canvas. Whether you prefer a classic round base or a bold and inventive shape, remember that uniform thickness is crucial for even cooking throughout the crust.
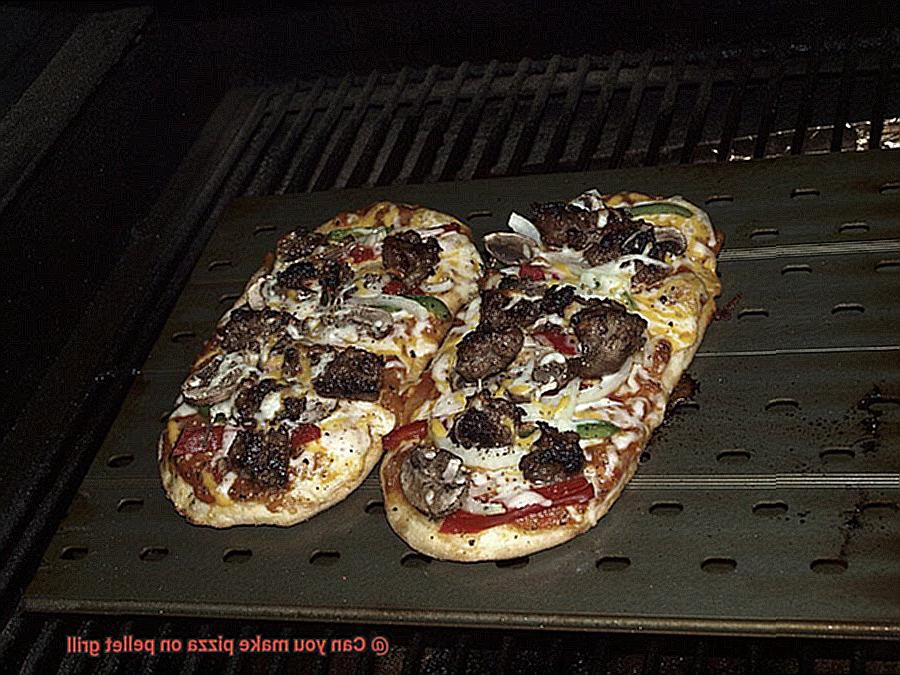
Toppings Galore: Building Flavors on Your Pizza Canvas
Ah, the toppings—the opportunity to unleash your culinary creativity. From tangy tomato sauce to decadent cheese and an array of vibrant vegetables or succulent meats, the possibilities are endless. Ensure your toppings are evenly distributed, avoiding overloading or neglecting any area to prevent burning or undercooking.
Removing the Pizza from the Grill
Now that we’ve uncovered the secrets to grilling the perfect pizza, let’s tackle the next crucial step: removing your masterpiece from the grill. In this comprehensive guide, we’ll walk you through the essential steps and techniques for safely and flawlessly retrieving your pizza from the grill. So grab your trusty pizza peel, and let’s dive in.
Step 1: Gather the Right Tools
To start off, ensure you have the ultimate tool for this task – a reliable pizza peel. This long-handled paddle-like tool is your secret weapon for smoothly sliding under the pizza and lifting it off the grill with finesse. Make sure to choose a peel that matches the size of your pizza, ensuring a seamless removal process.
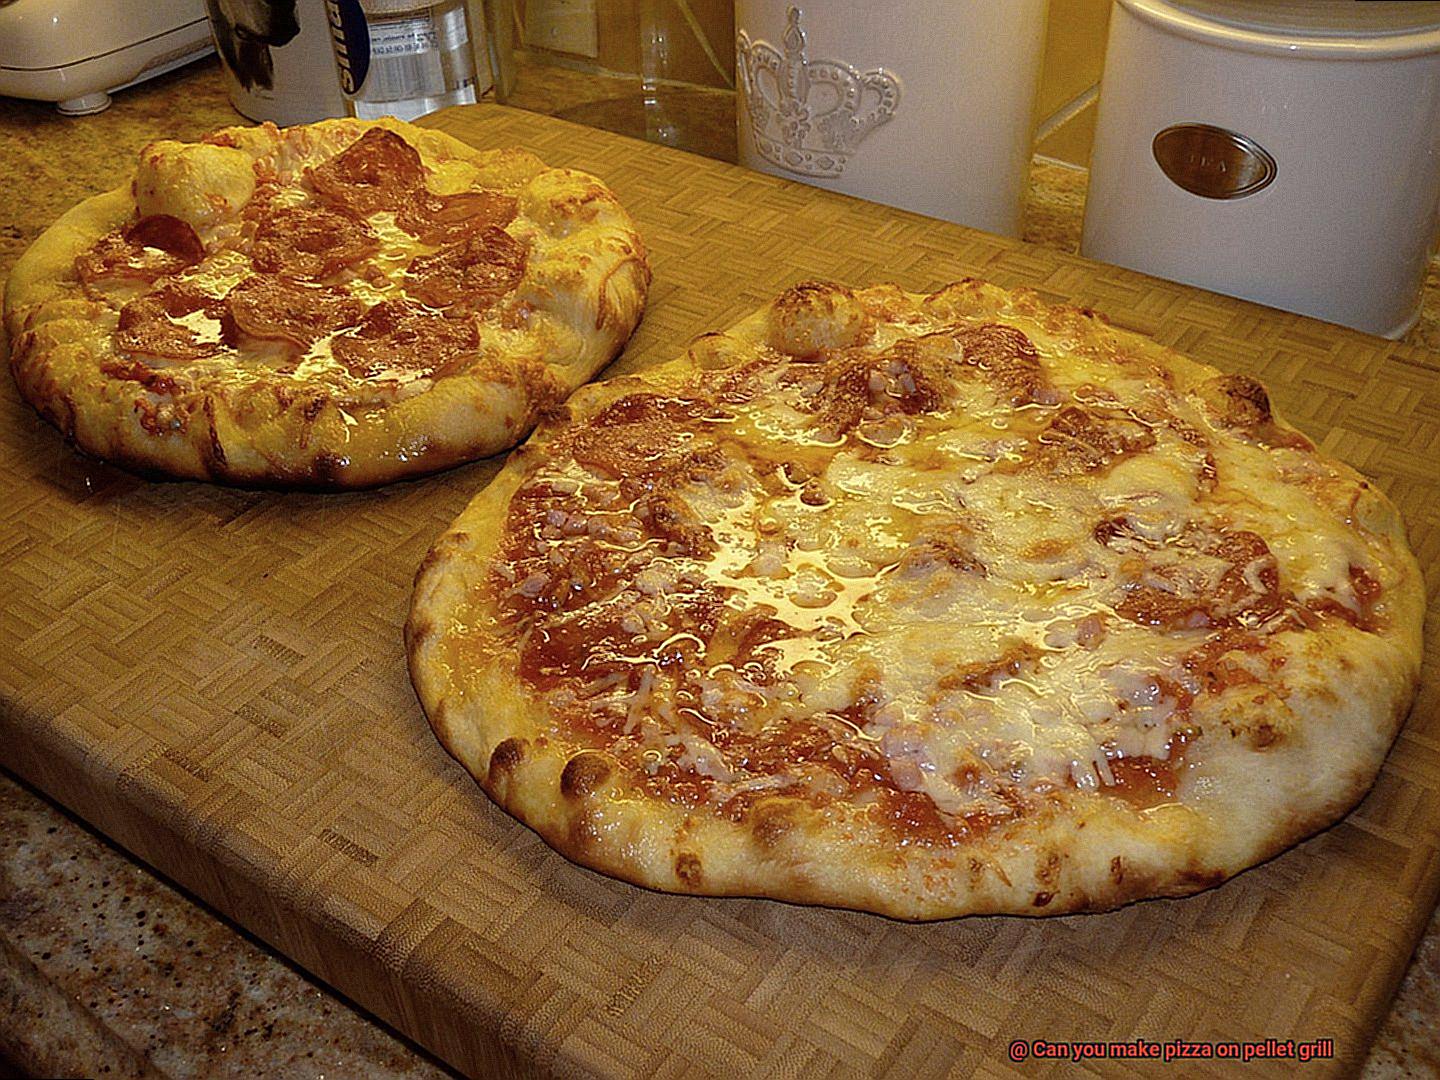
Step 2: Cook to Perfection
Before attempting to remove your pizza, it’s crucial to ensure it’s cooked to perfection. Look for that beautiful golden brown and crispy crust, adorned with melted and bubbly cheese. Keep a close eye on the cooking time or set a timer to avoid any disappointments caused by overcooking or undercooking.
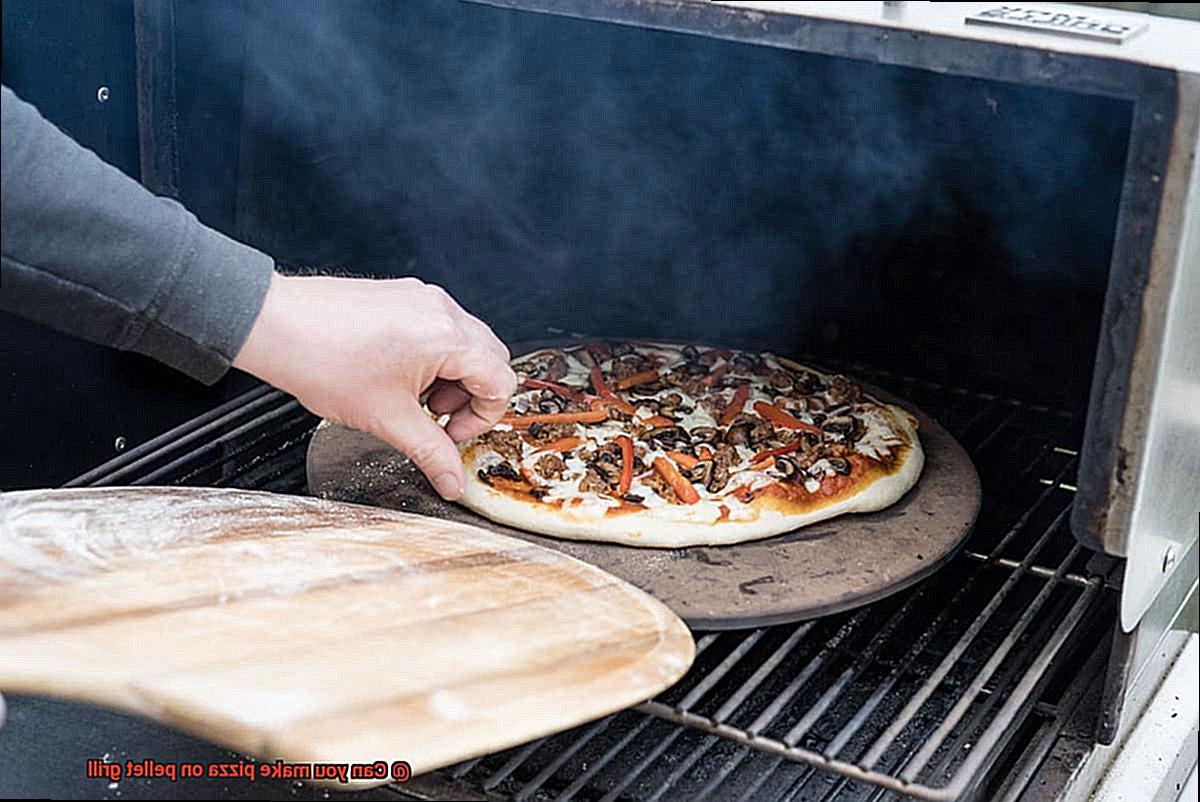
Step 3: Slide and Lift
Now comes the moment of truth – removing your perfectly cooked pizza from the grill. Begin by gently sliding your pizza peel under the entire pizza, ensuring it reaches all the way to the back of the grill. Employ a slight rocking motion if necessary, taking care not to disturb those carefully crafted toppings.
Step 4: Mindful Toppings
As you lift your pizza off the grill, be mindful of any rebellious toppings that may attempt an escape. To keep them in their rightful place, utilize a spatula or tongs to hold them down while lifting with the peel. The key here is a gentle touch, preventing any toppings from succumbing to the grill’s seductive pull.
Step 5: Let It Cool
Congratulations, grill master. You’ve successfully liberated your pizza from the fiery depths of the grill. Now, resist the urge to dive in right away and grant your creation a few minutes to cool. This not only safeguards against unfortunate burns caused by molten cheese but also allows the pizza to settle, making it easier to slice.
Enhancing Flavor with Wood Pellets
In our previous section, we delved into the art of grilling the perfect pizza and safely retrieving it from the grill. Now, let’s take our pizza game to the next level by exploring how to enhance its flavor using wood pellets on a pellet grill. Get ready to tantalize your taste buds with the smoky deliciousness that only wood pellets can deliver.
First things first – wood pellets are the fuel of choice for pellet grills, renowned for their ability to infuse grilled food with incredible flavors. But when it comes to pizza, the type of wood pellets you use can make all the difference. Picture the unique tastes that oak, hickory, apple, or cherry can impart on your pizza – each one offering its own distinctive twist.
To ensure you’re getting the most out of your wood pellets, select high-quality ones that are free from additives or chemicals. We don’t want anything interfering with the pure and natural flavors we’re aiming for here. So, choose wisely and let those wood pellets work their magic.
Now, let’s talk preheating – an essential step in achieving that perfect balance of smoky goodness and even cooking. Properly preheating your pellet grill is crucial before placing your pizza on it. This ensures that the savory flavors penetrate every inch of your creation while simultaneously creating that crispy crust we all crave.
Speaking of crust, some pellet grills come equipped with a built-in pizza stone or a nifty pizza oven attachment. These handy features help you achieve that delectable crunch while ensuring even cooking throughout. It’s like having your own personal pizzeria right in your backyard.
Temperature control is key when cooking pizza on a pellet grill. With this fantastic feature, you can fine-tune the heat to perfection, ensuring your pizza is cooked just the way you like it – no burnt edges or undercooked centers here. It’s a foolproof way to achieve pizza nirvana.
Now, let’s get creative. Experimenting with different combinations of wood pellets and toppings is where the real fun begins. Want a smoky applewood bacon pizza? How about a tangy cherry tomato and mozzarella masterpiece? The possibilities are endless.
scaffCfLTLE” >
Conclusion
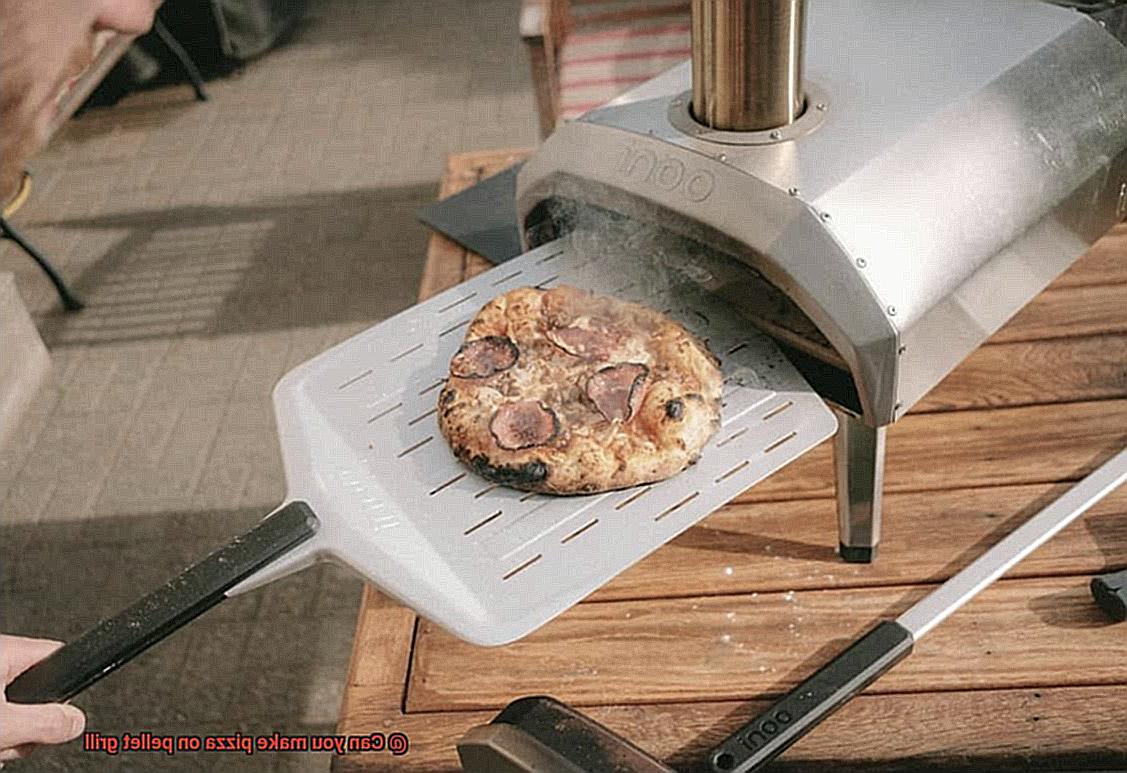
In conclusion, the answer to the question “Can you make pizza on a pellet grill?”
is a resounding yes. With the right techniques and tools, your pellet grill can transform into a pizza-making powerhouse.
The smoky flavor from the wood pellets adds an extra dimension to the taste of your pizza, creating a unique and delicious experience. Whether you prefer classic margherita or adventurous toppings, the pellet grill allows for endless creativity in crafting your perfect pie.
Don’t be afraid to experiment and have fun with different flavors and combinations – the possibilities are truly endless.