Listen up, meat lovers. Are you craving a mouthwatering tri-tip that’s bursting with flavor and dripping with succulence? Look no further. Tri-tip is a versatile and delicious cut of beef, and searing it is an excellent way to unlock its natural flavors and achieve a crispy exterior that will make your taste buds dance.
If you’re not familiar with searing, it involves cooking meat on high heat for a short period, which creates a golden-brown crust on the surface. This technique not only adds texture but also locks in the juices of the meat, resulting in tender and juicy bites.
Now, some folks might shy away from searing their tri-tip out of fear of ruining its tenderness or overcooking it. But don’t worry – we’ve got your back. Searing a tri-tip is not only possible but also highly recommended.
In this post, we’ll dive into everything you need to know about searing a tri-tip. We’ll cover the best techniques, tips, and tricks to ensure that your meat turns out just how you like it – whether you prefer rare or well-done. We’ll also bust some common misconceptions about searing and explain why it’s crucial for achieving optimal flavor and texture in your tri-tip. So let’s fire up the grill (or stove) and get ready to indulge in some seriously satisfying eats.
Contents
What is Tri-Tip?
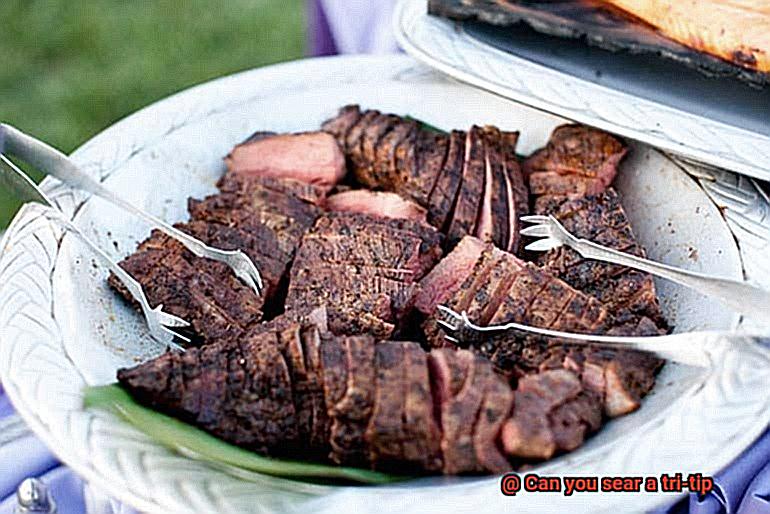
Tri-tip is a mouth-watering cut of beef that has gained immense popularity in recent years due to its versatility and unique flavor. This triangular-shaped cut of beef comes from the bottom sirloin and weighs around 2-3 pounds. It is relatively lean and has a mild beefy taste.
This California specialty can be prepared in several ways, including grilling, roasting, and smoking. However, searing the tri-tip has become one of the most popular methods of cooking it to achieve a crispy crust on the surface while keeping the inside juicy and tender.
Before searing the tri-tip, seasoning it with salt and pepper or your favorite rub is crucial. You may also opt to marinate it for an extra burst of flavor. Once you have seasoned or marinated the tri-tip, heat up a grill or a cast-iron skillet until it’s hot enough to sear the meat.
If you choose to sear the tri-tip on a grill, preheat it to high heat and lightly oil the grates. Place the tri-tip on the grill and let it cook for 2-3 minutes per side until a crust forms. Then, move the tri-tip to indirect heat and keep cooking until it reaches your desired level of doneness.
On the other hand, if you prefer to sear your tri-tip in a cast-iron skillet, heat it over high heat until it’s very hot. Add oil to the skillet and then place the tri-tip in it, letting it cook for 2-3 minutes per side until a crust forms. Transfer the skillet to a preheated oven and continue cooking until your desired level of doneness is achieved.
Tri-tip became famous in Santa Maria, a small town in central California, thanks to local butcher Bob Schutz who popularized this cut in the 1950s by seasoning it with a simple mixture of salt, pepper, and garlic salt before grilling it over red oak wood. Today, tri-tip can be found in most grocery stores and butcher shops across the United States.
Benefits of Searing a Tri-Tip
As an expert on the benefits of searing a tri-tip, I’m here to share some mouth-watering tips that will leave your taste buds begging for more.
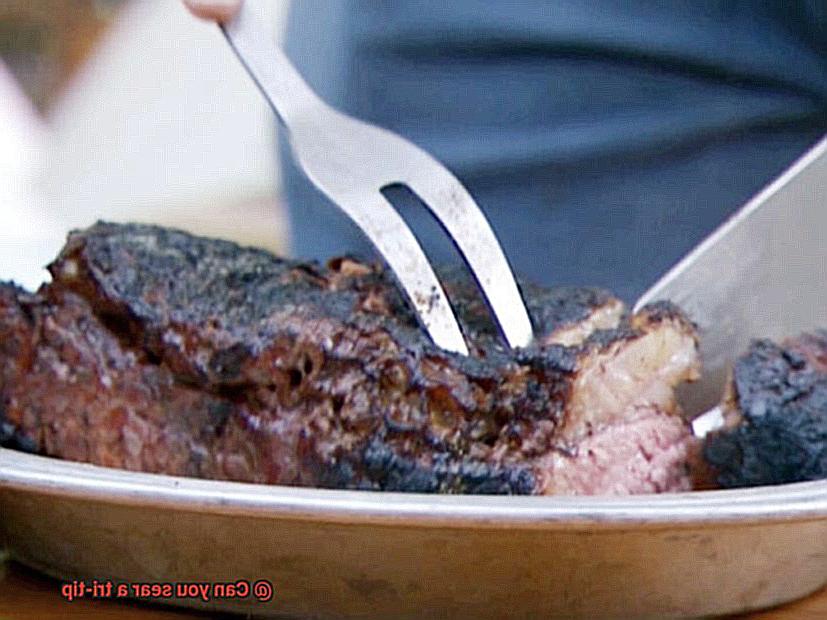
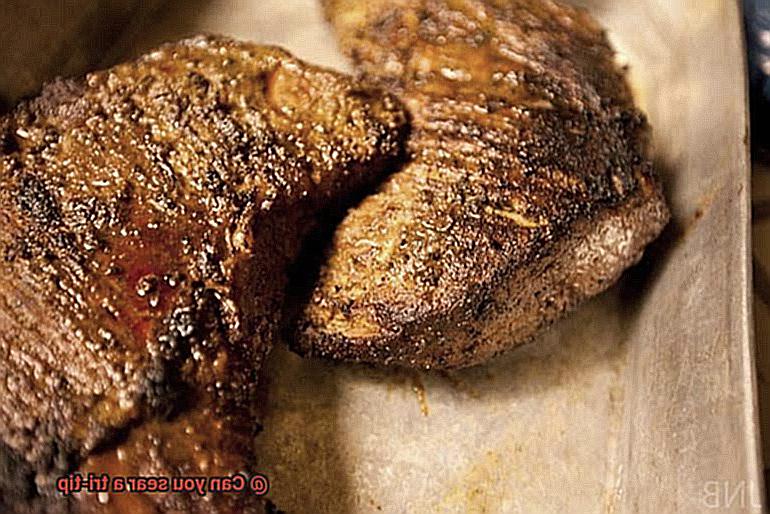
Firstly, let’s talk about moisture. We all know that nothing ruins a good cut of meat faster than dryness. Searing locks in those precious juices by creating a delectable caramelized crust on the surface of your tri-tip. This crust acts as a protective barrier, keeping in all those savory flavors that we love and ensuring that your meat stays moist and tender throughout the cooking process.
But it’s not just about retaining moisture – searing also enhances the flavor profile of your tri-tip. The Maillard reaction that occurs during searing creates new flavors and aromas that are unique to this cooking method. Think savory, nutty, and caramelized – all delicious additions to your meal that can take it from ordinary to extraordinary.
Not only does searing boost the flavor, but it also makes for an aesthetically pleasing presentation. That beautiful brown crust adds texture and visual appeal to your tri-tip, making it even more enjoyable to eat. Plus, who doesn’t love a meal that looks as good as it tastes?
And for those of you who are always on the go, searing can actually speed up the cooking process for larger cuts of tri-tip. By quickly searing the meat before finishing it off at a lower temperature, you can reduce cooking time without sacrificing flavor or tenderness.
What You Need to Sear a Tri-Tip
If you’re looking to elevate your steak game, searing a tri-tip is the way to go. However, to do it right, you need to have the right tools and techniques at your disposal.
First off, make sure you have either a grill or a cast iron skillet. While grilling is ideal, a skillet will work just fine if you don’t have access to one. Whatever you choose, ensure it’s hot and ready before adding your tri-tip.
Next, your tri-tip should be seasoned and ready to cook. Apply your desired rub or marinade and let it sit for at least an hour to allow the flavors to fully permeate the meat. This will create a mouth-watering crust when seared that will leave your taste buds begging for more.
To prevent sticking, you’ll want to use some oil or butter. Olive oil or vegetable oil work well and can help create an even sear, but if you want to add some extra flavor, try using butter instead.
Last but certainly not least, have a meat thermometer on hand. This ensures that your tri-tip is cooked to perfection and is safe to eat. Undercooked steak is no fun for anyone.
As you begin to sear your tri-tip, keep a watchful eye on it. Flip it regularly and adjust the heat as needed to avoid burning or undercooking. With practice and patience, you’ll be able to impress your guests with a beautifully seared tri-tip that they won’t soon forget.
In summary, here’s what you need:
- Grill or cast iron skillet
- Seasoned tri-tip
- Oil or butter
- Meat thermometer
Prepping the Tri-Tip for Searing
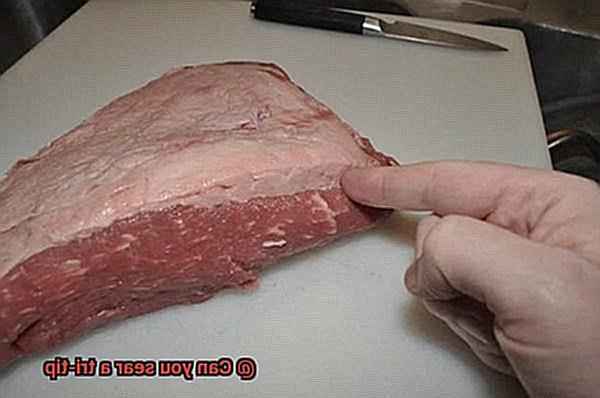
This cut of beef is known for its rich flavor and tenderness, but it takes some preparation to get it just right. As an expert on prepping the tri-tip for searing, I’ve got you covered with essential steps that will ensure your meat is cooked to perfection.
To start, remove any excess fat and silver skin from the tri-tip. This will ensure that the meat cooks evenly and has a better texture. To achieve this, grab a sharp knife and make a small incision along the edge of the skin, then slide the blade underneath and gently pull it away from the meat.
Next, season the tri-tip with your desired spices. A simple rub of salt, pepper, and garlic powder is a classic choice, but feel free to experiment with other herbs and spices. Be sure to coat both sides of the meat evenly and press the seasoning into the meat to ensure it sticks.
After seasoning, let the tri-tip rest at room temperature for about 30 minutes before grilling. This will allow the meat to come to room temperature, which helps it cook more evenly throughout. Plus, it gives you some extra time to prepare any sides you might be serving alongside your delicious steak.
Now it’s time for the main event – searing that tri-tip. But before you do, pat it dry with a paper towel. This step is crucial as it helps create a nice crust on the outside of the meat and prevents it from steaming instead of searing. When you’re ready to go, heat up your grill or cast iron skillet to high heat, and get cooking.
How to Sear a Tri-Tip on a Grill
Searing a tri-tip on a grill is a surefire way to impress your guests and elevate your grilling game. But how exactly do you achieve that perfect sear? Follow these five key steps for juicy, flavorful, and perfectly seared tri-tip.
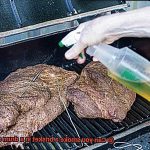
Step One: Season the Meat
Before searing, season your tri-tip with salt and pepper or your favorite rub. Not only does this enhance the flavor of the meat, but it also helps to form a delicious crust on the outside. For even more flavor, you can also marinate the tri-tip before cooking.
Step Two: Preheat the Grill
To achieve that coveted sear, preheat your grill to high heat. It’s crucial to have a hot grill for searing as this will create that delicious crust.
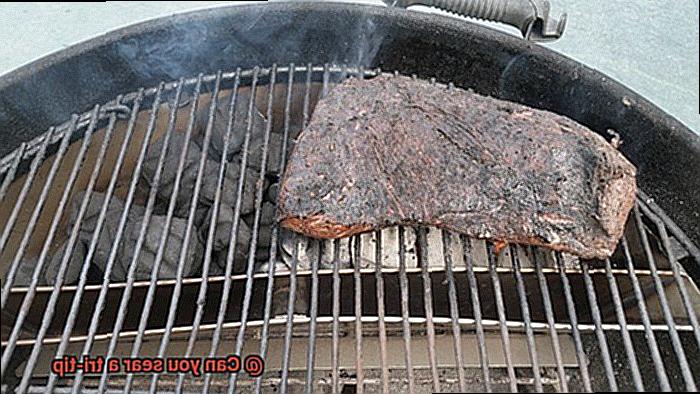
Step Three: Sear Both Sides
Once your grill is hot, place the tri-tip on the grates and close the lid. After 3-5 minutes, lift the lid and check for grill marks on the underside. If grill marks are formed, rotate the tri-tip 90 degrees to create crosshatch marks and continue cooking for another 3-5 minutes. Repeat on the other side until you have beautiful grill marks on both sides. Then, reduce the heat to medium-low and continue cooking until it reaches your desired doneness.
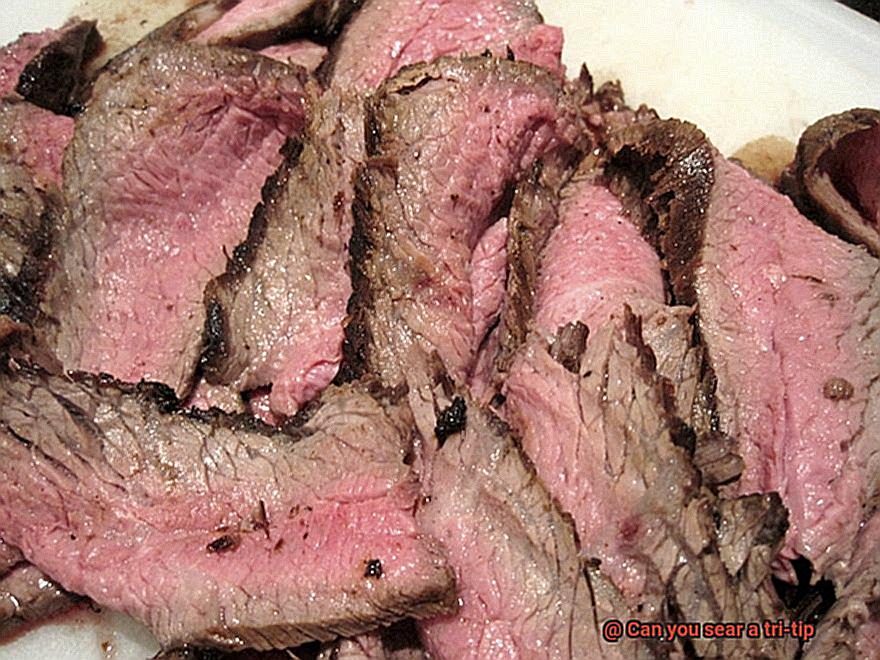
Step Four: Rest Before Serving
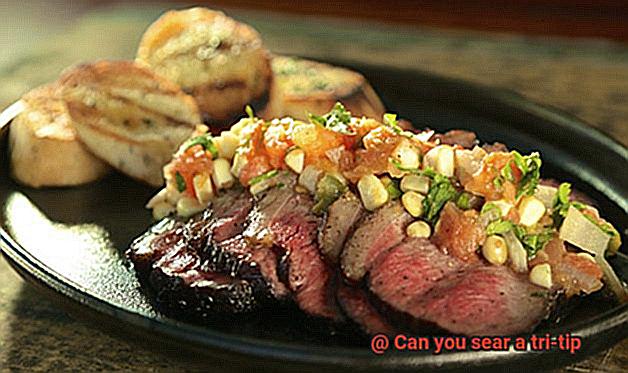
Once you’ve achieved that perfect sear, remove the tri-tip from the grill and let it rest for 5-10 minutes before slicing against the grain and serving. This allows the juices to redistribute throughout the meat, resulting in a tender and juicy final product.
Step Five: Experiment with Flavors
While salt and pepper are classic seasoning choices for tri-tip, don’t be afraid to experiment with different flavors. You can try adding garlic, onion powder, or even a spicy rub for an extra kick of flavor.
How to Sear a Tri-Tip in a Cast Iron Skillet
Look no further than searing a tri-tip in your trusty cast iron skillet. With a few simple steps and some basic ingredients, you can create a mouth-watering meal that will have everyone asking for seconds. Here’s how:
Preheat Your Skillet
The first and most crucial step to searing a tri-tip in a cast iron skillet is to preheat your skillet on medium-high heat for at least five minutes. This will ensure that the skillet is evenly heated and ready to cook your steak to perfection. A well-heated skillet will also allow the steak to develop a beautiful crust.
Season Your Steak
Once your skillet is heated, it’s time to season your tri-tip steak with salt, pepper, or any other seasonings of your choice. Make sure to rub the seasoning onto both sides of the steak and press it in gently to ensure that it adheres well. The seasoning enhances the natural flavor of the meat and gives it a delicious crust.
Sear Your Steak
With your skillet and steak ready, add some oil to the pan and swirl it around to coat the bottom. The oil helps prevent sticking and aids in even browning. Place your tri-tip steak in the skillet and let it cook for about 3-4 minutes on each side. During this time, avoid flipping or moving the steak too often, as this can prevent it from developing a good sear. Once both sides have achieved a golden-brown color, remove it from the pan.
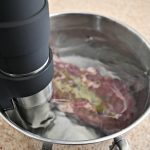
Finish Cooking in the Oven
To finish cooking your tri-tip steak, transfer it to a preheated oven at 375°F. The length of time required will depend on the size and thickness of your tri-tip, but typically takes about 20-25 minutes for medium-rare doneness. This step ensures that the steak is cooked evenly and allows it to develop a full flavor.
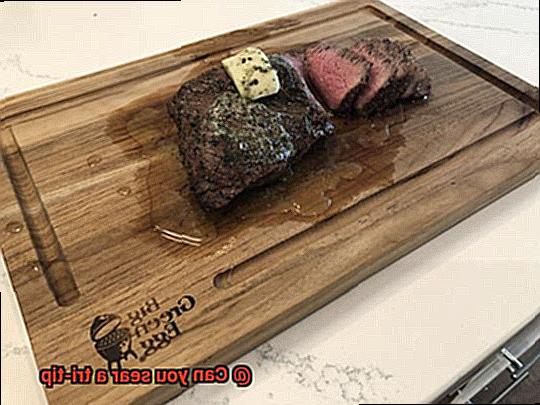
Let It Rest
Before serving, allow your tri-tip steak to rest for at least 5 minutes to allow the juices to redistribute throughout the meat. This step is essential for ensuring that your steak is juicy and tender. Once rested, slice your steak against the grain for maximum tenderness.
Tips for Perfectly Seared Tri-Tip
Searing a tri-tip can be a daunting task, but with a few simple tips, you can achieve perfect results every time. Here are some tips on how to achieve the perfectly seared tri-tip:
Bring Tri-Tip to Room Temperature
Before searing, it is important to let your tri-tip reach room temperature. This allows the meat to cook evenly and prevents the center from being undercooked while the outside is overcooked. Take your tri-tip out of the refrigerator an hour before cooking.
Season Generously
Be sure to season your tri-tip generously with salt and pepper before searing. This not only enhances the natural flavors of the meat but also allows for a delicious crust when seared.
Use High Heat
Use a high-heat cooking method such as grilling or pan-searing for achieving the perfect sear. Preheat your grill or pan to around 450-500 degrees Fahrenheit before adding your tri-tip. This helps to create a nice sear on the outside of the meat while keeping the inside juicy and tender.
Avoid Overcrowding
Overcrowding on the cooking surface can cause the meat to steam instead of sear, resulting in a less-than-perfect crust. Cook in batches if necessary or use a larger cooking surface.
Rest After Searing
After removing your tri-tip from the heat, let it rest for at least 5-10 minutes before slicing. This allows the juices to redistribute throughout the meat, resulting in a more flavorful and tender final product.
kb9w3lBhWtw” >
Conclusion
In conclusion, don’t be afraid to sear your tri-tip – it’s not only possible, but highly recommended for unlocking the natural flavors of this versatile and delicious cut of beef. By achieving a crispy exterior while keeping the inside juicy and tender, you’ll create a dish that will make your taste buds dance with delight.
Searing is more than just adding texture to your tri-tip; it locks in the juices, resulting in a succulent and flavorful bite. The process also enhances the overall flavor profile by creating new tastes and aromas that are unique to this cooking method. And let’s not forget about the visual appeal – searing adds texture and eye-catching appeal to your tri-tip.
To achieve perfectly seared tri-tip, all you need are some basic tools like a grill or cast iron skillet, seasoned meat, oil or butter, and a meat thermometer. Before searing, prep your tri-tip by removing any excess fat and silver skin before seasoning with salt, pepper or your favorite spices.
Follow these five key steps for perfectly seared tri-tip: Seasoning the Meat, Preheating Your Grill or Skillet, Searing Both Sides, Rest Before Serving and Experiment with Flavors. Once done, remember to rest for at least 5-10 minutes before slicing to allow juices to redistribute throughout the meat resulting in an even more flavorful and tender final product.