If you’ve ever pondered whether cleaning your smoker after every use is worth the hassle, let me put an end to the debate. Imagine this: succulent meats marinated to perfection, flavors mingling in a mouthwatering symphony, and an outdoor gathering that ignites pure culinary bliss. Now picture all of that deliciousness tainted by a grimy, greasy smoker. No way.
I get it, the temptation to skip the cleanup can be strong. But trust me when I say neglecting this crucial task can have serious consequences for both your taste buds and your beloved smoker’s lifespan. Fear not though. In this blog post, we’ll dive into why cleaning your smoker after every use is an absolute must-do, and offer some nifty tips to make it a breeze.
Why Cleaning is Non-Negotiable:
- Safety First: Your loved ones and guests deserve nothing but safe eats. A dirty smoker becomes a breeding ground for harmful bacteria, putting everyone at risk of nasty foodborne illnesses. Regularly cleaning your smoker eliminates these health hazards, allowing you to savor that barbecue feast worry-free.
- Taste Sensation: Picture your smoker as the conductor of flavor symphonies – enhancing every bite with its smoky magic. However, a filthy smoker can play a sour note that ruins the entire melody. Lingering grease and residue not only impart unpleasant flavors but also mess with heat distribution, leading to unevenly cooked dishes. Keep that smoker sparkling clean to let those meaty flavors shine in all their glory.
Tips for Effortless Cleaning:
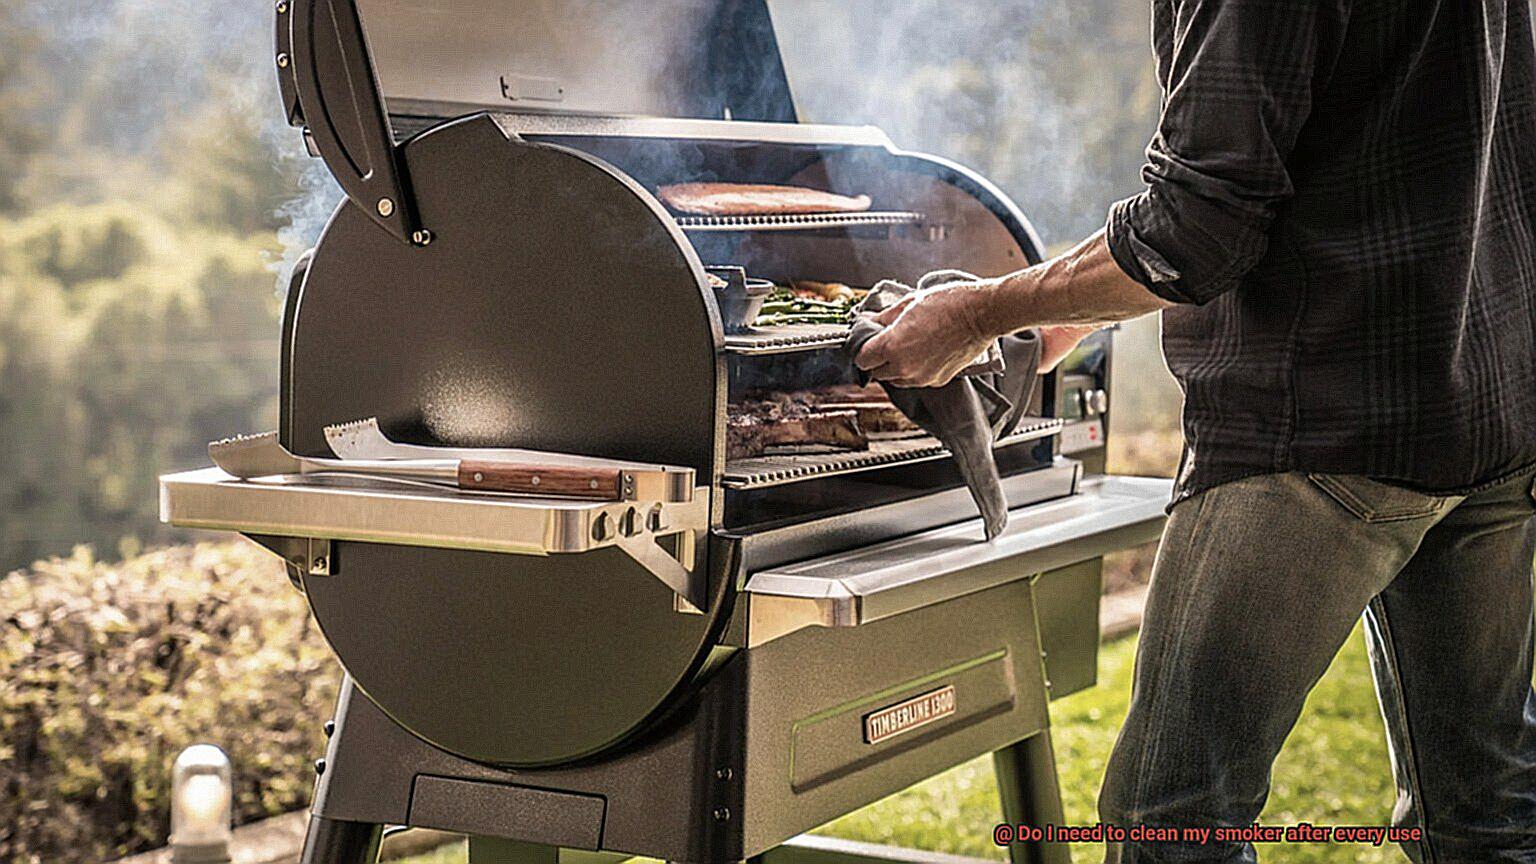
- Act Fast: After each use, take a moment to scrape off any food bits or excessive grease from the grates and surfaces inside your smoker. Delaying this simple step only makes the cleaning process harder and more time-consuming.
- Regular TLC: Make cleaning a part of your grilling routine. Aim for a deep clean at least once or twice a season. This involves scrubbing the grates, removing ash and residue from the firebox, and giving those interior walls a gentle wash with mild detergent.
- Tools of the Trade: Arm yourself with wire brushes, grill scrapers, aluminum foil, and specialized detergents to make cleaning a breeze. Don’t forget to invest in a grill cover to shield your smoker from the elements when not in use
Contents
Different Types of Smokers and Their Cleaning Requirements
It’s important to know that different types of smokers require different cleaning methods. This article will guide you through the various types of smokers and their cleaning requirements after each use. Let’s dive in and uncover the secrets to keeping your smoker sparkling clean.
Charcoal Smokers: The Ash and Grease Challenge
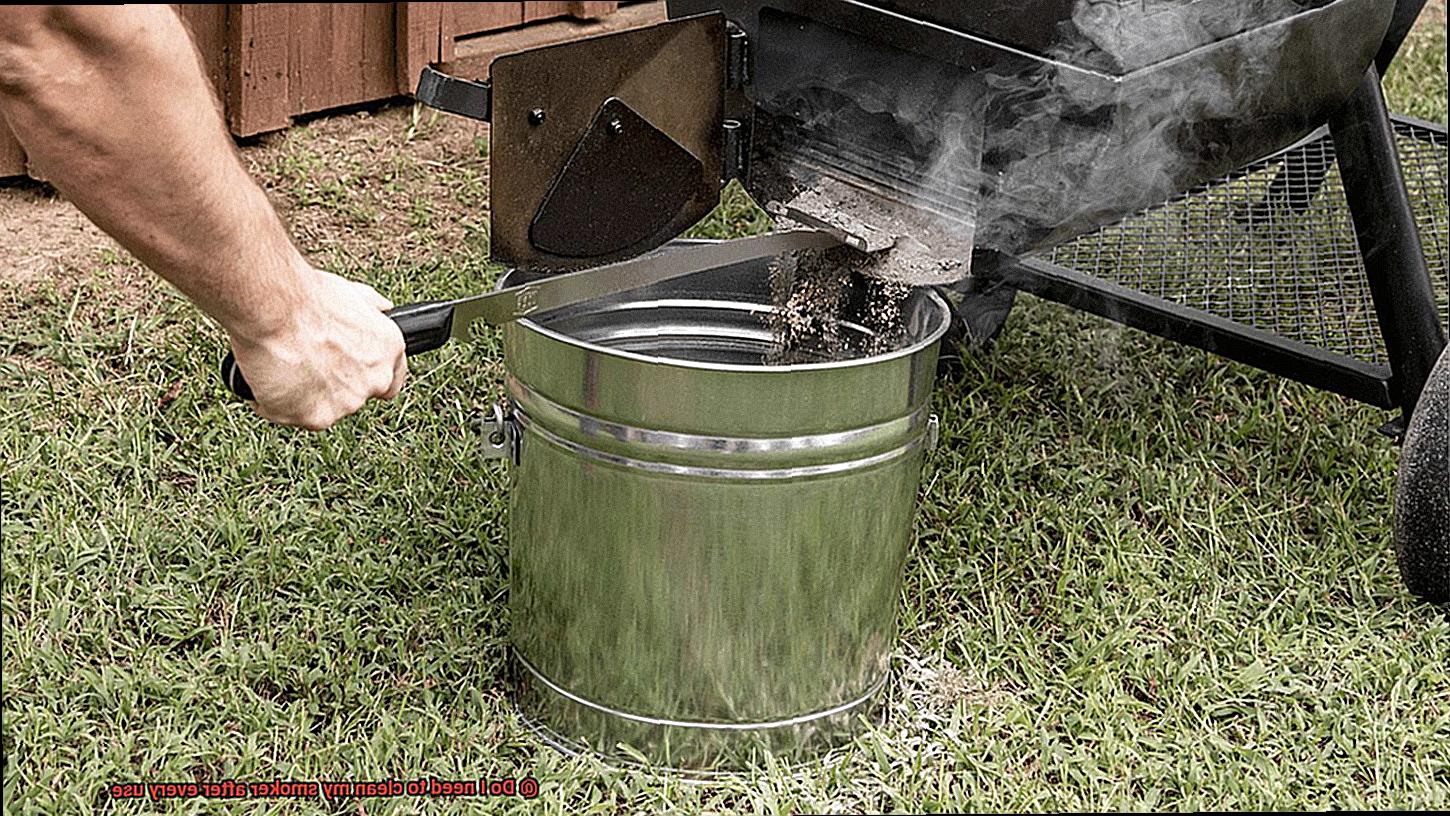
Charcoal smokers are a classic choice for traditional smoky flavors. However, they require more thorough cleaning due to the accumulation of ash and grease. After each use, remove the ash and clean the grates with a grill brush. For stubborn grease, use a degreaser and hot soapy water. Rinse thoroughly and let it air dry before storing.
Electric Smokers: Minimal Cleaning Bliss
Electric smokers offer convenience and simplicity. Lucky for you, they require minimal cleaning. After each use, wipe down the racks and drip trays with a damp cloth or sponge. Keep an eye out for any leftover food particles. If needed, use a mild dish soap to remove stubborn residue. Remember to unplug the smoker before cleaning.
Gas Smokers: The Comprehensive Cleanup
Gas smokers provide quick heat and temperature control but come with additional components to clean. Take apart the grates, burners, valves, and water pans after each use. Soak them in warm soapy water for 15-30 minutes, then scrub with a brush or sponge. Rinse thoroughly and let them air dry before reassembling.
Pellet Smokers: Taming Ash Buildup
Pellet smokers infuse your food with rich wood-fired flavors but require attention to ash buildup. Empty the ash cup or tray after each use to prevent blockages and maintain proper combustion. Use a vacuum or brush to remove any remaining ash from the interior. Wipe down the exterior with a damp cloth or mild cleaner to keep it looking pristine.
Top Cleaning Tips for All Smokers
- Line drip pans with aluminum foil for easy cleanup.
- Soak grates in a mixture of vinegar and water to remove stubborn residue.
- Use a grill brush to scrub away grease and charred bits.
- Regularly clean the exterior to maintain its appearance and durability.
- Follow the manufacturer’s instructions for specific cleaning guidelines.
Benefits of Regularly Cleaning Your Smoker
If you’re serious about creating mouthwatering, fall-off-the-bone BBQ, then it’s time to uncover the secret ingredient that will take your culinary creations to new heights. Regularly cleaning your smoker is the hidden gem that improves performance, prevents flavor contamination, extends lifespan, ensures health and safety, and simplifies maintenance tasks. So grab your trusty grill brush and let’s explore the benefits of keeping your smoker sparkling clean.
Improved Performance:
Picture this: you fire up your smoker only to discover that it struggles to maintain consistent temperatures or evenly cook your food. By regularly cleaning your smoker, you eliminate the buildup of grease, ash, and food residues that can hinder its performance. A clean smoker ensures even heat distribution, allowing you to achieve perfectly smoked and delectable meals every single time.
Prevention of Flavor Contamination:
Are you a flavor connoisseur? Then you understand the importance of preserving each flavor profile’s integrity. Grease and food particles that accumulate on your smoker’s surfaces can contaminate the flavors of future meals. By keeping your smoker clean, you guarantee that each dish is infused with the intended flavors, whether you’re experimenting with different wood chips or seasonings.
Extended Lifespan:
We all want our grilling equipment to stand the test of time. Regular cleaning significantly extends the lifespan of your smoker by preventing corrosion and deterioration of its components. Removing harmful substances like grease and ash safeguards critical parts such as the heating element, grates, and ventilation system from damage. With proper care, your beloved smoker will continue to serve up mouthwatering BBQ for years to come.
Health and Safety:
Maintaining a clean smoker isn’t just about taste; it’s also crucial for safety reasons. A dirty smoker can become a breeding ground for bacteria and other harmful pathogens. Without proper cleaning, these contaminants can transfer onto your food during the smoking process, increasing the risk of foodborne illnesses. Additionally, a dirty smoker can be a fire hazard due to the potential buildup of flammable substances. Regular cleaning ensures a safe cooking environment for you and your loved ones.
Easier Maintenance:
Let’s be honest – cleaning tasks are never fun, especially when you’re faced with stubborn grease and residue. However, by cleaning your smoker after each use, you prevent these substances from becoming stubborn stains that are difficult to remove later on. Furthermore, regular cleaning allows you to identify and address any issues with your smoker before they escalate. Taking a proactive approach simplifies maintenance tasks and keeps your smoker in top condition.
Steps for Properly Cleaning a Smoker
If you want to elevate your grilling game, it’s time to tackle a vital task that often goes unnoticed: cleaning your smoker. Regularly cleaning your smoker not only ensures mouthwatering flavors but also helps maintain its performance and extend its lifespan. Fear not, we’ve got you covered with a step-by-step guide to properly clean your smoker. Let’s dive in.
Step 1: Allow the smoker to cool down
Before diving into the cleaning process, prioritize safety by ensuring that your smoker has completely cooled down. Patience is key.
Step 2: Remove the grates and racks
To gain easier access to the interior of your smoker, start by removing the grates and racks. These are where the magic happens, so give them some TLC.
Step 3: Brush off loose debris
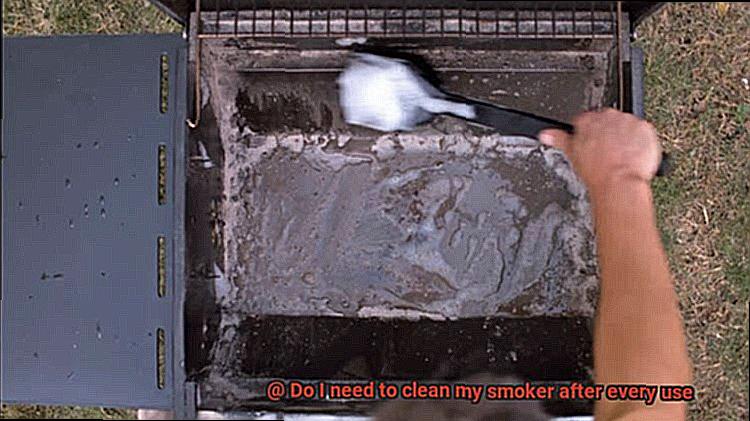
Armed with a trusty grill brush or a stiff wire brush, attack any loose debris, ash, or grease from every nook and cranny of your smoker. Don’t neglect the walls, bottom, and corners – they all need attention.
Step 4: Empty and clean the ashtray
If your smoker boasts an ashtray or a removable pan for collecting ash (which it probably does), empty it out and give it a thorough cleaning. Removing ash buildup ensures optimal airflow and even heat distribution for superior grilling results.
Step 5: Clean the grates and racks
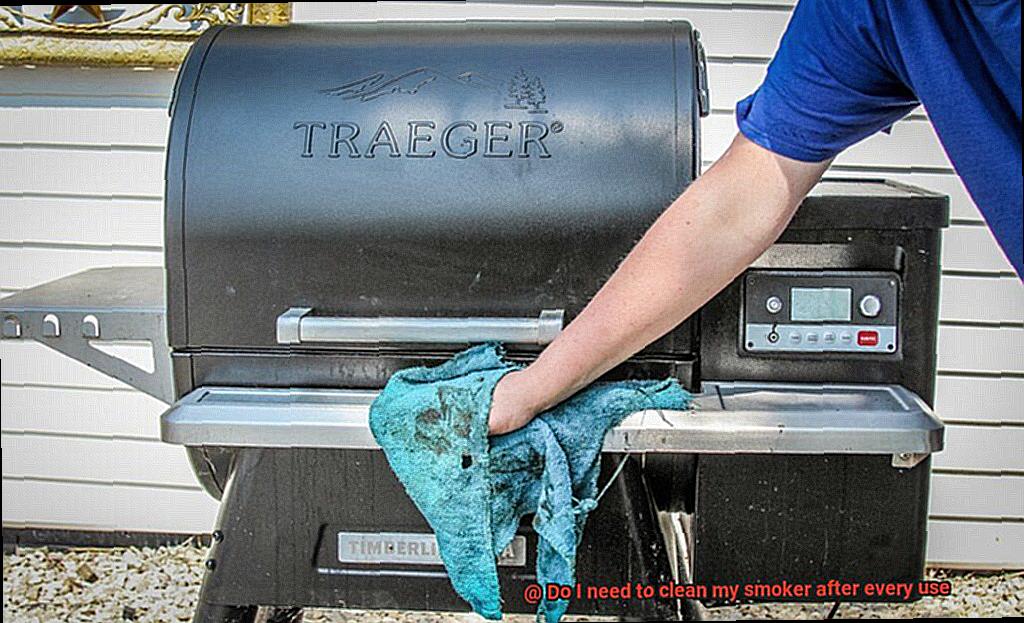
Scrub those grates and racks with warm soapy water using a sponge or non-abrasive brush. Rinse them thoroughly to eradicate any soap residue. For extra stubborn dirt, consider soaking them in a mixture of warm water and dish soap for effortless cleaning.
Step 6: Clean the interior surfaces
Now it’s time to tackle the interior surfaces of your smoker. Use a mild detergent or a specialized grill cleaner to wipe down the walls, bottom, and corners. Bid farewell to any accumulated grease or residue that might hinder the flavor of your food.
Step 7: Rinse and dry
After the cleaning process, rinse all surfaces with clean water to eliminate any cleaning agents. Ensure there’s no soap residue left behind, as it can mar the taste of your next BBQ masterpiece. Finally, dry all surfaces thoroughly to prevent rust or moisture damage.
Step 8: Reassemble and store
Once your smoker and all its components are clean and dry, reassemble the grates and racks. Store your smoker in a dry and protected area to safeguard it from the elements. This way, it’ll be ready for your next grilling adventure.
Common Cleaning Products and Tools to Use
Regularly cleaning your smoker is crucial for maintaining its performance, preventing residue buildup, and extending its lifespan. To make this task easier and more effective, it’s important to use the right cleaning products and tools. Let’s explore the common cleaning products and tools you should have on hand.
When it comes to cleaning products, there are a few essentials you’ll need:
- Mild dish soap: This gentle yet effective cleaner is perfect for removing grease and grime from your smoker’s surfaces. Simply mix a few drops with warm water and use a soft-bristle brush or sponge to scrub away any dirt or residue.
- Vinegar: A versatile ingredient, vinegar can also serve as a natural disinfectant. Create a mixture of equal parts vinegar and water in a spray bottle, then spritz it onto the surfaces of your smoker. Allow it to sit for a few minutes before wiping it off with a microfiber cloth or paper towel.
- Baking soda: For stubborn stains or odors, baking soda is your secret weapon. Make a paste by mixing baking soda with water, then apply it to the affected areas. Allow it to sit for a while before scrubbing it off with a soft-bristle brush or sponge.
- Specialized grill cleaners: When dealing with tough stains and residue, specialized grill cleaners are specifically designed to do the heavy lifting. Be sure to follow the manufacturer’s instructions for best results, and always wear protective gloves when using these cleaners.
Now let’s talk about the tools that are essential for effective cleaning:
- Soft-bristle brush or sponge: These non-abrasive tools are perfect for scrubbing away dirt and residue without scratching the surfaces of your smoker.
- Scraper or spatula: Use these tools to remove any stubborn food particles or residue that may be stuck on the grates or inside the smoker.
- Microfiber cloths or paper towels: These are great for wiping down surfaces and drying off your smoker after cleaning.
Remember to always wear protective gloves while cleaning to keep your hands safe from harsh chemicals or hot surfaces.
Tips for Maintaining Your Smoker’s Performance
In this article, we’ll explore the importance of cleaning and maintaining your smoker to ensure optimal performance. Get ready to unlock the secrets that will elevate your grilling game.
Banish Grease Buildup:
Grease is not just an unwelcome guest at your cookout; it can also lead to flare-ups and even fires. After each use, take a few moments to rid your smoker of excess grease on the grates, walls, and drip pans. This simple step ensures that your smoker remains safe and guarantees mouthwatering flavor every time.
Crush Ash Clogs:
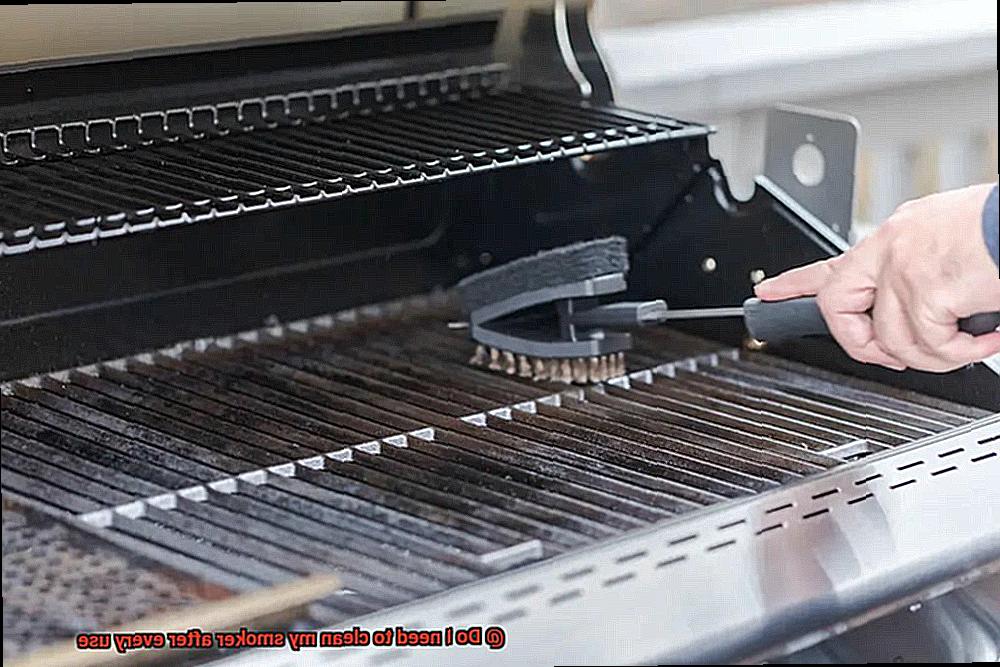
Ash has a sneaky way of clogging air vents and disrupting airflow inside your smoker, resulting in uneven heating and lackluster smoke circulation. To maintain optimal performance, make it a habit to remove ash after every smoking session. It may seem like a small task, but it goes a long way in keeping your smoker operating smoothly.
Polish Its Appearance:
We all know that presentation matters, and that holds true for your smoker too. Over time, smoke residue, grease stains, and other debris can tarnish the exterior surfaces of your precious cooking vessel. Regularly wipe down and clean the exterior to keep it looking clean and presentable. Not only will this impress your guests, but it will also extend the lifespan of your beloved smoker.
Inspect for Loose or Damaged Parts:
Beyond just cleaning, it’s crucial to inspect your smoker for any loose or damaged parts regularly. Loose screws or worn-out seals can significantly impact the performance of your smoker. Take the time to ensure that everything is in working order and make any necessary repairs or replacements. Your smoker will thank you with consistent and outstanding results.
Show Some Love to Accessories and Utensils:
Don’t forget to give some TLC to the accessories and utensils that accompany your smoker. Drip pans, water pans, cooking grates, they all deserve attention too. Thoroughly clean them to prevent the buildup of grease and food particles, guaranteeing that your smoker performs optimally each time you fire it up.

Risks of Not Cleaning Your Smoker Regularly
We all love the sizzle and flavor of a perfectly grilled meal, but there’s one crucial step that often gets overlooked: cleaning your smoker regularly. Neglecting this task can have serious risks and consequences. Let’s dive into why keeping your smoker squeaky clean is essential.
First and foremost, food contamination is a major concern. Picture this: you fire up your smoker for a mouthwatering BBQ, only to end up with a severe case of food poisoning. Not appetizing, right? When you don’t clean your smoker regularly, grease, fat, and food residue build up inside, creating a breeding ground for harmful bacteria. Cleaning it after each use helps prevent these bacteria from contaminating the food you cook, ensuring safe and enjoyable meals.
Next on the list is the fire hazard. Grease and fat buildup can turn your beloved smoker into a potential fireball waiting to happen. No one wants to deal with a blazing inferno in their backyard. Regular cleaning removes the flammable grease, reducing the risk of a fiery disaster.
But it’s not just about safety – it’s also about performance. A dirty smoker can’t perform at its best. The accumulation of ash and debris obstructs proper airflow, leading to uneven cooking and longer cooking times. By keeping your smoker clean, you’ll have better temperature control and improved cooking results.
Let’s not forget about flavor. A neglected smoker can leave your food tasting less than stellar. Old smoke particles clinging to the walls can give your meals a stale or unpleasant taste. And any remnants of previous meals left behind can create unwanted flavors or odors when you cook new food. Regular cleaning helps maintain that authentic smoky flavor we all love.
Last but not least, regular cleaning extends the lifespan of your smoker. Grease, ash, and debris can corrode internal components, leading to rust and deterioration. By giving your smoker some TLC, you’ll save yourself from costly repairs or premature replacement.
How to Dispose of Grease and Residue Safely
Imagine the mouthwatering aroma of grilled food filling the air as you prepare for your next barbecue feast. But before you fire up your smoker, it’s crucial to understand how to properly dispose of grease and residue. In this comprehensive guide, we will walk you through five essential steps to ensure safe and effective disposal, allowing you to enjoy a clean and delicious cooking experience every time.
Cooling Down Is Crucial:
Before embarking on the cleaning process, it’s vital to let your smoker cool down completely. This step not only prevents accidental burns but also guarantees a safe and efficient cleaning experience.
Scraping Away Excess:
Equip yourself with a reliable grill brush or spatula and scrape off any excess grease or residue from your smoker’s surfaces. Wearing gloves for protection, opt for a plastic scraper or brush to prevent scratching the exterior. To dispose of the collected grease, use a sealable container such as a glass jar or an empty can. Remember, pouring grease down the drain is a big no-no as it can clog your pipes.
Suds Away:
Prepare a bucket or sink with warm water and add a few drops of dish soap. Dip a sponge or cloth into the soapy water and gently scrub away any remaining grease or residue from both the interior and exterior surfaces of your smoker. Rinse thoroughly with clean water and wipe dry with a clean towel.
Harness the Power of Paste:
For stubborn grease or residue buildup, harness the power of baking soda by creating a paste. Mix baking soda with water to form a thick consistency paste. Apply the paste to affected areas, allowing it to sit for a few minutes before scrubbing with a sponge or brush. Baking soda acts as a natural abrasive, effectively tackling tough stains without causing any damage to your smoker’s surface.
Dispose Responsibly:
When disposing of dirty water and cleaning materials, it is vital to avoid pouring them down the drain. Instead, find an outdoor area away from plants and animals to dispose of the wastewater. This ensures that no harm comes to the environment and prevents any potential health hazards.
Rz8BevJ5QcE” >
Conclusion
In conclusion, it is highly recommended that you clean your smoker after every use.
Neglecting to do so can lead to a buildup of grease, ash, and other debris that can affect the performance and flavor of your food. Plus, a dirty smoker is not only unhygienic but also poses a fire hazard.
This will ensure that your next smoking session is not only delicious but also safe.

