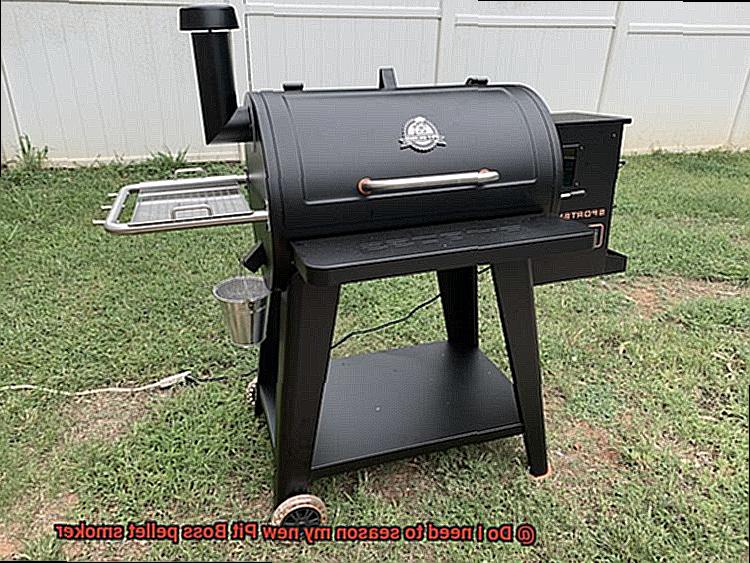
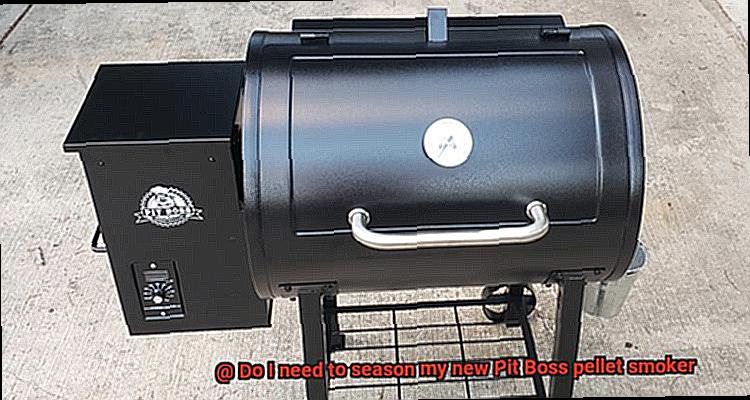
Congratulations on your new Pit Boss pellet smoker. You can already picture yourself grilling up some delicious dishes and impressing your friends and family with your newfound cooking skills. But before you get started, there’s an important step you need to take – seasoning your smoker.
“But why is it necessary?” you may ask. Well, seasoning your smoker helps remove any unwanted residues from the manufacturing process such as oils and dust. It also prevents rust from forming inside the smoker, which can be a real problem in humid climates. By taking the time to season your new Pit Boss pellet smoker, not only will you be cooking on a clean surface, but you’ll also extend the life of your investment.
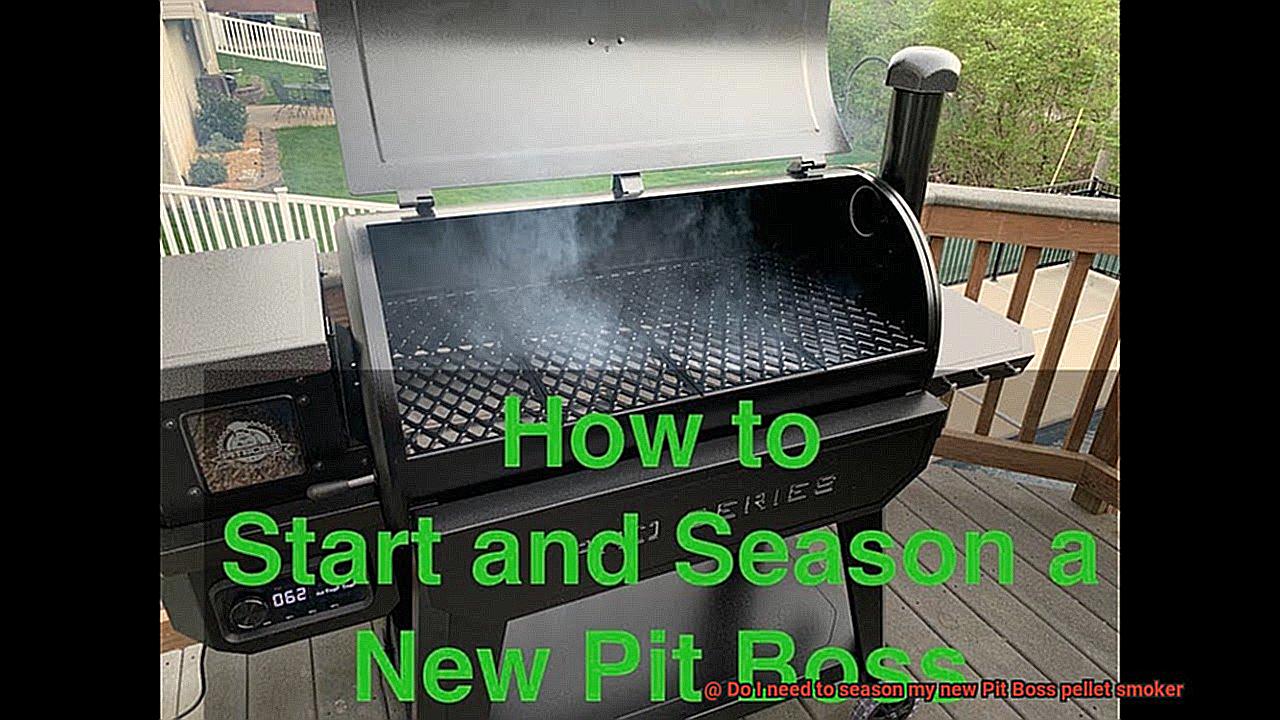
So how do you go about seasoning your new Pit Boss pellet smoker? Don’t worry; it’s a straightforward process that we’ll cover in detail later on in this post. Essentially, all you need to do is clean the smoker, apply a thin coat of cooking oil, and run it for a few hours at high temperature.
By following these simple steps, you’ll ensure that your Pit Boss pellet smoker is ready to deliver mouthwatering results every time. So sit back, relax and let’s dive into the step-by-step instructions for seasoning your new Pit Boss pellet smoker.
Contents
Cleaning the Pit Boss Pellet Smoker
Keeping your smoker clean is vital to ensure it functions correctly and produces mouth-watering smoked meats. Here’s how you can clean your Pit Boss pellet smoker like a pro.
Step 1: Cool Down and Remove Removable Parts
Prior to cleaning, make sure your smoker has cooled down completely, and that all parts are safe to touch. Start by removing the cooking grates and any other removable parts, such as the drip tray or heat deflector. Wash them with warm, soapy water and scrub with a non-abrasive sponge. Rinse thoroughly and air dry before putting them back into the smoker.
Step 2: Clean the Interior Surfaces
Next, use a grill brush or scraper to remove any excess ash or debris that may have accumulated on the inside of the smoker during use. It’s crucial to ensure that the firepot is free from any ash or debris before using the smoker again. For tough grease or grime buildup on the interior surfaces of the smoker, use a specialized cleaner designed for pellet smokers. Spray cleaner onto the surface and let it sit for a few minutes before scrubbing with a non-abrasive sponge. Rinse thoroughly and let it air dry.
Step 3: Clean the Exterior
Finally, wipe down the exterior of the smoker with warm, soapy water and a non-abrasive sponge. Rinse thoroughly and dry with a clean cloth. Do not use abrasive cleaners or steel wool as this can damage the finish of the smoker.
It’s important to remember that cleaning your Pit Boss pellet smoker is essential for maintaining its functionality and extending its lifespan. By following these simple steps, you can ensure that your smoker stays in top condition and provides you with delicious smoked meats for years to come.
But wait, there’s more. Before using your Pit Boss pellet smoker for the first time, it’s crucial to season it properly. This step is necessary to ensure that it operates at its best and produces the best possible food results.
Applying a Thin Layer of Cooking Oil
As you eagerly anticipate your first cookout, don’t forget to take the essential step of applying a thin layer of cooking oil. This process is crucial as it ensures that your smoker remains protected from rust and corrosion, while also creating a non-stick surface that makes cooking and cleaning a breeze.
To get started, wipe down the interior and exterior of your smoker with a damp cloth to remove any dust or debris. Next, select a high-heat cooking oil such as vegetable, canola, or grapeseed oil. Pour a small amount onto a clean cloth or paper towel and rub it onto the grates, walls, and other surfaces inside the smoker. Remember to apply the oil in a thin layer to avoid excessive smoking during the seasoning process.
Once you’ve applied the oil, turn on your smoker and let it run for approximately 30 minutes at 250°F. This will allow the oil to bake onto the surfaces and create a protective layer that shields your smoker from rust and corrosion.
Afterward, turn off your smoker and let it cool completely before wiping away any excess oil with a clean cloth. By following these steps, you’ll be rewarded with a smoker that is ready to deliver mouth-watering smoked meats.
Preheating the Smoker to High Temperatures
You’re about to embark on a journey that will take your love for smoked meats to the next level. But before you dive into the world of meat smoking, there’s an essential step you must take: preheating your smoker to high temperatures.
Think of preheating as the warm-up before a big game. Just like how athletes stretch and get their muscles ready, your smoker needs to be prepped and primed for optimal performance. By preheating to high temperatures, you’re ensuring that your smoker is ready to deliver perfectly cooked meats with amazing flavors.
Preheating your smoker accomplishes a few things. Firstly, it burns off any manufacturing oils or residues that might be on the surfaces. This is crucial because you don’t want any funky tastes or smells affecting the flavor of your meats. Secondly, it creates a non-stick surface on the grates, which is essential for getting those beautiful grill marks on your food. And lastly, it helps create an even cooking temperature throughout the smoker.
To preheat your smoker properly, start by setting the temperature to the highest setting and letting it run for about 30 minutes. This allows the smoker to reach a temperature of around 400-450 degrees Fahrenheit – perfect for burning off any unwanted residue. During this time, do not add any wood pellets or food to the smoker.
Once your smoker has been preheated, it’s time to clean the grates. Use a grill brush or scraper to remove any remaining debris or residue from the grates. This step is important as it ensures that your food doesn’t stick to the grates and allows for beautiful grill marks.
Next, add a small amount of cooking oil to the grates and let them heat up for an extra 15-20 minutes. This further seasons the grates and creates a non-stick surface for your food. Be sure to wipe away any excess oil before adding your food to the smoker.
Maintaining High Temperatures for 30 Minutes or Longer
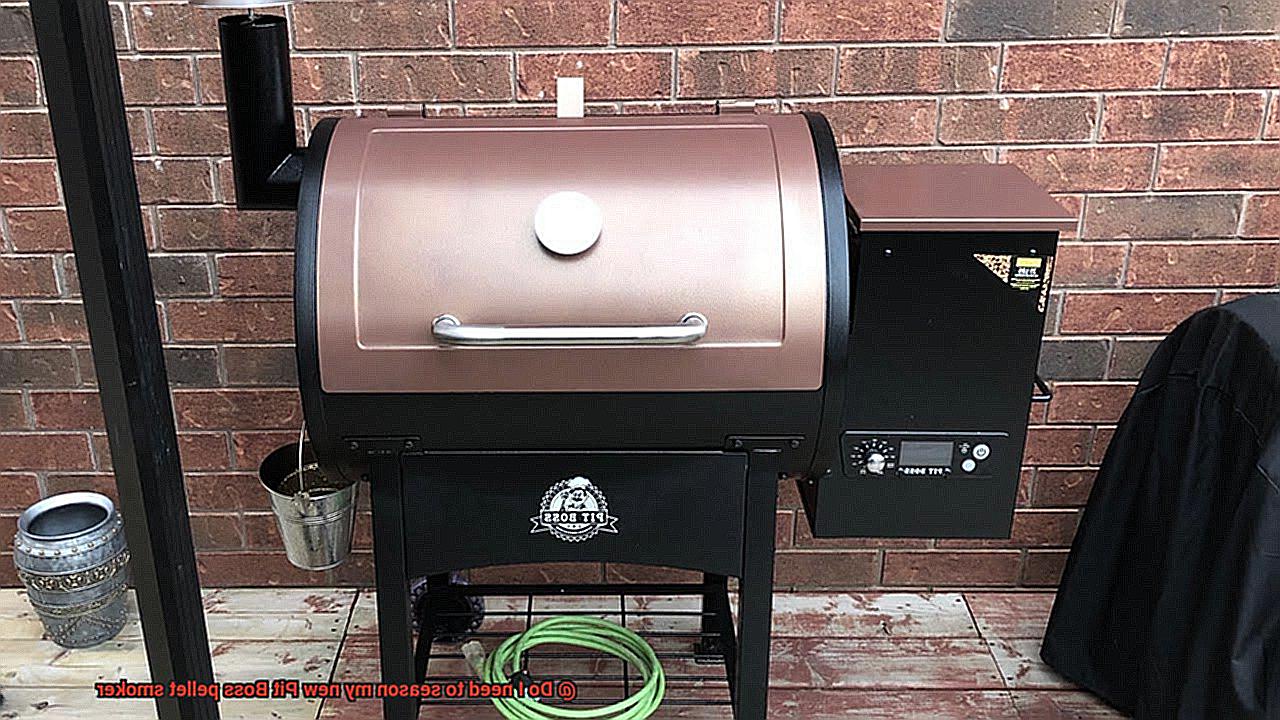
Before you dive into grilling and smoking, it’s essential to season your smoker to ensure optimal performance and flavor. This process involves maintaining high temperatures for 30 minutes or longer to burn off any residual oils, dust, or manufacturing residues left on the interior surfaces of the smoker.
To achieve and maintain high temperatures during the seasoning process, use high-quality pellet fuel that can produce temperatures of at least 400°F. Be sure to use enough pellets to maintain a consistent temperature throughout the entire process.
It’s crucial to note that the seasoning process should be done outdoors or in a well-ventilated area due to the high temperatures produced by the smoker. Additionally, protect yourself with heat-resistant gloves and protective eyewear.
The first stage of seasoning involves preheating your smoker to 350°F for 30 minutes. Then, increase the temperature to 400°F and maintain it for an additional 30 minutes. This ensures that your smoker is ready for optimal performance and provides improved heat retention, reduced flare-ups, and enhanced flavor in your grilled and smoked dishes.
In summary, here are some key takeaways for maintaining high temperatures for 30 minutes or longer during the seasoning process:
- Use high-quality pellet fuel that can produce temperatures of at least 400°F
- Use enough pellets to maintain a consistent temperature throughout the entire process
- Season your smoker outdoors or in a well-ventilated area
- Protect yourself with heat-resistant gloves and protective eyewear
- Preheat your smoker to 350°F for 30 minutes and then increase to 400°F for an additional 30 minutes
Cooling the Smoker After Seasoning
After seasoning it, the next crucial step is to let it cool down completely before using it for cooking. This will help prevent uneven cooking and damage to your smoker.
To properly cool down your pellet smoker after seasoning, follow these steps:
- Turn off the power: To begin, turn off the power and unplug the smoker from the electric outlet. This will help prevent any potential fires or damages.
- Allow it to sit: Let your smoker sit for a while until it has cooled down completely. Depending on how hot it got during seasoning, this may take anywhere from 30 minutes to an hour or more.
- Open up the vents and doors: Speed up the cooling process and allow any remaining smoke and fumes to escape by opening up the smoker’s vents and doors. This will also help prevent any unwanted flavors in your food.
- Don’t rush: It is essential not to rush this cooling process. Trying to use the smoker while it is still hot can result in uneven cooking and damage to the smoker itself.
- Start cooking: Once your Pit Boss pellet smoker has cooled down entirely, you are ready to start cooking delicious smoked meats, vegetables, and more.
Benefits of Seasoning Your Pit Boss Pellet Smoker
Before you fire up the grill and start cooking, there’s one crucial step that you must not overlook: seasoning your smoker.
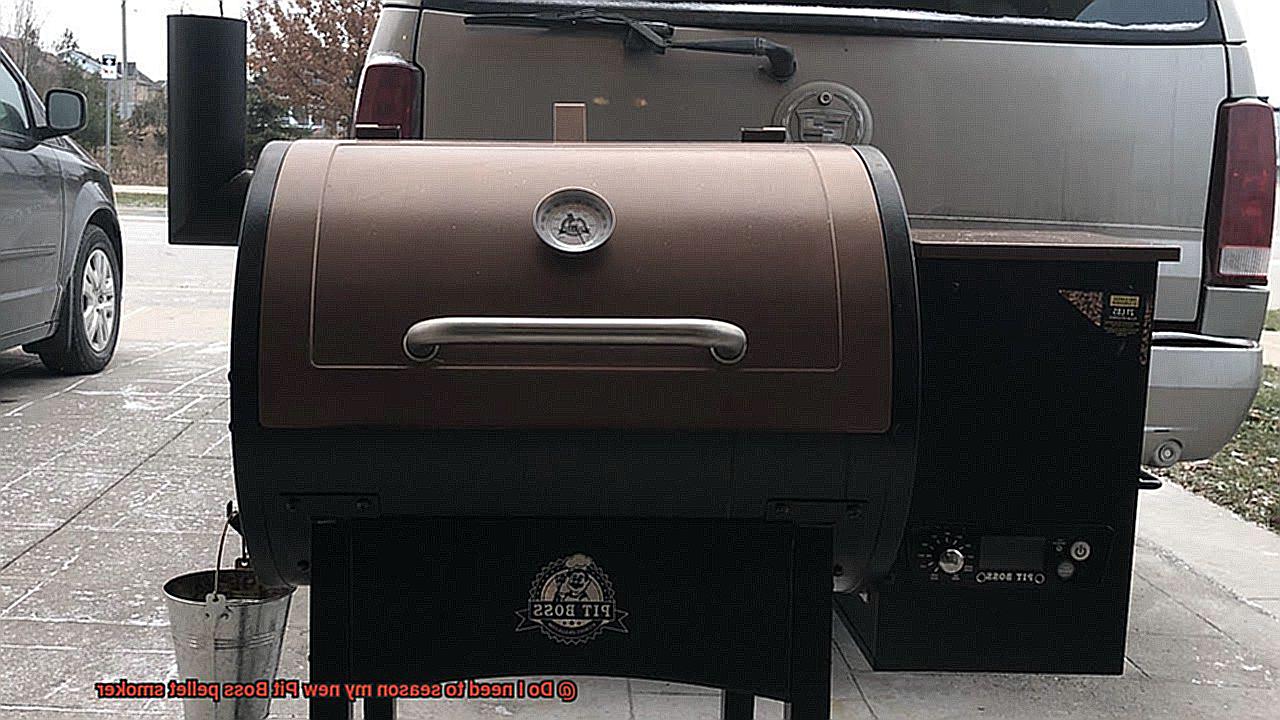
Seasoning your Pit Boss pellet smoker involves heating it up to a high temperature with oil or another type of fat. This process helps to remove any manufacturing residues, oils, and dust that may have accumulated during the manufacturing process. It also helps to prevent rust and prolongs the life of your smoker.
But that’s not all – seasoning your Pit Boss pellet smoker has several benefits that will make your smoking experience even better:
A Non-Stick Surface
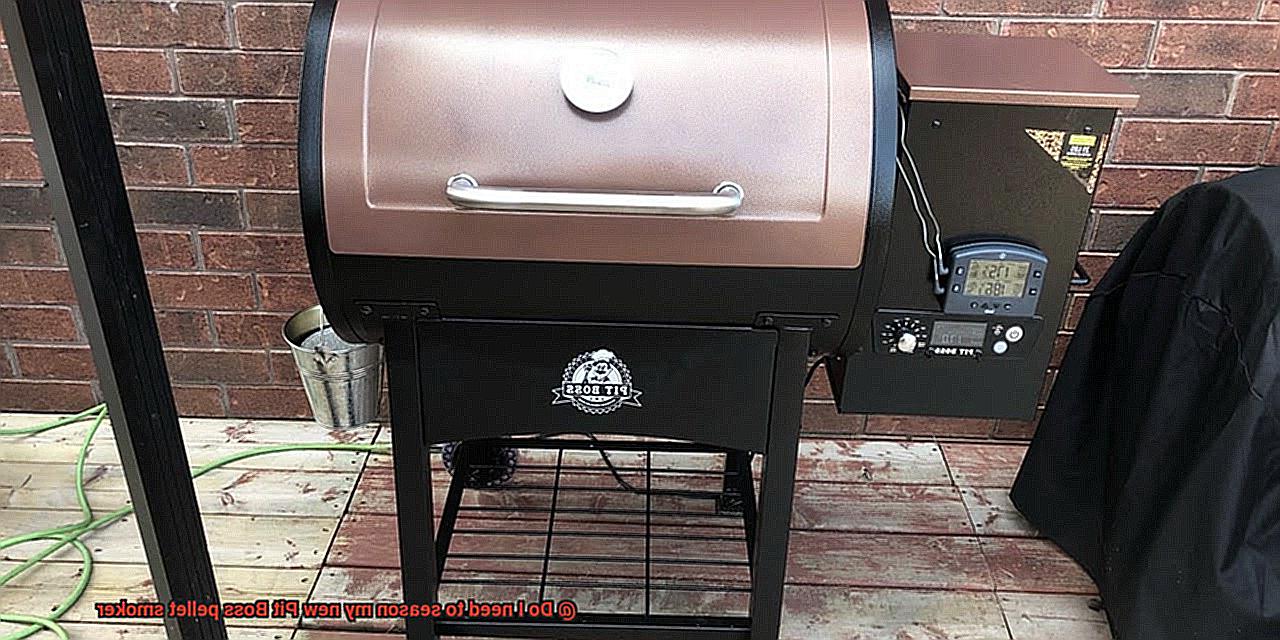
After heating the smoker with oil during the seasoning process, a non-stick surface is created on the grates of the smoker. This makes cleaning up after each use a breeze and prevents your food from sticking to the grates. Say goodbye to scrubbing and scraping.
Improved Flavor
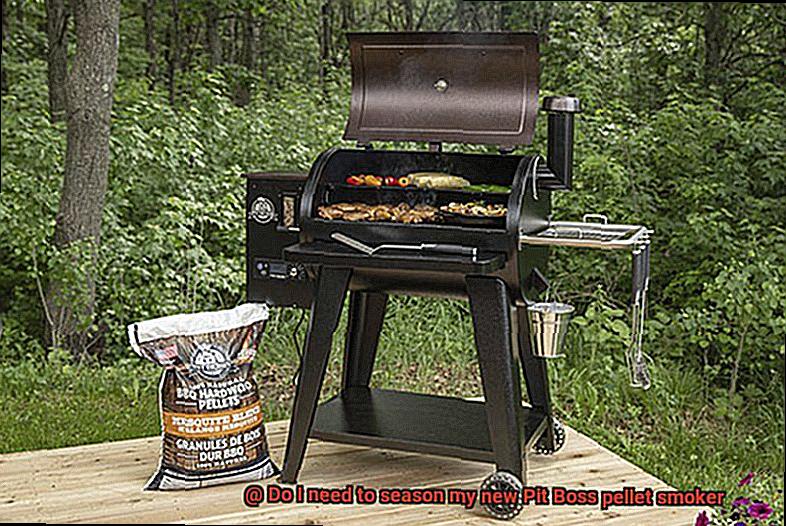
Seasoning your Pit Boss pellet smoker removes any residual chemicals or substances that may affect the flavor of your food. With a clean slate, your food will taste fresher and more delicious every time you cook on it. Get ready for some seriously scrumptious smoked meats.
Prolonged Life
By removing unwanted residues, seasoning your smoker helps to prevent rust and prolongs its lifespan. With proper care and maintenance, your Pit Boss pellet smoker can last for many years to come. So take good care of it, and it will take good care of you.
Common Mistakes to Avoid When Seasoning Your Smoker
But before you start grilling, there’s a crucial step that you can’t afford to skip – seasoning your smoker. This process is not only important for removing manufacturing residues and preventing rust, but it also creates a non-stick surface for easy cleaning and enhances the flavor of your smoked meats. However, beware of the common mistakes that can ruin your seasoning efforts. Here are some top mistakes to avoid:
Neglecting to Clean Your Smoker Before Seasoning It
Don’t be tempted to skip the cleaning process. Failure to clean your smoker properly before seasoning can alter the flavor of your food and even cause a fire. Be sure to clean every surface of your smoker, including the grates, drip pan and interior, before starting the seasoning process.
Using Too Little Oil or Seasoning During the Process
More is better when it comes to seasoning. You need enough oil to coat every surface of your smoker and enough seasoning rub or pellets to create a flavorful layer on top of the oil. So, don’t skimp on these ingredients.
Rushing Through the Seasoning Process
It’s understandable to be excited about using your new smoker, but don’t rush through the seasoning process. Remember that it can take several hours, so be patient and plan accordingly to ensure that you complete it properly.
Failing to Maintain Your Smoker After Seasoning It
Seasoning is just the first step in keeping your smoker in great condition. Regular cleaning and oiling of the grates before each use will prevent food from sticking and ensure even heat distribution.
XGTVyx1kEo8″ >
Conclusion
In conclusion, the answer is a resounding yes – you absolutely need to season your new Pit Boss pellet smoker. By taking this crucial step, you’ll not only be removing any unwanted residues from the manufacturing process, but also preventing rust from forming inside the smoker. This means that you’ll be cooking on a clean surface and extending the life of your investment.
But how exactly do you go about seasoning your smoker? The process involves cleaning both the interior and exterior surfaces, applying a thin layer of cooking oil, preheating the smoker to high temperatures, maintaining these temperatures for 30 minutes or longer, and then cooling down the smoker after seasoning. However, it’s important to avoid common mistakes such as neglecting to clean your smoker before seasoning it or using too little oil during the process.
By following these steps and avoiding common pitfalls, you can rest assured that your Pit Boss pellet smoker will deliver mouthwatering results every time. And don’t forget – regular cleaning and oiling of the grates before each use will prevent food from sticking and ensure even heat distribution.

