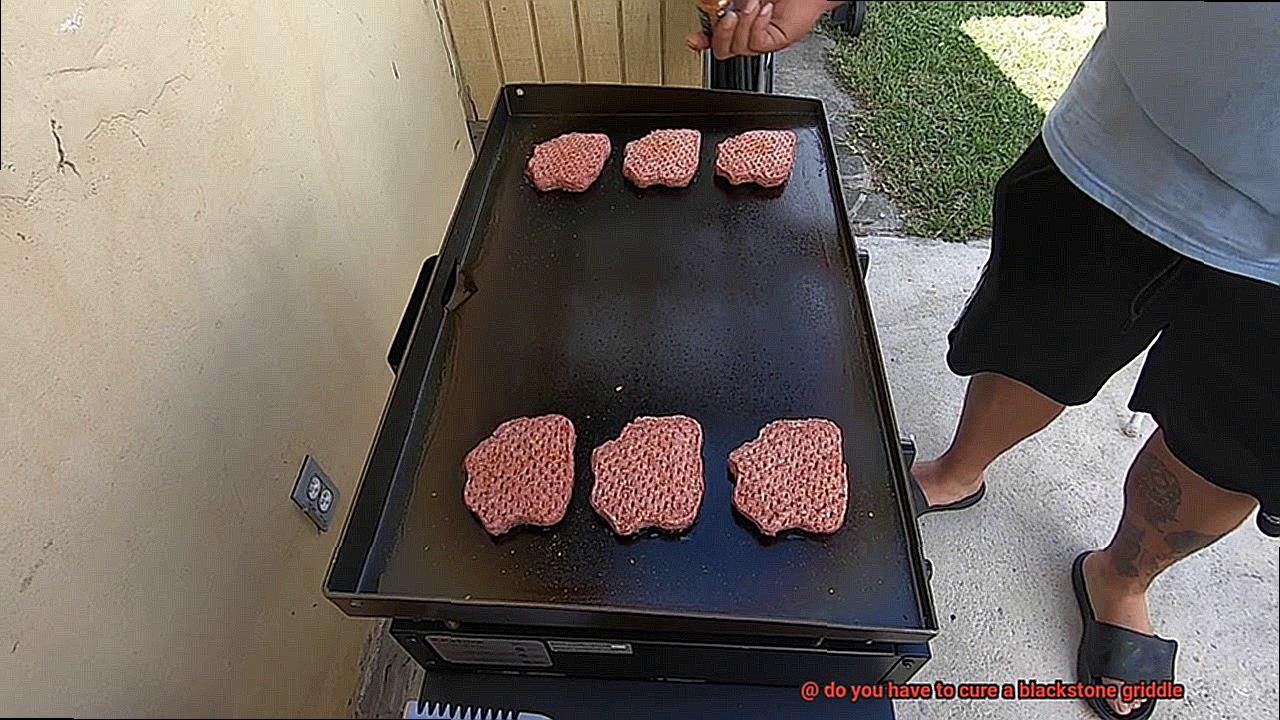
Congratulations on your new Blackstone griddle. You’re about to experience the ultimate outdoor cooking experience with its massive cooktop and powerful burners. But before you start grilling, there’s an important step you don’t want to skip: curing your griddle.
Curing your griddle involves heating it up and coating it with oil to create a non-stick surface. Skipping this step will result in food sticking to the griddle and cleaning becoming a nightmare. Plus, curing helps prevent rust and extends the life of your griddle.
Don’t worry, though – curing a Blackstone griddle is easy and straightforward. In this blog post, we’ll guide you through the process step by step so that you can get your griddle ready for some serious cooking. So grab your oil and let’s dive right into it.
Contents
What is a Blackstone Griddle?
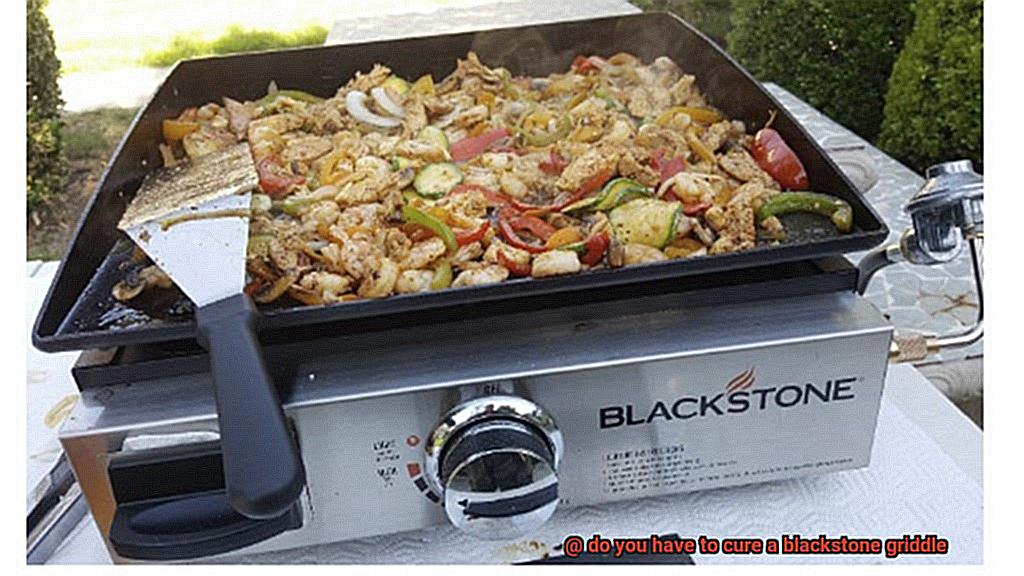
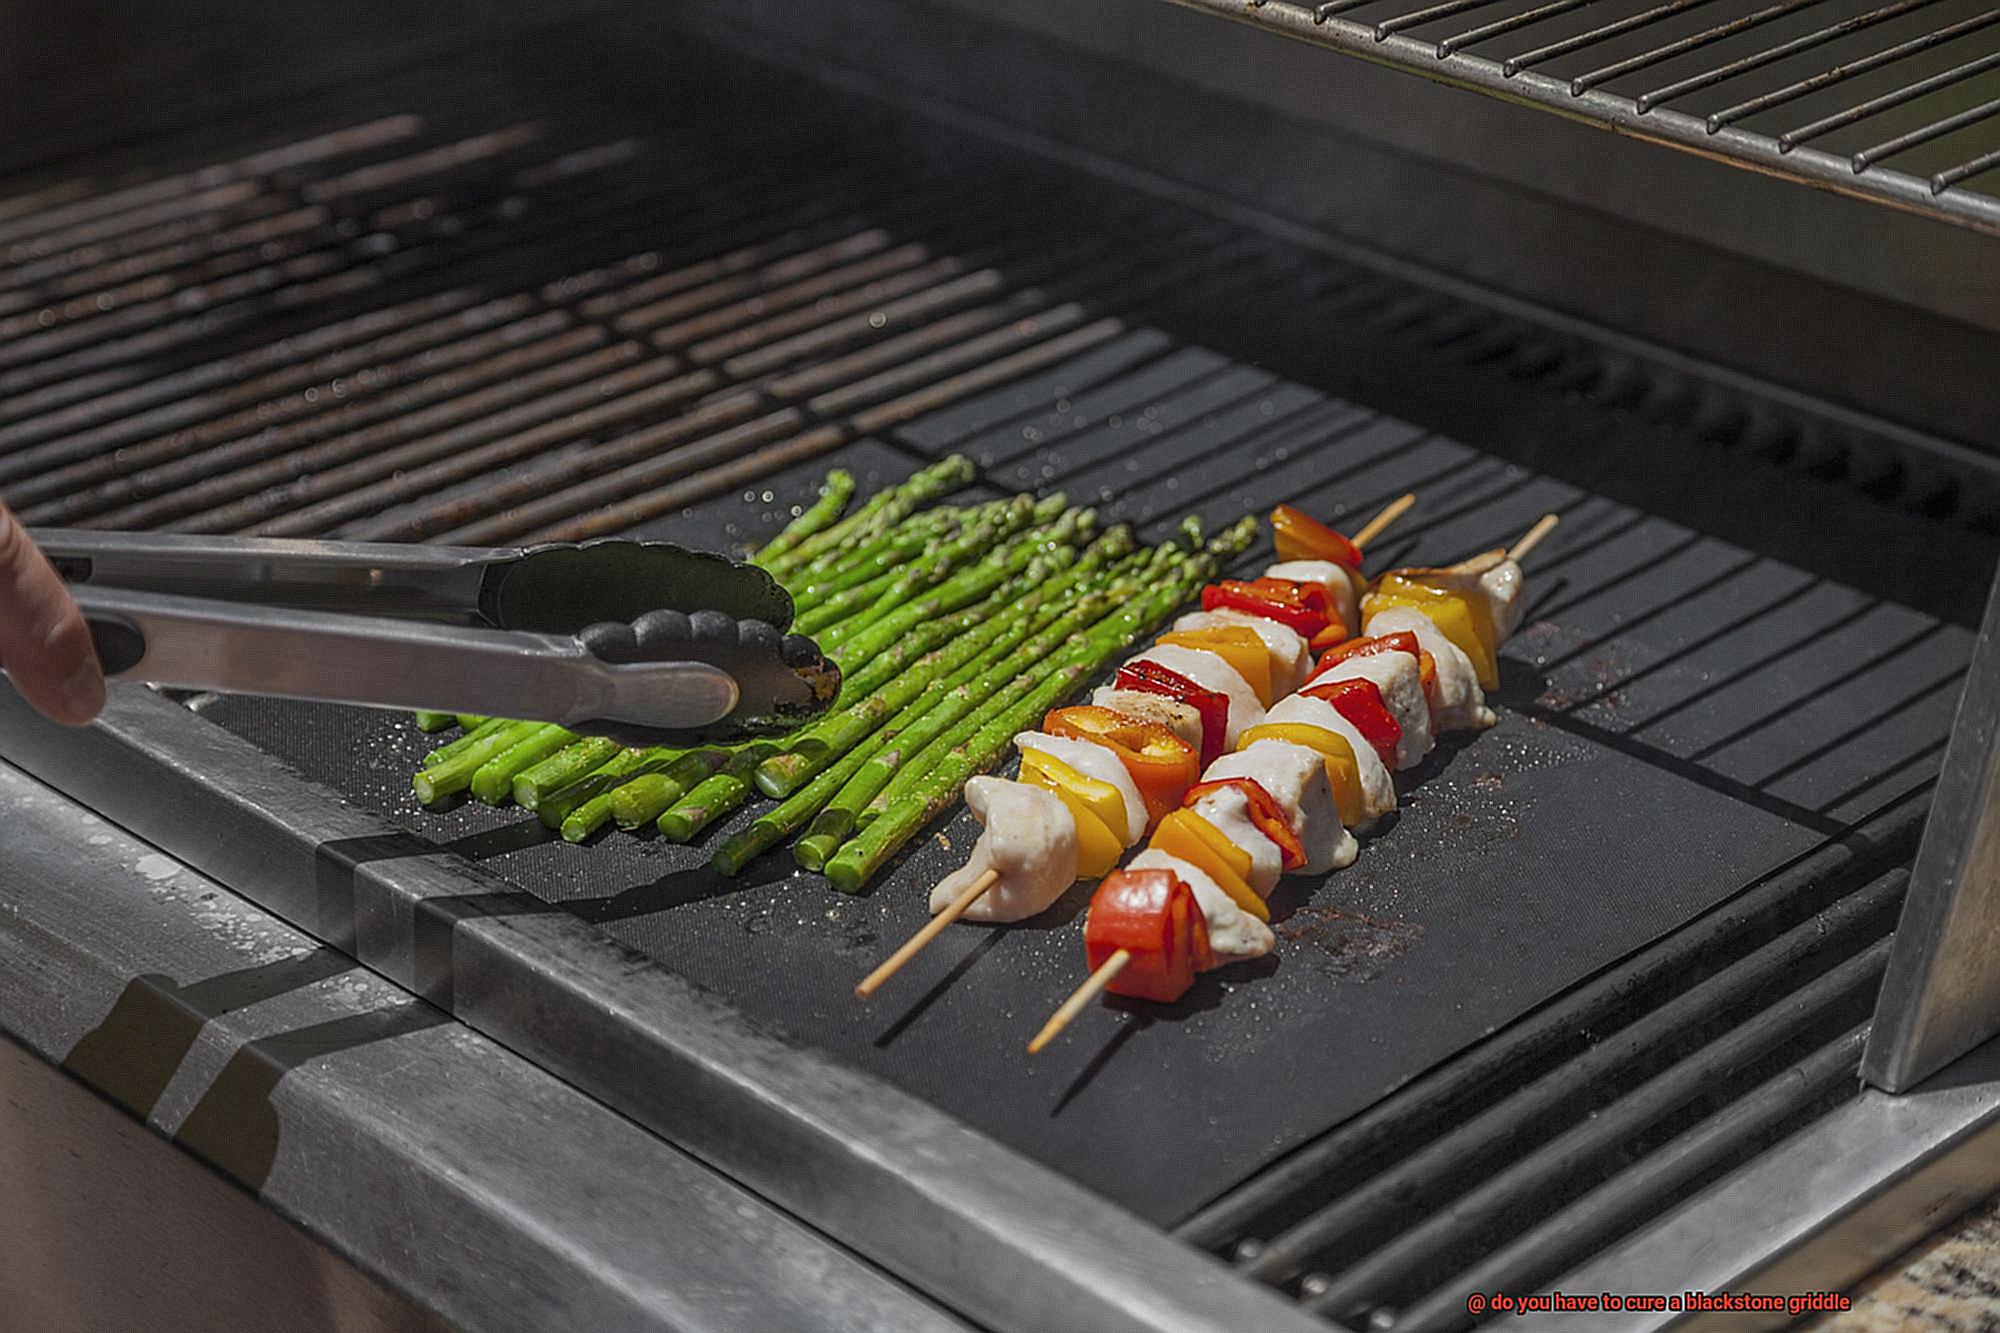
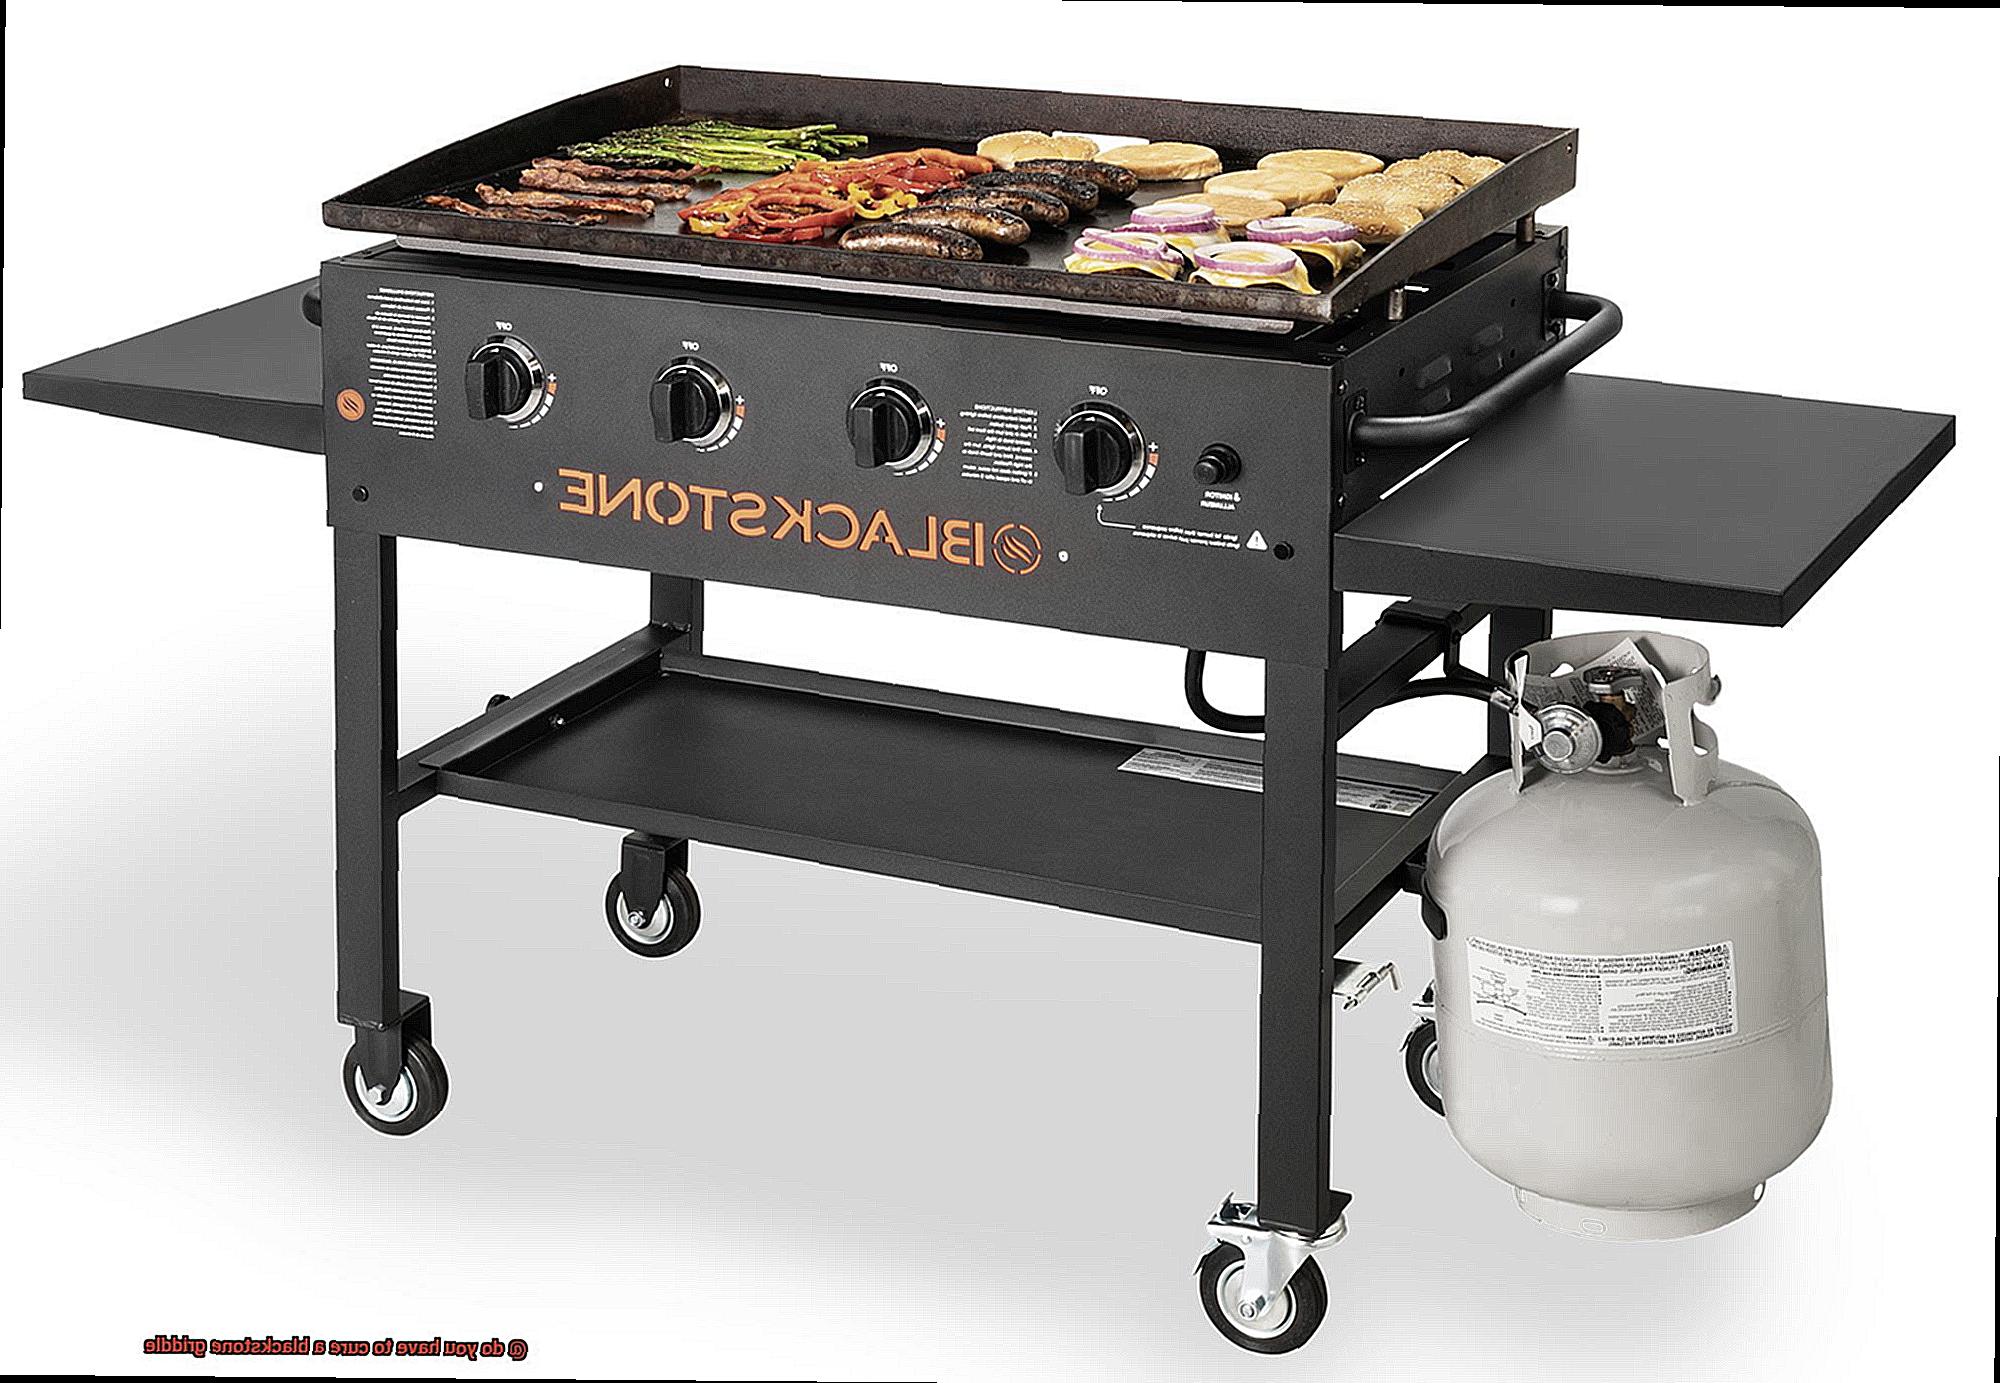
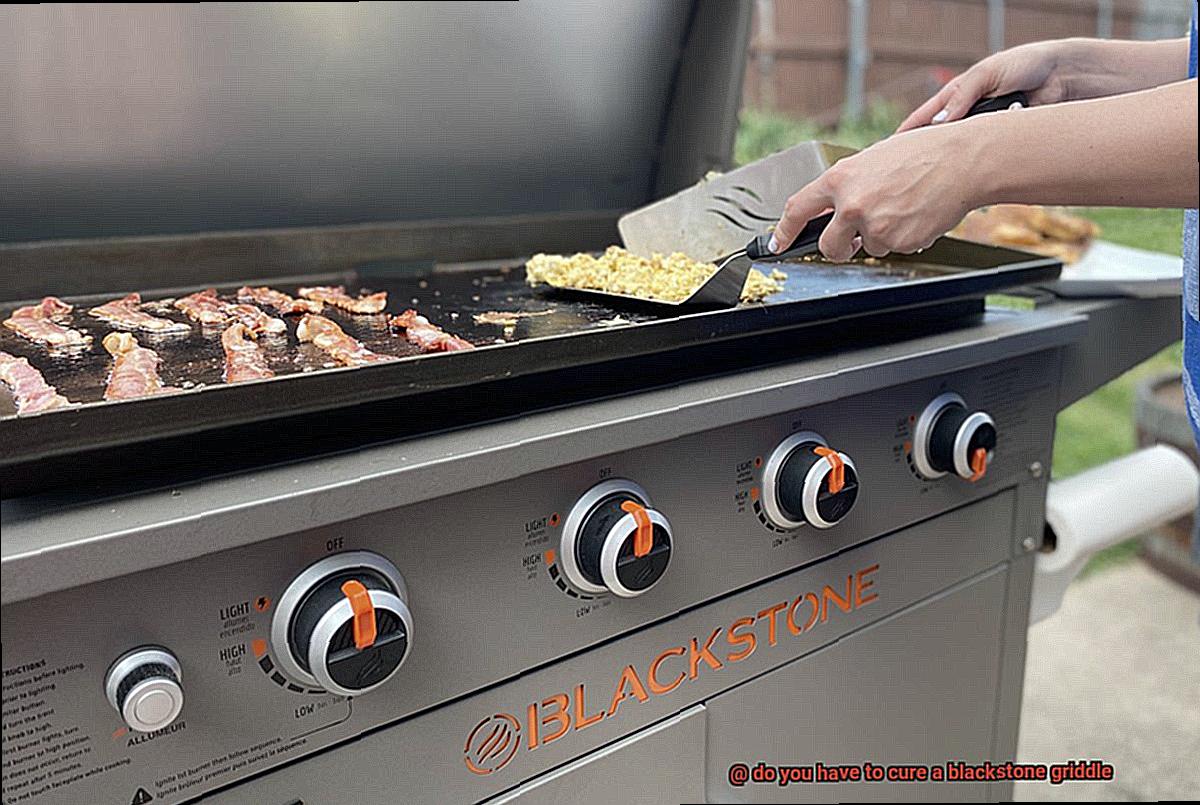
A Blackstone Griddle is a flat-top griddle made of high-quality materials that can be used to cook a wide variety of foods, including pancakes, eggs, bacon, burgers, and even stir-fry dishes. What sets the Blackstone Griddle apart from other grills is its large cooking surface, ranging from 28 to 36 inches depending on the model. This ample space makes it ideal for cooking for large groups or families, allowing you to prepare multiple dishes at once.
But that’s not all – the Blackstone Griddle also features a built-in grease management system that allows for easy cleanup and prevents flare-ups. The grease management system ensures that your food cooks evenly without creating a mess. Plus, many models come with wheels, making it easy to move from one location to another. This portability feature makes it perfect for outdoor cooking, such as camping trips, tailgating events, or backyard barbecues.
However, before using your Blackstone Griddle, it’s important to properly cure it. Curing involves coating the griddle with oil and heating it to high temperatures to create a natural non-stick surface. This process helps prevent food from sticking to the griddle, making cooking and cleaning much easier. By following the steps outlined in the instructions manual for your specific model, you can ensure that your griddle is properly cured and ready for use.
Why Do You Need to Cure a Blackstone Griddle?
Before diving in, the first step is to cure your griddle. This process is crucial in ensuring that your griddle stays in excellent condition and provides delicious meals for years to come.
Curing involves pre-treating the surface of the griddle with oil, which protects it from rust and creates a non-stick layer. To achieve this, heat the griddle to a high temperature and apply oil in multiple layers until a smooth surface is achieved. Here’s why curing is so important:
Prevents Rust and Corrosion
Rust and corrosion can damage your griddle over time and even cause food to stick to the surface, making cleaning difficult. Curing your Blackstone griddle creates a natural non-stick layer that prevents rust and prolongs its lifespan.
Creates a Non-Stick Surface
Without proper seasoning, food can stick to the surface of the griddle, making cooking and cleaning a hassle. Curing creates a polymerized oil layer that acts as a barrier between the food and the surface, preventing sticking and making cleaning easier.
Enhances Flavor
When you cure your Blackstone griddle, oil seeps into the pores of the metal, creating a layer of flavor that adds depth and richness to your dishes. Imagine taking a bite into a juicy burger packed with extra flavor – sounds mouth-watering, right?
Preparing the Griddle for Curing
Curing your griddle is a crucial step in its maintenance, ensuring it remains rust-free and provides top-quality meals every time you cook on it. However, before diving into the curing process, it’s essential to prepare your griddle properly.
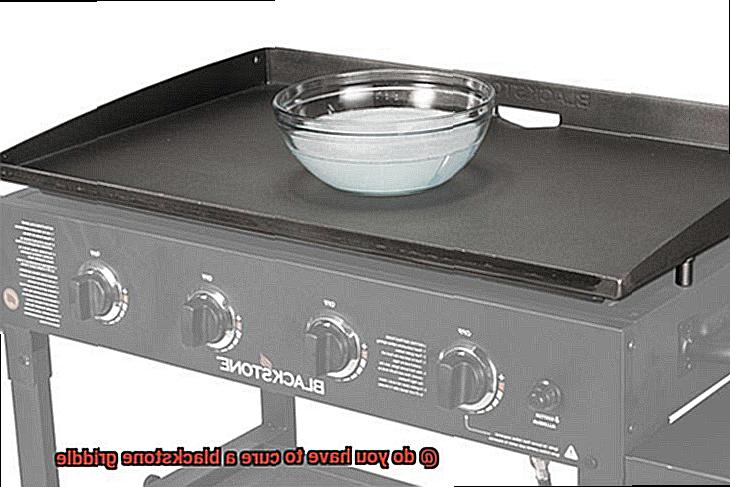
Firstly, start by washing your griddle with soap and water. This step is crucial as any debris or impurities left on the surface can affect the seasoning process and ultimately impact the taste of your food. Gently scrub the surface with a non-abrasive sponge or cloth, rinse it thoroughly with water and dry it completely before proceeding to the next step.
The next step is to apply a thin layer of oil to the surface of your griddle. This will protect it from rusting and provide a base for the seasoning process. You can use any high smoke point oil like vegetable oil, canola oil, or flaxseed oil. Spread the oil evenly on the surface using a paper towel or brush.
After applying the oil, turn on your blackstone griddle to high heat and let it heat up for about 15-20 minutes. This will open up the pores of the metal, allowing the oil to penetrate deeper into the surface. Once heated, turn off the heat and let it cool down completely.
Now that your blackstone griddle is clean, oiled, and heated up, it’s ready for seasoning. Proper seasoning will ensure that your griddle lasts for a long time while providing delicious meals every time you cook on it. In the next section, we’ll dive into how to season your griddle correctly.
So don’t forget this crucial step of preparing your griddle for curing. Your taste buds will thank you later. To summarize:
Applying the Oil to the Surface of the Griddle
One of the most critical steps in doing so is applying oil to the surface before and after each use. This process not only prevents rust but also ensures the longevity of your griddle, making cooking and cleaning much easier.
To begin, choose a high smoke point oil such as vegetable, canola, or grapeseed oil. These oils are ideal for griddling because they won’t break down or smoke excessively at high temperatures. Before cooking, pour a small amount of oil onto the griddle surface and use a paper towel or brush to spread it evenly across the entire surface. This creates a non-stick layer that makes cooking and cleaning much more manageable.
After you finish cooking, don’t forget to apply another thin layer of oil while the griddle is still warm. This step protects the surface from moisture and prevents rust from forming. Harsh chemicals or soap should never be used when cleaning your griddle because it can damage the seasoning and cause it to deteriorate over time.
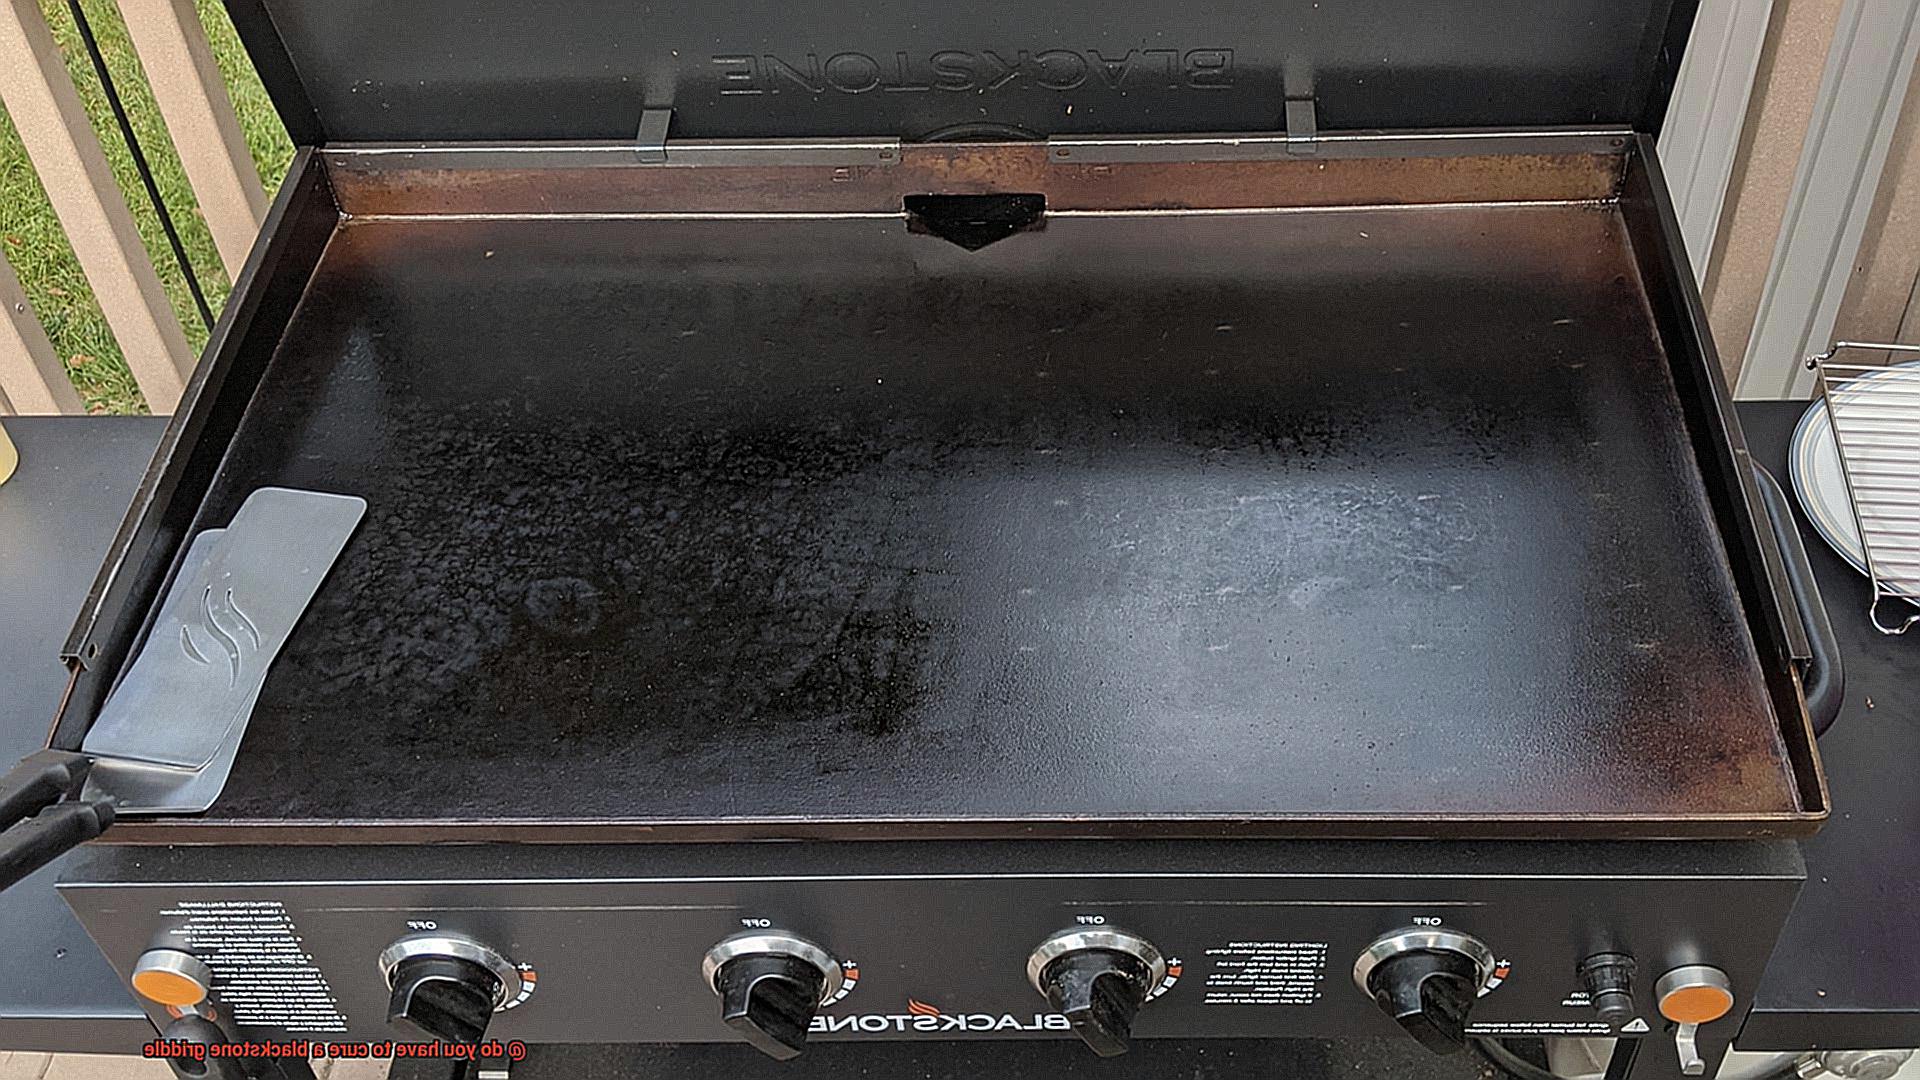
If you’re using your Blackstone griddle for the first time, follow the seasoning process before applying oil. Coat the surface with a layer of oil and heat it on high heat for 30 minutes. After cooling down, repeat this process several times until you achieve a dark, non-stick layer on the surface.
To summarize, here are some key takeaways for maintaining your Blackstone griddle:
- Choose a high smoke point oil such as vegetable, canola, or grapeseed oil
- Apply oil to the surface before and after each use
- Never use harsh chemicals or soap when cleaning your griddle
- Follow the seasoning process if using your griddle for the first time
Heating Up the Griddle for Curing
Then it’s time to learn the art of properly heating up your Blackstone griddle before seasoning. As an expert on all things griddles, I’ve compiled some research notes to help guide you through this essential step.
First things first, make sure your griddle is clean and free from any debris or residue. Use a scraper or spatula to get rid of any food particles or grease from the surface of the griddle. Once it’s looking spick and span, it’s time to turn on all the burners to high heat. This ensures that the griddle is heated evenly and thoroughly.
As you’re waiting for the griddle to heat up, you may notice some smoke emanating from it. Don’t panic, this is completely normal and just means any residual oil or grease is burning off. However, it’s important to keep the area well-ventilated during this process to avoid any potential hazards.
There are several benefits of heating up your griddle before curing. Firstly, it opens up the pores of the metal and prepares it for seasoning. Secondly, it helps create a non-stick surface that will prevent food from sticking and make cleaning a breeze. So, after about 10-15 minutes of heating up, your griddle is ready for seasoning.
When it comes to seasoning your griddle, there are several methods you can use. Some people prefer using oil, while others prefer butter or other seasonings. Whatever method you choose, make sure to apply a thin layer evenly across the surface of the griddle.
Cooling Down and Wiping Off Excess Oil
You’ve just finished a fantastic meal on your Blackstone griddle, and now it’s time to clean up. But, before you start scrubbing away, it’s crucial to take a few simple steps to properly cool down and wipe off any excess oil from your griddle. By doing so, you’ll ensure that your griddle stays in tip-top shape and ready for your next great cooking adventure.
First things first, let’s talk about safety. It’s essential to allow your griddle to cool down to a safe temperature before handling it. You don’t want to risk burning your hands or fingers on a hot surface, so be patient and wait for the temperature to drop.
Now that your griddle has cooled down, it’s time to wipe off any excess oil or food debris. Start by using a spatula or scraper to remove any larger pieces of food. Then, take a damp cloth or paper towel and gently wipe down the surface of the griddle. Be sure to remove any remaining residue to prevent unwanted flavors and burnt bits in your next meal.
When wiping down your Blackstone griddle, it’s important not to use soap or abrasive materials as this can damage the surface and ruin its seasoning. Instead, stick to using water and a gentle cloth or sponge for cleaning.
By properly cooling down and wiping off excess oil, you’ll maintain your Blackstone griddle’s quality for years to come. This simple step is an essential part of maintaining your griddle and will help you get the most out of your cooking experience.
Benefits of Curing a Blackstone Griddle
Like any investment, you want to make sure it lasts for years to come. That’s where curing comes in.
Curing your Blackstone Griddle is a simple yet crucial process that involves heating, oiling, and cooling the surface to create a protective layer. But what exactly are the benefits of this process?
First and foremost, curing your griddle helps to extend its lifespan. By preventing rust and corrosion from taking hold on the surface, you can ensure that your griddle stays in top condition for years to come. Not only does this save you money in the long run, but it also prevents unwanted flavors from ruining your meals.
But the benefits don’t stop there – curing also improves the overall cooking performance of your Blackstone Griddle. A properly cured griddle distributes heat evenly across the entire surface, resulting in consistent cooking temperatures. This means no more worrying about overcooked or undercooked spots on your food.
And speaking of food, here’s another benefit of curing your Blackstone Griddle: it enhances the flavor of your meals. The oils used during the curing process create a natural non-stick surface that adds depth and richness to your food. Whether you’re cooking up some fluffy pancakes or perfectly scrambled eggs, you’ll notice a significant difference in taste compared to an untreated griddle.
Last but not least, curing your Blackstone Griddle is an easy and cost-effective way to maintain its appearance. By preventing rust and discoloration from forming on the surface, you can keep your griddle looking brand new for years to come. Plus, it protects against damage caused by exposure to heat and moisture.
Tips for Successful Curing
Curing involves seasoning the surface with oil and heating it up to create a non-stick surface that enhances the flavor of your food. Here are some tips for successful curing that will help you get the most out of your Blackstone griddle.
Clean your griddle thoroughly
Before starting the curing process, make sure to clean your griddle thoroughly. Use soap and water to remove any dirt or debris, then dry it off completely. This will ensure that the oil bonds properly with the surface.
Choose the right oil
The choice of oil is crucial when it comes to successful curing. Flaxseed oil is known for creating a durable, non-stick surface, while vegetable and canola oil are great options for beginners. Choose an oil that suits your needs and preferences.
Apply the oil evenly
To create an even layer of seasoning, apply a thin layer of oil onto the griddle surface using a high-heat resistant brush or cloth. Be sure to cover the entire surface evenly, including the sides and corners.
Heat your griddle to a high temperature
After applying the oil, heat your griddle to a high temperature – around 400-450 degrees Fahrenheit is ideal. Leave it on high heat for at least an hour or until the oil has dried onto the surface. This will help create a strong, non-stick layer.
Repeat the process
Depending on the condition of your griddle, you may need to repeat the curing process several times before it is fully seasoned. Each time you cure your griddle, it will become more non-stick and easier to use.
OXXChO3KBWg” >
Conclusion
In conclusion, curing your Blackstone griddle is a crucial step in guaranteeing that it delivers top-notch meals for years to come. By heating and oiling the surface, you establish a non-stick layer that not only prevents food from sticking but also makes cleaning an effortless task. Moreover, curing aids in thwarting rust and corrosion, which can deteriorate your griddle over time.
To adequately cure your Blackstone griddle, begin by cleaning it thoroughly with soap and water. Then apply a thin layer of oil evenly across the surface before heating it up to high temperatures. Once heated, let it cool down completely before wiping off any excess oil.
By following these uncomplicated steps, you’ll ensure that your Blackstone griddle remains in outstanding condition and provides scrumptious meals every time you cook on it. Remember to select the appropriate oil, spread it uniformly, and repeat the process as required until you achieve a dark, non-stick layer on the surface.
So go ahead and ignite your brand-new Blackstone griddle. With its generous cooking area and integrated grease management system, you’re guaranteed to experience the ultimate outdoor cooking adventure.