Do you ever find yourself standing in the grocery store, staring at a ham on the bone and wondering if it’s worth the extra effort? Well, wonder no more. The question of whether to take ham off the bone is one that has perplexed home cooks and foodies alike for years. Some say it’s essential to remove the bone before serving, while others insist that leaving it in results in a juicier, more flavorful ham.
Let’s start with the basics: when we talk about ham, we’re usually referring to the hind leg of a pig that has been cured and smoked. The bone runs through the center of the meat, which can make carving it a bit challenging. However, those who are pro-bone argue that this is precisely why it’s worth keeping it in.
Why? Because cooking a ham on the bone helps distribute heat evenly throughout the meat, resulting in a tender and juicy finished product. Plus, if you’re lucky enough to have a smoked ham on your hands, leaving the bone in can add an extra layer of flavor to your dish.
But what about those who prefer their ham sans-bone? Removing it certainly makes slicing and serving easier – especially if you’re feeding a crowd. However, keep in mind that boneless hams tend to be leaner than their bone-in counterparts. This means they may not be as moist or flavorful as their meatier counterparts.
So there you have it – do you have to take ham off the bone? Absolutely not. It all comes down to personal preference. Whether you choose to serve up your holiday centerpiece whole or sliced up into neat portions is entirely up to you. Just remember: no matter how you choose to prepare your ham, what matters most is savoring every delicious bite.
Contents
What is Ham?
Ham is a mouthwatering meat that originates from the hind leg of a pig. This delicacy is popular all over the world and can be cured or smoked, giving it a unique flavor that tantalizes the taste buds. Ham comes in different varieties, such as fresh, country, and city ham. If you’re looking for an unprocessed option, fresh ham is your go-to. On the other hand, country ham is salt-cured and aged for several months, making it more savory. City ham is wet-cured and easily accessible in supermarkets.
Cooking a ham can be a daunting task if you’re not familiar with its nuances. One crucial factor to consider is whether it’s boneless or bone-in. Boneless hams are easier to carve and cook quickly. However, bone-in hams boast a richer flavor and tend to be juicier. Whether or not you choose to remove the bone depends on personal preference and cooking method.
Ham is versatile and can be served in various ways depending on your preference. It can be sliced thinly for sandwiches, diced for salads, or baked as a main dish. A sweet glaze made with honey, brown sugar, and spices enhances its flavor.
To ensure optimal enjoyment of ham, it’s essential to know how to cook it correctly, depending on the type of ham you choose. For instance, fresh ham should be cooked at a lower temperature than country ham. Additionally, when making baked ham, preheating the oven is key to obtaining an evenly cooked meal.
What are the Benefits of Removing the Bone in a Ham?
While bone-in hams are known for their delicious taste, many people debate the benefits of removing the bone before cooking. As an expert on this topic, let me share with you the numerous advantages of removing the bone in a ham.
Firstly, removing the bone makes carving and serving your ham much easier, even for those who may not have experience carving meat. Without the bone in place, you can quickly slice the ham into uniform portions, ensuring that everyone gets an equal share of this mouth-watering treat.
In addition to easier carving and serving, removing the bone ensures more even cooking. Cooking a ham with the bone-in can lead to some sections taking longer than others to cook, resulting in uneven cooking and potentially dry or overcooked areas. By removing the bone, all parts of the ham cook at the same rate, making it juicy and evenly cooked.
Not only does removing the bone ensure even cooking, but it also makes it easier to add additional flavors and seasonings to your ham. With the bone out of the way, you can now easily rub your desired seasonings all over the meat, ensuring that every bite is packed with flavor.
Finally, removing the bone also makes storing and reheating your ham more straightforward. Without any awkward angles or hard-to-reach areas around the bone, you can wrap your ham tightly in foil or plastic wrap and store it in the refrigerator until you’re ready to reheat it.
What are the Benefits of Leaving the Bone in a Ham?
Not only does it create a stunning presentation, but it also has several benefits that make it an ideal option for those who love juicy, flavorful meat. Here are some of the reasons why leaving the bone in a ham is a great idea:
- Juiciness and Flavor: The bone acts like a natural insulator, keeping the heat inside the ham and preventing it from drying out during cooking. This means that your ham will be more succulent and packed with flavor than a boneless cut.
- Easy Carving: The bone provides a natural guide for slicing, making carving an effortless task. It allows you to create even, uniform pieces with minimal effort. This is especially helpful if you’re new to carving ham or if you’re serving a large group of people.
- Delicious Soups and Broths: After cooking your ham, don’t throw away the bone. You can remove the meat from it and use it to make a flavorful stock. This savory base can be used as a foundation for soups, stews, and other dishes.
- Cost-Effective: A bone-in ham can be more cost-effective than buying boneless cuts of meat. Because bones weigh more than meat, you’ll often get more meat for your money by purchasing a bone-in ham.
- Longer Shelf Life: Leaving the bone in helps to prolong the shelf life of your ham. It acts as a barrier between the meat and air, which means that your ham will stay fresh for longer.
How to Remove the Bone from a Ham
Removing the bone from a ham can seem like a daunting task, but with the right tools and technique, it can be done easily and efficiently. In this guide, we will walk you through the steps to remove the bone from a ham, ensuring that you get delicious results every time.
Step 1: Gather Your Equipment
Before starting, make sure you have a sharp knife, a cutting board, and kitchen twine on hand. Having the right equipment will make the process much smoother.
Step 2: Make an Incision
Place the ham on the cutting board with the bone facing up. Using a sharp knife, start at one end of the bone and carefully make an incision, cutting along the length of the bone. As you cut, use your free hand to gently pull the meat away from the bone, being careful not to cut too deeply into the meat.
Step 3: Cut Along Both Sides
Once you have cut along one side of the bone, repeat the process on the other side until the bone is fully exposed. Using your knife, carefully cut around any remaining tendons or connective tissue to free the bone from the meat.
Step 4: Use a Bone Saw (Optional)
If you prefer to use a bone saw instead of a knife, make an incision along the length of the ham as before. Then, use the saw to carefully cut through the bone following its contours until it is fully separated from the meat.
Step 5: Tie Up Loose Sections
Once you have removed the bone, use kitchen twine to tie up any loose sections of meat to ensure that it cooks evenly. This step is especially important if you are planning to grill or roast your ham.
How to Cook a Ham with the Bone Left In
If you’re looking for a way to add some extra flavor and moisture to your ham, leaving the bone in can be a great option. Here are some tips to help you cook a ham with the bone left in:
Choose the Right Ham
When selecting your ham, look for one that still has the bone intact. This will act as a natural conductor of heat, helping to distribute it evenly throughout the meat and resulting in a more tender and juicy finished product. Additionally, choose a cut with plenty of fat marbling throughout the meat. This will help keep it moist during cooking and add flavor.
Season it to Perfection
Before cooking your ham, be sure to properly season it with your favorite herbs and spices. Rub the seasoning mixture into all the nooks and crannies of the meat for maximum flavor. You can also add additional flavor by basting it with a glaze during cooking.
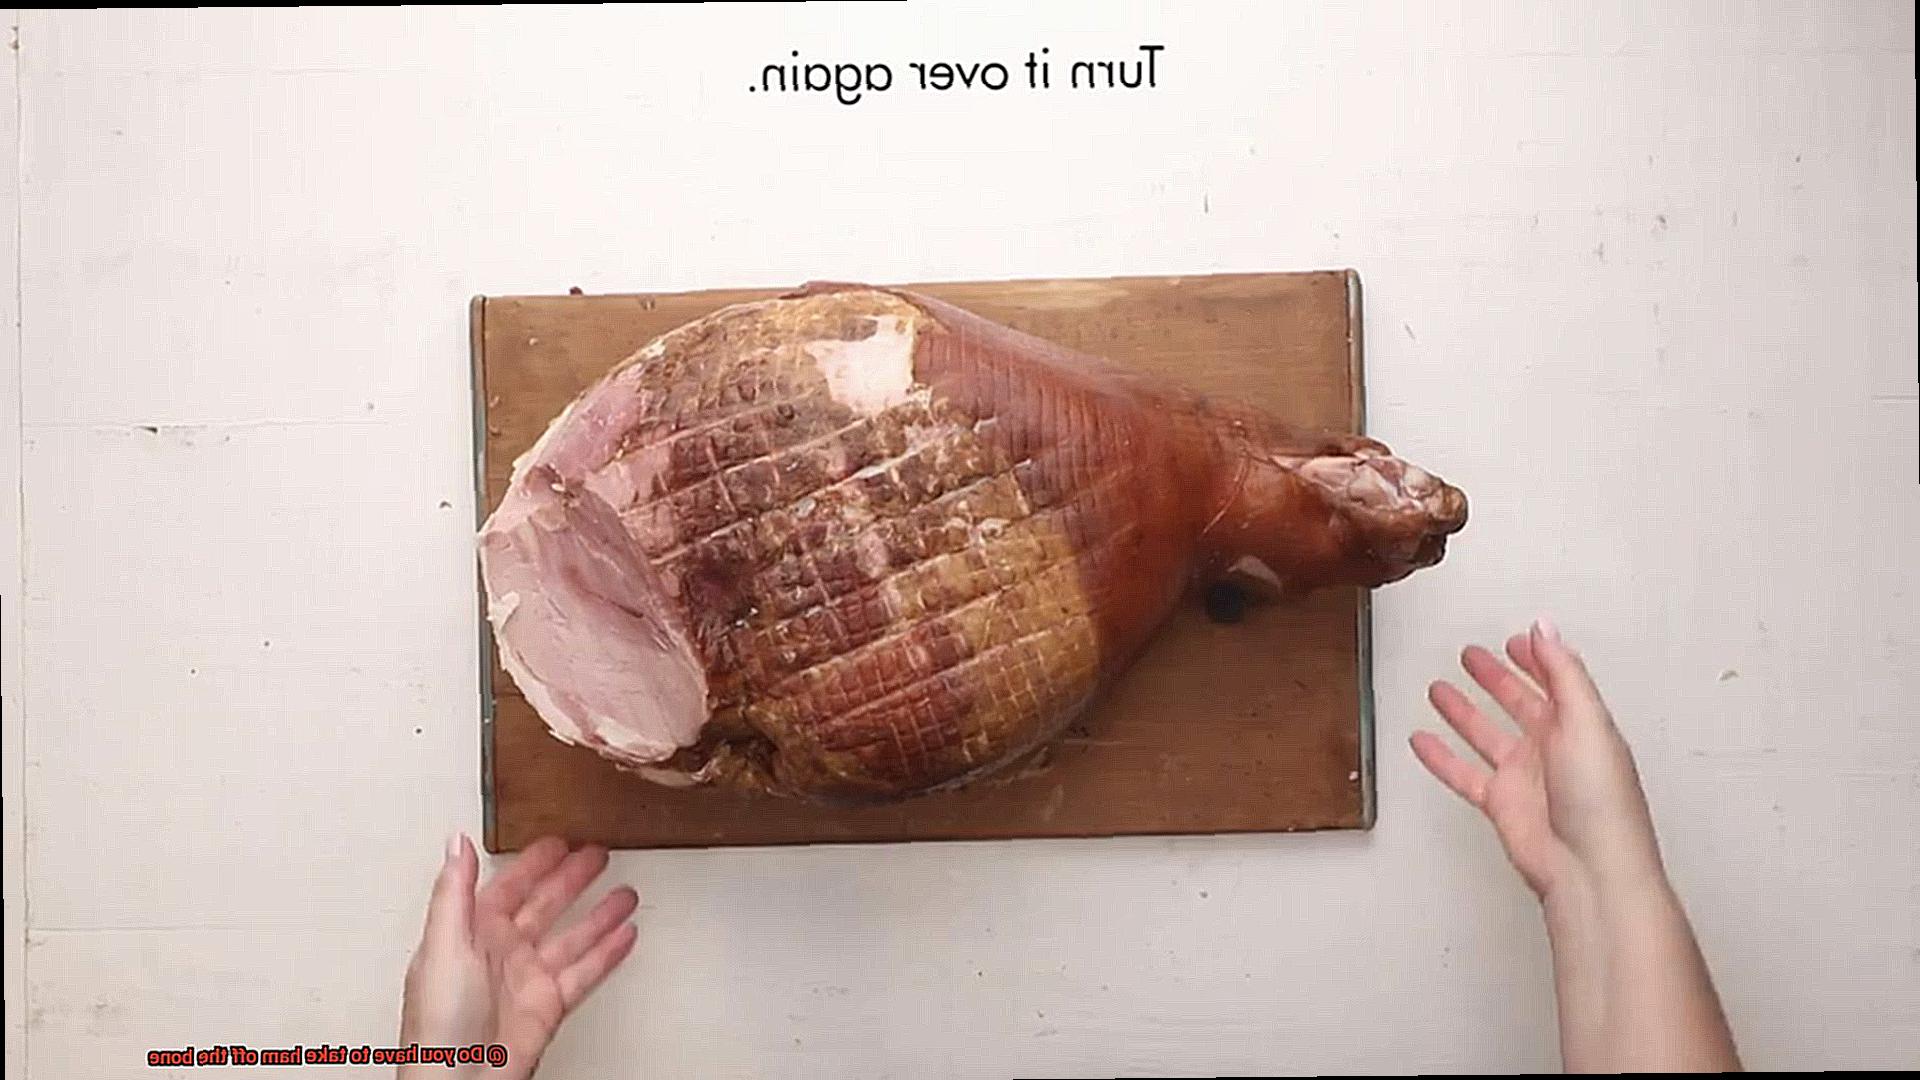
Score the Fat for Extra Crispiness
To get a crispy and flavorful exterior, score the fat on top of the ham in a diamond pattern before cooking. This will allow the fat to render out during cooking and result in a more delicious finished product.
Cook at the Right Temperature and Time
A general rule of thumb is to cook a ham with the bone left in for 15-18 minutes per pound at a temperature of 325 degrees Fahrenheit. Use a meat thermometer to ensure that the internal temperature reaches 145 degrees Fahrenheit before serving. This will ensure that your ham is fully cooked and safe to eat.
Let it Rest Before Carving
Once your ham is cooked, let it rest for 10-15 minutes before carving. This will allow the juices to redistribute throughout the meat, resulting in a more tender and flavorful final product.
Tips for Carving and Serving a Ham with the Bone Left In
Carving and serving a ham with the bone left in can be a daunting task, but with the right tools and techniques, you can impress your guests with a delicious and visually stunning centerpiece. Here are some tips and tricks to help you carve and serve your ham like a pro:
Gather the Right Tools
A sharp carving knife is essential for carving through the tough skin and meat of the ham. You’ll also need a fork to hold the ham steady, a carving board with a well to catch any juices, and kitchen scissors to remove any string or netting around the ham.
Make the First Cut
Start by placing the ham on the carving board with the bone facing up. Using your carving knife, make a shallow horizontal cut along the top of the ham to create a guide for your slices. This will allow you to easily remove slices without having to cut through the skin each time.
Follow the Bone
Make a vertical cut down the center of the ham, stopping when you reach the bone. Then, make diagonal cuts from the center cut towards the bottom of the ham, following along the bone to create even slices.
Serve with Style
Once you’ve finished carving, arrange your slices on a platter or individual plates, including some of the crispy skin and any glaze or seasoning that was applied during cooking. Don’t forget about the bone. Some people enjoy nibbling on it as a tasty treat.
Let it Rest
Before carving, let your ham rest for about 15-20 minutes to allow juices to settle and prevent it from drying out. This will also make it easier to carve neat and even slices.
Add Flavor
To take your ham to the next level, consider adding a glaze or seasoning rub before cooking. A popular glaze option is a mixture of brown sugar, honey, mustard, and cloves for a sweet and tangy taste.
Customize Your Cuts
Depending on your preference, you can make thicker or thinner slices by adjusting the angle and depth of your cuts. Just be sure to keep your cuts even and consistent throughout the ham for a professional look.
Pros and Cons of Taking the Bone Off vs Leaving It On
Let’s start with taking the bone off. One of the main advantages of a boneless ham is easy carving. Without the bone, you’ll be able to slice through the meat effortlessly, creating uniform cuts. Additionally, removing the bone provides more surface area for seasoning options, resulting in a more flavorful ham. Plus, a boneless ham will generally cook faster, which is great if you’re short on time.
However, there are also some downsides to consider. Without the bone to act as a natural insulator, a boneless ham can sometimes dry out during cooking. Additionally, removing the bone can lead to a loss of flavor that comes from cooking meat on the bone. And let’s not forget that boneless hams tend to be more expensive than their bone-in counterparts.
On the other hand, leaving the bone on has its advantages. A bone-in ham offers better flavor as cooking on the bone adds depth and moisture to the meat, resulting in a succulent and satisfying dish. Moreover, bone-in hams are generally less expensive than their boneless counterparts and have a longer shelf life.
However, there are also some disadvantages to consider. Carving around the bone can be tricky and time-consuming, resulting in less uniform slices. Additionally, with the bone taking up some of the surface area, there may be less room for seasonings or glazes. Lastly, bone-in hams generally take longer to cook than their boneless counterparts.
mGMDDU5iavk” >
Conclusion
In conclusion, the decision to remove ham off the bone is entirely up to personal preference. While some prefer a boneless ham for easy carving and serving, others swear by leaving the bone in for its juicy and flavorful benefits. Regardless of your choice, mastering the art of cooking and carving your ham correctly is crucial.
To achieve a delicious and visually stunning centerpiece, start by selecting the right ham, seasoning it well, scoring the fat for extra crispiness, cooking at the appropriate temperature and time, and allowing it to rest before carving. If you opt for a boneless ham, you’ll find that carving and serving are much more manageable while ensuring even cooking. However, leaving the bone in offers several advantages such as better flavor, easy carving guidance, delicious soups or broths from leftover bones, cost-effectiveness, and longer shelf life.
No matter which option you choose, make sure you have all the necessary tools on hand and customize your cuts according to your preference.