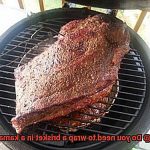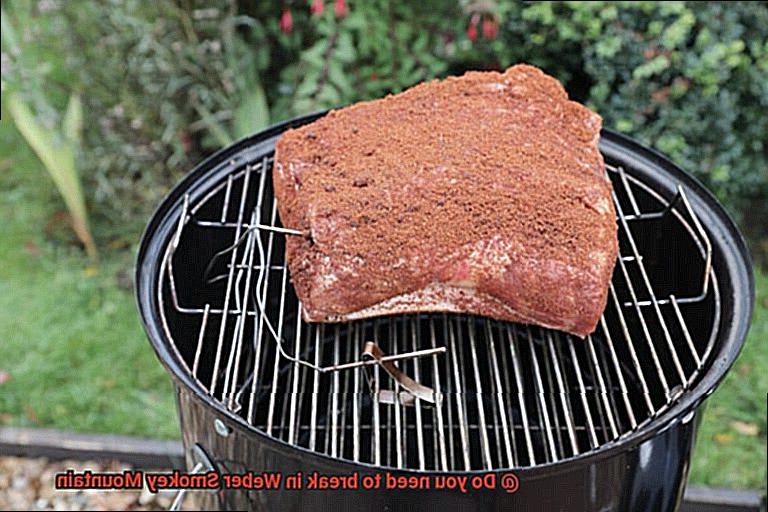
Craving that mouthwatering smoked meat? Then you need to get your hands on a Weber Smokey Mountain smoker.
This bad boy is a game-changer, known for its exceptional flavors and versatility. But before you start smoking up a storm, there’s one important step you can’t skip: breaking in your Weber Smokey Mountain.
Yeah, it might sound strange, but trust me, it’s worth it. Taking the time to season and acclimate your smoker will boost its performance and guarantee drool-worthy results every time.
Say goodbye to potential mishaps and hello to perfectly smoked meats.
Contents
What is Breaking in a Smoker?
So, you’ve just acquired a brand new smoker and can’t wait to savor the smoky goodness it promises. But before you dive right in, there’s a crucial step you shouldn’t overlook: breaking in your smoker. In this article, we will take you through the process of breaking in a smoker, focusing specifically on the Weber Smokey Mountain. From understanding its importance to step-by-step instructions, we’ve got you covered.
Why is Breaking in a Smoker Important?
Breaking in a smoker is all about eliminating unwanted odors and flavors that may linger from the manufacturing process. By subjecting the smoker to high temperatures, you ensure that any residual oils or coatings are incinerated completely. This not only enhances the taste of your food but also safeguards the longevity and performance of your smoker.
Step-by-Step Guide to Breaking in Your Weber Smokey Mountain:
- Unpacking and Cleaning: Remove all packaging materials, unearthing the potential within your smoker. Give it a thorough cleaning with warm soapy water, washing away any dust or dirt that may have accumulated during transport. Rinse it thoroughly and dry it meticulously.
- Seasoning Process: Although the Weber Smokey Mountain boasts a porcelain-enameled coating, seasoning it further enhances its non-stick properties and overall performance. Gently coat the cooking grates and interior surfaces with cooking oil or spray, giving them a protective sheen.
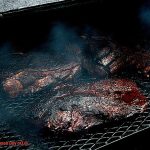
- Heating Up: Ignite your smoker’s fire and let the temperature soar to around 250-300°F (120-150°C) for several hours. This fiery dance ensures any lingering residues are consumed by the flames. For an added touch of flavor, introduce a small amount of wood chips or chunks to create aromatic smoke.
- Cooling Down: After the breaking-in process, allow your smoker to cool down completely. This respite ensures that any remaining traces of the burning process are eradicated, leaving a clean slate for your culinary creations.
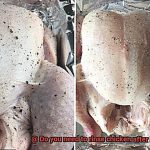
Do You Need to Break in the Weber Smokey Mountain?
In this article, we will explore this topic and provide you with essential tips to ensure that your smoker performs at its best right from the start.
Cleaning for a Fresh Start:
While the Weber Smokey Mountain doesn’t require a traditional break-in process like some other smokers, it’s crucial to give it a thorough cleaning before its maiden cook. This step removes any residual manufacturing oils, dust, or contaminants that may affect the flavor of your food. Grab warm soapy water and clean the interior surfaces, ensuring they are rinsed well, to start with a clean slate.
The Dry Run:
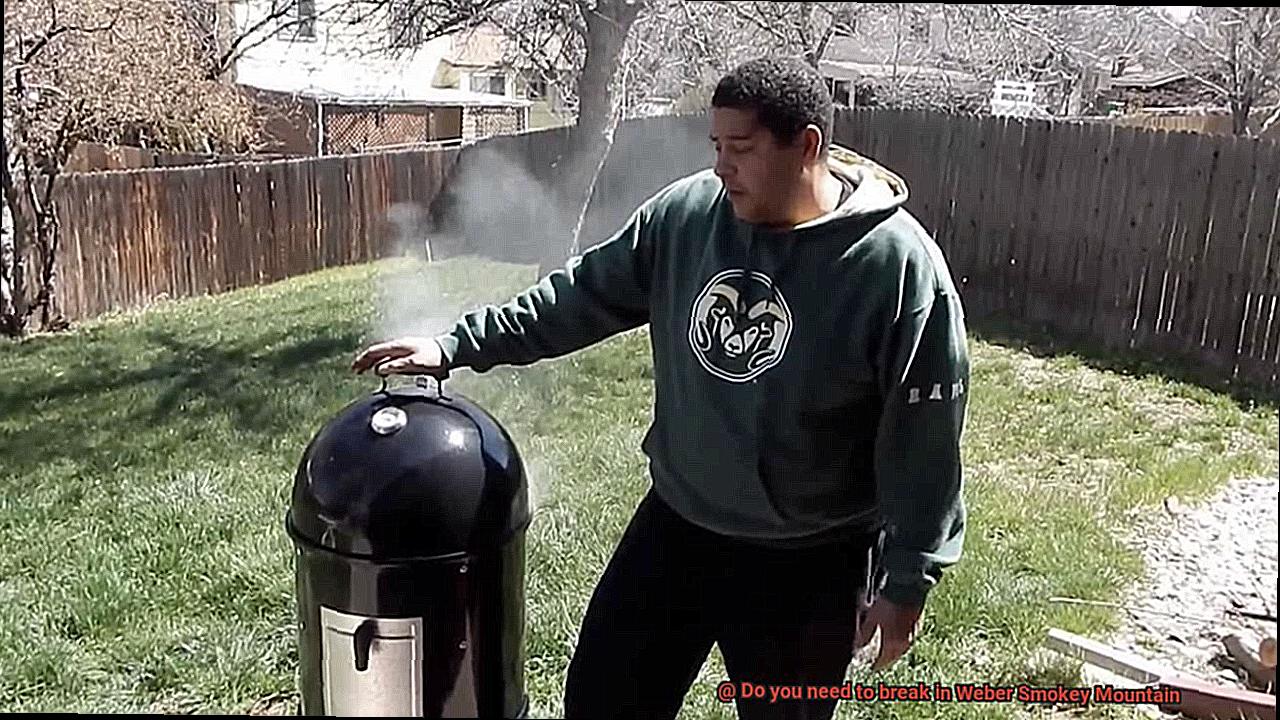
Once you’ve cleaned your smoker, it’s time for a “dry run.” This involves firing up the Weber Smokey Mountain without any food inside, running it at a moderate temperature for a few hours. Why is this important? It allows any remaining manufacturing residues to burn off and provides an opportunity for you to become familiar with the smoker’s temperature control. During this dry run, feel free to adjust the vents and experiment with different setups to achieve your desired cooking temperatures.
Maintaining Peak Performance:
After completing the dry run and getting ready for your first cook, keep in mind that your Weber Smokey Mountain may develop a layer of grease and smoke residue over time. Don’t worry; this is normal and can actually enhance the flavor of your food. However, if you notice excessive buildup or any unpleasant odors, it’s time for another cleaning session. Regular maintenance will ensure that your Weber Smokey Mountain continues to deliver mouthwatering smoked dishes for years to come.
Cleaning the Weber Smokey Mountain Before Use
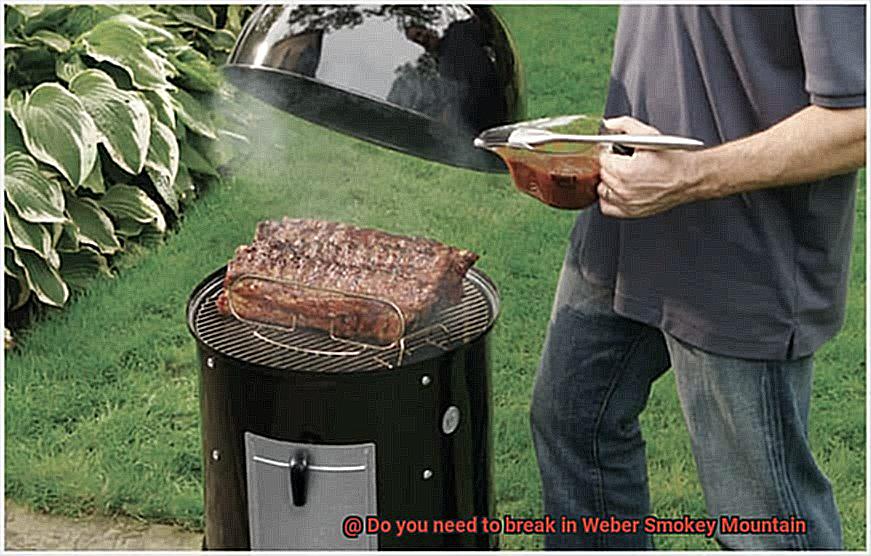
Get ready to ignite the flavors and impress your loved ones with some tantalizing BBQ. But before you set your Weber Smokey Mountain smoker ablaze, there’s a vital step you can’t afford to skip – cleaning.
Now, I know cleaning might not be as thrilling as the sizzle and smoke, but believe me, it’s a crucial step for peak performance and a seamless cookout. So, let’s dive into the details of cleaning your Weber Smokey Mountain before its grand debut.
First off, bid farewell to any hitchhikers in the form of packaging materials and accessories. Say goodbye to plastic wraps, stickers, and tags – they have no place in your smoky adventures.
Next, arm yourself with warm soapy water and scrub the inside of your smoker. Use a gentle sponge or cloth to banish any manufacturing residues or dust that may have gathered during storage or transportation. Don’t forget to hunt down those sneaky corners and crevices where residue likes to hide.
Once you’ve given the inside a thorough scrubbing, rinse it off with clean water. We don’t want any lingering soap flavors creeping into our delicious food.
Now, turn your attention to those grates. Remove them from the smoker and give them a good scrubbing too. Employ a grill brush or sponge to tackle stubborn food particles or grease buildup. Remember, clean grates mean happy grilling.
Oh, and let’s not forget about the water pan and charcoal grate. These components can accumulate ash and grease from previous use, which can affect your smoker’s performance. Give them a good brushing to remove any debris or residue.
Lastly, wipe down the exterior of your Weber Smokey Mountain with a damp cloth. Let’s make it shine for all those envious neighbors peeking over the fence.
Now, here’s a pro tip – let your smoker air dry completely before embarking on your grilling adventure. This prevents any moisture from meddling with the charcoal or the overall performance of the smoker. Patience is key, my friends.
Remember, regular cleaning and maintenance are the secrets to a long-lasting relationship with your Weber Smokey Mountain. After each use, remove any leftover ashes, clean those grates, and give the exterior a wipe-down. This will keep your smoker in tip-top shape and guarantee consistently delicious results.
Seasoning the Weber Smokey Mountain
You’ve invested in the fabulous Weber Smokey Mountain smoker, and now it’s time to take your grilling game to the next level. But before you dive into the world of mouthwatering smoked meats and tender vegetables, there’s one crucial step you shouldn’t skip – seasoning your smoker. In this guide, we’ll explore why seasoning is essential, how to do it properly, and the benefits you’ll reap from this simple yet vital process.
Why Seasoning Matters:
- Removing Manufacturing Residue: When you unbox your brand-new Weber Smokey Mountain, it may still carry traces of manufacturing oils or residue. Seasoning the smoker helps eliminate these unwanted elements, ensuring a clean slate for your cooking adventures.
- Rust Prevention: The interior metal surfaces of your smoker are prone to rust if not properly protected. Seasoning creates a protective layer that safeguards against corrosion, keeping your Weber Smokey Mountain in top-notch condition for years to come.
- Enhanced Performance: A well-seasoned smoker provides superior heat retention and distribution, leading to more consistent cooking results. By seasoning your Weber Smokey Mountain, you’ll maximize its performance potential and achieve even, mouthwatering results every time.
How to Season Your Weber Smokey Mountain:
- Thoroughly Clean Your Smoker: Start by giving your smoker a good scrub with warm soapy water, both inside and out. Rinse it thoroughly and let it air dry completely before proceeding.
- Choose the Right Oil: Opt for a cooking oil with a high smoke point, such as vegetable or canola oil. Avoid using olive oil or butter as they have lower smoke points and can create excessive smoke during seasoning.
- Apply a Thin Coat of Oil: Using a paper towel or cloth, apply a thin layer of oil to the interior surfaces of your smoker. This will create that protective barrier we’re aiming for.
- Preheat and Ventilation: Preheat your Weber Smokey Mountain to around 250°F (121°C) by lighting a small fire in the charcoal chamber. Keep all vents open during this process to encourage airflow and facilitate seasoning.
- Close the Vents and Continue Heating: After approximately 30 minutes, close all vents on your smoker. Allow it to heat for another two hours, allowing the oil to penetrate the metal and form that coveted protective layer.
- Cool Down and Wipe Away Excess Oil: Once the two-hour mark is reached, open all vents and let your smoker cool down completely. Use a clean cloth to wipe away any excess oil.
- Repeat Periodically: While your Weber Smokey Mountain is now seasoned and ready for action, it’s advisable to repeat this process periodically, especially if the smoker has been idle for an extended period. Regular seasoning ensures optimal performance and flavor enhancement.
Benefits of Seasoning the Weber Smokey Mountain
If you own a Weber Smokey Mountain smoker, then seasoning it is an essential step that will unlock a world of benefits for your cooking experience. Let’s dive into why seasoning this fantastic smoker should be at the top of your to-do list.
First and foremost, seasoning acts as a shield against rust and corrosion. By applying a thin layer of oil to the interior surfaces and heating it to a high temperature, you create a protective barrier that keeps moisture at bay. No matter the weather conditions, your beloved smoker will retain its top shape for years to come.
But the advantages don’t stop there – seasoning also enhances heat retention and distribution. The layer of oil on the interior surfaces ensures even heat distribution, eliminating hot spots and guaranteeing consistently cooked food. With a properly seasoned Weber Smokey Mountain, you’ll be able to confidently grill up mouthwatering dishes that leave everyone’s taste buds begging for more.
Speaking of flavor, let’s not forget about the tantalizing enhancement that comes with seasoning. The oil used in the process infuses a subtle, smoky flavor into your food, taking it to new levels of deliciousness. Imagine the aroma of perfectly smoked meat or vegetables wafting through your backyard – seasoning adds that extra burst of flavor that makes every bite unforgettable.
But wait, there’s more. Seasoning also reduces sticking, making cleanup a breeze. The polymerized oil creates a non-stick surface, so you can say goodbye to tedious scrubbing sessions and hello to more time spent savoring your culinary creations.
And let’s not overlook the visual transformation that seasoning brings. As you go through the process, you’ll notice the exterior surfaces darkening and developing a beautiful patina. It’s like giving your smoker a makeover, adding a touch of style to your backyard setup that is sure to impress guests.
How to Season the Weber Smokey Mountain
One important step in achieving mouthwatering results on your Weber Smokey Mountain (WSM) is seasoning it properly. Seasoning your smoker creates a protective layer and enhances the non-stick properties of the cooking surfaces. In this guide, we will walk you through the simple steps to season your WSM, ensuring optimal performance and flavor in your smoked dishes.
Step 1: Clean the WSM
Before seasoning your WSM, it’s crucial to give it a good cleaning. Remove any stickers or protective films, and wash the smoker with warm soapy water to remove any manufacturing residues or dirt. Rinse thoroughly and dry completely to prevent rusting.
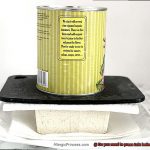
Step 2: Apply Cooking Oil
Once the WSM is dry, it’s time to apply a thin layer of cooking oil. Use vegetable oil or canola oil and coat all interior surfaces, including walls, grates, and water pan if applicable. Spread the oil evenly with a paper towel or clean cloth, ensuring every inch is covered.
Step 3: Fire It Up
Now that your WSM is coated with oil, it’s time to light a fire. Fill the charcoal chamber with charcoal briquettes or lump charcoal, avoiding lighter fluid or self-lighting options. Light a chimney starter full of charcoal and let it burn until covered with white ash. Carefully pour the hot coals onto the unlit charcoal in the smoker.
Step 4: Add Wood Chunks
To infuse smoky flavor into your dishes, add a few wood chunks on top of the hot coals. Popular choices include hickory, mesquite, apple, or cherry wood. The delicious aroma will make your taste buds tingle.
Step 5: Control the Heat
Adjust the bottom vents to achieve a temperature of around 250°F (121°C). This slow and steady heat is perfect for smoking. Maintain this temperature throughout the seasoning process by making adjustments to the vents as needed.
Step 6: Let It Smoke
Close the lid of your WSM and let it run at the desired temperature for about 2-3 hours. This allows the oil on the surfaces to heat up and create a protective layer that prevents food from sticking. Use a reliable thermometer to monitor the temperature and make adjustments as necessary.
Step 7: Cool Down and Clean
After the seasoning process, let your WSM cool down completely. Avoid using water or any other cooling methods, as this can affect the seasoning. Once cooled, inspect the interior surfaces for any missed spots or uneven seasoning. If needed, repeat the oil application and burning process until all surfaces are evenly coated.
Is Breaking In Necessary for the Weber Smokey Mountain?
Some staunchly argue that it is an essential step to ensure a clean and safe cooking environment, while others contend that this high-quality smoker doesn’t require any seasoning. So, let’s dive into the pros and cons of breaking in the WSM to help you make an informed decision.
Proponents firmly believe that breaking in the WSM removes potential contaminants and odors from the manufacturing process, creating a pristine cooking environment. Moreover, this process allows the smoker’s components to heat up and expand, effectively reducing the risk of warping or damage during future use. To break in your WSM, simply coat its interior surfaces with vegetable oil or cooking spray and run it at a low temperature for a few hours. This simple step creates a non-stick surface that elevates your cooking experience to new heights.
On the flip side, opponents argue that modern smokers like the WSM are crafted with top-notch materials and do not require any seasoning. They caution against excessive seasoning, as it can lead to a build-up of carbonized oil that may potentially affect the taste of your food. It’s crucial to note that breaking in a smoker is not a one-time event but an ongoing process. Regular cleaning and maintenance are necessary to keep your WSM in optimal condition.
Ultimately, whether or not you choose to break in your Weber Smokey Mountain comes down to personal preference. Some grillers swear by it, claiming that it enhances flavor and performance. On the other hand, many find it unnecessary, relying solely on Weber’s cleaning guidelines for maintenance. Before making your decision, consider both the pros and cons.
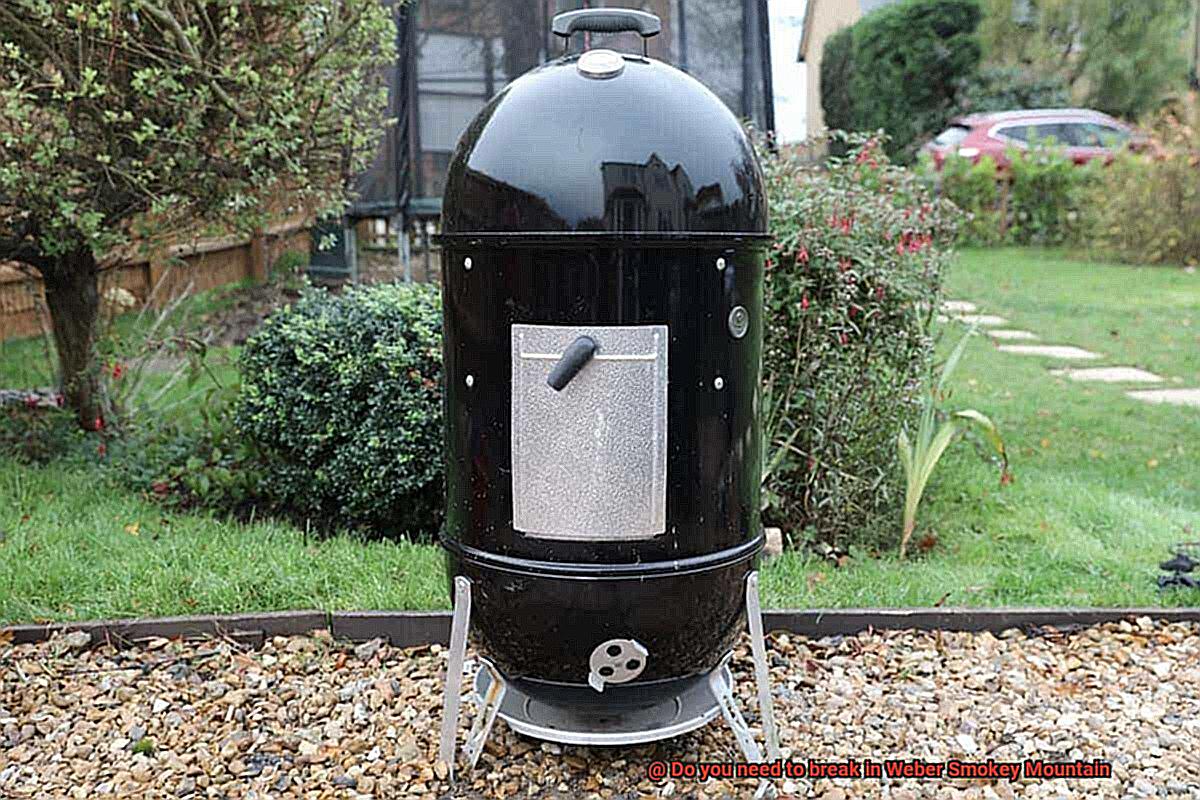
Maintaining Your Weber Smokey Mountain
Maintaining your Weber Smokey Mountain is crucial if you want to enjoy the smoky goodness it produces for years to come. Here are some expert tips to keep your smoker in top condition:
- Clean, clean, clean: After each use, remove any residue or grease from the cooking grates, water pan, and charcoal grate. This not only improves hygiene but also prevents unwanted flavors from transferring to your food. Use a high-quality grill brush and non-toxic cleaning agents for best results.
- Check for rust: Rust not only affects the appearance of your smoker but also its performance. Scrub away any rust with a wire brush and apply a rust-resistant spray to prevent future corrosion.
- Ensure proper air flow: Regularly inspect the vents and dampers for obstructions or damage. Replace any worn-out or damaged parts promptly to maintain optimal air control.
- Season your smoker: Before its first use, coat the interior surfaces with vegetable oil or cooking spray and heat at a low temperature for a few hours. This creates a non-stick surface that ensures even cooking and prevents food from sticking to the grates.
- Store it right: During the off-season, store your smoker in a dry place with a cover or in a shed to protect it from the elements. This prevents rust and extends its lifespan.
blcg1CVMNzM” >
Conclusion
Breaking in a Weber Smokey Mountain is not necessary, but it can enhance your cooking experience.
By seasoning the smoker, you create a protective layer of smoke and oil that helps prevent rust and improves heat retention. This process involves coating the interior surfaces with cooking oil, heating the smoker to a high temperature, and letting it smoke for a few hours.
Not only does this break in the smoker, but it also gives you an opportunity to familiarize yourself with its operation and ensure everything is working correctly.