Imagine it: a warm summer evening, your loved ones gathered around the grill, the mouthwatering scent of sizzling meats filling the air. Is there anything more blissfully satisfying than an outdoor barbecue? As grillmasters, we strive for that flawless sear, those iconic grill marks, and succulent, tender meats. But amidst the excitement, a burning question lingers in our minds: Should you oil grill grates before grilling?
Today, we unravel this age-old debate and uncover the truth behind oiling (or not oiling) grill grates. Get ready to challenge your assumptions and ignite your taste buds.
Let’s dive right in and explore why oiling grill grates is often recommended. While it’s commonly believed that oil prevents food from sticking, this notion isn’t entirely accurate. Modern grills typically come with non-stick surfaces that minimize the need for excessive oiling. However, there are still compelling reasons why you might want to consider greasing up those grates.
Firstly, let’s talk flavor. A well-oiled grill grate helps create that irresistible crust, sealing in juices and intensifying the taste of your favorite foods. Plus, when you oil the grates, you’re also helping to prevent flare-ups – those annoying moments when fat drippings burst into flames and scorch your carefully prepared dishes.
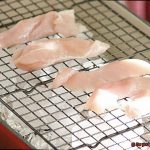
But hold on. Some foods release their own oils naturally, making additional grease unnecessary. Delicate fish fillets or marinated veggies can easily become overwhelmed and greasy with too much oil. In these cases, all you need is a properly preheated grill and a gentle touch to achieve that captivating char.
In our upcoming blog series, we’ll delve deeper into the art of grilling – covering topics like which oils work best for different foods, how to maintain your grill grates, and the science behind achieving that perfect sear. Join us on this mouthwatering journey as we uncover the secrets to unlocking your grilling potential.
So, the next time you fire up the grill, don’t be afraid to experiment with different techniques. Whether you choose to oil your grill grates or not, armed with knowledge, you’ll impress your guests, tantalize their taste buds, and create unforgettable grilling memories that will last a lifetime.
Contents
Benefits of Oiling Grill Grates
Grilling is an art form that tantalizes taste buds and brings people together. To master this culinary craft, it’s crucial to harness the power of oiling your grill grates. This simple step unlocks a world of benefits, including preventing food from sticking, creating stunning grill marks, distributing heat evenly, enhancing flavors, simplifying cleaning, and extending the lifespan of your grill grates.
Liberation from Sticky Situations:
Imagine grilling without the fear of food sticking to the grates. By oiling the grill grates, you create a non-stick surface that effortlessly releases your culinary creations. Bid adieu to the frustration and torn meats, and say hello to intact, mouthwatering dishes.
Charred Elegance at Its Finest:
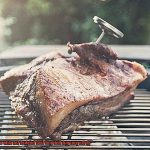
Prepare to dazzle your guests with mesmerizing grill marks on your food. The secret lies in oiling the grates, as it promotes caramelization and adds an enticing charred look to your grilled items. Let these visual delights be a feast for both the eyes and the palate.
Harmonious Heat Distribution:
Banish any worries of uneven cooking or hot spots on the grill by oiling the grates. This act serves as a protective barrier between the food and the scorching metal, ensuring even heat distribution. Every bite will be cooked to perfection, leaving no room for undercooked or overcooked surprises.
Flavors That Dance on Your Tongue:
Savor an explosion of flavors as oil heats up during grilling. The essence of the oil infuses your food, imparting its unique character and enhancing every bite. Prepare for a symphony of tastes that will leave your guests in awe.
Cleaning Made Effortless:
After indulging in a feast, cleaning up can be a chore. However, oiling the grill grates simplifies this task. The oil acts as a protective shield, preventing stubborn residue from clinging to the grates. Once cooled down, a quick brush easily removes any remnants, saving you precious time and effort.
A Lifespan Worth Celebrating:
Nurture your grill grates by regularly oiling them, and they will reward you with extended longevity. The oil forms a protective layer, shielding against rust and corrosion. This investment ensures that your grates will continue to deliver exceptional cooking results, creating countless memorable meals.
Types of Oil to Use
Grilling is an art, and oiling the grill grates is a crucial step in achieving mouthwatering results. The type of oil you choose can significantly impact the flavor and texture of your food, making it essential to select the right one. In this guide, we will delve into the world of oils for grilling and explore five distinct options that will take your grilling experience to new heights.
Vegetable Oil: The Unassuming Hero
When it comes to versatility and reliability, vegetable oil reigns supreme. With its impressive smoke point of 400-450 degrees Fahrenheit, it fearlessly endures the searing heat of the grill without compromising its integrity. Its neutral flavor profile graciously allows the natural essence of your food to shine, creating a harmonious symphony of flavors on your plate. So brush those grill grates with vegetable oil and unleash its culinary magic.
Canola Oil: Health-conscious and Flavorful
For those seeking a healthier option that doesn’t skimp on taste, canola oil is a culinary superstar. Boasting a smoke point similar to vegetable oil, around 400 degrees Fahrenheit, it maintains its composure under intense heat while offering a light and delightful flavor. Low in saturated fat and rich in omega-3 fatty acids, canola oil catapults your grilling escapades into the realm of healthy indulgence. Embrace canola oil’s charms and witness your grilled creations reach new heights of deliciousness.
Olive Oil: A Mediterranean Infusion
If you crave a touch of Mediterranean enchantment in your grilled dishes, olive oil is your passport to gastronomic bliss. Though its smoke point hovers between 325-375 degrees Fahrenheit, olive oil shines when used for grilling at medium to medium-high heat. The pinnacle of olive oils, extra virgin olive oil, showcases a symphony of fruity and grassy notes that elevate your food to extraordinary heights. Drizzle it on vegetables or marinate your meats for a taste of the Mediterranean in every bite.
Sesame Oil: Unleashing Nutty Aromas
For those who yearn for an aromatic adventure, sesame oil becomes your culinary ally. With a lower smoke point ranging from 350-410 degrees Fahrenheit, sesame oil thrives as a marinade or finishing touch, releasing its captivating nutty essence. However, exercise caution as its potent flavor demands moderation. Allow sesame oil to transform your grilled dishes into a sensory playground where nutty aromas dance on your palate.
Cleaning the Grates Before Oiling
Get ready to elevate your grilling game to new heights as we delve into the essential steps for cleaning and oiling your grill grates. By ensuring a pristine cooking surface, you’ll create mouthwatering masterpieces that will have everyone begging for seconds. So don your apron, ignite your passion for grilling, and let’s embark on this flavor-filled journey.
Step 1: Preheating for a Clean Slate
Before we kick off the cleaning process, let’s preheat the grill on high. Allow it to reach scorching temperatures for approximately 15 minutes. This fiery ritual will incinerate any lingering food particles or grease, leaving you with a spotless canvas to work with.
Step 2: The Scrubbing Showdown
It’s time to unleash the mighty grill brush with its robust bristles. Grab hold of this formidable tool and scrub those grates with gusto. Remember to tackle both sides of the grates, leaving no nook or cranny uncleaned. Watch as the remnants of past grilling sessions disappear, making way for a fresh start.
Step 3: Conquering Stubborn Residue
In the battle against stubborn residue or rust spots, you have a secret weapon – a simple yet potent mixture of water and vinegar. Combine equal parts of these elixirs and apply them to the affected areas. Let this powerful concoction work its magic for a few minutes before engaging in another round of vigorous scrubbing. Victory shall be yours.
Step 4: Rinse Away the Dirt
With the scrubbing complete, it’s time to rinse away any remaining dirt or cleaning solution from the grates. Let refreshing water cascade over both sides of the grates, purging them of any remnants. Bask in the satisfaction of knowing your grates are now pristine and ready for their next culinary adventure.
Step 5: Drying – The Secret to Flare-Up-Free Grilling
To ensure a flare-up-free grilling experience, we must address the issue of moisture. Thoroughly dry the grates, banishing even the faintest hint of dampness. Grab a clean towel and lovingly pat each grate dry or allow them to air dry naturally. By eliminating excess moisture, you pave the way for a seamless, sizzle-filled grilling session.
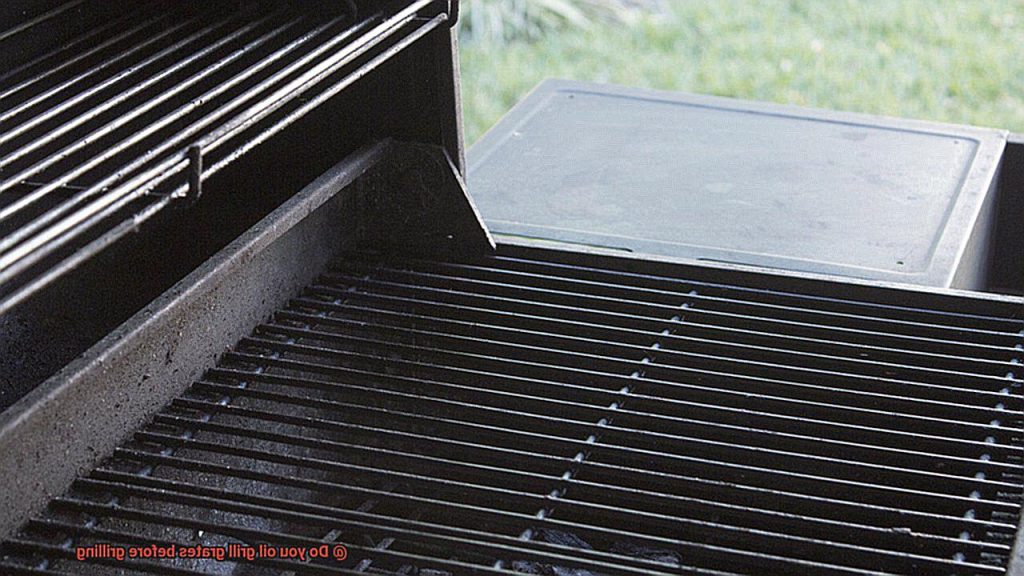
How to Oil the Grates
Grilling is an art form, and to create culinary masterpieces, you must first learn the secret technique of oiling the grates. This crucial step ensures that your food doesn’t stick, resulting in a mouthwatering sear and those iconic grill marks. Let’s embark on a journey to discover the nuances of oiling the grates and elevate your grilling prowess to new heights.
Purify with Precision:
Before even considering oiling the grates, embark on a quest for cleanliness. Preheat your grill and wield a mighty grill brush or scraper to vanquish any remnants of past feasts. By purging the grates of any lingering debris, you lay the foundation for flawless grilling.
The Oil Selection Ritual:
Not all oils are created equal in the sacred realm of grilling. Bestow upon your grates an oil with a high smoke point, like canola or vegetable oil, capable of withstanding the inferno of heat without succumbing to bitter flames that could taint your culinary creations.
Anoint with Care:
Behold the ceremony of applying oil to your grates, a ritual steeped in tradition and flavor. The choice is yours: dip a folded paper towel into the golden elixir and hold it with tongs, gently anointing the grates with a thin layer of oil; or wield a purpose-built brush or spray bottle as your instrument of choice. Let your intuition guide you towards the method that resonates most deeply with your grilling soul.
Embrace Moderation:
In this realm, excess is not revered. Beware the temptation to lavish your grates with an abundance of oil, for it can unleash fiery flare-ups and transform your food into a greasy mess. Instead, embrace the wisdom of restraint and apply a delicate, even layer of oil, allowing the flavors to harmonize and sing with each sizzle.
Ignite the Flames of Flavor:
Once your grates have been anointed, grant them a few moments to bask in the heat. This sacred fusion creates a non-stick surface, ensuring even cooking and granting your food the opportunity to transcend into succulent perfection. With your grates ablaze, place your marinated treasures onto their fiery embrace and witness the alchemy unfold.
Alternatives to Oiling the Grates
In our previous section, we explored the age-old tradition of oiling grill grates, unlocking the essence of culinary greatness. Today, we embark on a thrilling journey of discovery, uncovering alternative methods that not only prevent sticking but also elevate your grilling game to new heights. Are you prepared to revolutionize your grilling experience? Let’s dive in.
Non-Stick Cooking Spray:
Imagine a shield that safeguards your food from the clutches of sticky grates. Enter non-stick cooking spray – your ultimate grilling ally. With a swift spritz directly onto the grates before preheating, this magical spray endures scorching temperatures, ensuring your food glides effortlessly.
Grilling Mats and Baskets:
For delicate fare or minuscule pieces that defy the grill’s grasp, grilling mats and baskets ride to the rescue. A resilient silicone or Teflon mat acts as an impervious non-stick surface, granting you the power to flip fish or veggies without fear. Conversely, a meshed grill basket cradles your morsels while ensuring even cooking, evading any clingy encounters.
Homemade Paste or Rub:
Craving an explosion of flavor and texture? Look no further than a homemade paste or rub crafted from a symphony of spices – salt, pepper, garlic powder, and more. Anoint your grates with this tantalizing blend before cooking, for it not only repels sticking but also creates a delectable crust on your culinary canvas.
Proper Preheating:
Sometimes, simplicity reigns supreme. By meticulously preheating your grill for a minimum of 10-15 minutes before embarking on your culinary conquest, you forge a scorching hot haven that sears your food to perfection while banishing sticking. This method works wonders, especially for dishes with inherent oils or fats, like marinated meats or succulent sausages.
Indirect Heat Cooking:
For those who seek an oil-free odyssey, the path of indirect heat beckons. By placing your food away from direct flames or scorching heat sources, you orchestrate a symphony of slow and even cooking, effectively sidestepping sticky situations. It’s a triumphant victory without the need for a single drop of oil.
Non-Stick Grill Surfaces and Oiling
Today, we’re venturing into the realm of non-stick grill surfaces and unraveling the secret to perfect grilling – oiling. Imagine perfectly cooked salmon or a colorful array of veggies on your trusted non-stick grill. But here’s the burning question: should you oil it? Join me as we explore the wonders of oiling non-stick grill surfaces and discover the art of doing it right. Let’s dive in.
Benefit #1: Barrier Power
Forget what you’ve heard – even non-stick surfaces can use a touch of oil. It’s like creating a forcefield between your food and the grates. This shield minimizes sticking and tearing, ensuring your culinary creations stay intact when you flip or remove them. No more sacrifices to the grill gods – just flawless grilled goodness.
Benefit #2: Flavor Infusion
Prepare for an explosion of flavors. Oiling non-stick grill surfaces turns your favorite spices, herbs, and marinades into taste superheroes. The oil acts as a carrier, infusing each bite with mouthwatering flavors. Your taste buds will dance with joy at this tantalizing dimension of deliciousness.
Choosing the Right Oil:
Now that we understand the importance of oiling, let’s talk oils. When it comes to high-heat cooking, opt for oils with high smoke points like vegetable oil, canola oil, or peanut oil – these culinary superheroes won’t leave a burnt aftertaste or release any unwelcome compounds. Say goodbye to unpleasant surprises and hello to grilling nirvana.
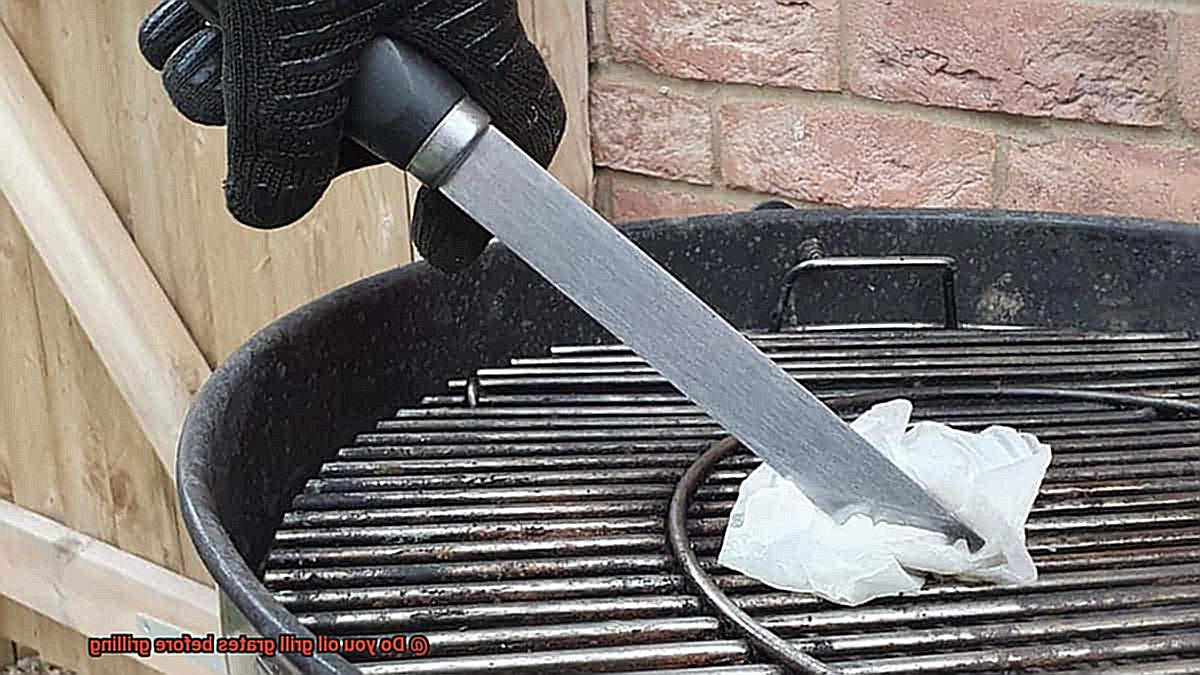
Oiling Techniques:
Time to get hands-on with our grills. Begin by preheating your grill to the desired temperature – those grates need to be hot. Once ready, take a folded paper towel and dip it into a small bowl of oil.
Using tongs (safety first.), gently rub the oiled towel onto the grates’ surface. Ensure even coverage across the entire cooking area, but remember, a little goes a long way. We’re aiming for grilling perfection, not an uncontrollable inferno.
When to Oil the Grates
When it comes to grilling, we all crave that perfect sear, those tantalizing grill marks, and, most importantly, food that effortlessly slides off the grates. Enter the secret weapon in your grilling arsenal: oiling the grates.
But timing is everything when it comes to this culinary trick. So, when should you oil the grates? Let’s break it down.
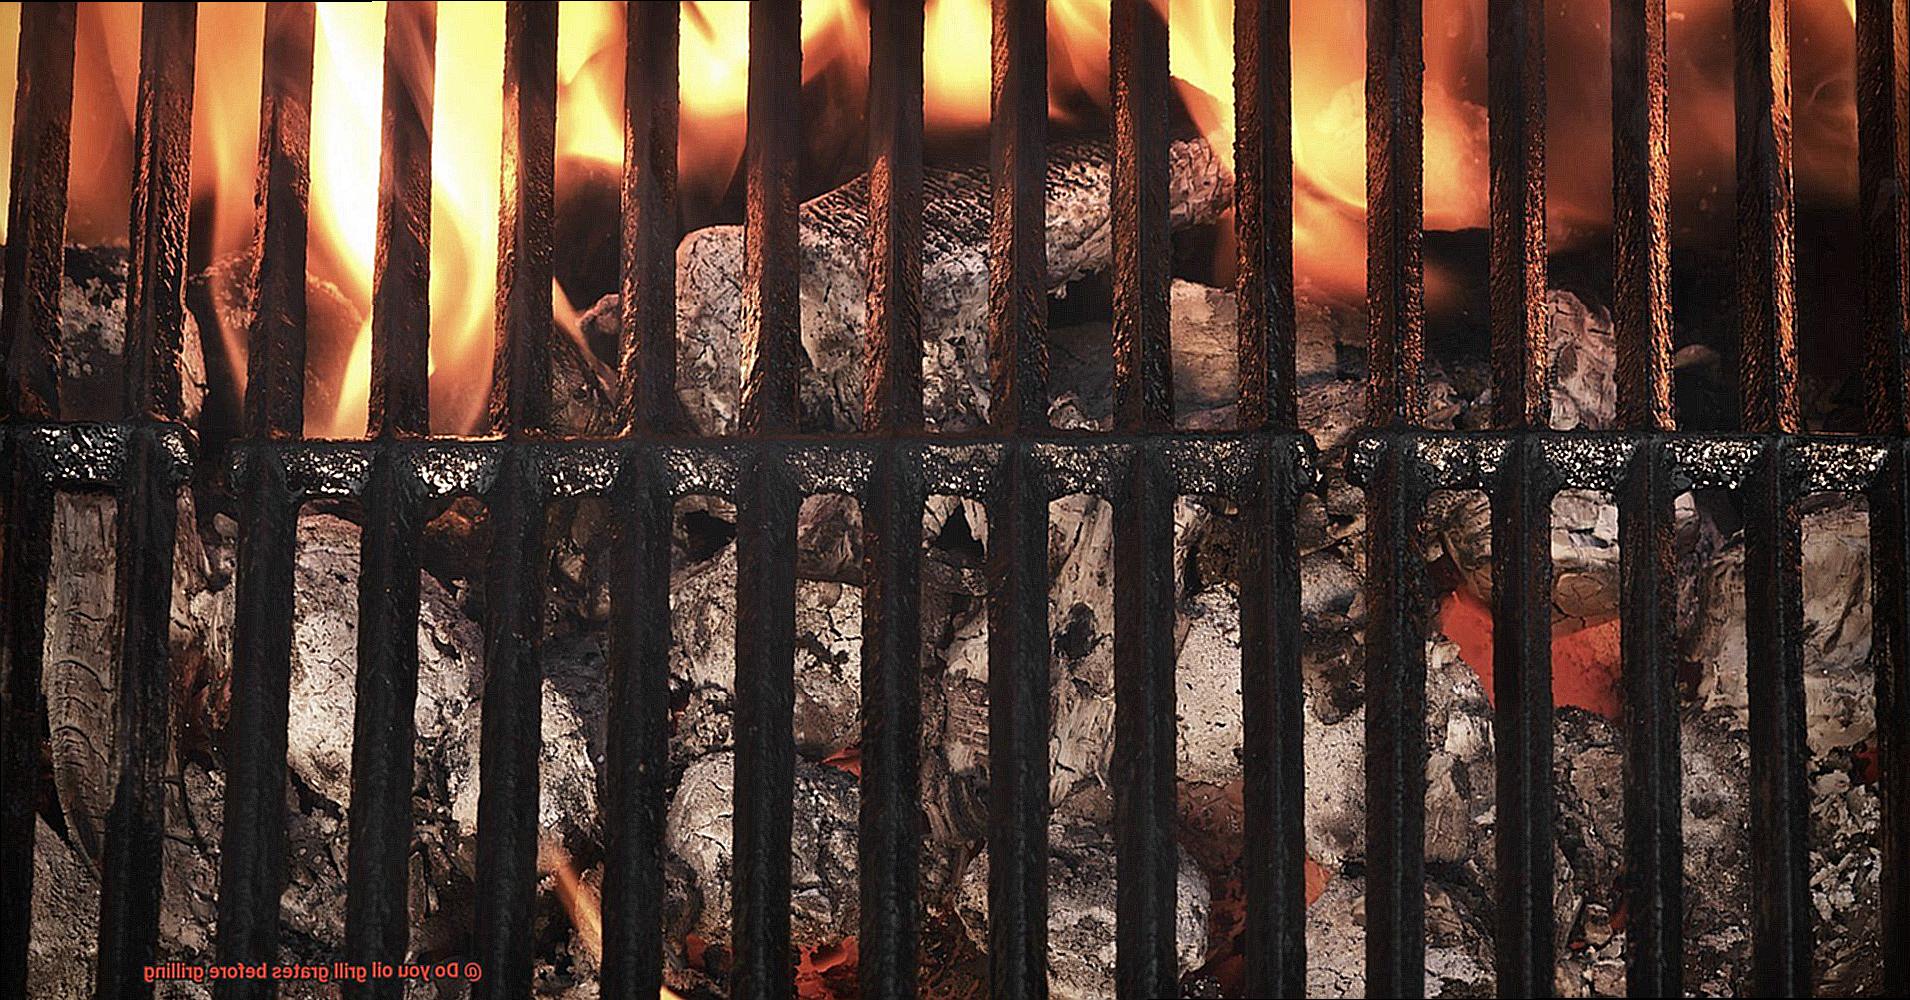
First things first, make sure to oil the grates before firing up the grill. This crucial step creates a protective barrier that prevents food from sticking and tearing. But here’s the catch: oil the grates before they heat up. This guarantees proper lubrication and avoids the risk of burning off the oil too quickly.
Now, picture this: you’ve preheated the grates to a medium-high temperature, and it’s time to work some magic. This is when some experts suggest oiling the grates. Why? Well, preheating allows both the grates and oil to heat up simultaneously, resulting in a glorious non-stick surface that will have your food sliding off without a hitch.
But beware. Applying oil too early or at a low temperature is a recipe for disaster. It can cause the oil to evaporate rapidly, leaving your food stuck to the grates like glue. And nobody wants that.
Now let’s talk about choosing the right oil for this grilling extravaganza. Opt for an oil with a high smoke point, such as canola or vegetable oil. These oils can withstand the intense heat of grilling without burning, ensuring your food remains delectably non-stick.
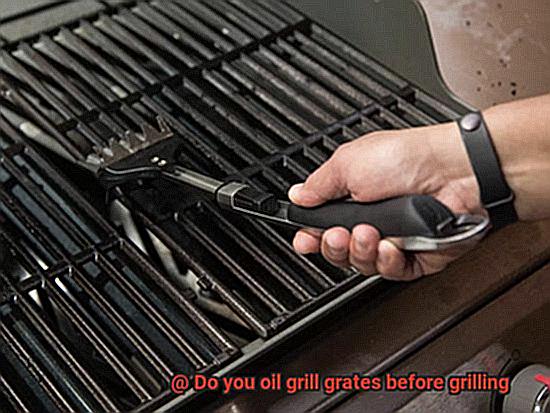
To apply the oil, you have options. You can go for the classic brush or use a paper towel soaked in oil. Both methods work wonders; it’s simply a matter of personal preference. Just remember to coat the grates evenly for maximum results.
Last but not least, make sure to oil the grates before each grilling session, especially when dealing with delicate foods like fish or veggies. This extra layer of insurance against sticking guarantees a smooth and hassle-free grilling experience.
Potential Issues with Over-Oiling the Grates
Grilling is an art form, and every artist needs the right tools to create a masterpiece. One such tool is oiling the grates, which creates a non-stick surface for your food to effortlessly slide off the grill like magic.
But as with any art form, there’s a delicate balance to be struck. Too much oil can lead to potential issues that can ruin your grilling experience. So, let’s dive into the slippery slope of over-oiling the grates and explore the pitfalls you should avoid.
Excessive Smoke and Flare-ups:
Picture this: you stand proudly before your grill, ready to dazzle your loved ones with your culinary prowess. Suddenly, billows of smoke engulf the grill, transforming your cooking space into a Hollywood blockbuster scene. The culprit? Over-oiling the grates.
The excess oil drips onto the hot coals or burners, igniting sudden bursts of flames that char your food and pose potential safety hazards. Not exactly the impression you were aiming for, right?
Greasy Residue and Lost Grill Marks:
Grill marks are like badges of honor for any griller. They add visual appeal and make your food look downright irresistible. However, over-oiling the grates can create a greasy residue that sabotages these coveted marks. Instead of achieving that picture-perfect char, your food ends up steaming or stewing in its own juices, resulting in an unappetizing appearance and texture.
Sticking Food Nightmares:
We all want our food to release effortlessly from the grates, but over-oiling can turn this dream into a nightmare. While a light coating of oil prevents sticking, too much oil creates a thick layer that stubbornly clings to the food. Cue frustrating moments of scraping and scrubbing to remove the stuck-on food, which no griller wants to deal with.
Uneven Cooking Woes:
Grilling is all about achieving the perfect balance of heat and flavor. However, over-oiling the grates disrupts this delicate equilibrium. The excess oil acts as an insulator, hindering direct contact between the grates and the food.
As a result, you may find yourself with unevenly cooked food, with some parts charred to a crisp while others remain disappointingly undercooked. It’s like playing Russian roulette with your taste buds.
R0uXRTXori0″ >
Conclusion
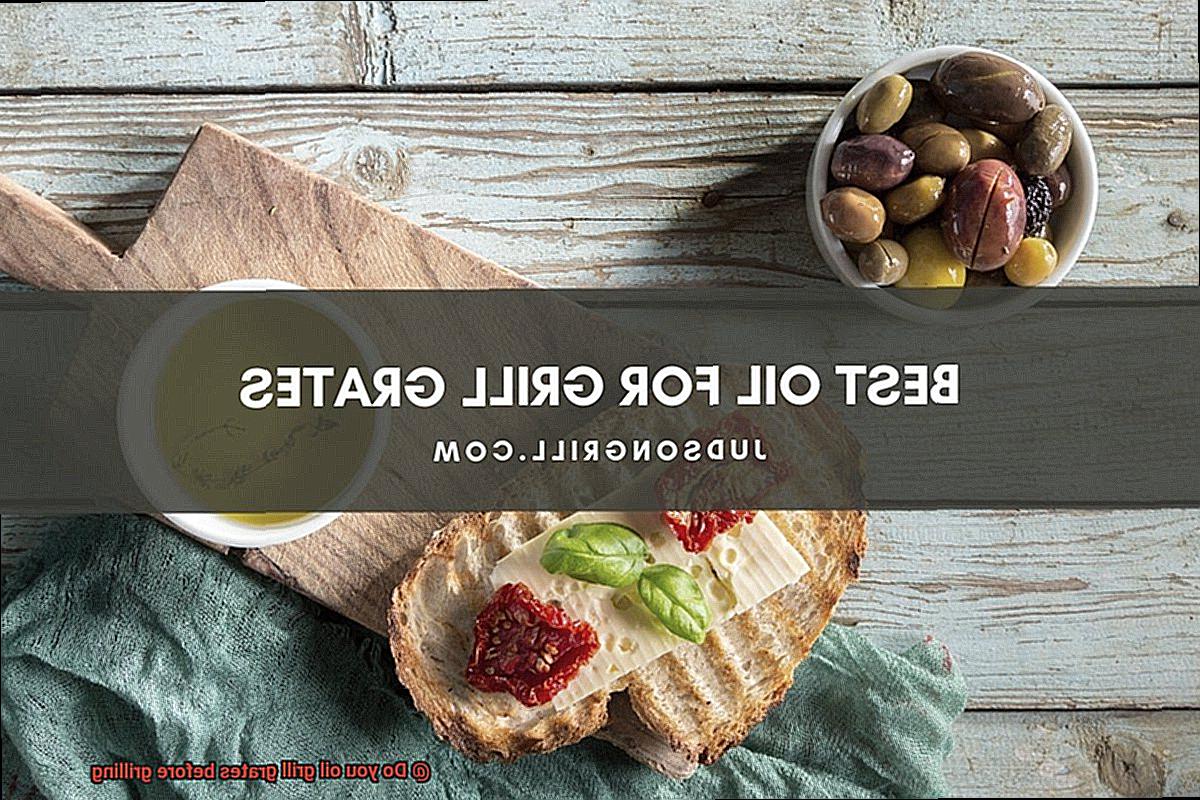
In conclusion, it is highly recommended to oil your grill grates before grilling.
By doing so, you create a non-stick surface that prevents food from sticking and ensures easy flipping and removal. The oil also helps to enhance the flavor of your food by creating those beautiful grill marks we all love.
Additionally, the oil acts as a barrier between the grates and the food, preventing any potential rust or corrosion from affecting the taste and quality of your meal.