Today, we’re about to embark on a fiery debate that’s been igniting the grilling community for ages. So grab your aprons and chef hats as we unravel the enigma surrounding the legendary 321 rib smoking technique.
Whether you’re a seasoned pitmaster or just starting out in the grilling game, chances are you’ve heard whispers about the magical 321 method. But here’s the burning question: does this highly acclaimed technique truly deliver lip-smacking, fall-off-the-bone goodness? Or is it a secret recipe for turning your ribs into dry, tasteless disappointments?
Let’s start by breaking down the foundation of the 321 method. Those numbers represent a simple cooking formula: three hours of smoking, two hours wrapped in foil, and one final hour slathered in your favorite barbecue sauce. Many folks swear by this technique, believing it unlocks unmatched tenderness and flavor. But hold on. Skeptics warn that all that extra time on the grill might just leave you with meat that’s as dry as an old boot.
To settle this culinary conundrum once and for all, we’ll dive deep into the science behind the 321 method. We’ll explore how smoke, steam, and time work their magic on your meat. And hey, we won’t stop there. We’ll also delve into factors like temperature control, meat selection, and wrapping methods that can make or break your rib-smoking adventure.
So tighten those apron strings because we’re about to unveil the secrets behind the tantalizing 321 rib smoking technique. Join us on this mouthwatering journey as we separate fact from fiction and determine whether this method is a BBQ blessing or an overcooking curse.
Get ready to tickle your taste buds and become a rib-smoking maestro because the verdict on the 321 method is just around the corner.
Contents
Advantages of the 321 Method
Mastering the art of cooking ribs can be a daunting task, but fear not. The 321 method is here to save the day and revolutionize your rib game. This beloved cooking technique has garnered a devoted following among grill enthusiasts for its unparalleled ability to consistently produce tender, flavorful, and downright irresistible ribs. In this article, we will delve into the captivating advantages of the 321 method and uncover why it has become the go-to technique for rib connoisseurs around the world.
Tender and Juicy Ribs:
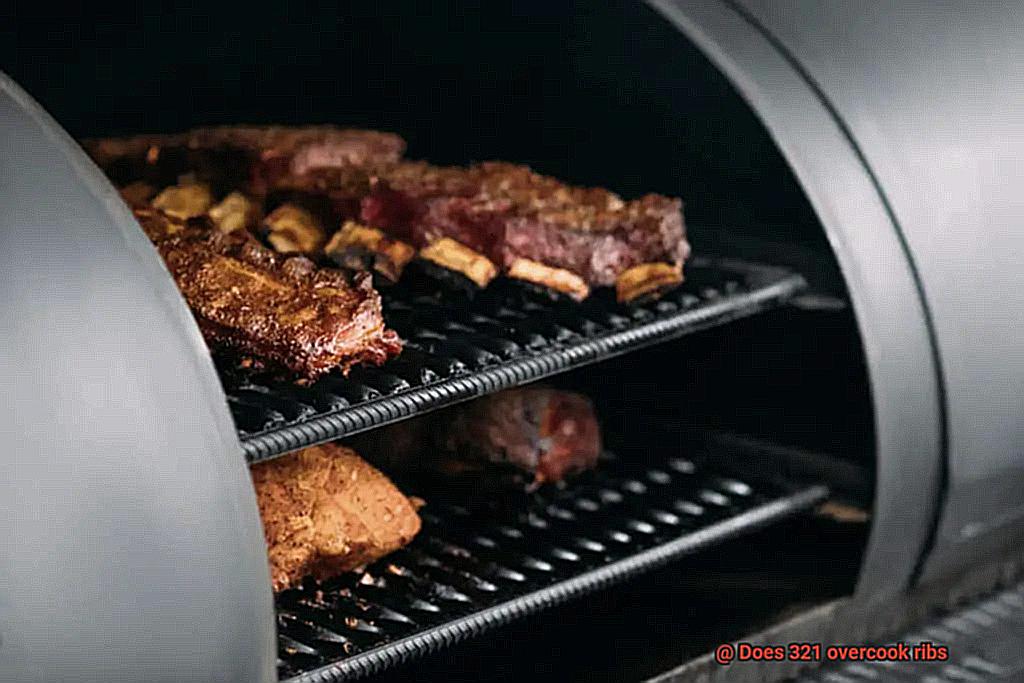
Prepare yourself for a symphony of tenderness and juiciness that will leave you longing for more. The secret behind the 321 method lies in its ability to transform tough cuts of meat, such as spare ribs, into succulent, melt-in-your-mouth delicacies. By subjecting the ribs to an extended cooking time, the collagen within breaks down, yielding a texture so tender it practically dissolves on your palate. Say goodbye to chewy disappointments and hello to rib perfection.
Consistent Results:
Bid farewell to the days of uncertainty and inconsistent rib outcomes. The beauty of the 321 method lies in its foolproof consistency. By diligently adhering to the prescribed time and temperature guidelines, you can rest assured that your ribs will emerge from their smoky cocoon cooked to absolute perfection every single time. This invaluable feature eliminates any guesswork, making it a breeze for both novice grillers and seasoned pitmasters to achieve consistently outstanding results that will have everyone begging for seconds.
Enhanced Flavor:
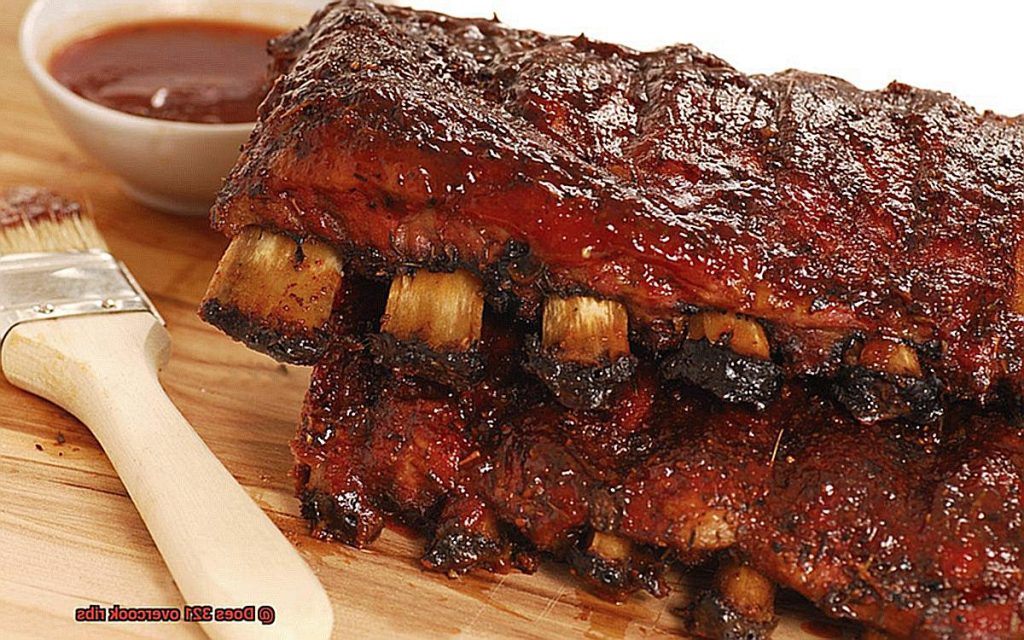
Prepare your taste buds for a flavor explosion like no other. The extended cooking time provided by the 321 method allows flavors to develop and intensify in ways that will leave you speechless. As the ribs luxuriate in their own juices, they become infused with a rich, smoky essence that is the hallmark of exceptional barbecued meats. But it doesn’t stop there – with the addition of a tantalizing dry rub or marinade during the initial stage, every fiber of the meat becomes a canvas for an exquisite taste symphony that penetrates deep into its core. Brace yourself for a euphoric flavor journey with every succulent bite.
Disadvantages of the 321 Method
First and foremost, let’s talk about tenderness. While some people enjoy ribs that practically melt in their mouths, the 321 method runs the risk of making the meat too tender and mushy. If you prefer a meatier bite that requires a little more effort to sink your teeth into, this might not be the method for you.
Moving on to the issue of crispiness, this is where the 321 method falls short. The foil wrapping during the initial part of the cooking process prevents those coveted crispy edges from forming on the outside of the ribs. If you’re someone who craves that satisfying crunch with every bite, you might want to consider alternative cooking methods.
Overcooking is another concern when using the 321 method. With its extended cooking time, it’s easy to go from perfectly cooked to dry and tough if you’re not vigilant. Constant monitoring is key to avoid ending up with ribs that are more shoe leather than succulent meat.
Moreover, let’s not forget about the investment of time and attention required by the 321 method. This technique demands several hours of cooking, which may not be suitable for those seeking a quicker and more straightforward grilling experience. If you’re looking to spend less time tending to your grill and more time enjoying your meal, other methods may be worth exploring.
Lastly, there’s the issue of smoke flavor. Some grillers argue that the 321 method doesn’t allow enough time for the meat to absorb that tantalizing smoky goodness. The prolonged period spent wrapped in foil can hinder the penetration of those desirable smoky notes, leaving you with ribs that lack that signature barbecue taste.
To wrap it up, these are just a few of the potential disadvantages associated with using the 321 method for cooking ribs. It’s crucial for grill enthusiasts to consider these factors and weigh them against their personal preferences. After all, finding the perfect rib-cooking method is a matter of individual taste and style.
Different Types of Ribs and Their Appropriate Cooking Times
If you’re a grilling enthusiast, you know that cooking ribs to perfection requires time, patience, and a little bit of know-how. In this guide, we’ll dive into the different types of ribs and their appropriate cooking times, so you can become a rib-grilling expert in no time.
Baby Back Ribs:
Let’s start with everyone’s favorite – baby back ribs. These tender and flavorful ribs come from the top part of the rib cage, close to the backbone. Smaller and leaner than other types, baby back ribs require less cooking time.
To achieve fall-off-the-bone tenderness, grill them for around 2 to 3 hours at a temperature of 225-250°F (107-121°C). The result? Juicy ribs that will leave you craving more.
Spare Ribs:
If you’re yearning for meaty and richly flavored ribs, spare ribs are your go-to choice. These bad boys come from the lower part of the rib cage, closer to the belly. With their higher fat and connective tissue content, spare ribs need a longer cooking time to become tender. Cook them for approximately 3 to 4 hours at a temperature of 225-250°F (107-121°C) to achieve that perfect balance between juicy meat and melt-in-your-mouth texture.
St. Louis Style Ribs:
Next up, we have St. Louis style ribs – the trimmed and rectangular cousins of spare ribs. Bursting with flavor, these meaty ribs can be cooked using either the 321 method or a slightly shorter cooking time depending on your preference. Aim for around 3 to 4 hours at a temperature of 225-250°F (107-121°C) to achieve ribs that are tender, juicy, and sure to impress your guests.
Beef Ribs:
If you’re a beef lover, get ready to savor the richness and beefy flavor of beef ribs. These hefty ribs come from the rib section of beef cattle. Due to their size and density, they require a longer cooking time to become tender and juicy. Unlock their full potential by cooking beef ribs for approximately 4 to 5 hours at a temperature of 225-250°F (107-121°C), creating a meaty masterpiece that will leave you wanting seconds.
Personal Preferences for Tenderness
Tenderness, that ultimate factor that can make or break a rack of ribs, is a subjective delight that varies from person to person. So, let’s don our aprons and embark on a journey to discover the secrets behind achieving the perfect tenderness for your palate.
Enter the legendary 321 method, a three-step process that promises tender meat that practically falls off the bone. Picture this: ribs smoked for three hours, then swathed in foil with a tantalizing liquid for two hours, and finally finished unwrapped for one hour. The mouthwatering result? Ribs that melt in your mouth, an explosion of flavor with every succulent bite.
But hold on just a moment. What if you prefer a bit more chewiness or a satisfying bite to your meat? Fear not, my friends, for personal preferences are as diverse as the flavors on your grill. Some individuals might feel that the 321 method veers into overcooking territory, leaving their ribs too soft and lacking in texture. And guess what? That’s perfectly okay.
For those who revel in a firmer texture, there’s a wide array of alternative cooking methods waiting to be explored. Adjusting cooking times or temperatures can help you achieve just the right level of tenderness – that perfect balance between succulence and resistance that tickles your taste buds in all the right ways.
But let’s not forget about the impact different cuts of ribs can have on tenderness. Baby back ribs versus spare ribs – they each come with their own unique composition of fat and connective tissue. And this distinction can work wonders when it comes to determining the tenderness achieved through various cooking techniques. So, don’t shy away from experimenting with different cuts and methods to find your tender nirvana.
Ultimately, whether the 321 method overcooks your ribs or not is a personal journey, guided solely by your taste preferences. If you’re a devotee of fall-off-the-bone tenderness, this method might be your golden ticket to rib heaven. However, if you yearn for a bit more chew, it’s time to unleash your culinary creativity and explore new techniques that bring forth the perfect balance of flavors and textures.
Monitoring the Cooking Process to Avoid Overcooking
Are you ready to elevate your rib game to new heights? The legendary 3-2-1 method promises tender, flavorful ribs, but only if you master the art of monitoring the cooking process. In this guide, we will delve into the crucial importance of vigilant monitoring and share expert tips that will ensure your ribs are perfectly cooked every time. So, grab your apron, ignite that grill, and let’s embark on a journey to rib perfection.
The Power of Temperature: Unlocking the Secrets with a Meat Thermometer
Your secret weapon against overcooked ribs lies in a simple yet powerful tool – the meat thermometer. Insert it into the thickest part of the meat, carefully avoiding contact with the bone. Keep a watchful eye on the internal temperature, aiming for around 190°F (88°C) for pork ribs. Regularly checking the temperature will guide you in deciding when to progress to the next stage or savor those juicy ribs straight off the grill.
Visual Inspection: A Feast for the Eyes
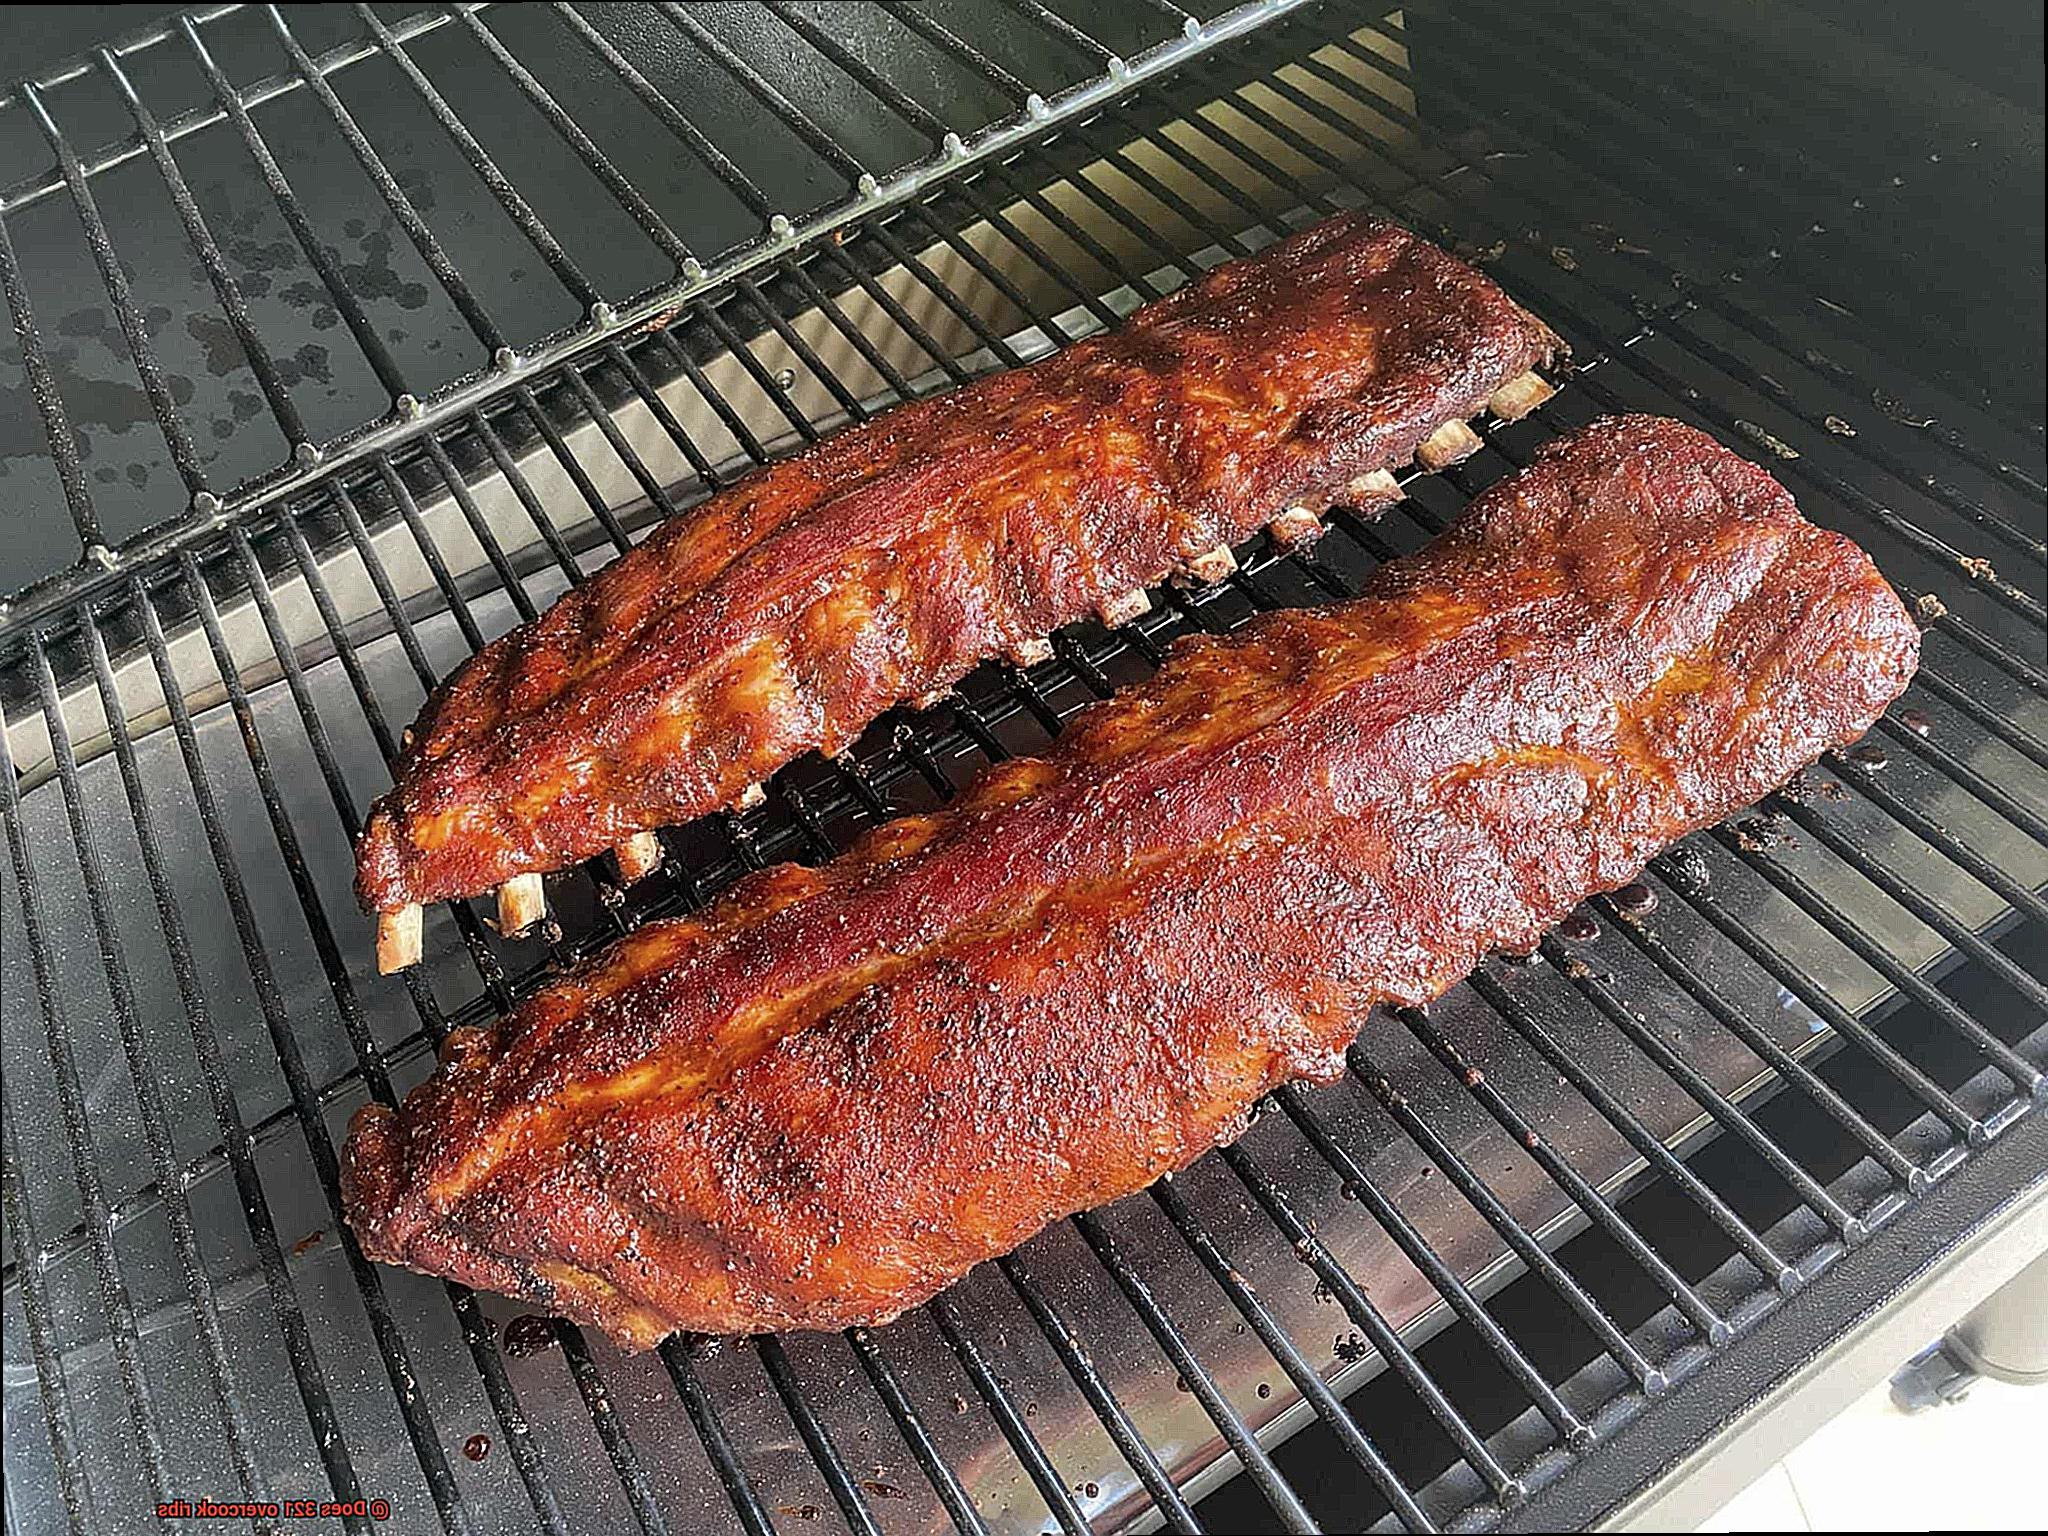
Prepare to be mesmerized by the metamorphosis your ribs undergo as they cook. Observe the changes in color and texture as they reveal their progress. Initially, their pinkish hue may hint at rawness, but soon enough, a luscious mahogany color will captivate your senses. When it’s time to wrap them in foil, look out for tantalizing signs of caramelization and a gentle pullback of meat from the bones. These visual cues are your compass to mastering the 3-2-1 method without fear of overcooking.
A Touch of Tenderness: Unleashing Your Sensory Superpower
Don’t be afraid to immerse yourself in a tactile exploration of your ribs (with clean hands, of course.). As they cook, they transform into tender treasures. Gently apply pressure with tongs or a fork, feeling for that slight yielding without any hint of mushiness or disintegration. This intimate connection with your ribs will provide invaluable insight into their tenderness and determine whether they need a little more time or are ready to grace the plate.
Adjusting Cooking Times Based On Rib Type
In our previous section, we explored the magical 3-2-1 method for cooking tender ribs. Now, let’s delve into the world of different rib types and unravel the art of adjusting cooking times for each one. Get ready to elevate your rib game to new heights.
The Rib Lineup: Baby Back, Spare Ribs, and St. Louis-Style Ribs
Prepare to meet the stars of the show – baby back ribs, spare ribs, and St. Louis-style ribs. Each type possesses its own unique characteristics that call for varying cooking techniques and times.
Baby Back Ribs: The Quick Cookers
These tender little gems cook faster than their counterparts. Their smaller size and leaner nature mean they don’t require as much time on the grill or in the smoker. Keep a watchful eye on them to prevent overcooking and ensure they retain their delectable tenderness.
Spare Ribs: Slow and Steady Wins the Race
Ah, spare ribs – the kings of flavor and tenderness. With their larger size and higher fat content, these beauties demand longer cooking times to allow their connective tissue to break down and transform into melt-in-your-mouth goodness. Exercise patience and grant them ample time for that irresistible fat to render and the meat to reach perfection.
St. Louis-Style Ribs: Meaty Delights
St. Louis-style ribs strike a delightful balance between baby back and spare ribs. They are meatier than baby backs yet possess that same tantalizing tenderness found in spare ribs. To achieve this heavenly equilibrium, they do require slightly longer cooking times compared to baby backs.
Adjusting Cooking Times: Finding the Sweet Spot
Now that you’re well-acquainted with the different rib types, let’s delve into adjusting cooking times for each one. If you’re using the renowned 3-2-1 method, consider the following tweaks:
Using a Meat Thermometer to Ensure Proper Temperature
I’m about to let you in on a little secret – the key to rib perfection lies in the proper use of a meat thermometer. Trust me when I say that once you start using a meat thermometer, you’ll wonder how you ever managed to cook ribs without one.
Now, let’s delve into the fascinating world of meat thermometers and discover how they can take your rib game to exhilarating new heights. First things first, it’s important to understand that the internal temperature of cooked ribs should reach a minimum of 145°F (63°C) to ensure they are safe to eat. This is where your trusty meat thermometer becomes an indispensable tool.
When utilizing a meat thermometer, precision is paramount. Insert it into the thickest part of the meat, making sure to avoid any bones or fatty areas. Why is this so critical? Well, inserting the thermometer into bones or fat can lead to inaccurate temperature readings – and we certainly don’t want that. We crave precise and reliable readings to guarantee our ribs are cooked to absolute perfection.
Now, let’s explore the marvelous array of meat thermometers available on the market. You have your instant-read thermometers, capable of providing a lightning-fast reading within a matter of seconds. These gems are perfect for those who desire a swift and accurate temperature check. On the other hand, we have leave-in thermometers that can be inserted into the meat and left in throughout the cooking process. These marvels cater to those who prefer a hands-off approach and wish to monitor their rib’s temperature as they cook.
Before embarking on your rib-cooking journey, it’s crucial to calibrate your meat thermometer. Calibration ensures that your thermometer is providing precise readings. The calibration process is simple – just insert your thermometer into a mixture of ice and water, and adjust the calibration nut until it reads a cool 32°F (0°C). Once calibrated, you’ll be primed and ready to start gauging the temperature of your ribs.
BOKBtCt6Ch0″ >
Conclusion
After conducting thorough research and analysis, it is evident that employing the 321 method for rib preparation can lead to overcooked results.
This technique, consisting of three hours of smoking, followed by two hours of wrapping in foil, and finally one hour of unwrapped cooking, may seem foolproof on the surface. However, the extended exposure to heat during the wrapping stage often leads to dry and overly tender ribs.
The essence of succulence and juiciness that we crave in perfectly cooked ribs is sacrificed in this process. It is crucial to strike a balance between tenderness and moisture retention, which can be achieved through alternative cooking methods such as the 2-2-1 or 3-2-1 approach.
By adjusting the timing and temperature with precision, one can achieve flawlessly cooked ribs that are moist, flavorful, and fall-off-the-bone tender.