Picture this: You’re craving a midnight snack, and you head to the kitchen to heat up some leftovers in your microwave. But as soon as you open the door, you realize that the light inside is out. Frustrating, right? Without the light, it’s impossible to tell if your food is cooking correctly, and you’re left in the dark (literally) about when it’s done.
But fear not. Changing the lightbulb in your microwave isn’t rocket science – it’s a quick and easy fix that can save you from unnecessary inconvenience. However, before we dive into the process, let’s cover an essential point: microwave lightbulbs are not like regular bulbs. They need to be able to withstand heat and vibrations generated by microwaving, which means they’re smaller in size than standard bulbs. So make sure you purchase the right type of bulb for your microwave before attempting any repairs.
Now that we have that covered let’s get started. To change your microwave’s lightbulb, all you need is some basic knowledge and tools – nothing too fancy or complicated. Just follow the manufacturer’s instructions carefully, and before you know it, voila. Your microwave will once again illuminate your delicious leftovers.
So if you’re tired of squinting in the dark while trying to heat up your food or guessing if it’s cooked enough inside the microwave, join us as we take you through a step-by-step guide on changing your microwave’s lightbulb. Trust us; it’ll be worth it.
Contents
Safety Precautions
If you’re experiencing a dimly lit microwave, changing the lightbulb is a task that requires utmost safety precautions. By following these steps, you can replace your microwave lightbulb without any worry.
First and foremost, unplug the microwave from its power source. This should be done before attempting to change the lightbulb to prevent any potential electrical shock or injury.
Wait for the microwave to cool down before proceeding with the replacement. Microwaves tend to get hot during usage, and it’s crucial to let it cool down completely to avoid any burns or injuries.
Wear protective gear such as gloves and eye protection when changing the lightbulb. This will protect you from any broken glass or other potential hazards.
Use the correct tools such as a screwdriver or pliers. Using the wrong tools can result in damage to your microwave or even injury.
Follow the manufacturer’s instructions provided in the manual when changing the lightbulb in your microwave. This will ensure that you do it safely and correctly.
Once you’ve taken these precautions, it’s time to change the lightbulb. Begin by locating the lightbulb cover, which is typically on the back wall of your microwave. Depending on your microwave model, the cover may be held in place by screws or clips.
After removing the cover, check what type of bulb your microwave uses. Some microwaves use standard incandescent bulbs while others may require halogen or LED bulbs. Ensure that you purchase the correct type of bulb for your specific model to avoid potential damage.
Twist the old bulb counterclockwise gently to remove it. If the bulb is difficult to remove, try using pliers or a bulb remover tool. Once successfully removed, insert the new bulb by twisting it clockwise until it securely fits in place.
Finally, replace the lightbulb cover and secure it with screws or clips if necessary. Plug in your microwave and test the new bulb to ensure it’s functioning correctly.
Identifying the Correct Lightbulb Type
Identifying the correct type of bulb is crucial, and I’m here to guide you through the process.
Step 1: Check the Instruction Manual
Your microwave’s instruction manual is the first place to look for information on what type of bulb to use. Different microwaves may require different types of bulbs, so it’s essential to follow the manufacturer’s recommendations. Don’t have the manual? No worries, we’ve got other steps to help you out.
Step 2: Inspect the Current Bulb
If you can’t find the instruction manual or need more information, inspecting the current bulb in your microwave is the next step. Take note of its size and wattage. These details will help you identify the right type of replacement bulb to purchase – no guesswork required.
Step 3: Consider Bulb Shape
Most microwave bulbs are cylindrical or tubular in shape, but some models may require a specific shape or size. Don’t forget to verify this before purchasing a new bulb. A wrong-shaped bulb can not only cause malfunction but also damage your microwave.
Step 4: High-Temperature Bulbs
Did you know that microwaves generate a lot of heat, which can cause standard bulbs to burn out quickly? That’s why some microwaves may require a specific type of bulb that can withstand high temperatures. If your microwave requires this type of bulb, make sure to purchase one that can withstand the heat generated by your appliance.
Removing the Old Bulb
If your microwave’s light bulb has burned out, don’t fret. Removing the old bulb is a simple process that can be done in just a few steps. But before you start, make sure to unplug your microwave from the electrical outlet for safety reasons.
Once the microwave is unplugged, the next step is to locate the light bulb cover or panel on the interior of your microwave. The location of this cover may vary depending on the model and make of your microwave, so it’s always best to consult your user manual for guidance.
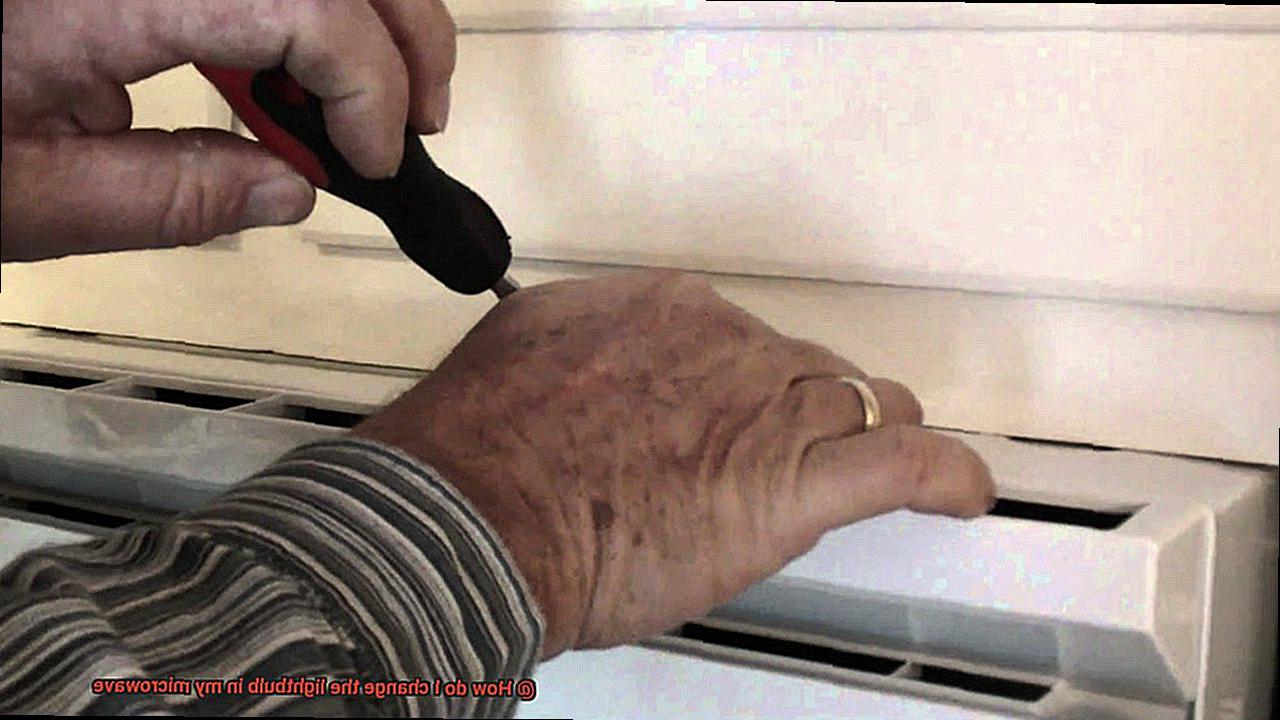
With the cover or panel found, remove it by unscrewing any screws or pressing any release tabs that hold it in place. Keep track of any hardware you remove so that you can easily put everything back together later.
Now, you should be able to see the old bulb. Carefully grasp it with your fingers and gently twist it counterclockwise to remove it from its socket. Remember to dispose of the old bulb properly as it may be hot or contain toxic materials.
If the old bulb is stubborn and won’t budge, try using a pair of pliers or gloves for better grip and leverage. But be careful not to apply too much force, as this can damage the socket or other parts of your microwave.
And just like that, you’ve successfully removed the old bulb. Now, you’re ready to install a new one. Make sure to follow all safety precautions and instructions carefully throughout the process. Here is a quick summary of these steps:
- Unplug your microwave
- Locate the light bulb cover or panel
- Remove any screws or release tabs holding it in place
- Grasp the old bulb and gently twist counterclockwise to remove it
- Dispose of old bulb properly
- Use pliers or gloves if needed but avoid applying excessive force
Inserting the New Bulb
Inserting a new bulb is a breeze. Here are the simple steps you need to take to get your microwave shining brightly again.
First, make sure you have the right bulb for your microwave. You can find this information in the owner’s manual or by contacting the manufacturer. Don’t risk damaging your appliance with the wrong size bulb.
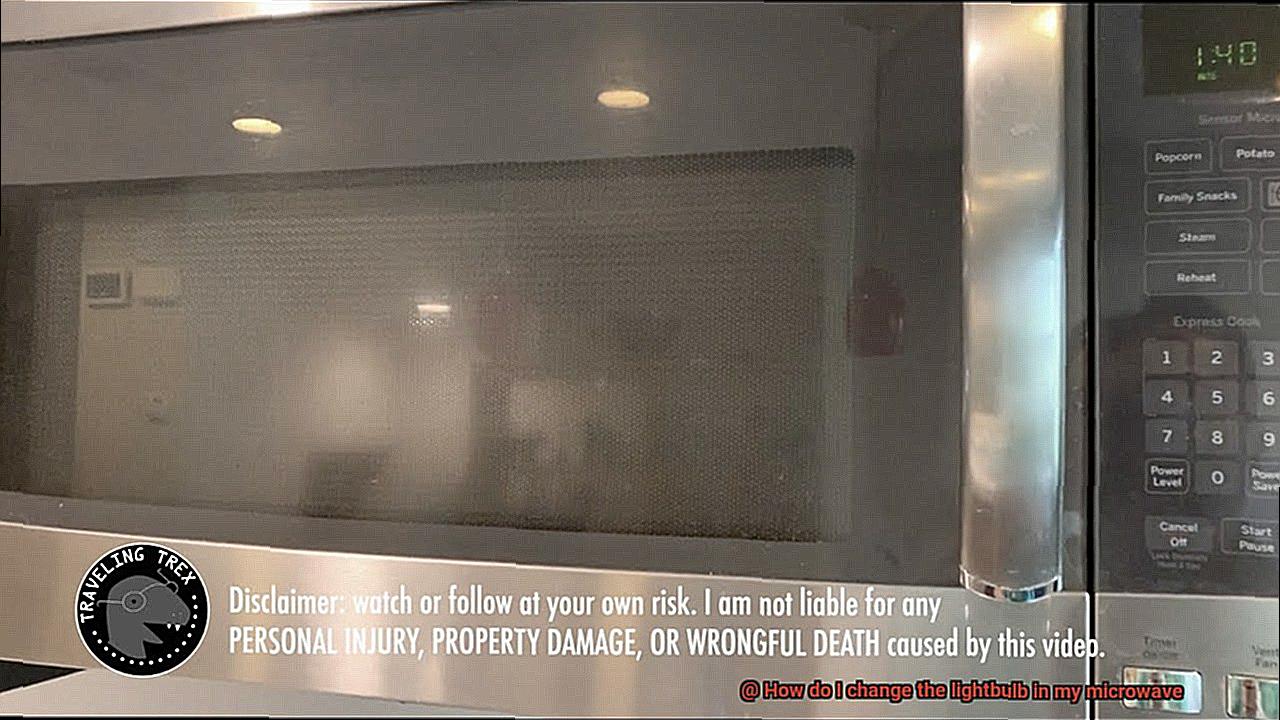
Once you have the correct bulb, unplug your microwave for safety. Next, locate the old bulb. It’s usually found on the ceiling or back of the microwave, and some models may require you to remove a cover or grille to access it.
Now it’s time to remove the old bulb. Gently twist it counterclockwise until it comes loose. If the old bulb is broken, use gloves or pliers to remove any remaining pieces to avoid injury. Dispose of the old bulb properly.
Insert the new bulb by gently twisting it clockwise into place. Don’t overtighten, as this could damage the socket. Once the new bulb is securely in place, replace any covers or grilles that were removed.
Finally, plug your microwave back in and test out your new light bulb by turning on the light function. Congratulations – you’ve successfully inserted a new bulb in your microwave.
To recap:
- Find the right bulb for your microwave
- Unplug your appliance
- Locate and remove the old bulb
- Insert the new bulb gently
- Test it out before calling it a day
Replacing the Lightbulb Cover
Have no fear, it’s a straightforward process that can be completed with ease.
But before we begin, let’s prioritize safety. Ensure your microwave is unplugged and the lightbulb has cooled down to prevent any potential burns or electrical hazards. Now, let’s dive into the steps.
Step 1: Locate the Cover
Most microwaves have their lightbulb cover on their interior wall. Some models require unscrewing, while others have a clip or latch to release.
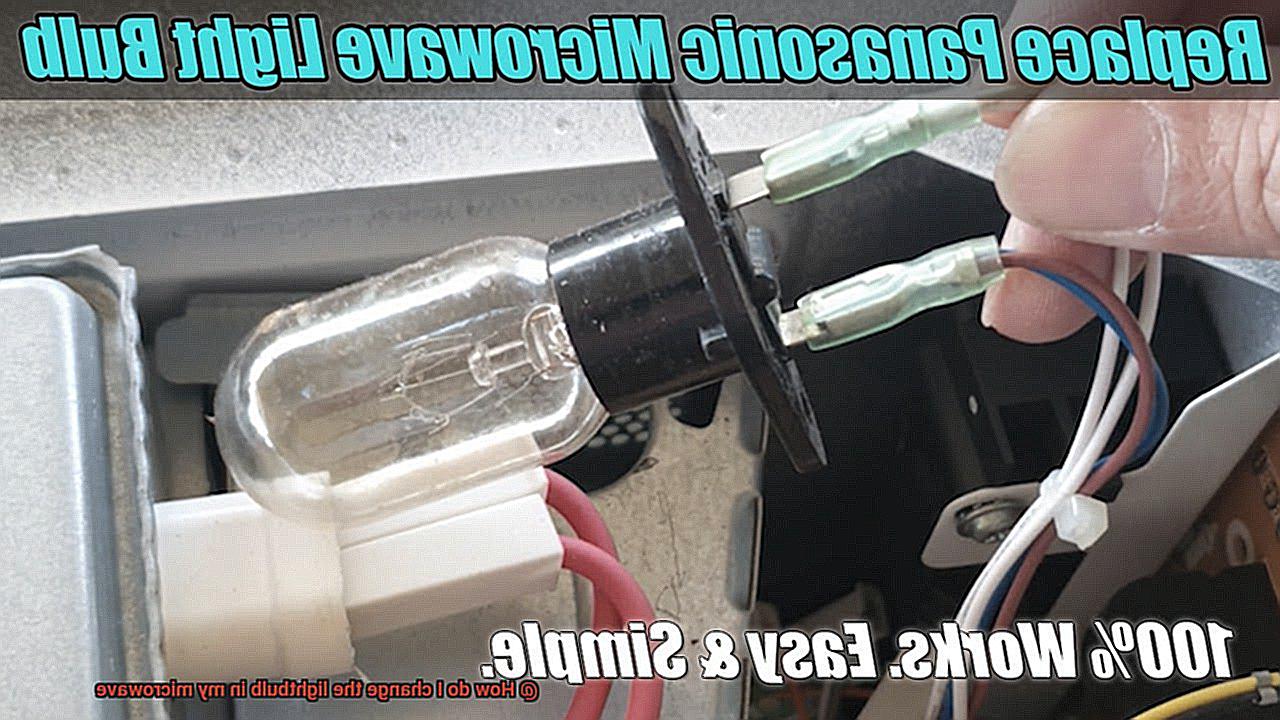
Step 2: Remove the Old Bulb
Gently twist the old lightbulb counterclockwise and dispose of it properly. Handle the new bulb with care and use one with the same wattage and voltage for compatibility and safety.
Step 3: Insert the New Bulb
Securely insert the new bulb by gently twisting it clockwise until it is firmly in place.
Step 4: Replace the Cover
Finally, press the cover back into place or screw it back on if necessary.
It’s worth mentioning that if your microwave has a sealed lightbulb, it may require professional assistance to replace. Also, if you’re unsure about which type of bulb to use or how to replace it properly, consult your microwave’s instruction manual or customer support for guidance.
Testing the New Bulb
It may seem like an extra step, but trust me, it’s important. You don’t want to go through the hassle of taking everything apart again if the bulb doesn’t work. So, let’s dive into how to test your new bulb like a pro.
Step 1: Securely Insert the New Bulb
To ensure that your new bulb functions properly, insert it firmly and securely into the socket. Avoid leaving it loose or wobbly because this will prevent it from making proper contact with the socket.
Step 2: Turn on Your Microwave
Once you’ve inserted the new bulb into the socket, turn on your microwave. If the bulb lights up, then congratulations are in order – you’ve successfully installed a working bulb.
Step 3: Troubleshooting
If the bulb doesn’t light up, there could be a few different issues at play. Firstly, check to ensure that you’ve inserted the bulb correctly and that it’s screwed in tightly. A loose bulb won’t make proper contact with the socket and won’t light up.
Another potential issue could be a faulty socket or wiring. In this case, don’t attempt any repairs involving wiring or electrical components unless you have proper training and experience. It’s best to call in a professional technician to diagnose and fix the problem.
Step 4: Reassemble Your Microwave
Assuming that your new bulb is working properly, reassemble your microwave. Congratulations once again – you’ve successfully changed the lightbulb in your microwave. Remember to dispose of the old bulb properly and keep your microwave clean and well-maintained for optimal performance.
Common Problems to Look Out For
By being aware of common problems and taking necessary precautions, you can make the process smoother and avoid any potential mishaps.
Accessing the lightbulb itself is often a challenge. Depending on your microwave model, the bulb may be located in a hard-to-reach spot or behind a panel that requires disassembly. Be prepared to do some detective work and possibly some light physical work to access the bulb.
Removing the old bulb can also be difficult, especially if it’s been in place for a while. Trying to force it out can easily break it inside the microwave, leading to further damage. Always handle with care.
Finding the right replacement bulb is another hurdle to overcome. Not all microwaves use the same type of bulb, so consult your owner’s manual or seek professional advice before purchasing one. Using the wrong type of bulb could cause safety hazards or even damage your microwave.
Safety is key when changing any appliance parts. Unplug your microwave from its electrical outlet before attempting to change the lightbulb. Also, wearing protective gloves can prevent burns caused by hot bulbs.
SeSHX2BIJx8″ >
Conclusion
Don’t let a burnt-out lightbulb in your microwave cause unnecessary inconvenience. Changing it is a quick and easy fix that can save you time and hassle. But before you start, make sure to follow safety precautions and purchase the right type of bulb for your specific model.
Microwave lightbulbs are not like regular bulbs; they need to be able to withstand heat and vibrations generated by microwaving, which means they’re smaller in size than standard bulbs. So, it’s crucial to identify the correct type of bulb before attempting any repairs.
To change your microwave’s lightbulb, all you need is some basic knowledge and tools. Start by unplugging the microwave from its power source and waiting for it to cool down before proceeding with the replacement. Wear protective gear such as gloves and eye protection when changing the lightbulb and use the correct tools such as a screwdriver or pliers.
Locate the lightbulb cover or panel on the interior of your microwave, gently twist it counterclockwise until it comes loose, remove the old bulb, insert the new one by gently twisting it clockwise into place, replace any covers or grilles that were removed, plug in your microwave, and test out your new lightbulb by turning on the light function.
By being aware of common problems and taking necessary precautions, you can make this process smoother and avoid potential mishaps. Remember to dispose of old bulbs properly and keep your microwave clean and well-maintained for optimal performance.
In summary, changing a lightbulb in your microwave may seem daunting at first but with these simple steps, you can do it yourself safely with ease.