Ready to fire up your grill for a summer BBQ? Don’t let the gunk and grime from last season hold you back. Cleaning your grill may seem like a daunting task, but it’s crucial for a delicious and safe outdoor culinary experience. With a few pro tips, you can have your grill spick and span in no time.
Why is cleaning your grill so important? Well, built-up grease and food particles not only affect the taste of your food but can also lead to flare-ups and fires. Plus, a dirty grill is a breeding ground for bacteria and germs that can put your health at risk.
But fear not. With some elbow grease and the right tools, you can have your grill looking brand new. In this post, we’ll cover everything from choosing the right cleaning materials to tackling stubborn stains and getting those grill grates shining. Follow along as we show you how to keep your grill in tip-top shape so you can impress your guests with perfectly grilled burgers and veggies.
Contents
Why Clean Your Grill?
Grilling is a beloved activity for many, especially during the warm summer months. However, it’s just as important to clean your grill regularly as it is to cook on it. A dirty grill not only affects the taste of your food but can also pose serious health and safety hazards. Here are some compelling reasons why you should always keep your grill squeaky clean.
First and foremost, safety should always be a top priority when it comes to grilling. A buildup of grease and debris on the grates can quickly ignite, causing a dangerous fire. Additionally, a dirty grill can emit harmful fumes that can be hazardous to your health. By keeping your grill clean, you’ll help prevent any potential risks and create a safer grilling environment.
Another reason to clean your grill is for better-tasting food. Old grease and food particles that accumulate over time can affect the flavor of your food and even make it taste burnt. By cleaning your grill after each use, you’ll ensure that your meals are free from any unpleasant tastes or odors and are cooked to perfection.
Regularly cleaning your grill also helps extend its lifespan. Grease and debris can cause corrosion and damage to the grill, leading to costly repairs or replacement. By taking the time to clean your grill after each use, you’ll prevent any long-term damage and keep your grill in top shape for years to come.
Lastly, cleaning your grill is crucial for healthier cooking. A dirty grill can harbor bacteria that can make you sick. Regular cleaning will ensure that your food is cooked on a clean surface, reducing the risk of any foodborne illness.
Pre-Cleaning Preparations
You already know that a spotless grill is vital for the best barbecue experience. But did you know that pre-cleaning preparations are just as crucial? Fear not, because I am here to guide you through the necessary steps to make your grill shine.
First and foremost, ensure that your grill is entirely cool before beginning the cleaning process. Attempting to clean a hot grill can be hazardous and may damage its surface. Once it’s cool, gather all the essential tools and materials you’ll need, including a wire brush, scraper or putty knife, cleaning solution or detergent, warm water, and rags or paper towels. Don’t forget to grab a pair of gloves to protect your hands from sharp edges or chemicals.
Begin by removing any loose debris from the grill grates with a wire brush or scraper. This will make it easier to clean the grill thoroughly. For stubborn debris or grease buildup, use a putty knife or scraper to gently scrape away the residue. Be careful not to scratch or damage the surface of the grill.
Now it’s time to mix your cleaning solution following the label instructions and apply it onto the grill grates using a rag or brush. Give it some time to sit and penetrate any tough stains or buildup, allowing the solution to work its magic. Then use your wire brush or scraper again to scrub away any remaining debris.
Last but not least, rinse the grill grates thoroughly with warm water and dry them with a clean towel or paper towels. Ensure that all cleaning solution residue has been removed from the grates before using the grill again.
Removing Grease and Debris from the Inside of Grill
It’s time to give your grill some TLC by removing grease and debris from the inside. Don’t worry, with a little elbow grease and our expert tips, you’ll have your grill looking like new in no time.
First things first, safety is key. Make sure your grill is cool before starting the cleaning process. Use a grill brush or scraper to remove any large debris or chunks of food from the grates. This step will prevent flare-ups and ensure even cooking.
Now onto the nitty-gritty. Remove the grates and use a putty knife or scraper to remove built-up grease and debris from the bottom and sides of the grill. This step may require some muscle, but it’s necessary for optimal performance.
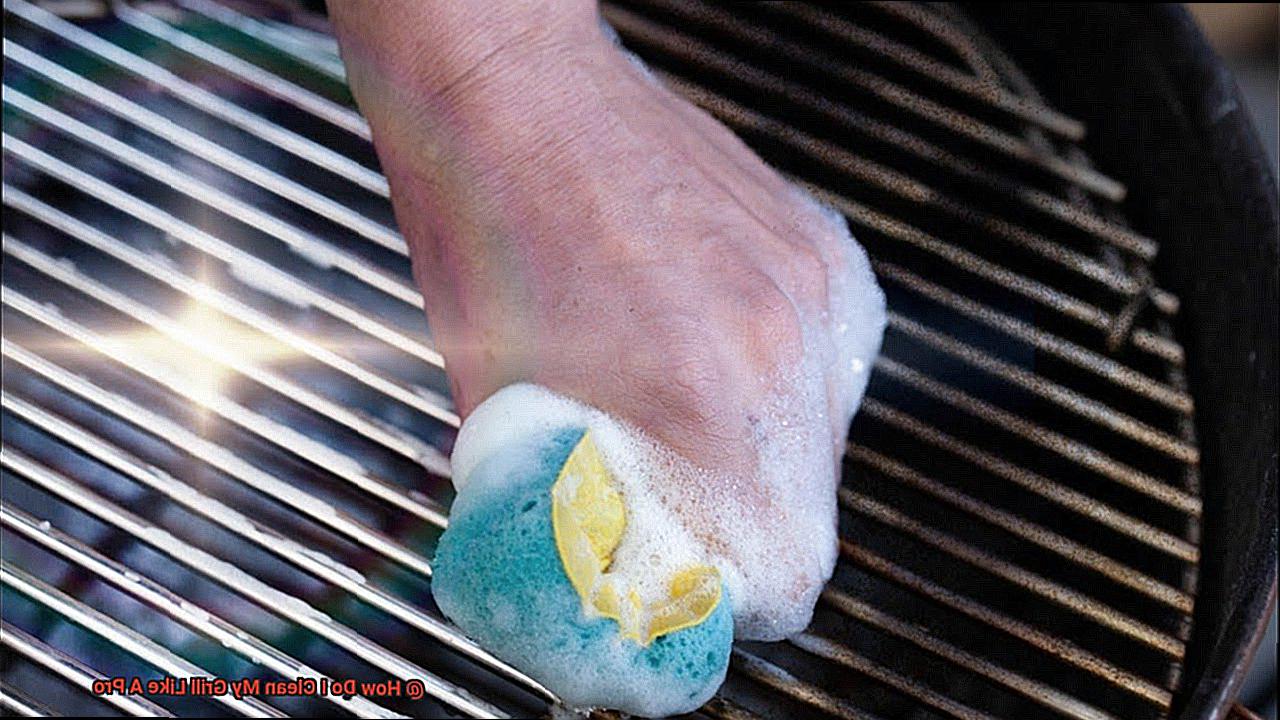
Next, mix warm water and dish soap in a bucket or sink. Use a sponge or brush to scrub the inside of the grill, focusing on any areas with stubborn grease buildup. Rinse thoroughly with water and dry with a clean towel.
For an extra deep clean, consider using a specialized grill cleaner or degreaser. These products are designed for grills and can help break down tough grease. Always read the instructions carefully before using.
Don’t forget to clean the exterior of your grill as well. Use a mild cleaner and a soft cloth to remove any dirt or stains.
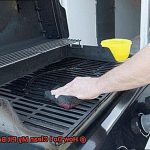
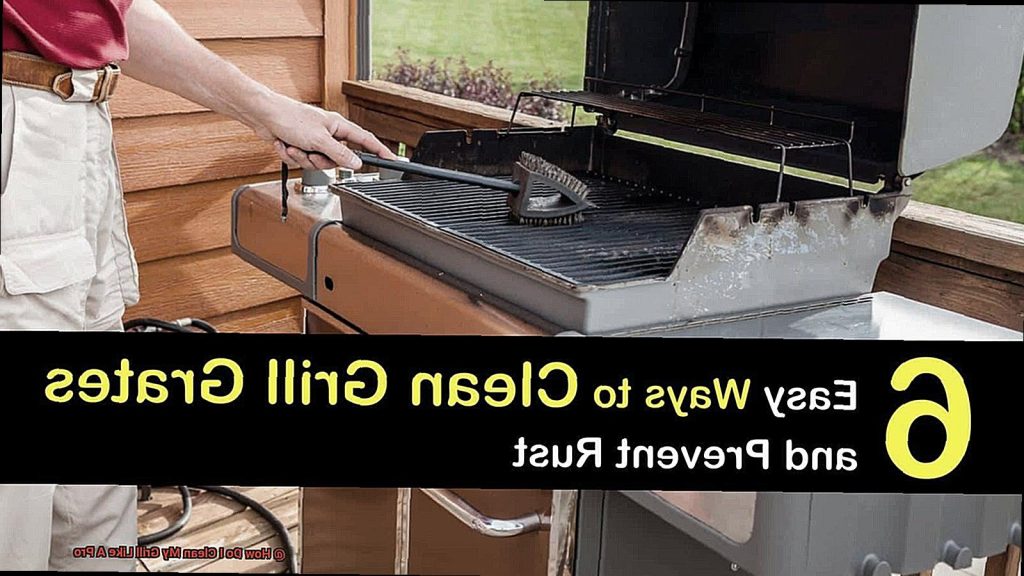
Cleaning the Grates
It’s time to fire up the grill. But wait, are your grates caked in grease and grime? Fear not, because as an expert in cleaning the grates, I am here to guide you through the process step-by-step.
Cleaning the grates isn’t just about making them look pretty; it’s also about ensuring safe and even cooking. A build-up of grease and food residue can lead to uneven cooking and even dangerous flare-ups. That’s why it’s essential to clean your grates regularly.
To get started, make sure your grill has cooled down before attempting to clean the grates. Once it’s cool, gather a wire brush, gloves, and a cleaning solution.
- Step one – using a wire brush, scrape off any large pieces of debris or food residue thoroughly. Be sure to scrape both sides of the grates.
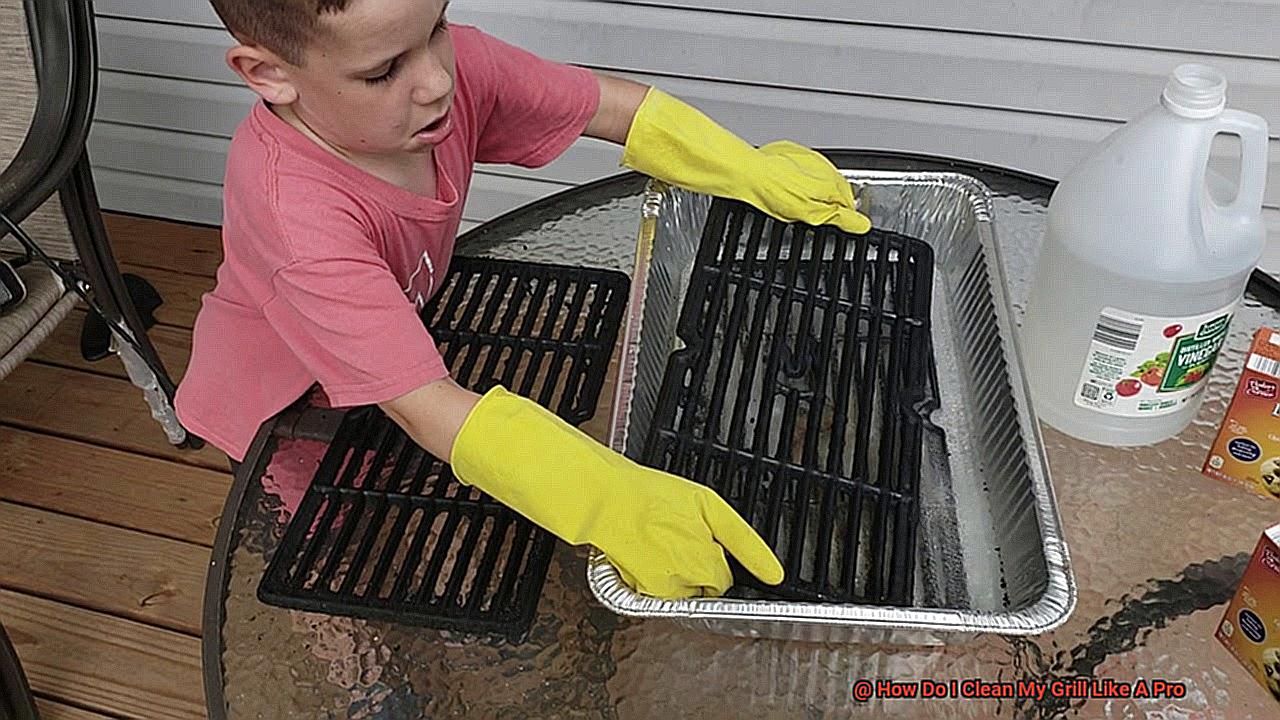
- Step two – remove the grates from the grill and soak them in a bucket of warm water with a mild cleaning solution. This step helps loosen any remaining debris from the grates.
- Step three – after soaking for 15-20 minutes, use the wire brush again to scrub the grates thoroughly. Be sure to get into all the corners and crevices to remove any remaining debris. If there are still stubborn spots that won’t come off, don’t worry. You can use a ball of aluminum foil to scrub them away.
- Step four – rinse the grates thoroughly with water to remove any remaining cleaning solution. Dry them completely with a towel or let them air dry before putting them back on the grill. It’s crucial to make sure they are entirely dry to prevent rusting.
Sanitizing the Grates
Nothing ruins a perfectly grilled meal like harmful bacteria lingering on your grates. That’s why sanitizing the grates is crucial in cleaning your grill like a pro.
To start, preheat your grill to a high temperature for at least 15 minutes. This will burn off any remaining food particles and loosen any stuck-on debris. Then, grab your trusty wire brush and scrub those grates thoroughly, removing any loose debris and ash from the grill before proceeding.
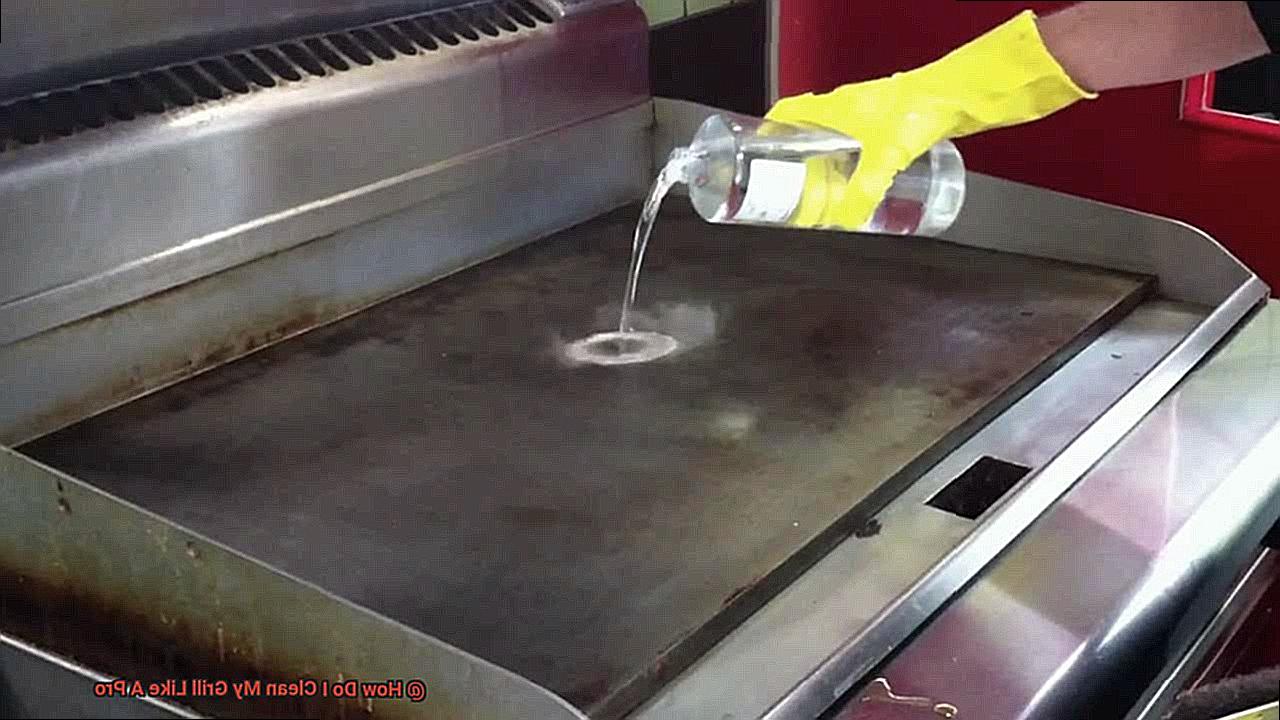
Now, it’s time for the secret weapon: white vinegar. Mix equal parts water and white vinegar in a spray bottle and generously spray it onto the grates. Vinegar is an excellent cleaning agent that kills bacteria on contact, leaving your grates sanitized.
After the vinegar has done its job, use a clean cloth or paper towel to wipe down the grates, removing any remaining residue. For stubborn bits of food or grease, use a grill scraper.
Finally, rinse the grates with water and dry them thoroughly with a clean towel. Once your grates are clean and sanitized, you can cook with confidence, knowing that your grill is free of harmful bacteria and ready to produce delicious meals.
In summary, here are the steps to sanitize your grates:
- Preheat your grill to a high temperature for at least 15 minutes.
- Use a wire brush to scrub the grates thoroughly.
- Mix equal parts water and white vinegar in a spray bottle and generously spray it onto the grates.
- Use a clean cloth or paper towel to wipe down the grates.
- Rinse the grates with water and dry them thoroughly with a clean towel.
Reassembling the Grill
You’ve taken the time to clean your grill like a pro, and now it’s time to put everything back together. Reassembling the grill is a crucial step in the cleaning process since it ensures that all parts are put back together correctly, and the grill functions properly for its next use.
Before starting, gather all the parts you removed during the disassembly process. Take a moment to inspect each part for any damage or signs of wear and tear. If any parts are damaged, it’s best to replace them before reassembling the grill. Now it’s time to consult your grill’s manual or instructions carefully. This step ensures that each part is placed in its correct location, and you don’t miss anything.
Start by attaching the burners, heat plates, and grates in their respective places. Pay attention to how each part was removed so that they can be put back correctly. Once everything is attached, connect the gas supply (if applicable) and test the grill’s functionality.
The moment of truth has arrived – turn on the gas and ignite the burners. This step ensures that everything is working as it should be. Afterward, check for any gas leaks before using the grill again. Safety first.
Lastly, take a damp cloth or sponge with mild detergent and clean any exterior surfaces of the grill. This final step will leave your grill looking shiny and new, ready for its next use.
Burning Off Remaining Debris
You’ve done an outstanding job of cleaning your grill from top to bottom and inspecting all its parts for any damage. But before you put away your grilling gloves and invite friends and family over for a delicious meal, there’s one more crucial step you need to take – burning off remaining debris like a pro.
Now, don’t be intimidated by the term “burning off.” It’s a safe and essential process that involves heating the grill to high temperatures to burn off any leftover food particles and grease from previous cooking sessions. This process not only ensures that your grill is clean and ready for its next use but also prevents any potential fires or flare-ups.
Here’s how you can go about it:
Preheat your grill to its highest temperature and let it heat up for at least 15-20 minutes. During this time, you may notice smoke and a burning smell coming from the grill. This is perfectly normal and indicates that the process is working.
Once the grill has reached its highest temperature, use a grill brush to scrub the grates thoroughly. The high heat will have loosened any remaining debris, making it easier to remove. Remember to use long-handled tools to avoid getting burned by the heat.
After scrubbing the grates, turn off the heat and allow the grill to cool down completely. Once cooled, use a damp cloth or paper towel to wipe down the exterior of the grill, removing any excess grease or debris.
By following these simple steps to burn off remaining debris, you’ll not only maintain the quality of your grill but also ensure its longevity. Remember, it’s essential to perform this process after every use to keep your grill in tip-top shape.
Cooling Down and Covering Your Grill
Leaving your grill exposed to the elements can lead to damage and contamination, which is why Cooling Down and Covering Your Grill is such an essential step in maintaining its cleanliness and functionality. Let’s dive into the details.
First things first, let’s talk about cooling down your grill. It may be tempting to start cleaning right away, but resist that urge. For safety reasons and a thorough clean, turn off all burners and close the lid. Waiting at least 30 minutes before cleaning allows for a safe cool down period.
Now that your grill has cooled down, it’s time to clean it. Use a brush or scraper to remove any remaining food debris, but avoid wire brushes as they can damage the grill’s surface and lead to contamination. Take your time and ensure all leftover food particles are removed.
Finally, covering your grill is crucial for its protection against the elements. A high-quality cover resistant to moisture and UV damage will prevent rust and other forms of corrosion from developing on the surface of your grill. Look for a cover that fits your grill snugly and is easy to put on and take off.
In summary, Cooling Down and Covering Your Grill is an essential step in maintaining its longevity. Remember to give your grill time to cool down safely before cleaning it thoroughly. Always use a brush or scraper to remove leftover food debris and avoid wire brushes. Lastly, protect your grill with a high-quality cover that fits snugly and is resistant to moisture and UV damage.
sYVKXCdr_Fo” >
Conclusion
In conclusion, cleaning your grill like a pro is an absolute must for any outdoor cooking enthusiast. Not only does a dirty grill affect the taste of your food, but it can also pose serious health and safety hazards. By following some expert tips, you can have your grill looking brand new in no time.
To start, keeping your grill clean is crucial for safety reasons. A buildup of grease and debris on the grates can quickly ignite and cause a dangerous fire. Additionally, a dirty grill can emit harmful fumes that are hazardous to your health.
Regularly cleaning your grill also helps extend its lifespan. Grease and debris can cause corrosion and damage to the grill, leading to costly repairs or even replacement.
To clean your grill like a pro, it’s important to follow proper pre-cleaning preparations such as ensuring that your grill has cooled down completely before beginning the cleaning process. You’ll also need essential tools and materials such as wire brushes, scrapers or putty knives, cleaning solution or detergent, warm water, rags or paper towels.
Once you’ve thoroughly cleaned the grates with vinegar and scrubbed them with a wire brush or scraper, sanitizing them is vital to remove any lingering bacteria that could be harmful to your health. Finally, Cooling Down and Covering Your Grill is an essential step in maintaining its longevity by giving it time to cool down safely before cleaning it thoroughly and protecting it with a high-quality cover that fits snugly and is resistant to moisture and UV damage.
In short, don’t let a dirty grill ruin your next backyard barbecue.