Hey there, Traeger grill enthusiasts. Are you tired of dealing with a temperature probe that just won’t cooperate? Maybe it’s not giving you accurate readings or your grill isn’t heating up to the desired temperature. Don’t worry – we’ve got your back.
Before we dive into the nitty-gritty of fixing your Traeger temperature probe, let’s make sure we’re being safe. Unplug and turn off your grill before attempting any repairs. Safety first, always.
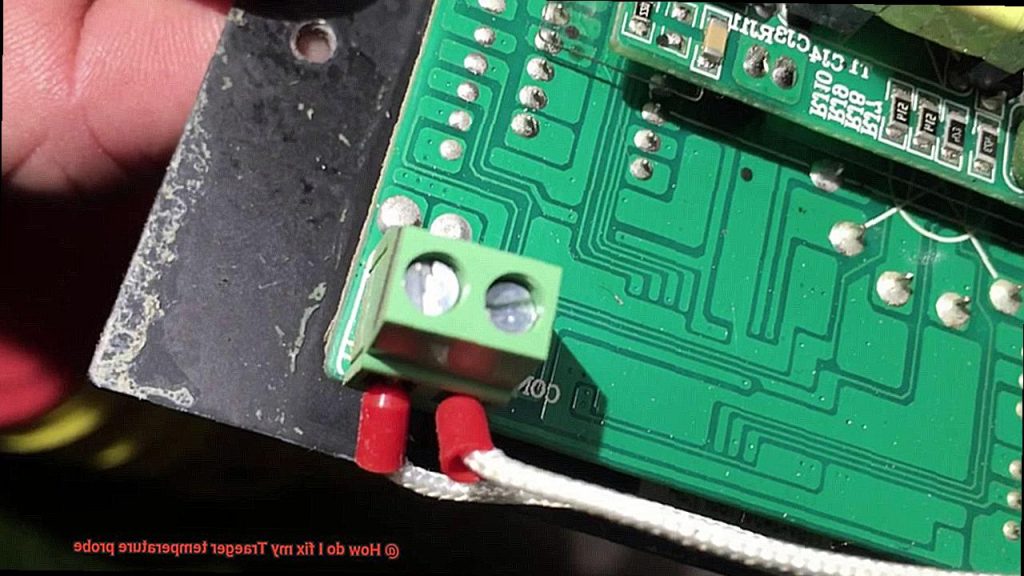
Now, one possible culprit for your malfunctioning probe could be a loose connection. Take a look at the control panel and make sure everything is securely attached. Check for any signs of damage or fraying in the wiring as well.
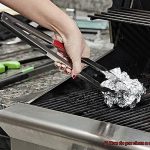
If that doesn’t do the trick, it might be time to give your probe a good cleaning. Use a soft-bristled brush and gentle soap to get rid of any dirt or debris that may be interfering with its functionality (but be careful not to damage those wires.).
Still no luck? It might be time to replace the whole darn thing. But don’t worry – it’s not as daunting as it sounds. We’ll walk you through every step of the process so you can get back to grilling up a storm in no time.
So grab yourself a cold one and let’s tackle this pesky problem together.
Contents
What is a Traeger Temperature Probe?
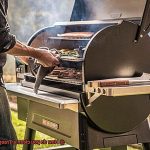
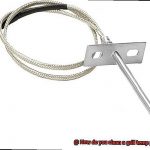
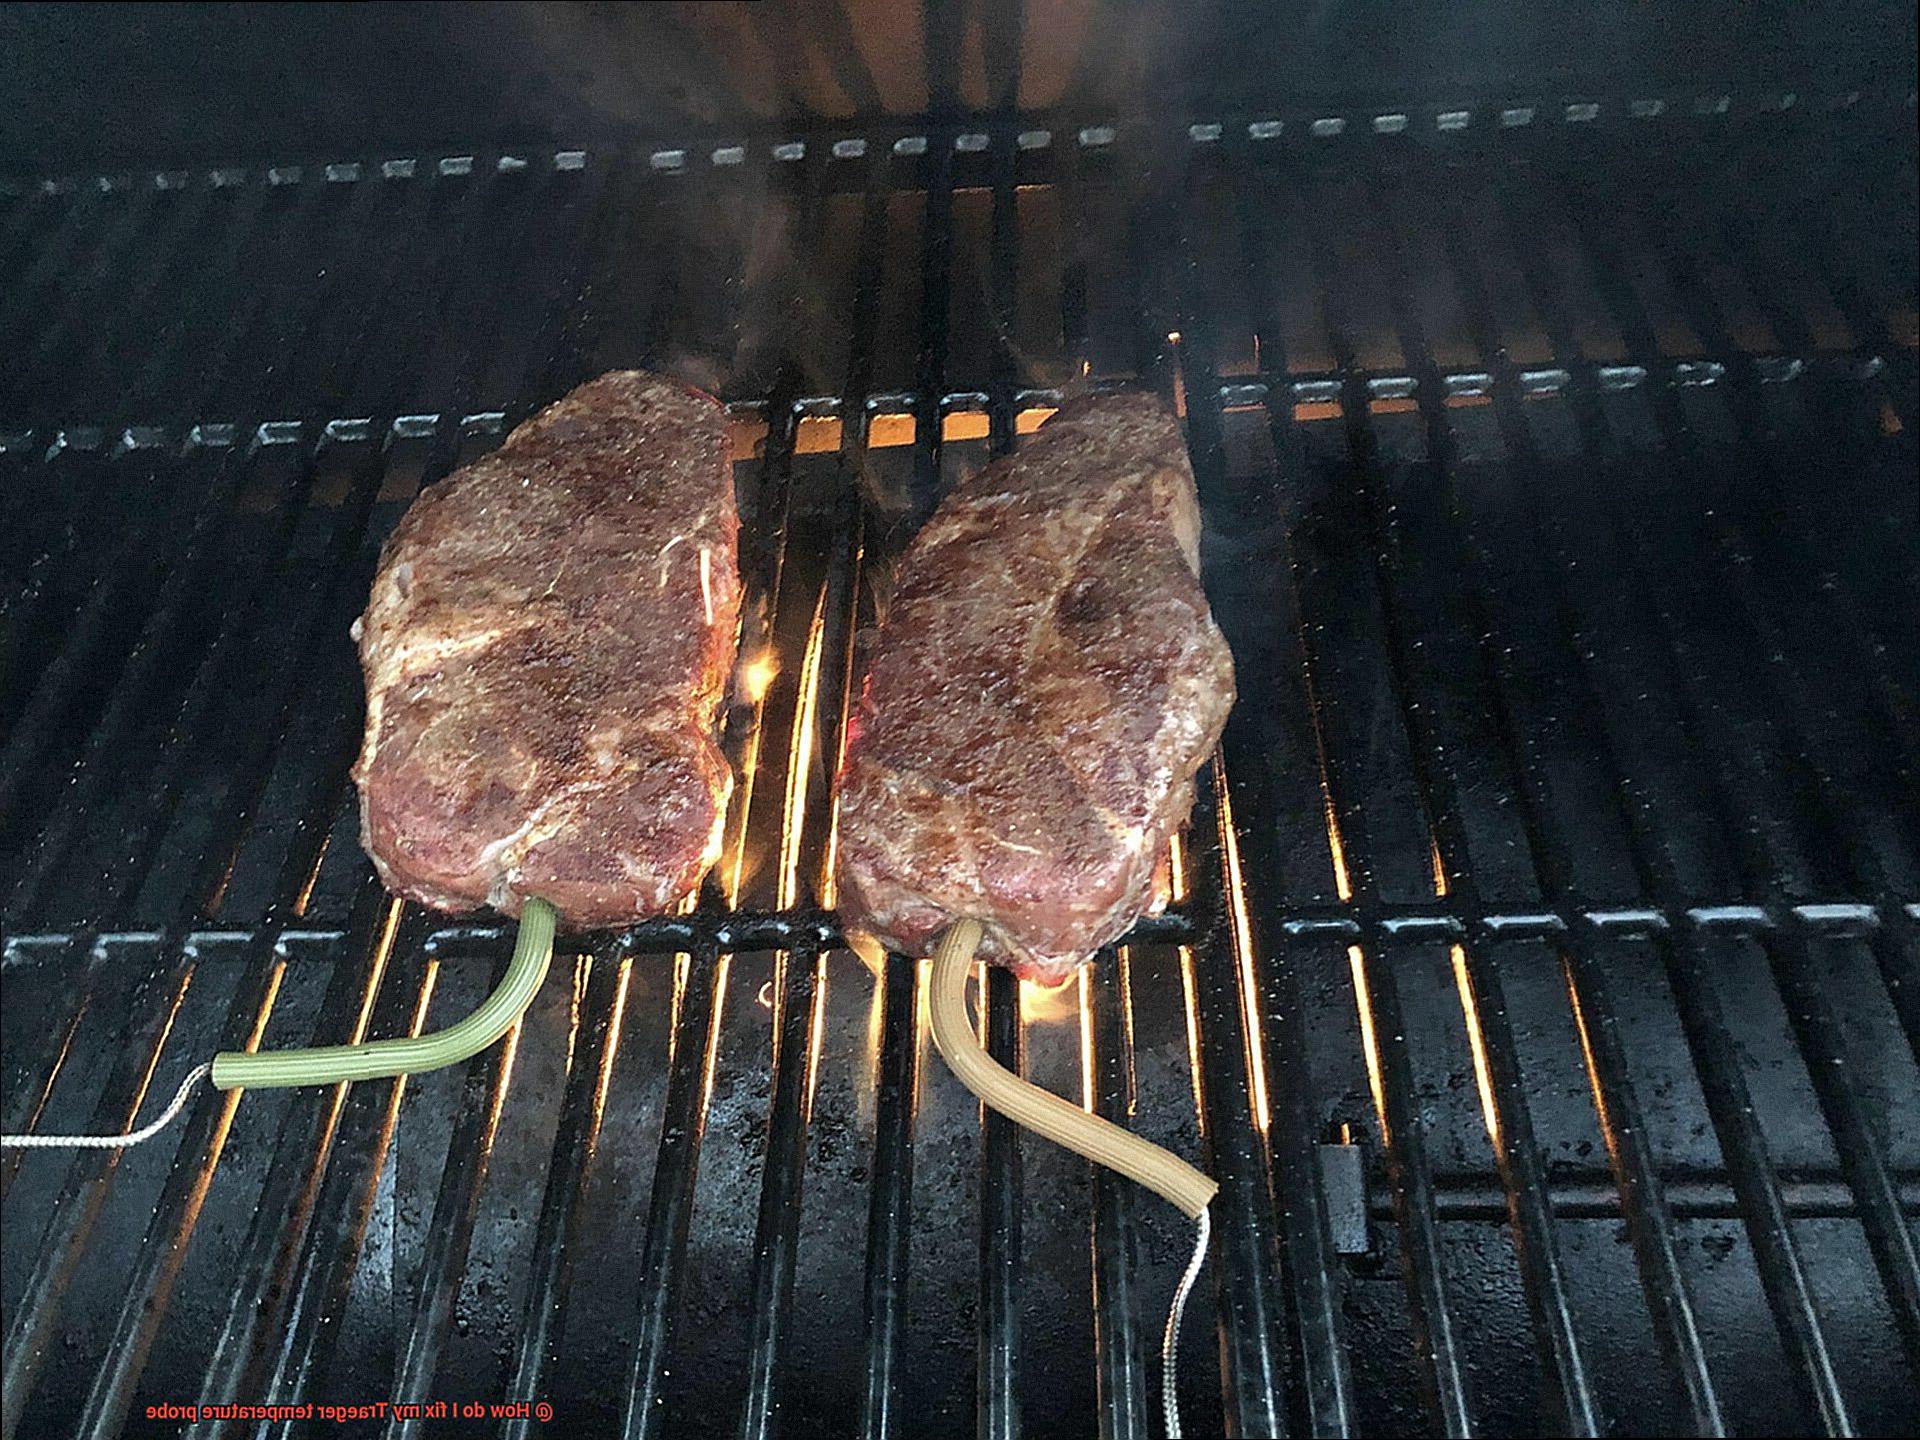
When it comes to grilling, precision is key. This is where the Traeger Temperature Probe comes in. This metal rod with a pointed end is an essential component of any Traeger grill, as it measures the internal temperature of the meat being cooked. By doing so, it ensures that your meat is cooked to perfection every time.
The Traeger Temperature Probe consists of a cable that connects the probe to the controller on the grill. This way, it can send information about the meat’s internal temperature to the controller. Once received, the controller automatically adjusts the grill’s temperature to ensure that your meat is cooked to perfection.
Traeger grills come equipped with one or more temperature probes, depending on their size and model. Some models even have multiple probes, allowing you to cook different cuts of meat at different temperatures simultaneously.
But there’s more to the Traeger Temperature Probe than just measuring the internal temperature of your meat. Some models also measure the ambient temperature inside the grill, ensuring that it maintains a consistent temperature throughout the cooking process.
Using a Traeger Temperature Probe is simple. First, make sure that the probe is correctly inserted into your meat and that it’s clean. Check that there are no obstructions or debris blocking the probe from making proper contact with your food. Then, let the probe do its job and monitor the internal temperature of your meat accurately.
If you encounter any issues with your Traeger Temperature Probe, don’t panic. Common problems include inaccurate readings, broken wires or a damaged probe tip. Troubleshooting these issues can be easy by identifying the problem first and following manufacturer instructions carefully.
Common Issues with a Traeger Temperature Probe
As a grill master, you know that achieving the perfect cook on your meats is an art form. And for many Traeger users, the Temperature Probe is an indispensable tool in their arsenal. But what happens when your trusty tool starts acting up? Don’t worry – it’s not the end of the world.
Here are some of the most common issues that can arise with a Traeger Temperature Probe:
- Inaccurate temperature readings: This is one of the most common issues that users may encounter. Whether you’re smoking brisket or grilling burgers, an inaccurate temperature reading can throw off your entire cook. This problem can be caused by a variety of factors, such as a dirty or damaged probe, or a malfunctioning digital control unit. To fix this issue, take a close look at your probe and make sure it is clean and undamaged. Also, try resetting the digital control unit to see if that helps.
- Probe won’t read temperature at all: This issue can be particularly frustrating because it means you can’t even begin your cook. If your probe refuses to read the temperature at all, check all connections between the probe and the digital control unit. A faulty connection could be the culprit. If all connections are secure and in good condition, it may be time to replace the probe.
- Environmental factors: Traeger temperature probes are designed to work in a variety of environments, but extreme heat or cold, or excessive moisture can cause issues. If you’re experiencing problems with your probe, consider moving it to a different location on the grill where it will be less affected by environmental factors. You may also want to take extra precautions to protect it from the elements.
By understanding these common issues that can arise with Traeger Temperature Probes, you’ll be able to quickly diagnose and resolve any problems you encounter. Remember, these issues are usually easy to fix with a few simple steps.
How to Identify the Problem With Your Temperature Probe
The Traeger temperature probe is an essential component of your grill, ensuring that your food is cooked to perfection every time. However, like any other part of the grill, it can malfunction or fail altogether. In this section, we’ll discuss how to identify the problem with your Traeger temperature probe, so you can get back to grilling those delicious meals.
Inaccurate Readings:
One of the most common issues with temperature probes is inaccurate readings. If you’re experiencing inconsistent or fluctuating temperatures on your Traeger grill, it could be due to a faulty temperature probe. To test if this is the case, use an oven thermometer to compare the readings of the Traeger’s temperature gauge and the oven thermometer. If there is a significant difference between the two readings, then it’s likely that your temperature probe needs to be replaced.

Damaged Wiring or Insulation:
Another issue that can arise with temperature probes is damage to the wiring or insulation. This can cause erratic readings or even complete failure. Inspect the wiring and insulation around your temperature probe for any signs of wear and tear or damage. If you see any frayed wires or exposed insulation, you will need to replace your temperature probe.
Corrosion:
Moisture exposure can cause corrosion on the probe’s metal parts, rendering it ineffective. Check for signs of corrosion, such as rust or discoloration, and replace the temperature probe if necessary. If you suspect corrosion in other parts of your grill, it’s essential to take steps to prevent further damage by storing your grill in a dry area when not in use.
Inconsistent Temperature:
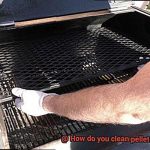
If you’re having trouble maintaining a consistent temperature, it may be due to a faulty temperature probe. However, before replacing it, make sure that your grill is clean and free of debris. Additionally, check whether your pellets are feeding correctly and whether your firepot is clean and functioning properly. These issues can also cause temperature inconsistencies.
Troubleshooting Inaccurate Readings
As a grill master, you know that accurate temperature readings are key to serving up perfectly cooked meals. But what happens when your Traeger temperature probe starts giving you inaccurate readings? Don’t sweat it – with my expertise in troubleshooting inaccurate readings, I’ve got you covered with some foolproof steps to get your grill back on track.
First off, let’s tackle the basics. Check if your probe is dirty or damaged. If so, give it a gentle wipe down with a soft cloth or paper towel before and after each use. If it’s damaged, consider replacing it altogether.
Next, let’s examine the wiring. Ensure that the wiring is properly connected and not frayed or damaged. If it is, you may need to replace either the wiring or the whole probe.
Now let’s talk about placement. Is the probe inserted correctly into the meat or grill? If not, it can provide inaccurate readings. And don’t forget to keep the grill lid closed during cooking to maintain consistent temperatures.
If none of these steps have worked, then it may be time for calibration. By calibrating your Traeger temperature probe using either an ice water bath or boiling water method, you can ensure that your probe provides accurate readings at all times.
Replacing a Broken or Damaged Probe Wire
As a grill master, you know that precision is the key to perfectly cooked meals every time. But what happens when your temperature probe wire gets damaged or broken? Fear not, replacing it is easier than you might think.
First things first, make sure you purchase a new probe wire that is compatible with your Traeger grill. You can find these wires online or at your local grill store. Once you have the new wire, it’s time to replace the old one.
Here are the steps to follow:
- Ensure your safety by turning off the power to your grill and unplugging it.
- Locate the damaged probe wire, which will typically be connected to the back of the controller.
- Gently pull the damaged probe wire out of the controller using a firm grip.
- Connect the new probe wire to the controller in the same spot where you removed the damaged wire. This should be easy as most probe wires are designed to fit snuggly and securely, ensuring accurate temperature readings.
- Thread the new probe wire through any holes or openings in the grill until it reaches the temperature probe. Be careful not to damage or kink the wire while threading.
- Connect the new probe wire to the temperature probe with a firm push ensuring it is securely in place.
- Turn on the power to your grill and test the new probe wire to make sure it’s working correctly by monitoring temperature readings.
It’s essential to note that different Traeger models may have slightly different instructions for replacing a broken or damaged probe wire. Therefore, always check your owner’s manual or reach out to Traeger customer service if you have any questions or concerns about this process.
Replacing a Damaged or Broken Probe Tip
To begin, you’ll need to remove the old tip from the probe body. This is usually accomplished by unscrewing it, but if it’s stubbornly stuck in place, pliers or a wrench may do the trick. Once you’ve successfully removed the old tip, it’s time to attach the new one.
When attaching the new tip, be sure to secure it tightly to the probe body. If it’s loose, you’ll wind up with inaccurate temperature readings and potentially ruin your food. Additionally, make sure you choose a replacement tip that’s compatible with your Traeger grill model and temperature probe type. Failing to do so could lead to erroneous readings.
With your new probe tip securely attached, you’re ready to get back to grilling. Enjoy your favorite meals with confidence, knowing that your temperature readings will be accurate and precise.
Choosing the Right Replacement Parts for Your Grill Model
Grilling is a beloved pastime that requires the perfect balance of heat, timing, and flavor. However, when your Traeger temperature probe goes faulty, it can dampen your grilling experience. Fear not, replacing it is as easy as flipping a burger. However, selecting the right replacement parts for your grill model and year of manufacture is crucial in ensuring that your grill continues to function properly for years to come.
The first step in choosing the right replacement parts is to identify your grill model and year of manufacture. You can typically find this information on a label or plate located on the back or bottom of your grill. Once you have this information, you can search for replacement parts that are compatible with your specific grill model.
It’s important to note that not all Traeger temperature probes are created equal. Different models may require different types of temperature probes, so it’s essential to match the replacement part with the original part as closely as possible. You can also check the specifications of the temperature probe to ensure that it meets the requirements of your specific grill model.
When purchasing replacement parts, it’s also important to consider the quality of the part. While there may be cheaper options available, investing in higher-quality replacement parts specifically designed for Traeger grills is often worth it. This can help ensure that the replacement part will work correctly and last longer, ultimately saving you time and money.
In addition to purchasing replacement parts from Traeger or authorized dealers, there are also many third-party sellers that offer compatible replacement parts at a lower cost. However, it’s important to carefully research these sellers and read reviews from other customers before making a purchase. Some third-party parts may not meet the same quality standards as Traeger’s original parts.
To recap, here are some key considerations when choosing the right replacement parts for your Traeger grill:
- Identify your grill model and year of manufacture
- Match the replacement part with the original part as closely as possible
- Check the specifications of the temperature probe to ensure it meets your grill’s requirements
- Consider investing in higher-quality replacement parts designed for Traeger grills
- Research third-party sellers and read reviews before making a purchase
Following Manufacturer Instructions Carefully
Grilling is an art form that requires precision. From the temperature to the timing, every detail matters. So when your Traeger temperature probe starts acting up, fixing it becomes a top priority. Luckily, the solution is as easy as following the manufacturer’s instructions carefully.
Traeger provides a detailed manual that explains how to set up and use their grills, including the essential temperature probe. Here are some reasons why following these instructions carefully is vital when fixing a Traeger temperature probe:
- Proper Cleaning: Dirt and grease buildup on the temperature probe can cause inaccurate readings, making proper cleaning essential. Traeger recommends cleaning the temperature probe after each use to maintain its accuracy.
- Correct Insertion: Ensuring that the temperature probe is inserted correctly into the meat is crucial for accurate readings. It should be inserted into the thickest part of the meat without touching any bones or fat.
- Calibration: Traeger also provides instructions on how to calibrate your temperature probe to ensure it’s working correctly. Regular calibration can help maintain its accuracy over time.
- Customer Support: If you’ve followed all the manufacturer’s instructions and your Traeger temperature probe still isn’t working correctly, then it’s time to contact customer support. Traeger has a dedicated team that can assist with any issues you may be experiencing with your grill.

ChEGc30z3es” >
Conclusion
In conclusion, a malfunctioning Traeger temperature probe can quickly put a damper on any grill enthusiast’s plans. But don’t fret – fixing it is easier than you might think. First and foremost, prioritize your safety by turning off the power and unplugging your grill before attempting any repairs.
Loose connections or dirt buildup on the probe can cause inaccurate readings, so make sure everything is securely attached and clean. If these simple steps don’t do the trick, it may be time to replace the whole probe or just the damaged wire or tip. However, it’s crucial to choose replacement parts that are compatible with your specific Traeger grill model and year of manufacture.
Investing in higher-quality replacement parts designed for Traeger grills can save you time and money in the long run. While third-party sellers may offer cheaper options, be sure to research them carefully before making a purchase.
When fixing a Traeger temperature probe, following manufacturer instructions carefully is vital. Proper cleaning, correct insertion of the probe into meat, calibration, and customer support are all essential aspects of maintaining an accurate temperature reading during grilling sessions.
With these tips in mind, you’ll be back to grilling up delicious meals with confidence knowing that your temperature readings will be accurate and precise every time.