Burgers are a classic American dish that we all know and love. There’s nothing quite like biting into a juicy burger, with its crispy exterior and perfectly cooked interior. But let’s face it, cooking the perfect burger can be tricky, especially if you’re not an experienced grill master. No one wants to bite into a raw patty or endure a dry, overcooked burger. That’s why we’re here to help you make sure your burger is cooked inside, every time.
Don’t worry though, we’ve got you covered. In this post, we’ll share some essential tips and tricks for achieving the perfect burger cook. From choosing the right ground beef to mastering your cooking temperature, we’ll guide you through creating a delicious burger that’s cooked all the way through.
First things first, selecting the right ground beef is key for ensuring your burger is safe to eat. We’ll walk you through what to look for when buying ground beef and how to handle it safely before cooking. Then, we’ll dive into different cooking methods and explain how to properly cook your burger without sacrificing flavor or moisture.
Whether you’re a grilling pro or just starting out, this post has something for everyone. So kick back with your favorite beverage, fire up the grill (or stovetop), and let’s get started on making sure your burgers are cooked inside and out.
Contents
The Importance of Temperature
As a burger aficionado, I cannot stress enough the importance of temperature when cooking burgers. It’s not just about the taste, but also about safety. Here are some reasons why temperature is crucial when cooking burgers:
- Safe Cooking: The United States Department of Agriculture (USDA) advises that ground beef needs to be cooked to an internal temperature of 160°F (71°C) to eliminate harmful bacteria. Therefore, using a meat thermometer to check the internal temperature of your burger is essential. Make sure to measure it at the thickest part of the burger and in multiple spots if you’re using a grill.
- Flavorful Results: Temperature plays a vital role in determining the texture and flavor of your burger. Overcooking can make your burger dry and tasteless, while undercooking can make it raw and unappetizing. That’s why using a meat thermometer will help you cook your burger to perfection – juicy, moist, and delicious.
- Resting Period: After removing the burger from heat, it continues to cook for a few minutes due to residual heat. It’s best to take it off the grill or stove when it’s slightly below the desired internal temperature and allow it to rest for a few minutes before serving. This resting period makes sure that juices are evenly distributed throughout the meat, resulting in a more flavorful and moist burger.
- Proper Cooking Techniques: To cook your burgers correctly, use proper grilling techniques. Preheat your grill before adding the burgers and avoid pressing down on them with a spatula while cooking as it can cause them to lose their juices and become dry. Instead, let them cook undisturbed for a few minutes on each side, flipping only once.
Using a Meat Thermometer
With a meat thermometer in your toolkit, you’ll never have to worry about undercooked or overcooked burgers again.
So, what exactly is a meat thermometer? It’s a kitchen gadget that measures the internal temperature of meat, giving you an accurate reading of whether it’s safe and delicious to eat. When it comes to burgers, using a meat thermometer is a simple three-step process:
Insert the probe into the thickest part of the patty, avoiding any bones or gristle.
Depending on how well-done you like your burger, aim for an internal temperature of 130-135°F for medium-rare, 140-145°F for medium, 150-155°F for medium-well, or 160°F or higher for well-done.
Keep in mind that cooking times can vary based on patty thickness and grill heat. But with a meat thermometer on hand, you can say goodbye to guesswork and safely cook your burger without drying it out.
But wait, there’s more. Not all meat thermometers are created equal. There are two main types: instant-read and leave-in. Instant-read thermometers are perfect for quick checks, while leave-in thermometers can stay in the meat as it cooks and continuously monitor the temperature.
Investing in a good-quality meat thermometer is essential for any grill master. It’s a small investment that pays off big time by ensuring that your burgers are always cooked to perfection – juicy, flavorful, and safe to eat. And don’t forget the finishing touches – letting your burgers rest for a few minutes after cooking and avoiding pressing them down with a spatula while they cook.
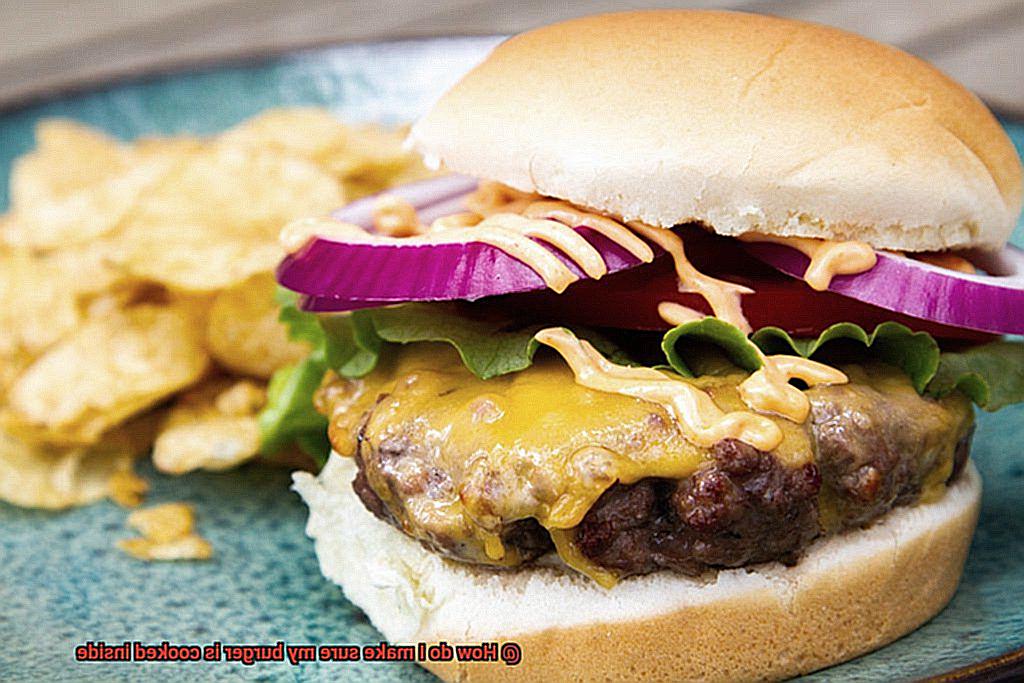
Visual Cues for Doneness
Visual cues are here to save the day. By using these trusty indicators, you can ensure that your burger is cooked just the way you like it.
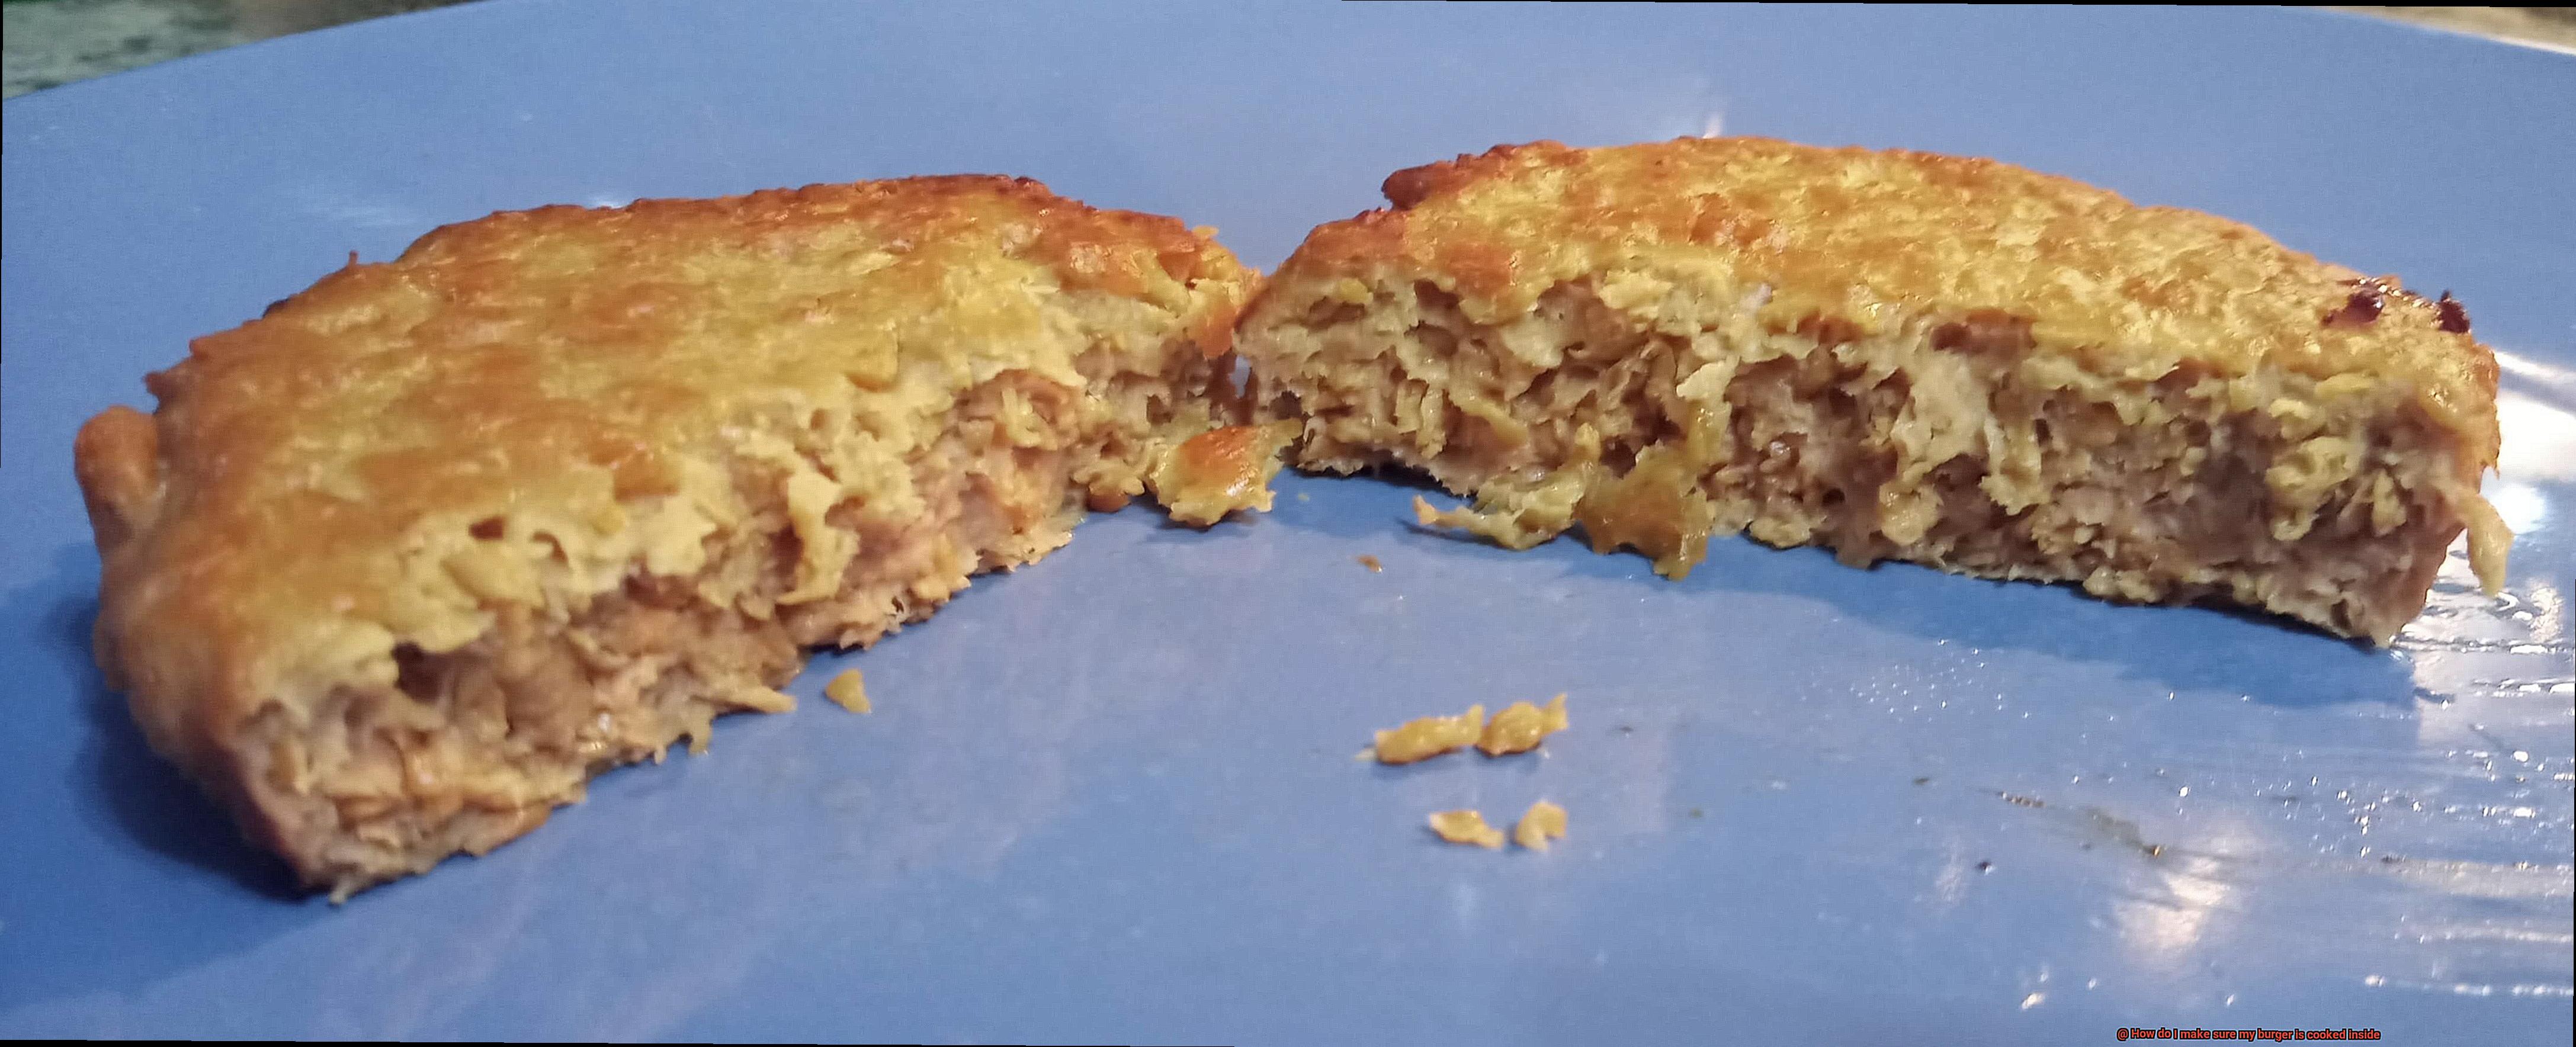
Let’s start with color. A well-done burger will have a brown exterior and no pink in the center. For a medium burger, expect a slightly pink center and a browned exterior. If you’re feeling daring and crave a rare burger, it will have a pink center and a seared exterior. Just by looking at the color of your patty, you can already tell how well it’s cooked.
Another visual cue that can help determine the doneness of your burger is the juices that come out of the patty when you press down on it with a spatula or fork. If your burger is well-done, it will release clear juices. A medium burger will release slightly pink juices, while rare burgers will release red juices.
Furthermore, if you’re using a meat thermometer, visual cues can confirm the temperature reading. For instance, if your thermometer reads 160°F, there should be no pink in the center of your well-done burger.
It’s worth noting that visual cues aren’t always accurate. For instance, cooking on an uneven heat source or using a thick patty may affect doneness. In these situations, investing in a high-quality meat thermometer is essential to ensure that your burger is cooked safely.
In conclusion, armed with these visual cues, you’ll never have to worry about overcooking or undercooking burgers again. Here’s a quick recap:
- Brown and no pink: well-done
- Slightly pink center and browned exterior: medium
- Pink center and seared exterior: rare
- Clear juices: well-done
- Slightly pink juices: medium
- Red juices: rare
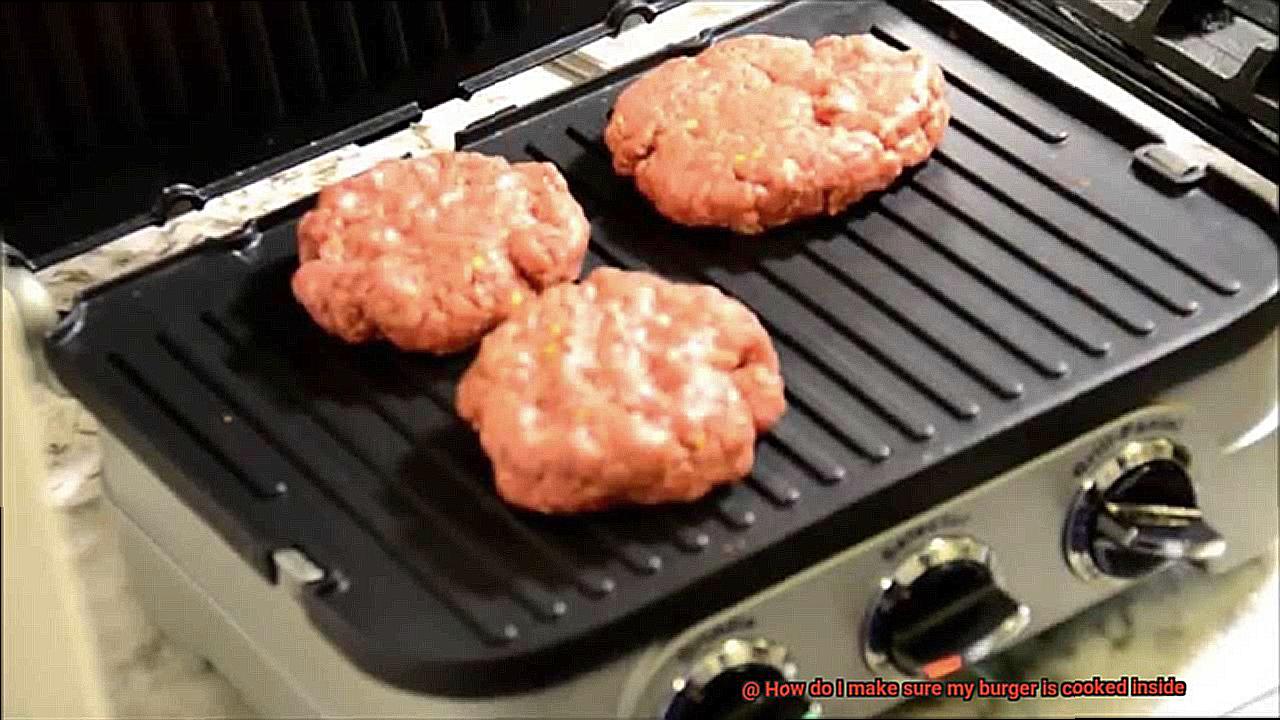
Preheating the Grill
Calling all grill masters. Do you want to know the secret to mouth-watering burgers that are cooked to perfection? The answer is simple: preheating the grill. This crucial step ensures that the heat is evenly distributed, resulting in burgers that are cooked inside and out, just the way you want them.
To preheat your grill, start by turning all burners to their highest setting, close the lid, and let the grill heat up for about 10-15 minutes. While waiting, you can prepare your burger patties by seasoning them with salt and pepper and shaping them into even-sized patties. And don’t forget to clean those grates thoroughly with a grill brush to remove any debris from previous grilling sessions.
Before placing your burgers on the grill, let them rest at room temperature to ensure they cook evenly. If they’re too cold, they’ll take longer to cook inside, leaving you with burnt outsides and undercooked insides. Once your burgers are on the grill, resist the temptation to press down on them with a spatula. This will squeeze out all the delicious juices, leaving you with dry and tough burgers. Instead, let them cook for around 5-6 minutes per side for medium-rare to medium doneness.
Now that you know how to preheat your grill and avoid common mistakes while cooking burgers, it’s time to fire up that grill and get cooking. Here’s a summary of the steps:
Avoiding Pressing Down on Burgers
The culprit might be pressing down on the patty while it’s cooking. By doing so, you’re causing the flavorsome juices to be squeezed out, leaving you with a disappointing meal. But fear not. Avoiding this common mistake is a straightforward technique that can take your burgers to a whole new level.
To start with, let’s delve into why pressing down on burgers is problematic. Juices inside the burger are essential for cooking and contribute to its taste. When you press down, these juices are lost, leading to a bland and dry patty.
So what’s the solution? One of the easiest ways to avoid pressing down on the burger is by using a spatula to flip it instead of pressing down. This method ensures that the burger cooks evenly without losing its moisture and flavor. Plus, it’s also good kitchen hygiene.
Another way to prevent pressing down on the burger is by reducing the urge to move it around too much while cooking. Moving it excessively can cause juices to be squeezed out, resulting in an unappetizing burger. So resist the urge and let it cook undisturbed until it’s time to flip.
Additionally, ensuring that your grill or pan is hot enough before placing the burger on it is crucial. Doing so will seal in the juices and prevent them from being squeezed out when flipping or moving the patty around. Checking the internal temperature of the burger with a meat thermometer is also an excellent way to guarantee that it’s cooked correctly without needing to press down on it.
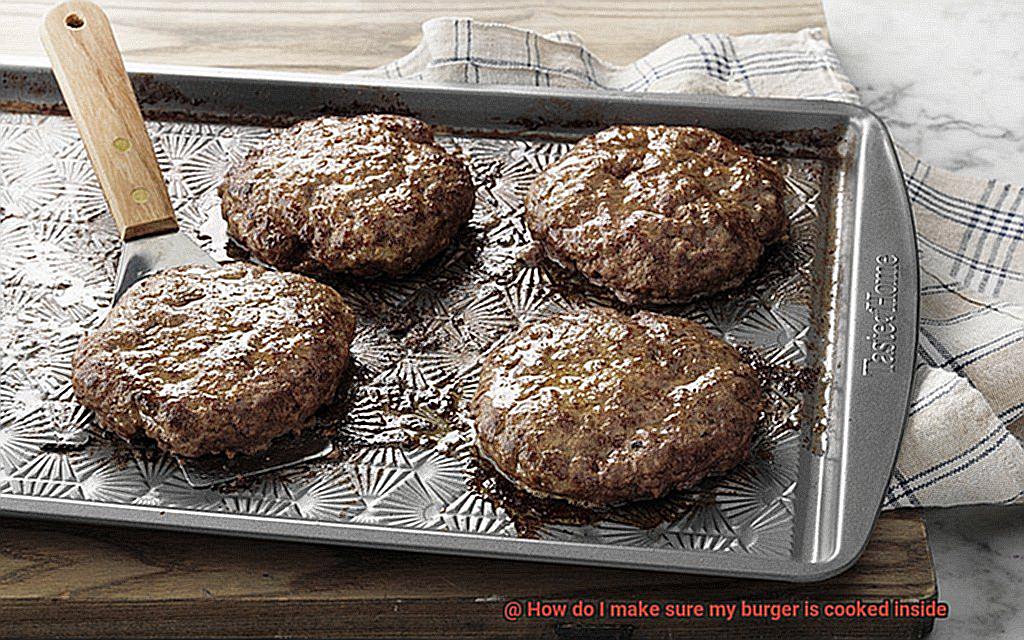
Flipping the Burger Once
Well, then you need to know the importance of flipping the burger once when grilling. As an expert in this area, I am here to tell you that this one simple step can make all the difference in ensuring that your burger is juicy and delicious.
First things first, quality meat is key. Once you have your patties formed, it’s time to preheat the grill to medium-high heat. Place those patties on the grill and let them cook for about 3-4 minutes on one side. Keep an eye out for juices starting to bubble up on the top of the patty. This is a sign that it’s time to flip.
Using a spatula, gently lift and flip the burger over to cook the other side for another 3-4 minutes. Avoid pressing down on the patty with your spatula. This can release juices and leave you with a dry burger.
Once flipped, now comes the fun part – adding toppings. Cheese or bacon, anyone? Let it cook for another minute or two, and don’t forget to use a meat thermometer to check that the internal temperature of the patty has reached at least 160°F.
Flipping the burger once is just one part of cooking the perfect burger. Here are some other tips to keep in mind:
- Properly form your patties: Make sure they are uniform in size so they cook evenly.
- Use quality meat: Look for meat that is at least 80% lean and 20% fat for optimal flavor.
- Monitor grill temperature: Keep an eye on the heat throughout the cooking process to avoid overcooking or undercooking.
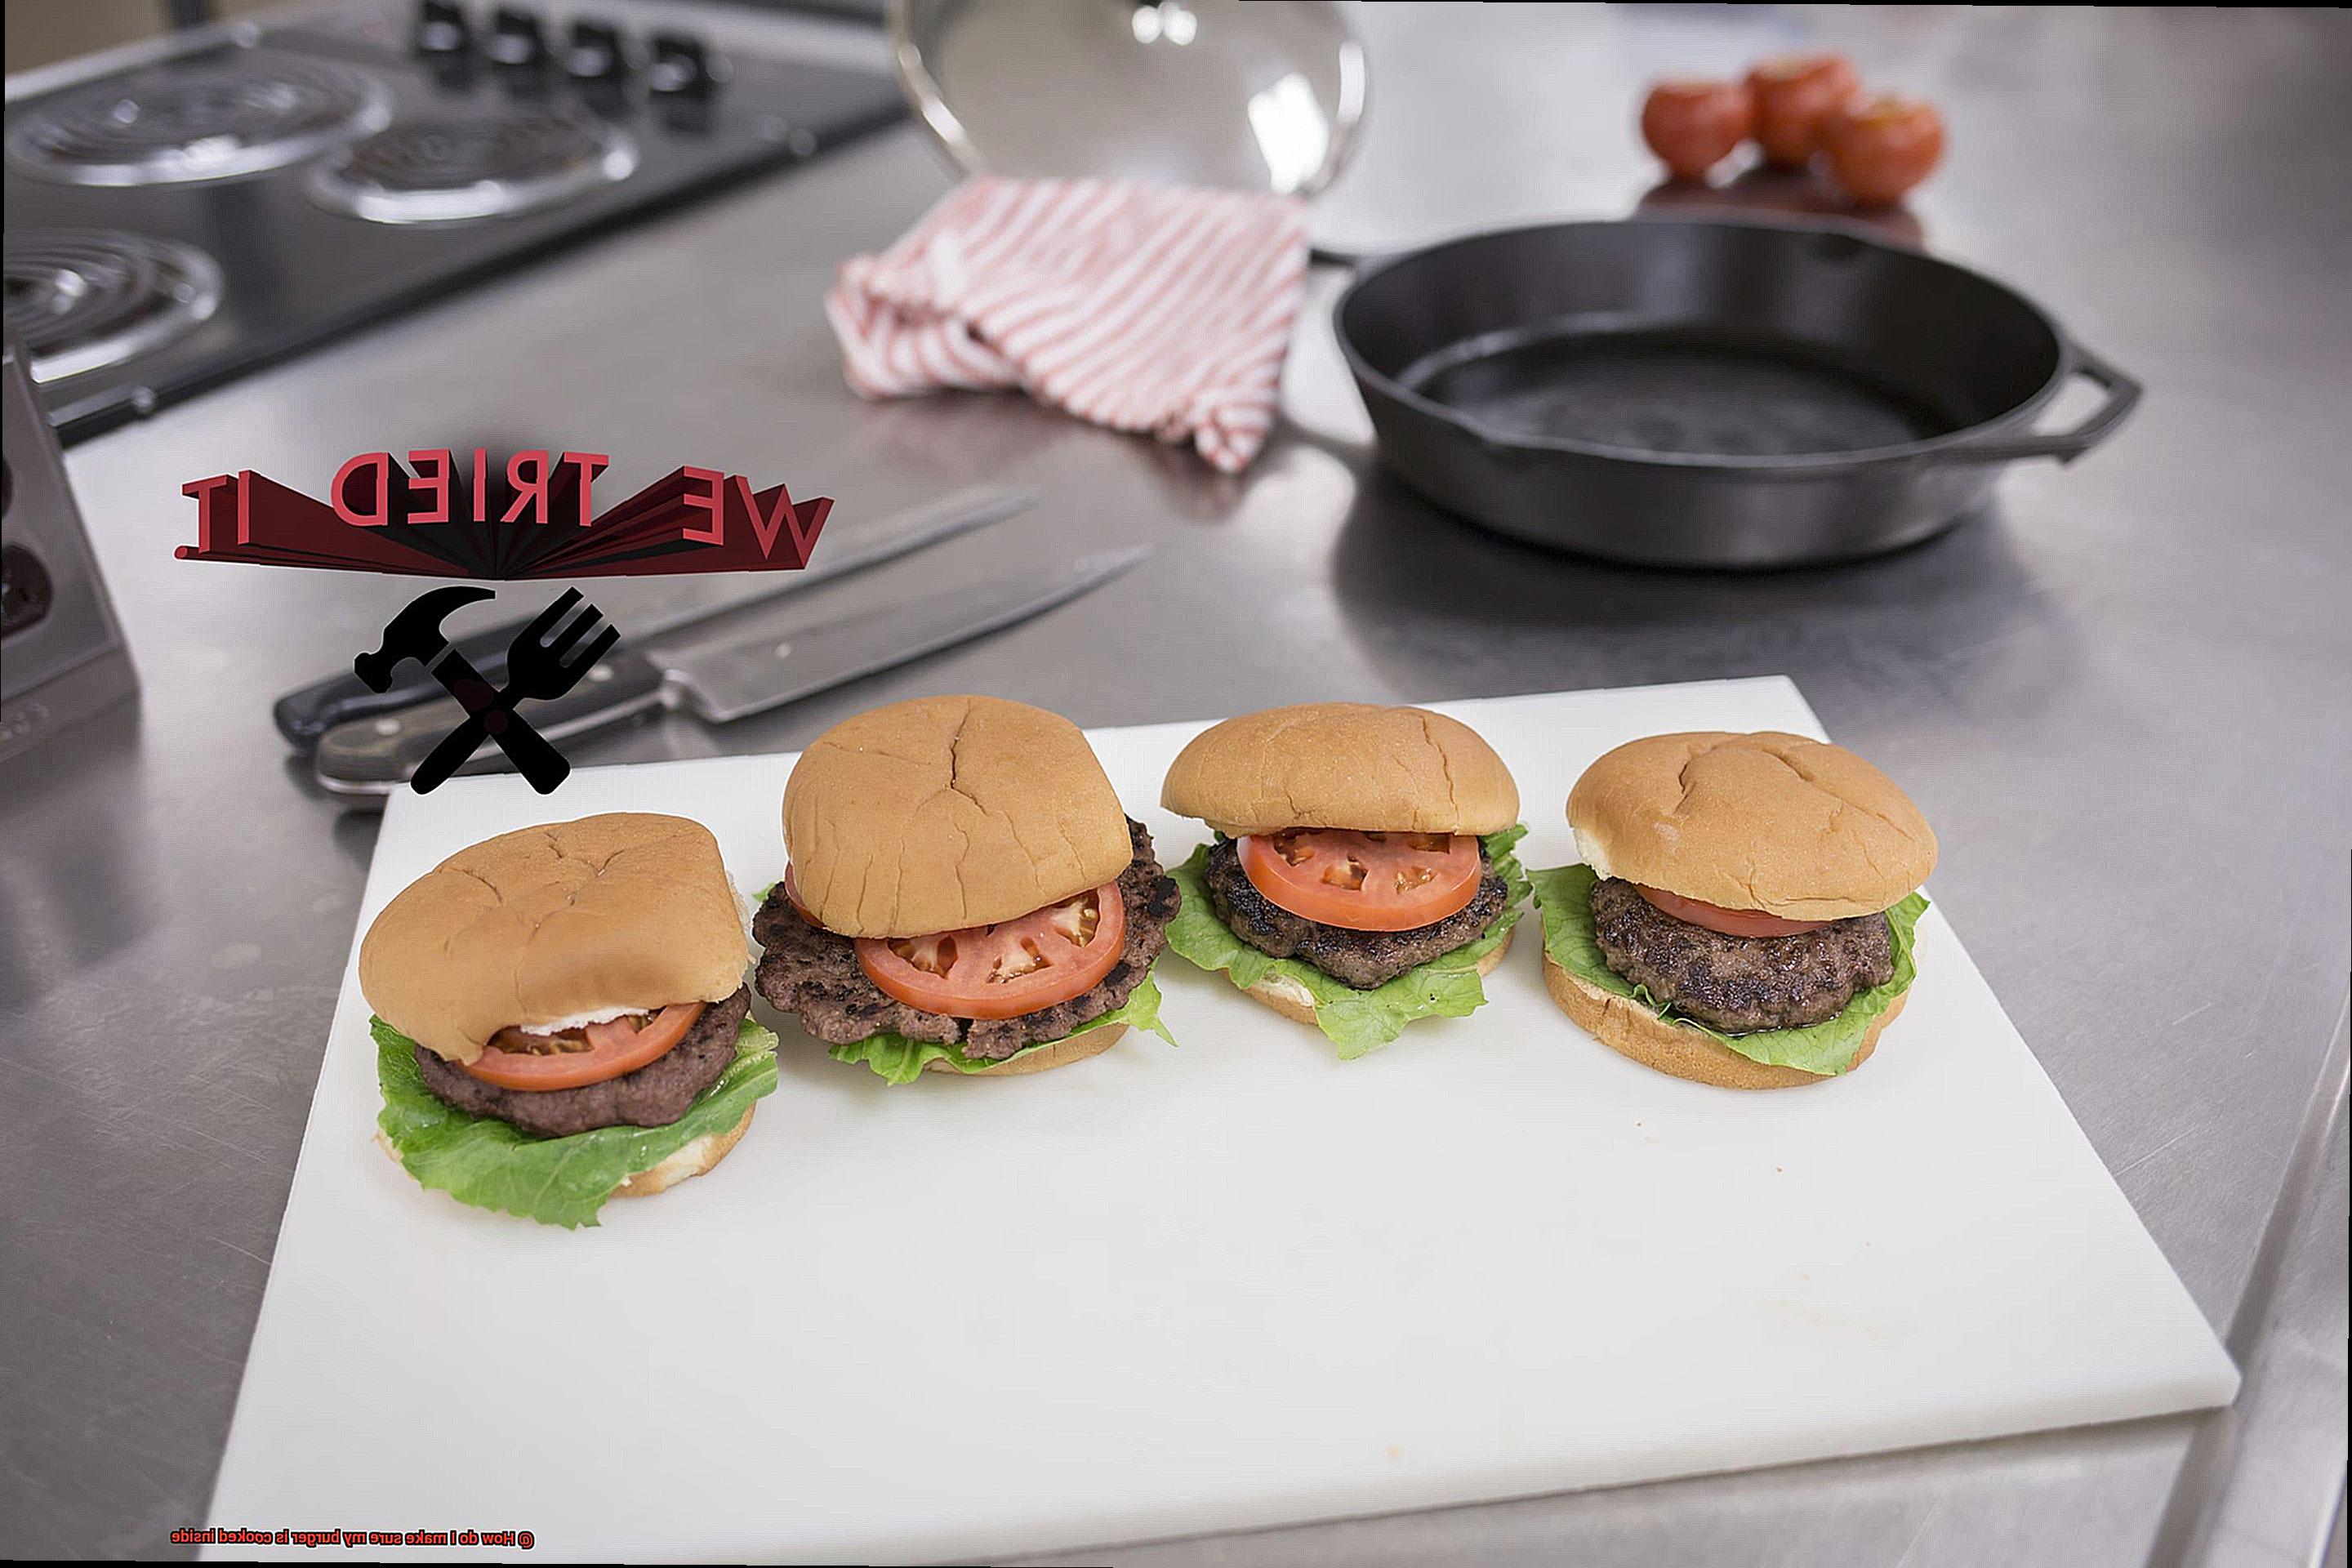
Allowing the Burger to Rest
Allowing the burger to rest after cooking is a game-changer in the world of burgers. As an expert, I can confidently say that this is not just a step, but a crucial step in the burger-making process. The benefits are simply too good to ignore.
Firstly, resting allows the juices to redistribute throughout the meat, making it juicier and more flavorful. It’s like a symphony of flavors happening inside your patty. If you cut into your burger right after cooking, all of those delicious juices will escape onto your plate, leaving you with a dry and lackluster patty. Who wants that?
The time needed for resting will depend on the thickness of your burger and how well-done you want it to be. A general rule of thumb is to let your burger rest for about five minutes for every inch of thickness. So, if you’re grilling up a half-inch thick patty, give it a quick 2-3 minute rest. But if you’re going thick and hearty with an inch-thick patty, let it rest for a full five minutes before slicing in.
During this resting period, feel free to add any toppings or condiments that you desire. This is also the perfect time to toast your buns if you’re going for that extra crispy texture. And don’t worry about your burger getting cold; cover it loosely with foil or a lid to keep it warm.
But wait, there’s more. Allowing your burger to rest can also improve food safety. When you cook meat, bacteria can still be present even if the meat appears fully cooked. Allowing your burger to rest after cooking allows the internal temperature to continue rising, which can help kill off any remaining bacteria. So not only are you making your burger tastier and juicier, but you’re also keeping yourself safe from harmful bacteria.
NZF0cT-ODh4″ >
Conclusion
To ensure your burger is cooked inside, follow these essential tips and tricks.
Start by selecting the right ground beef, handling it safely, and using a meat thermometer to check its internal temperature. Don’t forget that temperature is key for both safety and taste.
Let your burger rest for a few minutes before serving to allow the juices to redistribute throughout the meat. Preheating your grill or stovetop and avoiding pressing down on the patty are also crucial steps in achieving the perfect cook.
Keep an eye out for visual cues like color and juices to determine doneness, flipping only once while grilling. And lastly, allowing your burger to rest after cooking will make it juicier and more flavorful.
With these tips in mind, you’ll be able to create mouth-watering burgers that are cooked inside and out.