Summer is here and you’re ready to fire up your Traeger grill for some epic barbecues. But wait, did you just take it apart for cleaning or maintenance and now you’re stuck on how to put it back together? Don’t sweat it because we’ve got your back. In this blog post, we’ll walk you through the steps of reassembling your Traeger grill with ease.
First things first, let’s gather the tools you’ll need to make the process smoother than butter. Then, we’ll dive into each part of the grill and guide you on where they belong and how to attach them securely. We’ll even share some tips and tricks on how to troubleshoot common issues that may arise during the reassembly process.
With our help, you can get your Traeger grill back in tip-top shape in no time. So let’s get started and have that wood-fired flavor sizzling on your grill once again.
Contents
What You Need to Put Your Traeger Grill Back Together
Putting your Traeger grill back together can be a fun and rewarding experience, but it’s important to have the right tools, parts, and guidance. Don’t worry, though – we’ve got you covered.
In this post, we’ll provide you with all the information you need to put your Traeger grill back together like a pro.
Step 1: Get Your User Manual and Tools Ready
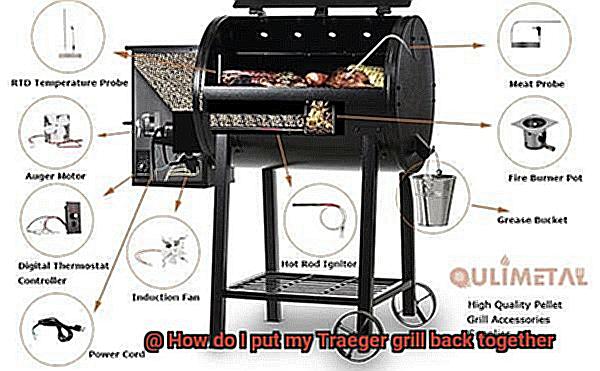
Before starting, make sure you have your user manual on hand. This manual provides a detailed guide on how to disassemble and reassemble your grill correctly. It will also help you identify any missing or damaged parts that need to be replaced. Additionally, gather all the necessary tools such as a screwdriver, pliers, and a wrench. These tools will help you remove and reattach various parts of the grill, including the legs, side shelves, and drip tray.
Step 2: Clean Your Grill Parts
Cleanliness is crucial when it comes to grilling, so make sure all parts are clean and free of debris before reassembling them. This will prevent any unwanted buildup or contamination of food during future grilling sessions.
Step 3: Reassemble Your Traeger Grill
Start by assembling the hopper assembly and attaching it to the grill body. Follow the manufacturer’s instructions carefully to ensure that all parts are accurately aligned and securely attached. Then, install the pellet auger and hopper, which are responsible for delivering pellets from the hopper to the firepot. Securely attach them to both the hopper assembly and the firepot.
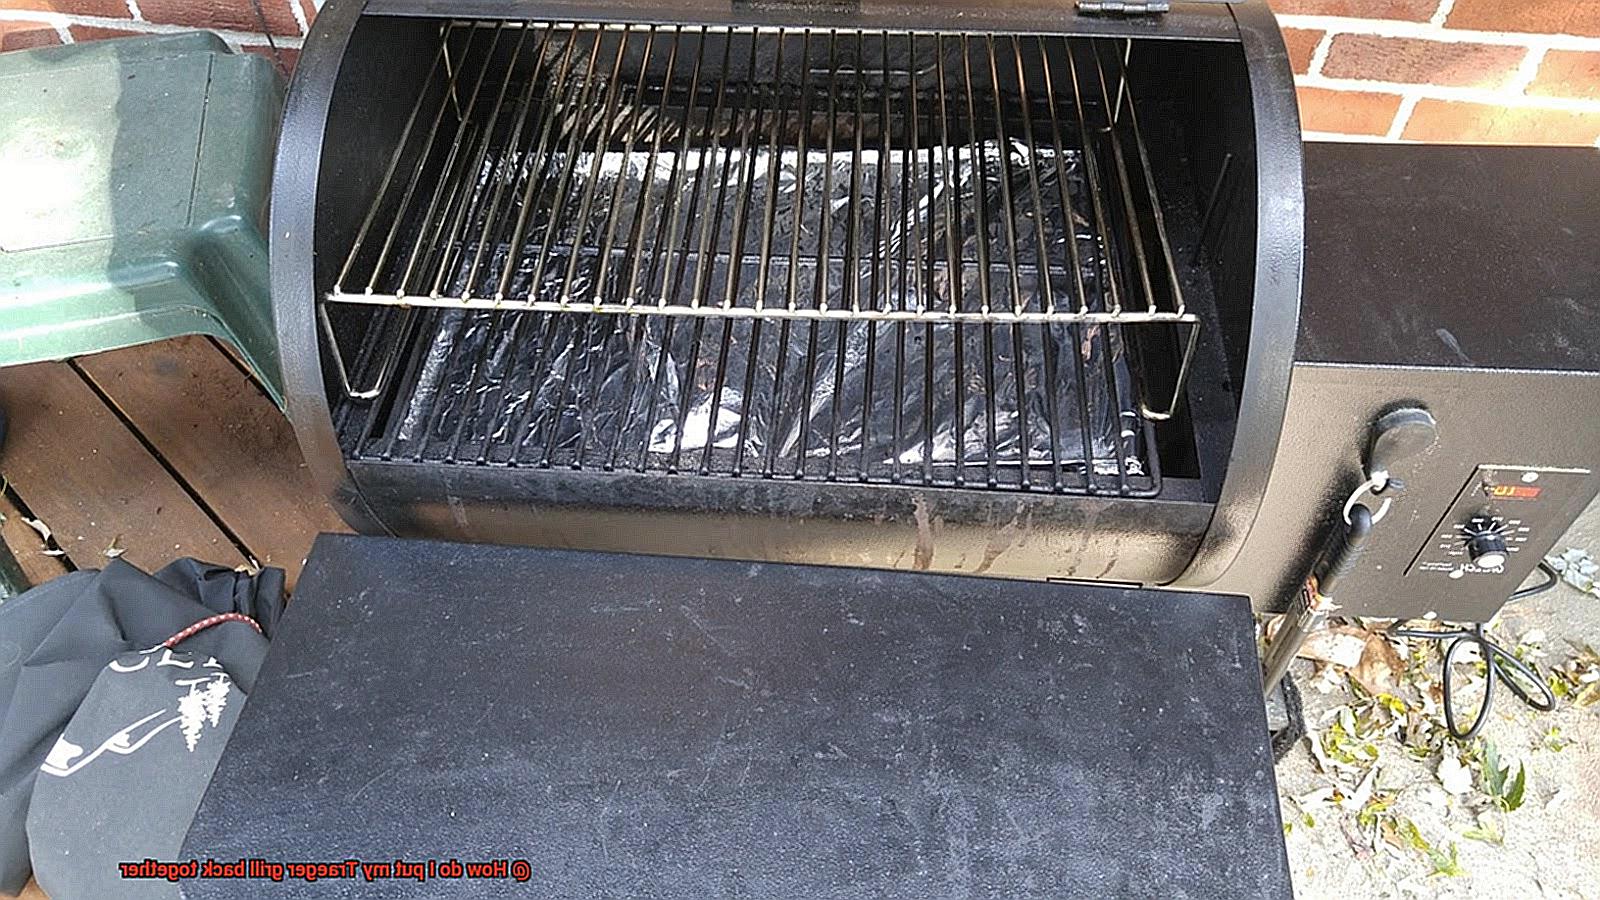
Next, place the grill grates inside the grill body and lock them into place. Ensure that they are level and well-positioned. Connect the grease drain pan to the bottom of the grill body to collect any drippings from your food.
Step 4: Test Your Grill
Once all parts are assembled, turn on your Traeger grill and test it out to ensure everything is working correctly. This step is crucial, as it will help you identify any issues that need to be addressed before your next grilling session.
Step 5: Replace Any Missing or Damaged Parts
If you encounter any missing or damaged parts during the reassembly process, consult your user manual to identify the part and contact Traeger authorized dealers or online stores to purchase replacement parts. This will ensure that your grill is in top-notch condition and ready for your next grilling adventure.
Assembling the Hopper Assembly
Then it’s time to tackle the hopper assembly of your Traeger grill. Don’t worry, with these simple steps, you’ll have it assembled like a pro in no time.
First, ensure that the pellet hopper is spick and span, free of any debris. After that, attach the auger motor to the bottom of the hopper using the provided screws. Make sure the motor is securely attached for optimal performance.
Next up is inserting the auger into the motor and aligning it with the hole on the bottom of the hopper. A quick test run by turning the auger by hand will help ensure smooth and easy movement.
Once everything is in place, it’s time to attach the hopper to the grill body with the bolts provided. Make sure everything is tightened up and securely in place before moving on to the final step.
Now that everything is assembled, it’s time to plug in the electric cord for the hopper assembly and turn on your Traeger grill. Check that pellets are feeding properly into the firepot before starting your grilling adventure.
Installing the Pellet Auger and Hopper
The key to perfectly grilled meats and veggies lies in installing the pellet auger and hopper. Fear not, because with these simple steps and a few essential tools, you’ll have it up and running in no time.
First things first, unplug your grill and gather your tools. You’ll need a Phillips screwdriver, a flathead screwdriver, pliers, and a wrench.
Let’s start with the hopper. Remove any packaging material or shipping bolts that may be attached to it. Align the hopper with the mounting holes on your Traeger grill, and secure it with screws. Use your wrench to tighten them properly. Voila. Your hopper is now in place and ready to store your wood pellets.
Now it’s time for the pellet auger. Insert it into the hole at the bottom of the hopper and turn it clockwise until it locks into place. Attach the motor to the bracket on the side of the grill using screws and pliers. Be careful not to overtighten them as this could damage the motor.
With both the pellet auger and hopper installed, connect them using the electrical connector provided. Double-check that they are securely attached before plugging in your Traeger grill.
Before starting your grilling adventure, turn on your grill to ensure that pellets are feeding properly. Now you’re ready to impress your friends and family with perfectly smoked meats and veggies all year round.
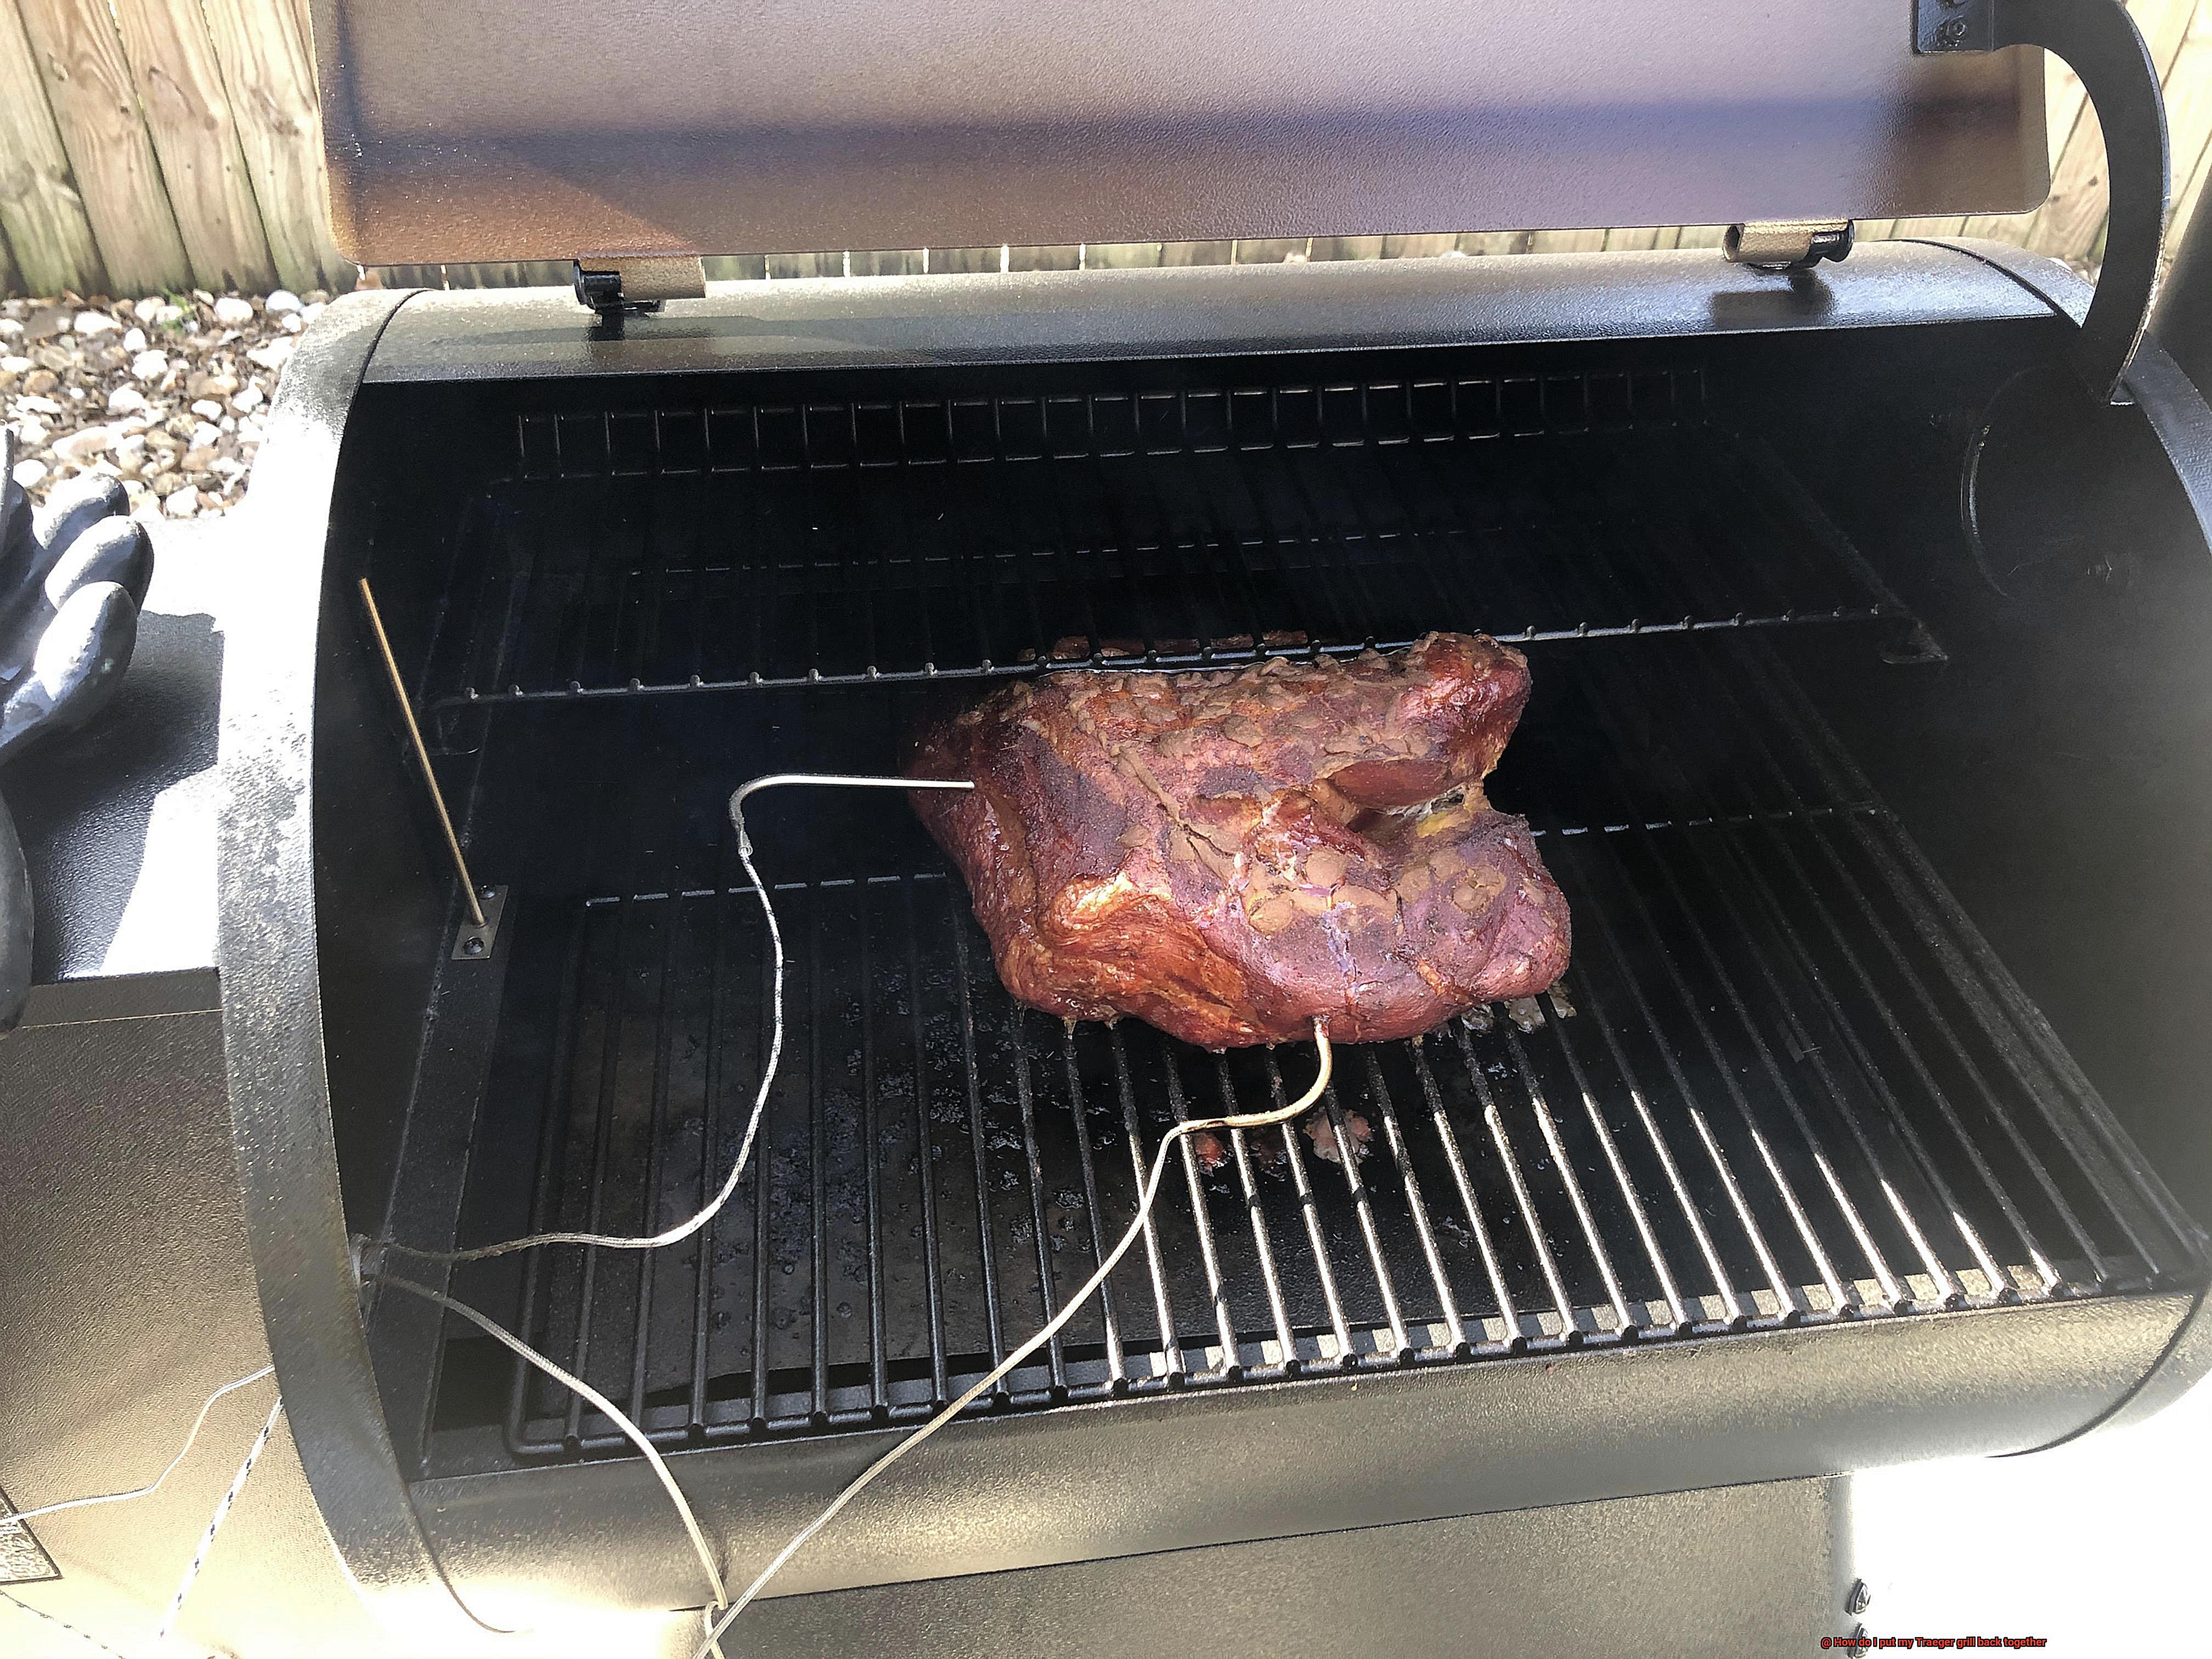
Attaching the Grill Grates
You’ve successfully installed the pellet auger and hopper, but the final step is attaching the grill grates. The grill grates are where the culinary magic happens, so it’s important to ensure they are securely attached and level.
To start, place the grill grates on the brackets inside the grill. Make sure they sit evenly on the brackets, and ensure they are level. This is crucial to prevent any food from sliding around or falling off during cooking. Once your grill grates are in place, it’s time to move on to attaching the heat diffuser plate.
The heat diffuser plate is an essential component of your Traeger grill, as it helps distribute heat evenly throughout the cooking chamber. To attach it, line up the notches on either side of the plate with the brackets inside the grill. Slide it into place until it sits snugly against the back wall. With this step completed, you’re well on your way to mastering your Traeger grill.
Don’t forget about the grease tray. This handy accessory catches any drippings from your food and makes clean-up a breeze. Simply slide it into the slot at the bottom of the grill and make sure it sits firmly in place.
It’s worth noting that different models of Traeger grills may have slightly different methods for attaching the grill grates. Always consult your owner’s manual for specific instructions for your model.
With all components now securely attached, turn on your Traeger grill and let it preheat before adding your food. A properly preheated grill ensures that your food cooks evenly and tastes delicious every time.
Connecting the Grease Drain Pan
As we continue our journey of putting your Traeger grill back together, let’s talk about one of the most crucial steps – connecting the grease drain pan. This small component may seem insignificant, but it plays a vital role in ensuring a safe and enjoyable grilling experience.
To connect the grease drain pan, start by locating the two notches on the bottom of the grill that will hold the pan in place. Once you’ve found them, slide the grease drain pan into place until it clicks securely into position. It’s that simple. However, it’s essential to double-check that the grease drain pan is properly connected before using your grill.
Why is proper connection so important? The grease drain pan is responsible for catching any excess grease that drips down from the cooking grates during use. Without it, grease can leak out of the grill and potentially cause a fire or create a big mess. Nobody wants that.
To ensure that the grease drain pan is properly connected, give it a gentle tug to ensure that it’s firmly in place and won’t come loose during use. If you notice any issues with the connection, make sure to adjust it until it’s secure. Remember, taking the time to properly connect the grease drain pan will help prevent any potential accidents or messes while cooking on your Traeger grill.
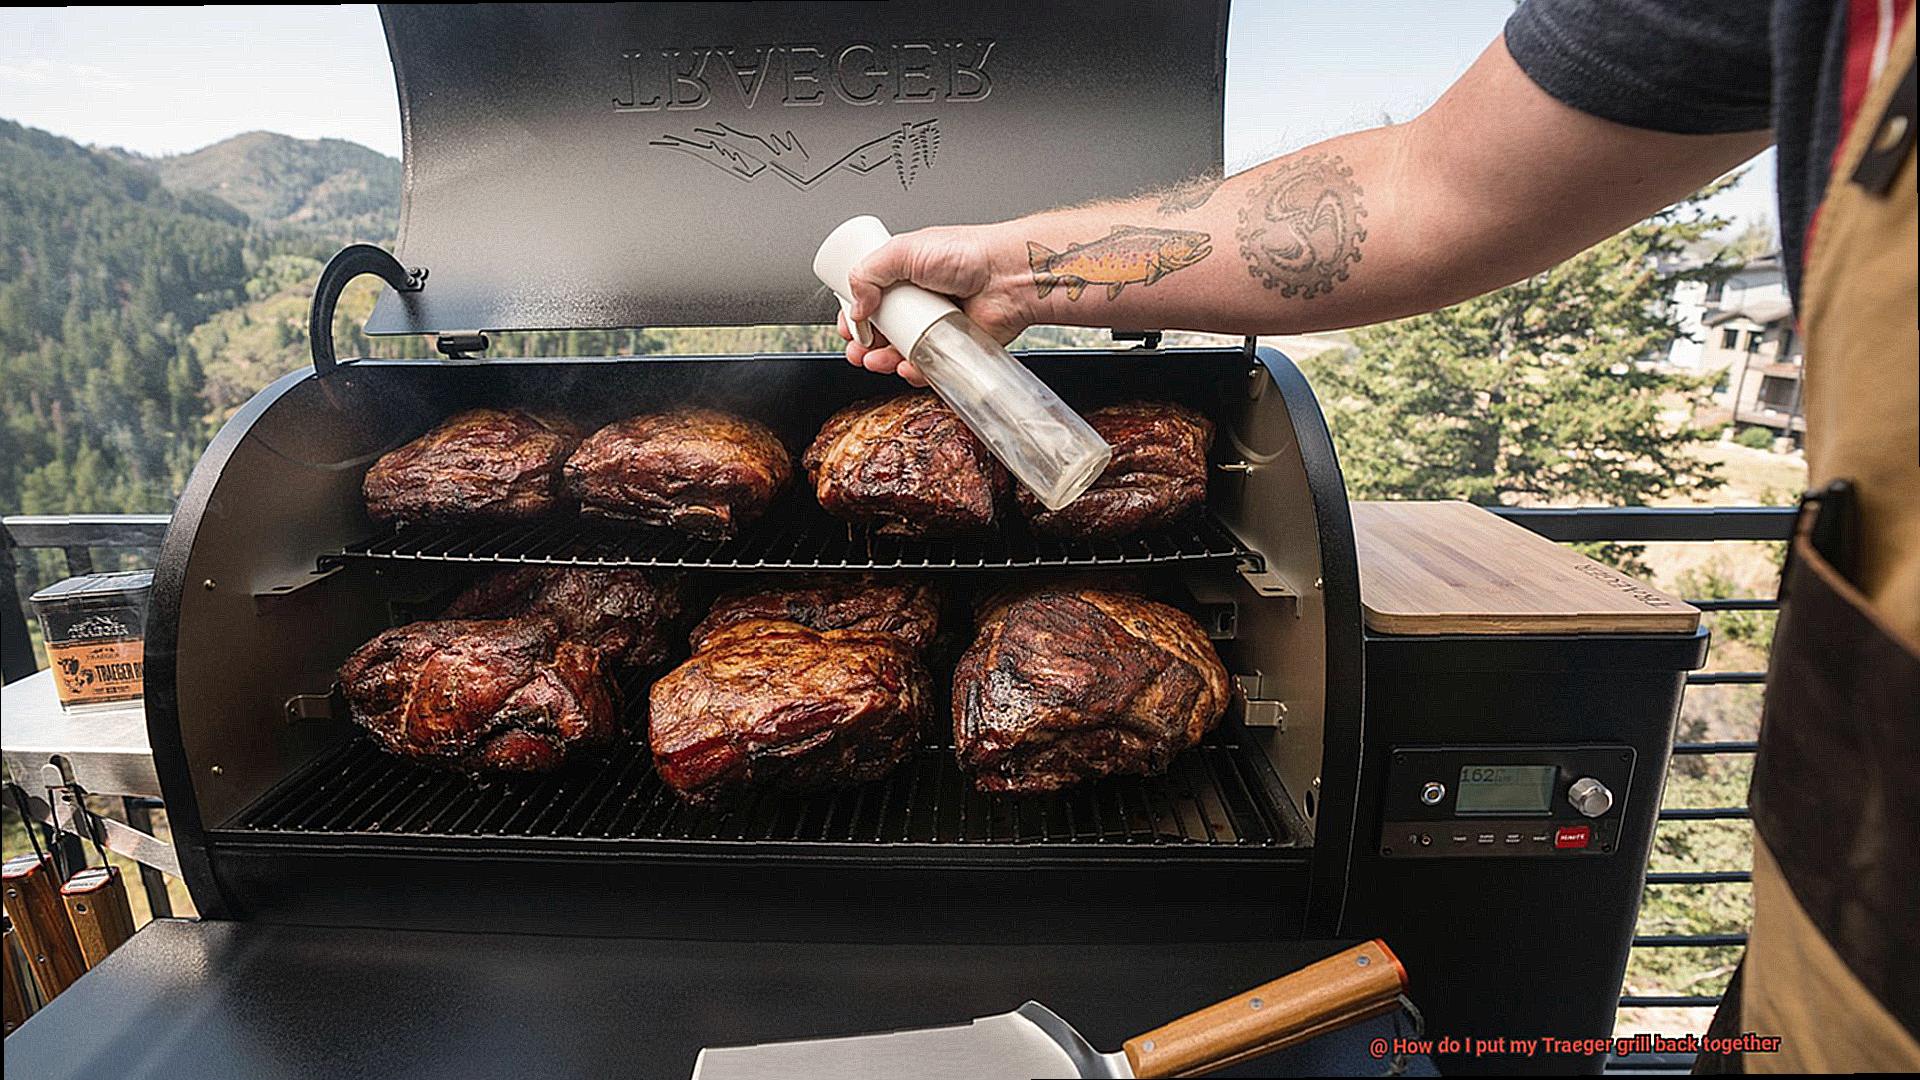
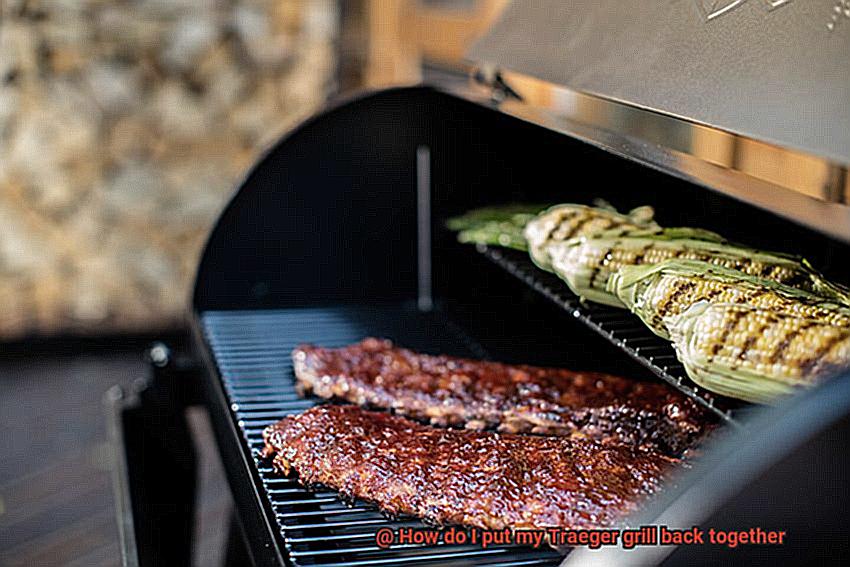
Testing Your Grill
You’ve spent hours assembling your Traeger grill, and now it’s time to put it to the test. But before you start grilling up a storm, it’s crucial to ensure that your grill is functioning properly and safely. Here are some steps to follow for testing your grill after assembly:
- Double-Check the Assembly: Safety first. Before firing up your grill, make sure that all the parts are securely in place and there are no loose screws or pieces. You don’t want any accidents to happen while you’re cooking.
- Heat it Up: It’s time to heat things up. Turn on the grill and let it heat up for about 10-15 minutes. This allows you to check if the igniter is working correctly and if the temperature control is functioning as it should.
- Monitor the Cooking Process: Now that your grill has heated up, place some food on the grates and monitor the cooking process. Check that the flames are even and there are no hot spots on the grill. If you notice any issues, such as uneven heating or inconsistent flames, refer to the manufacturer’s instructions or contact customer support for assistance.
- Test the Smoke Production: A great barbecue isn’t complete without some delicious smoky flavor. To test your grill’s smoke production, add wood pellets to the hopper and monitor the smoke output. This will give you an idea of how much smoky goodness your food will have when cooking.
- Clean Up: After testing your grill, don’t forget to clean it thoroughly and keep it in good condition for future cookouts.
Tips for Putting Your Traeger Grill Back Together
Putting your Traeger grill back together can be an overwhelming task, but with the right guidance, it can be a breeze. Here are five tips to follow when reassembling your Traeger grill:
Take it Slow and Steady
The key to putting your Traeger grill back together is taking your time. Don’t rush through the process; instead, go step by step, ensuring that each piece is in the right place before moving on to the next one. This will prevent any mistakes and ensure that your grill is working correctly.
Clean as You Go
As you take apart your Traeger grill, make sure to clean each piece thoroughly before putting it back together. This will ensure that your grill is clean and ready to use once it’s put back together. Use warm soapy water and a brush to scrub away any stubborn residue, then dry each part thoroughly.
Use the Manual
The user manual that came with your Traeger grill is an essential resource when it comes to putting it back together. Make sure to refer to it often and follow each step carefully. If you’ve lost the manual, you can usually find a digital copy online.
Double-Check Everything
Before firing up your Traeger grill, double-check each part to make sure that everything is securely in place. This will help prevent any accidents or mishaps while grilling. Take an extra few minutes to double-check everything before starting up your grill.
Get Help if Needed
If you’re having trouble putting your Traeger grill back together, don’t hesitate to ask for help. Whether it’s a friend who’s handy with tools or a professional technician, getting help can save you time and frustration in the long run.
gQozRCO8mi8″ >
Conclusion
In conclusion, putting your Traeger grill back together after cleaning or maintenance may seem like a daunting task, but with the right approach, it can be a breeze. By following the step-by-step instructions provided in this post and taking your time to clean as you go, you’ll soon have your Traeger grill up and running like a pro.
It’s important to remember to refer to your user manual and double-check everything before firing up your grill. Don’t hesitate to ask for help if needed, as safety is paramount when dealing with any kind of equipment.
Once you’ve reassembled your Traeger grill, it’s crucial to test it before using it for cooking to ensure that everything is working correctly and safely. Keep an eye on the cooking process and smoke production as well, as these factors can affect the taste and quality of your food.
By taking good care of your Traeger grill and ensuring that it’s put back together properly after cleaning or maintenance, you’ll be able to savor delicious wood-fired flavor all summer long.