Are you tired of the greasy mess that comes with using your Traeger grill? Fear not, for resetting the grease trap is a simple solution to ensure optimal grill performance. Don’t let the process intimidate you – whether you’re a seasoned pitmaster or new to grilling, we’ve got you covered.
Resetting your Traeger grease trap can make a significant difference in how efficiently your grill operates. In this blog post, we’ll guide you through the easy-to-follow steps of resetting your Traeger grease trap. We’ll also explain why it’s crucial to clean and maintain your grease trap and provide tips on avoiding common mistakes.
By the end of this post, you’ll be well-equipped with all the knowledge necessary to reset your Traeger grease trap like a pro. So get ready to enjoy a cleaner and more efficient grilling experience – keep reading to learn how.
Contents
What is a Traeger Grease Trap?
Then, you know how essential it is to maintain its various components to ensure that your grill functions at its best. One of the most critical components that require regular maintenance is the Traeger grease trap.
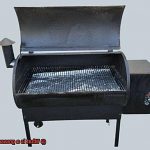
A Traeger grease trap is a simple yet effective device that collects excess grease and oils produced during the grilling process. It comprises a collection bucket, a drip tray, and a metal grate, all located at the bottom of the grill. The collection bucket catches drippings from the cooking grates, while the drip tray channels them into it. Finally, the metal grate distributes heat evenly throughout the grill.
Keeping your Traeger grease trap in good condition is crucial to maintaining your grill’s performance and ensuring that it produces high-quality food. Old grease and food particles can clog up your grease trap over time, causing your grill to malfunction and produce poor quality food. Therefore, it’s essential to reset your Traeger grease trap regularly, preferably after each use.
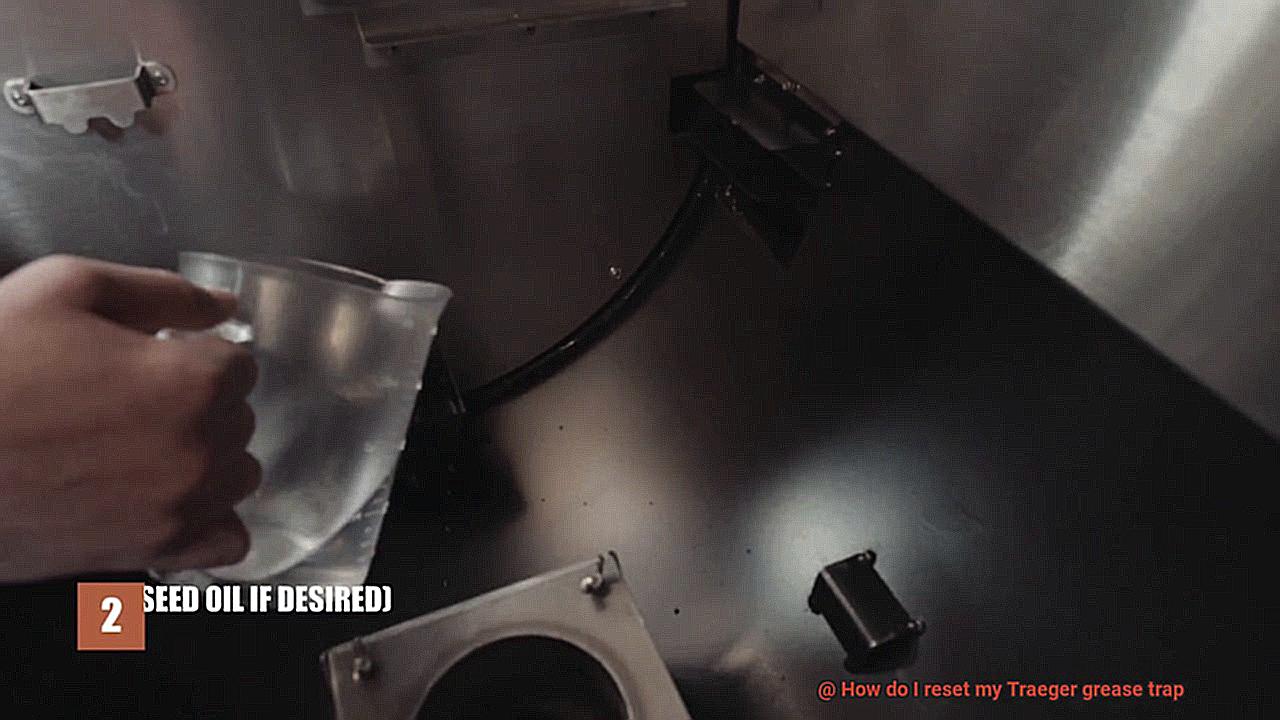
The process of resetting your Traeger grease trap is straightforward and can be completed in just a few easy steps. Firstly, ensure that your grill has cooled down completely and is turned off to prevent accidents or injuries while working on the grease trap. Once cooled down, remove the drip pan and empty it of any excess grease or debris.
Next, remove the grease bucket located on the right-hand side of your grill near the bottom. Clean it out thoroughly with hot soapy water, ensuring that all sides are scrubbed clean of any built-up grease or debris. Rinse the bucket with hot water and dry it off with a clean towel.
By regularly emptying and cleaning your Traeger grease trap, you can prevent flare-ups and keep your grill clean for years to come. Flare-ups can occur when excess grease and oils build up on your cooking grates, causing flames to shoot up and potentially burn your food. By keeping your Traeger grease trap clean, you can prevent these flare-ups from happening and enjoy perfectly grilled food every time.
Why Do You Need to Reset Your Grease Trap?

When it comes to grilling, we all know that the delicious aroma of cooked meat is hard to resist. But have you ever stopped to consider what happens to all that grease? That’s where your grease trap comes in. It’s a crucial component of your Traeger grill, and resetting it regularly is essential for several reasons.
Firstly, as you cook more and more, grease accumulates in the trap. If you don’t reset it regularly, this can cause blockages, leading to uneven heating and poor performance. By removing any accumulated debris or grease, resetting your grease trap helps keep your grill running smoothly and efficiently.
But that’s not all. A clogged grease trap can also create a fire hazard, which is especially true when cooking with high heat or fatty foods. Excess grease can ignite and cause dangerous flare-ups. Regularly resetting your grease trap reduces the risk of fire hazards and ensures that your grill operates safely.
Moreover, neglecting to reset your grease trap can lead to damage to your grill’s components. Resetting it regularly maintains your grill’s performance and ensures increased longevity.

Preparing to Reset the Grease Trap
Preparing to reset your Traeger grease trap is an essential step in keeping your grill running smoothly for years to come. As an expert on this topic, I’ve compiled some research notes to help guide you through the process and ensure a safe and effective cleaning process.

To begin, gather all the necessary tools and materials before starting. You’ll need gloves, a scraper or spatula, paper towels or rags, and a container for the old grease. Having these items on hand will prevent any unnecessary scrambling halfway through the process.
Next, turn off your Traeger grill and unplug it from the power source. This important safety step will prevent any accidents or injuries while you work on resetting the grease trap. It’s also crucial to let the grill cool down for at least 30 minutes before attempting to reset the grease trap.
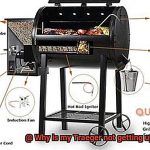
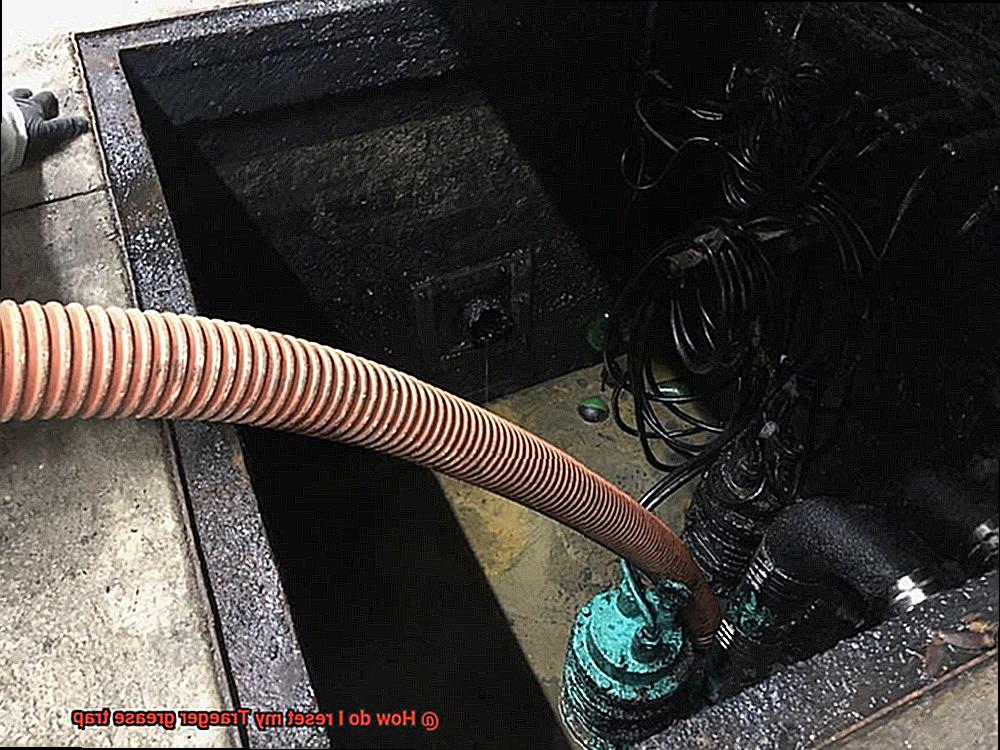
Once the grill has cooled down, locate the grease trap on your Traeger grill. It’s usually located underneath the grill or on the side of the hopper. Use a scraper or spatula to remove any excess grease from the trap and wipe it down with paper towels or rags.
Now it’s time to carefully remove the grease trap from your Traeger grill and empty any remaining grease into a container. Properly disposing of old grease according to local regulations is essential.
Inspect the grease trap for any damage or wear and tear. If you notice any cracks or other signs of damage, it may be time to replace the grease trap altogether. It’s better to catch any issues early on before they become bigger problems.
Finally, clean the grease trap thoroughly with soap and water before reinserting it back into your Traeger grill. Make sure it’s securely in place before plugging in and turning on your grill again.
Removing the Grease Bucket
One essential part of this maintenance is resetting the grease trap by removing the grease bucket. But don’t worry, this process is simple and straightforward with a few easy steps.
First, turn off your grill and let it cool down for at least 30 minutes. This will allow any hot grease or oil to solidify, making it easier to handle. Once your grill is cool, locate the grease bucket underneath. Depending on your model, it may be on either side or in the center, but it’s typically easy to find.
Carefully slide the bucket out from its holder and set it aside on a flat surface. Be sure to wear gloves or use a towel to handle the bucket as it may still be hot or greasy. Now that you have removed the grease bucket, take a moment to inspect it for any buildup or damage.
If there is excessive grease or oil inside, use a paper towel or cloth to wipe it out before disposing of it properly. Some Traeger models come with disposable liners for the grease bucket, which can make cleanup even easier. These liners are a great option as they help keep your grill clean and make disposing of old grease a breeze.
If your model does not have liners available, be sure to clean and dry the bucket thoroughly before replacing it back into its holder. By taking these simple steps, you can prevent any potential fire hazards and help keep your grill running smoothly.
Cleaning the Grease Bucket
Over time, grease and debris can accumulate in the bucket, causing performance issues and potentially even posing a fire hazard. To avoid these problems, it’s important to clean the grease bucket regularly.
To start, locate the grease bucket at the bottom of your Traeger grill, typically underneath the firepot. Depending on your model, you may need to remove a cover or grate to access it. Once removed, empty out any accumulated grease or debris and dispose of it properly.
Next, take a damp cloth and wipe down the inside of the bucket to remove any remaining residue. This prevents buildup and keeps your grill functioning optimally. Remember to never pour hot grease or oil into the bucket as this can cause serious safety hazards.
Inspecting the bucket for any signs of damage or wear and tear is also crucial. If you notice any cracks or holes, replace the bucket immediately to avoid potential issues down the road.
Cleaning the grease bucket should be part of your regular grill maintenance routine to ensure optimal performance and safety. By following these simple steps, you can keep your Traeger grill running smoothly for years to come and enjoy delicious grilled meals with peace of mind.
Reattaching the Grease Bucket
One essential step to keep your grill running safely and efficiently is reattaching the grease bucket. Although it may seem like a small detail, it’s crucial to ensure that the bucket is securely attached to prevent any leaks or spills. Let’s dive into the details.
First things first, safety should always come first. Make sure your grill is turned off and has cooled down before attempting to reattach the grease bucket. Once you’ve done that, locate the grease bucket underneath the grill and remove it by lifting it straight up. Don’t forget to empty any leftover grease into a disposable container and give the bucket a quick wipe down with a damp cloth.
Now, inspect the area where the bucket attaches to the grill. It’s crucial to make sure everything looks good and there are no cracks or damage to the attachment point. If you do notice any issues, it’s best to replace the part before proceeding.
Ready to reattach? This is where the magic happens. Simply place the bucket back into position and push down until you hear a satisfying click or feel it lock into place. Give the bucket a gentle tug to ensure that it’s securely attached. You’re almost done.
Pro tip: If you have a newer model Traeger grill, you may see magnets instead of clips for attaching the grease bucket. No need to panic. Just align the magnets on the bucket with the corresponding magnets on the grill and press firmly until they snap into place.
One last thing to remember – regular cleaning and maintenance of your grease bucket is key to prevent buildup and ensure optimal performance. So don’t forget to make this part of your routine cleaning process.
To sum up, here are some key takeaways:
- Always prioritize safety by turning off and cooling down your grill before reattaching the grease bucket.
- Inspect the attachment point for any cracks or damage before reattaching the bucket.
- Push down until you hear a click or feel it lock into place, and give the bucket a gentle tug to ensure it’s securely attached.
- If you have a newer model Traeger grill, align the magnets on the bucket with the corresponding magnets on the grill and press firmly until they snap into place.
- Regularly clean and maintain your grease bucket for optimal performance.
Replacing the Drip Pan
Grill masters, it’s time to take your Traeger grill maintenance game to a whole new level. While replacing the drip pan may not be the most glamorous task, it’s a crucial one that should never be overlooked. Let’s dive into the essential steps on how to replace your Traeger grill’s drip pan.
First and foremost, safety is paramount. Before starting, turn off and unplug your grill, and wait for it to cool down completely. Once it’s cool, remove the grill grates and heat diffuser plate to access the drip pan.
The drip pan plays a vital role in collecting all the excess grease and food particles that fall off your meat during cooking, preventing them from clogging up your grill’s grease trap. Over time, the drip pan can become damaged or rusted, so it’s important to replace it regularly.
Now it’s time to remove any attachments that hold the old drip pan in place. Depending on your model, this could be clips or screws. Carefully remove them and slide out the old drip pan. Be sure to clean any remaining grease or debris from the area with a damp cloth – we don’t want any fire hazards.
Installing the new drip pan is where the fun begins. Slide it in and reattach any clips or screws that hold it in place. Make sure everything is snug and secure before moving on to the final step.
Replace the heat diffuser plate and grill grates, then plug in your Traeger grill. Congratulations. You’ve replaced your drip pan like a pro.
But wait, there’s more. Regular maintenance of your Traeger grill can extend its lifespan and prevent accidents or malfunctions. It’s recommended to replace your drip pan every six months to maintain optimal performance.
To summarize:
- Turn off and unplug your grill before starting.
- Remove the grill grates and heat diffuser plate to access the drip pan.
- Remove any attachments holding the old drip pan in place.
- Clean any remaining grease or debris from the area.
- Install the new drip pan and reattach any clips or screws.
- Replace the heat diffuser plate and grill grates.
- Plug in your Traeger grill.
Testing the Grill After Resetting the Trap
Now, before you start grilling up a storm, it’s important to ensure that the grill is functioning correctly. Don’t worry, testing the grill after resetting the trap is a simple process. Here are some easy steps to follow:
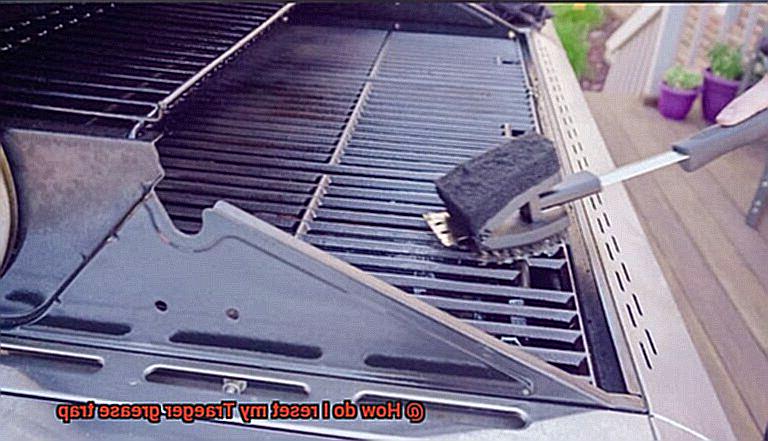
Step 1: Clean the Grill
Ensure that your grill is clean and free of debris. This step is essential to prevent clogs or blockages in the system.
Step 2: Warm Up the Grill
Turn on the grill and let it warm up for a few minutes. This will help confirm that all components are functioning properly, and your grill is heating up correctly.
Step 3: Check the Temperature Gauge
Checking the temperature gauge is an essential step in testing your Traeger grill. Make sure it’s reading accurately. If not, consider adjusting or replacing it.
Step 4: Test the Ignition System
It’s time to test the ignition system. Turn off the grill and then attempt to light it again. If the grill lights up quickly and easily, then the ignition system is functioning correctly.
Step 5: Check the Flame Pattern
Now, check the flame pattern to ensure proper airflow. The flame should be blue and consistent across all burners. If there are any yellow or uneven flames, then there may be an issue with the airflow or fuel supply.
By following these steps, you can ensure that your Traeger grill is functioning properly after resetting the grease trap. Regular maintenance every six months helps extend your grill’s lifespan and prevent accidents or malfunctions.
qJXUcikPiMk” >
Conclusion
To sum up, resetting your Traeger grease trap is a crucial aspect of keeping your grill in top-notch condition. By regularly cleaning and resetting your grease trap, you can prevent blockages, guarantee uniform heating, and minimize the risk of fire hazards. Not to mention, it extends the lifespan of your grill.
To reset your Traeger grease trap like a pro, begin by gathering all necessary tools and materials. Then, remove the drip pan and grease bucket, thoroughly clean them with soap and water, and securely reattach them. Furthermore, inspect them for any signs of damage or wear that may require replacement.
Prioritize safety by turning off and unplugging your grill before starting any maintenance work. After resetting the trap, test the grill to ensure proper functioning.
By following these simple steps outlined in this blog post, you’ll be well-equipped with all the knowledge required to reset your Traeger grease trap proficiently.