Are you ready to take your outdoor cooking game to the next level? If so, it’s time to learn how to start your Blackstone griddle. These versatile and durable griddles have become a favorite among outdoor cooking enthusiasts for their ease of use and delicious results. But if you’re new to the world of Blackstone griddles, starting one up can be daunting. Fortunately, we’ve got you covered.
Picture this: a beautiful day outside, the sound of sizzling burgers filling the air, and the aroma of grilled onions wafting around you. With a Blackstone griddle, you can create this idyllic scene right in your own backyard. But before you can start cooking up a storm, you need to know how to start your Blackstone griddle like a pro.
In this blog post, we’ll guide you through all the essential steps of starting your Blackstone griddle. From preheating to ignition, we’ll cover everything you need to know to get started safely and smoothly. Whether you’re an experienced chef or just starting out with outdoor cooking, our tips and tricks will give you the confidence to fire up your Blackstone griddle and cook up all your favorite dishes with ease. So let’s get started on this tasty journey together.
Contents
What is a Blackstone Griddle?
If you’re a fan of outdoor cooking, you need to know about the Blackstone Griddle. This versatile cooking tool has become a game-changer among outdoor cooking enthusiasts and professional chefs alike. So, what makes the Blackstone Griddle so special?
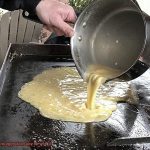
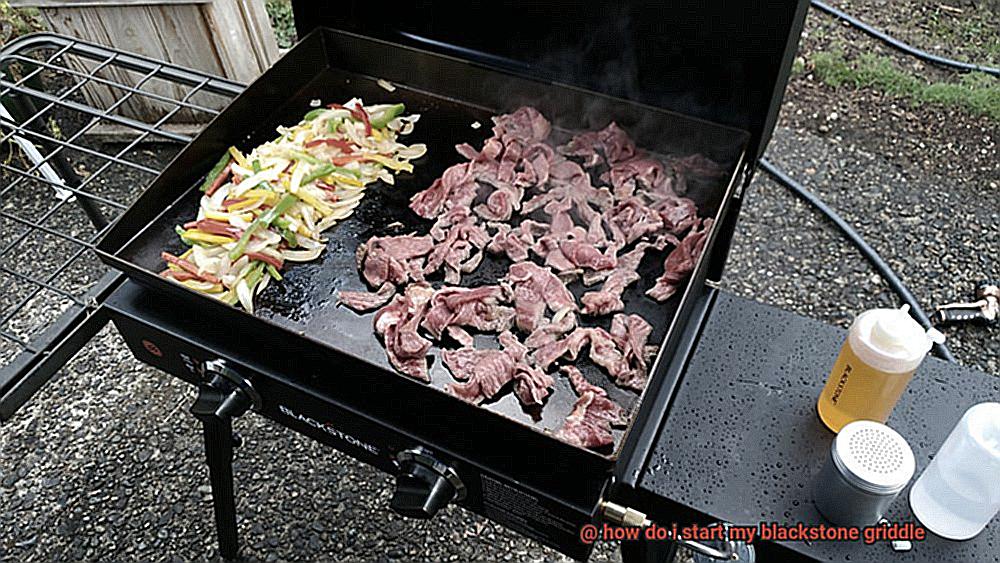
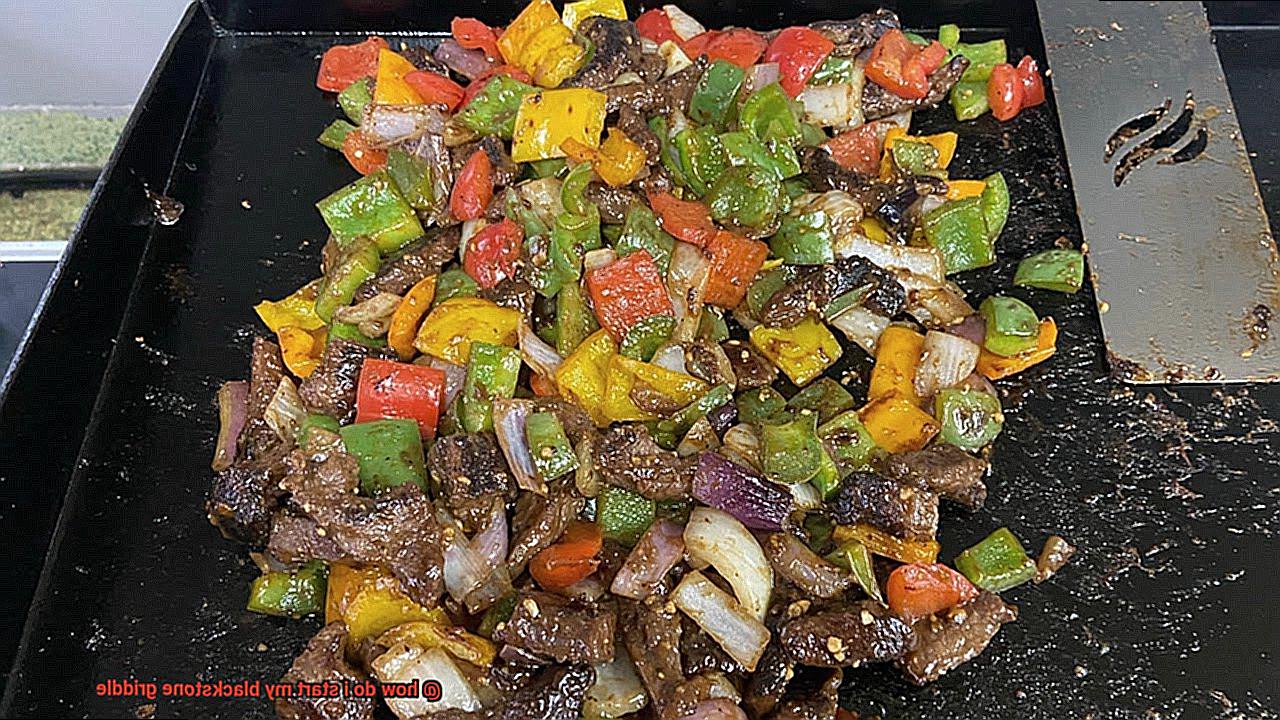
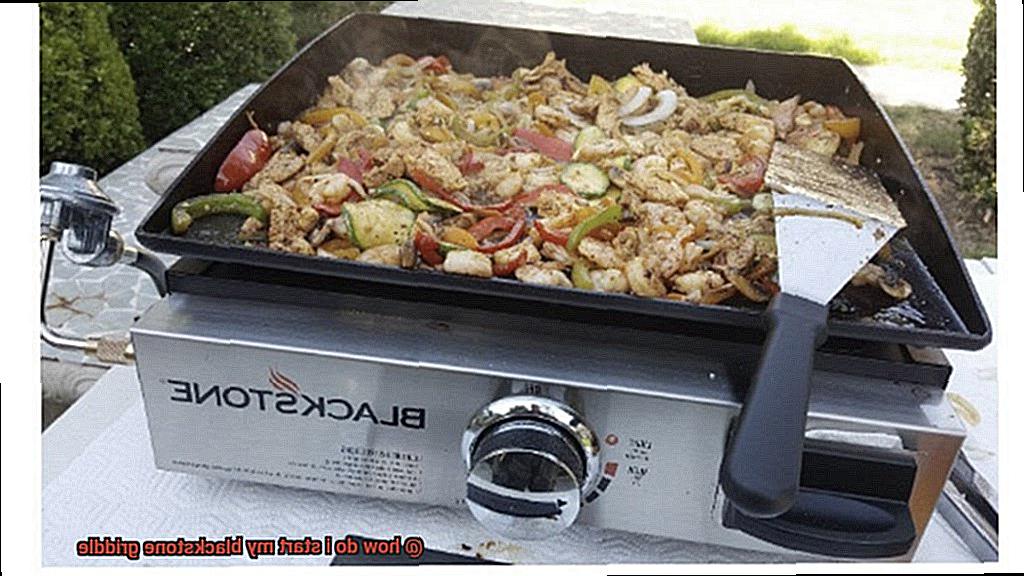
The Blackstone Griddle is designed with a flat cooking surface made of steel or iron that can handle high temperatures. This feature allows you to cook various meals, from burgers and steaks to pancakes and eggs. Unlike traditional grills with grates, the griddle’s non-stick surface makes it easy to clean and maintain.
Fuelled by propane gas or natural gas, the Blackstone Griddle is efficient and easy to use. With adjustable heat settings, you can control the temperature of the cooking surface for precise cooking – a crucial feature for delicate foods like eggs or pancakes.
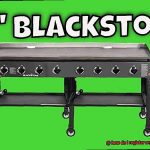
The Blackstone Griddle comes in various sizes, ranging from small tabletop models to larger freestanding models that can feed a large group of people. Plus, its portability makes it ideal for outdoor cooking and camping trips. Take it with you on your next adventure without worrying about setting up a traditional grill.
It’s essential to note that safety should always be your top priority when using any outdoor cooking appliance. The Blackstone Griddle should be placed in a well-ventilated area and never used indoors or in an enclosed space. Keep flammable materials away from the grill, and never leave it unattended while in use.
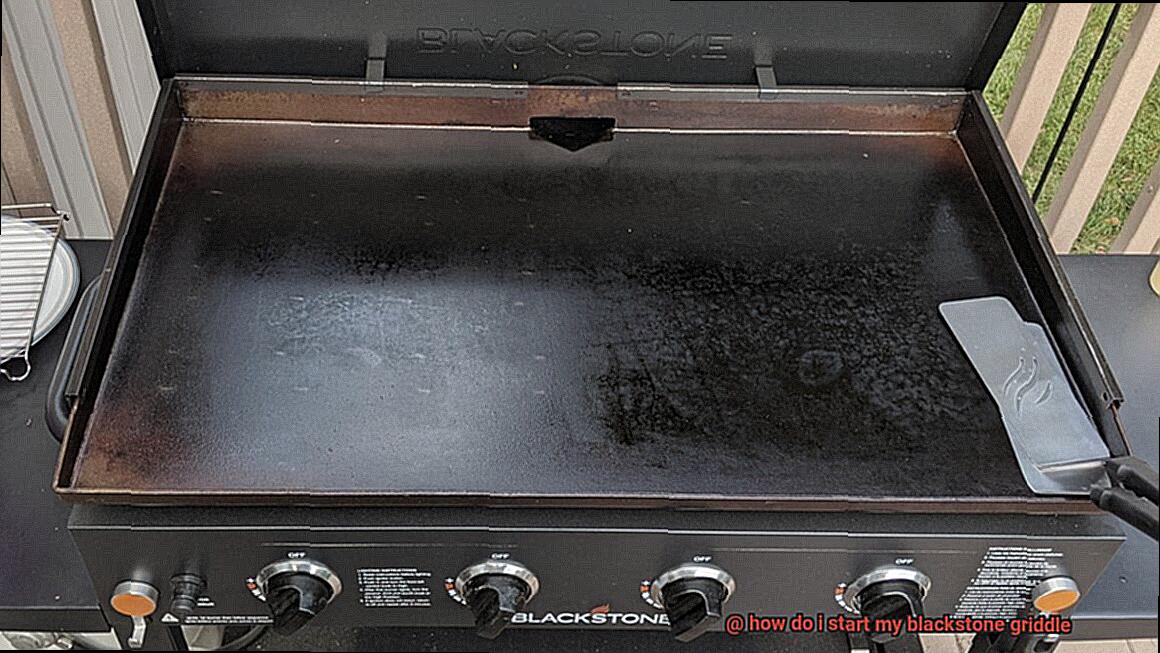
Preparing the Griddle for Use
Before you get started, it’s important to prepare your griddle for use. As an expert on this topic, I’m here to guide you through the steps for getting your griddle ready to cook.
First things first, cleanliness is crucial. A clean griddle is a happy griddle. So, grab a scraper or spatula and remove any food particles or excess oil from the surface. Ensure that your griddle is free of any debris or residue from past use.
Once your griddle is spotless, it’s time to give it some love by seasoning it. Seasoning helps create a non-stick surface and protects your griddle from rust. To do this, spread a thin layer of oil over the entire surface of the griddle using a paper towel or cloth. Make sure to use an oil with a high smoke point such as vegetable oil or canola oil.
Now it’s time to heat things up. Turn on the burners and let the griddle heat up for 10-15 minutes until the oil starts to smoke. This will create a layer of polymerized oil on the surface which will prevent food from sticking and protect against rust.
Once the oil has smoked, grab a clean cloth or paper towel and wipe off any excess oil and debris. Congratulations. Your Blackstone griddle is now ready for cooking.
To summarize, here are the steps for preparing your Blackstone griddle for use:
- Clean your griddle using a scraper or spatula
- Season your griddle by spreading a thin layer of oil over the entire surface
- Heat up the griddle until the oil starts to smoke
- Wipe off any excess oil and debris with a clean cloth or paper towel
Connecting the Propane Tank
But before you can start cooking up a storm on your Blackstone griddle, you’ll need to connect your propane tank to the grill. Don’t fret. This is a quick and easy process that even a novice griller can handle with ease.
Safety first. Turn off your grill and ensure all control knobs are in the ‘off’ position before beginning the process of connecting the propane tank.
- Step 1: Remove the plastic cap from the propane tank valve and attach the regulator hose to the valve. Make sure to tighten the coupling nut securely by hand. This will ensure a strong propane flow and avoid any potential mishaps.
- Step 2: Find the propane tank holder on your Blackstone griddle and place the propane tank in it. Make sure it’s upright, never on its side. This is important for maintaining a steady flow of propane gas.
- Step 3: Connect the other end of the regulator hose to the regulator on your Blackstone griddle, ensuring that the coupling nut is securely tightened by hand. This guarantees that there won’t be any leaks in your propane system.
- Step 4: Time to test for gas leaks. Turn on one of the control knobs on your Blackstone griddle and apply a solution of soapy water to all gas connections. If you see any bubbles forming, turn off the gas supply immediately. Safety always comes first.
You’re ready to fire up your Blackstone griddle and cook up some delicious meals. But don’t forget to perform a quick check of all connections before every use to guarantee safe and successful grilling sessions.
Turning on the Burners
We’ve got you covered with simple steps to get your griddle heated up and ready for some delicious cooking.
First and foremost, safety is key. Ensure that your propane tank is connected and all knobs are turned off before proceeding. Once you’re certain everything is good to go, it’s time to turn on the burners.
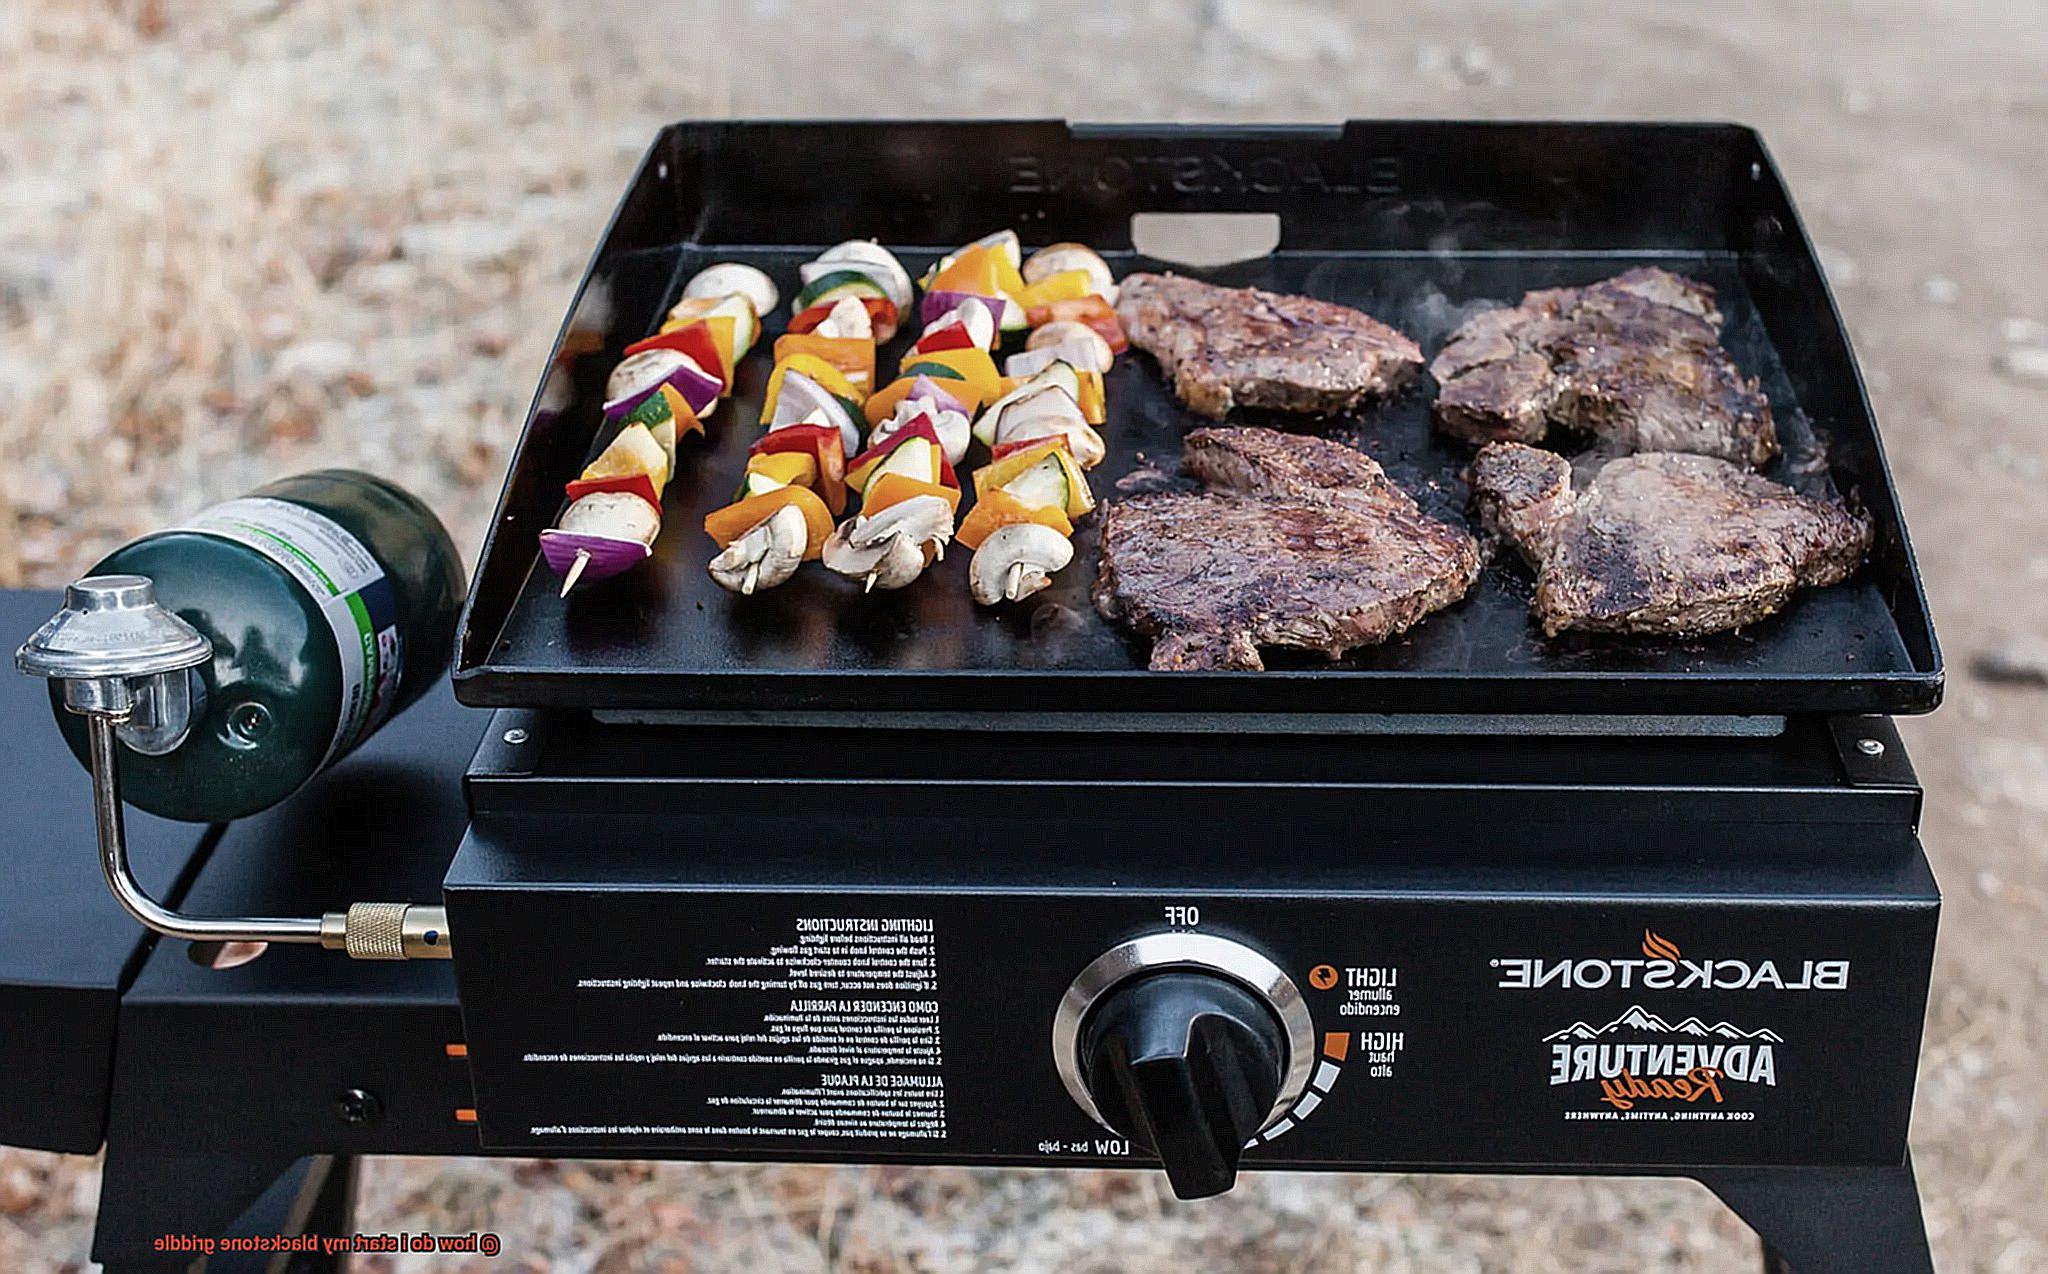
Locate the igniter button, typically labeled with a lightning bolt symbol and placed near the control knobs. Press and hold this button while turning the control knob for the burner you want to light to the “high” position. You’ll hear a gratifying clicking sound as the igniter sparks and ignites the burner. In the rare case that it doesn’t light on your first try, turn off the gas and wait a few minutes before trying again. This will allow any excess gas to dissipate before attempting to light the burner again.
Repeat this process for each additional burner you plan to use, adjusting the heat settings by turning the control knobs to your desired temperature once all burners are lit.
Before shutting down your griddle, make sure to turn off all of the burners and allow the griddle plate to cool down completely before cleaning or storing it. And for added safety measures, turn off your propane tank as well.
In summary, here are the steps:
- Confirm propane tank is connected and all knobs are turned off.
- Locate igniter button near control knobs.
- Press and hold igniter button while turning control knob for desired burner to “high” position.
- Repeat for additional burners.
- Adjust heat settings by turning control knobs to desired temperature once all burners are lit.
- Turn off all burners and allow griddle plate to cool down completely before cleaning or storing.
- Turn off propane tank for added safety measures.
Adjusting the Heat
One of the most important aspects you need to master is how to adjust the heat. It’s not rocket science, and with just a few simple steps, you’ll be able to cook up a storm on your griddle.
To begin with, make sure you let your griddle heat up for about 10-15 minutes, depending on the model. Once it’s heated up, you’re ready to start adjusting the heat. Here are two ways to do that:
Use the Heat Control Knob
Located on the front of your griddle, this knob can adjust the temperature of your griddle. Turning it clockwise will increase the temperature while turning it counterclockwise will decrease it. Remember that even small adjustments can make a big difference in temperature, so take it slow and steady.
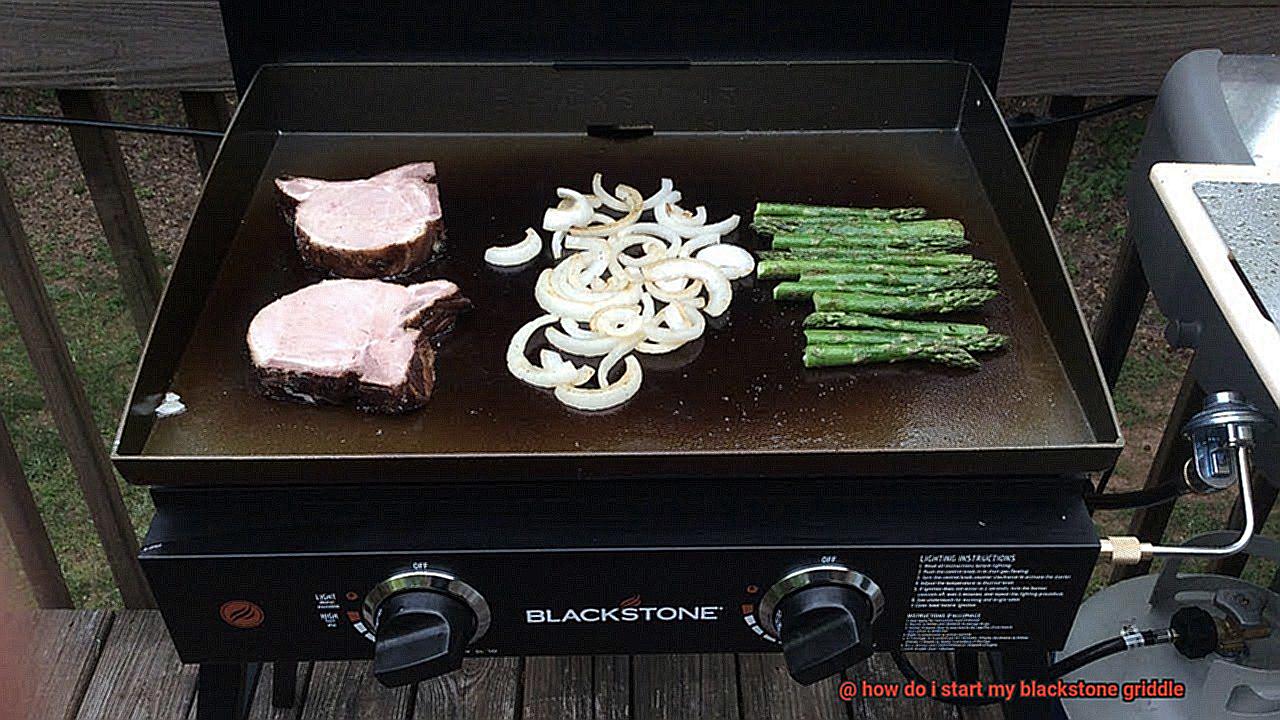
Use the Zones on Your Griddle
The zones divide your griddle into different temperature ranges, allowing you to cook various foods at different temperatures simultaneously. This is especially useful when cooking up a big meal with different types of food. For instance, you might want to cook bacon on a lower temperature in one zone while cooking eggs at a higher temperature in another zone.
It’s essential to note that adjusting the heat on your Blackstone griddle may require some trial and error. Begin with a lower temperature and gradually increase it until you find the perfect cooking temperature for your desired results. Keep in mind that different types of food may require different temperatures for optimal cooking.
Once you’ve got your heat dialed in, it’s time to get cooking. However, ensure you turn off all burners and let your griddle cool down before cleaning or storing it. Additionally, always remember to turn off your propane tank for added safety measures.
Safety Precautions to Consider
Cooking on a Blackstone griddle can be an exhilarating experience, but safety should always take precedence. To ensure a safe and enjoyable cooking experience, there are several safety precautions to keep in mind.
Firstly, always read the manual before using your Blackstone griddle. It’s important to understand the operating instructions and any specific safety precautions to avoid any mishaps or accidents. The manual will provide valuable insights on how to use the griddle safely.
Secondly, ensure that you’re using the griddle in a well-ventilated area. Carbon monoxide can build up quickly, leading to serious health concerns. It’s best to use your Blackstone griddle outdoors or in an area with plenty of ventilation. This will help create an environment that is safe for you and your family.
Thirdly, keep children and pets away from the cooking area at all times. The griddle surface can become extremely hot, and it only takes a split second for an accident to occur. Ensure that you’re supervising the cooking process and keeping a watchful eye on your little ones to prevent any mishaps.
Fourthly, wearing protective gear such as heat-resistant gloves and aprons is essential. These items will protect your skin from the hot surface of the griddle and any grease splatters that may occur during cooking. It’s important to prioritize your safety by wearing proper attire while cooking.
Lastly, using proper utensils is crucial when cooking on your Blackstone griddle. Avoid using metal utensils as they can scratch the surface of the griddle, which could lead to rusting or other damage. Instead, opt for non-abrasive utensils such as wooden or silicone spatulas.
Cleaning and Maintaining Your Blackstone Griddle
Ah, the Blackstone Griddle. A culinary powerhouse that can whip up everything from pancakes and burgers to grilled veggies and steaks. But as with any investment, it’s essential to take care of it properly. That’s why we’re here to talk about cleaning and maintaining your Blackstone griddle.
Cleaning Your Griddle
Your first step in cleaning your griddle is to ensure that it has cooled down completely. Once you’re sure it’s safe to touch, use a scraper or spatula to remove any food debris or grease from the surface of the griddle. Be gentle as you scrape, so you don’t damage the non-stick coating.
Now, get your soap and warm water, and use a scrapper or brush to clean the surface thoroughly. Rinse off all soap with water, and then dry the surface with a clean towel before storing.
Cleaning The Grease Tray
The grease tray is critical for your Blackstone griddle, so it’s crucial to keep it clean after every use. After each use, empty the grease tray and wipe it down with warm soapy water. Don’t forget to rinse off any soap residue before drying the tray and putting it back into place.
Seasoning Your Griddle
Seasoning your griddle is essential because it helps create a non-stick surface that prevents rusting. To season your griddle, apply a thin layer of oil on the surface, then heat up the griddle for 20-30 minutes until the oil starts smoking. Turn off the heat and let the griddle cool down before wiping off any excess oil with a paper towel.
Maintaining Your Griddle:
A little bit of maintenance can go a long way in extending the life of your Blackstone griddle. When not in use, cover your griddle to protect it from dust and debris. A cover also prevents any moisture from getting into the griddle, which can cause rusting.
Tips for Using Your Blackstone Griddle
Here are some tips that will help you prep and use your griddle like a pro.
Tip #1: Preheat the Griddle
Properly preheating your griddle is an essential step before cooking. Turn the heat on high and let it heat up for 10-15 minutes. This will ensure even heating and prevent food from sticking.
Tip #2: Use the Right Oil
Selecting the right oil is critical for preventing food from sticking to your griddle. Use oils with high smoke points such as vegetable or canola oil instead of butter or olive oil, which can burn easily.
Tip #3: Clean the Griddle After Each Use
Cleaning your griddle after each use is vital to maintaining its quality and longevity. Let it cool down, then remove excess debris using a scraper or spatula. Use a paper towel or cloth to wipe off any remaining debris.
Tip #4: Season Your Griddle
Seasoning your griddle before first use is crucial for creating a non-stick surface. Apply a thin layer of oil to the surface and heat it up until it begins to smoke. Repeat this process two or three times until the surface turns dark brown.
Tip #5: Keep Your Ingredients at Room Temperature
To ensure even cooking and prevent sticking, keep your ingredients at room temperature before placing them on the griddle.
Conclusion
In conclusion, the Blackstone Griddle is a remarkable outdoor cooking appliance that can elevate your grilling game to new heights. Although starting your Blackstone griddle may appear intimidating at first, our comprehensive guide will enable you to light it up with ease and confidence like a seasoned pro.
Before firing up your griddle, it’s critical to prepare it properly by cleaning and seasoning it. Additionally, connecting your propane tank is a crucial step in the process, and we’ve provided simple yet effective instructions for doing so safely.
Achieving optimal cooking results on your Blackstone griddle requires precise heat control. You can accomplish this by using the heat control knob or zones on your griddle with ease.
When using any outdoor cooking appliance, safety should always be a top priority. We’ve outlined several safety precautions to keep in mind while using your Blackstone griddle so you can enjoy worry-free cooking sessions.
Lastly, maintaining and cleaning your Blackstone griddle regularly will help extend its lifespan while ensuring its quality remains intact.
You may also like: