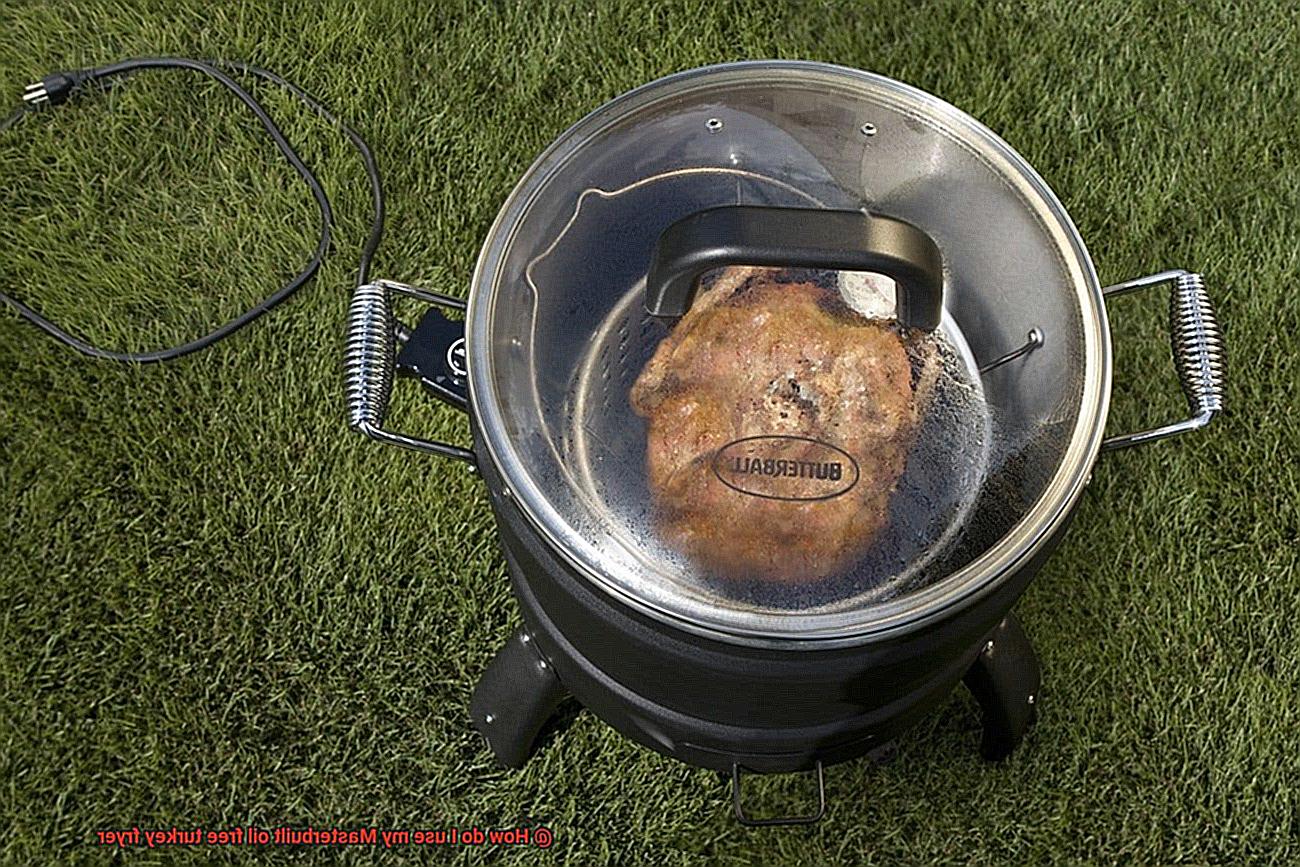
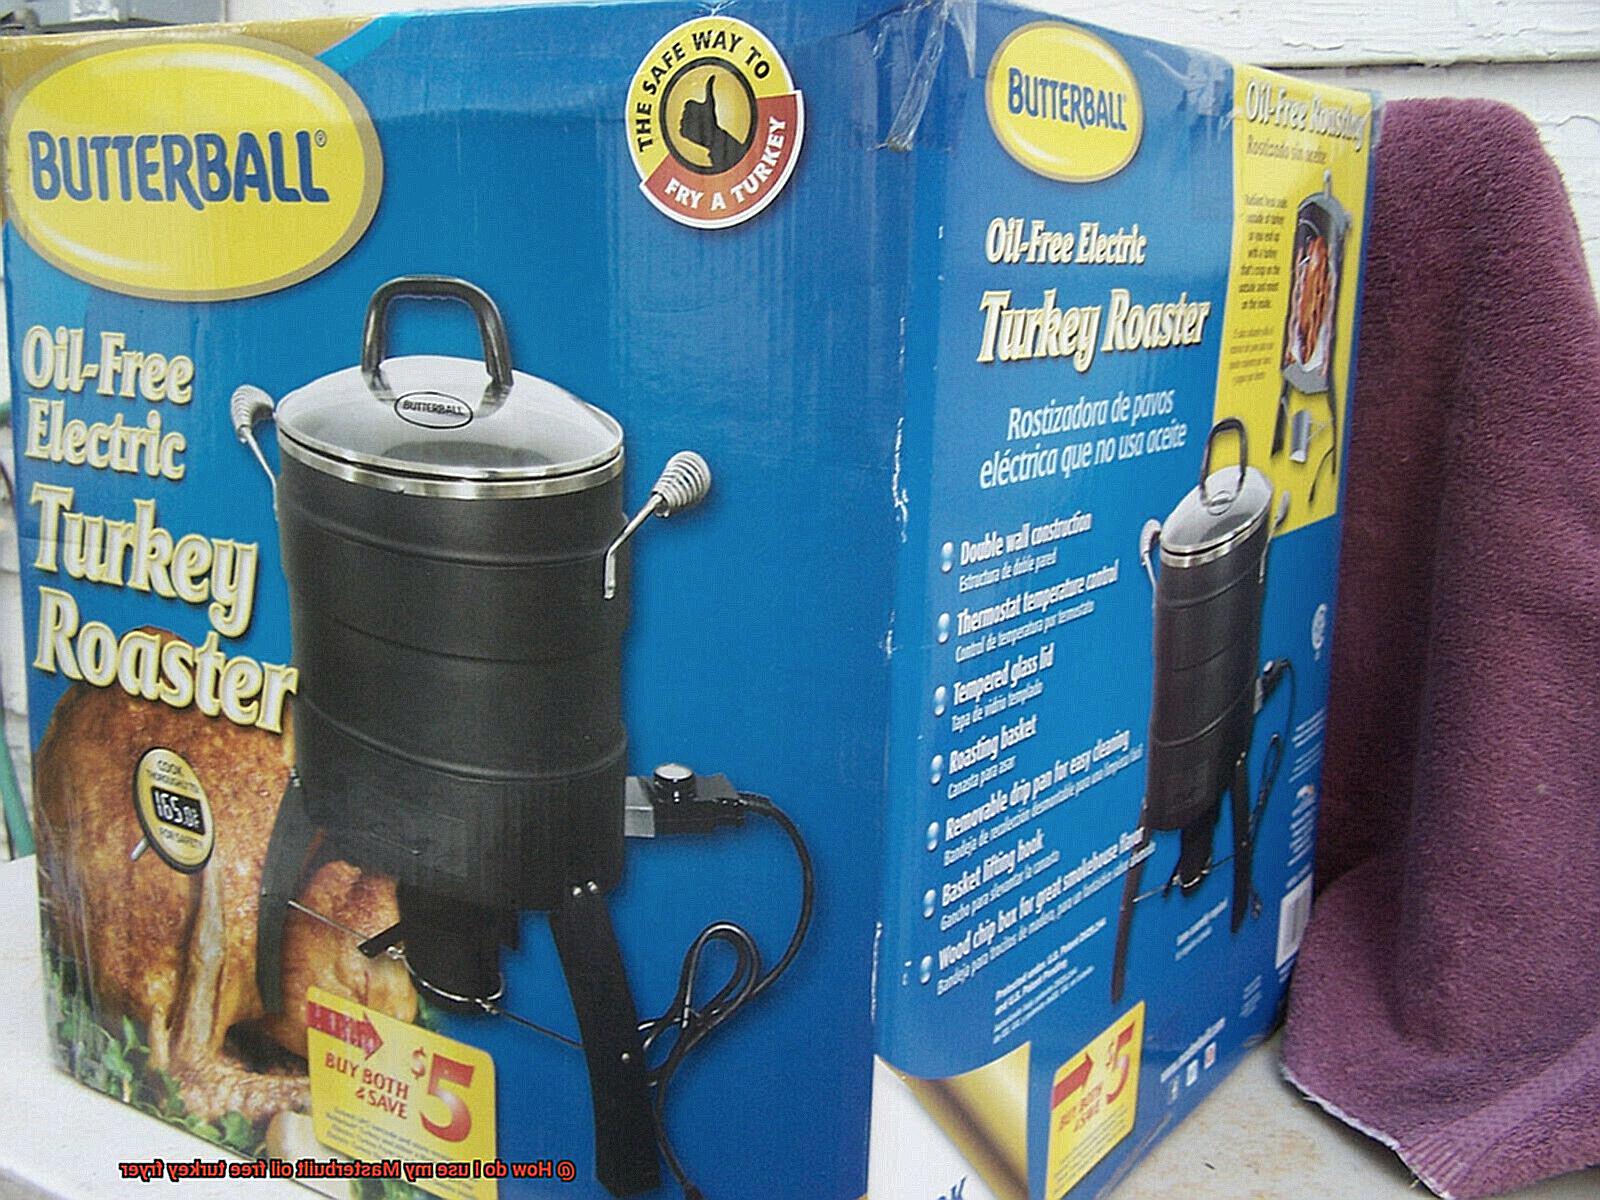
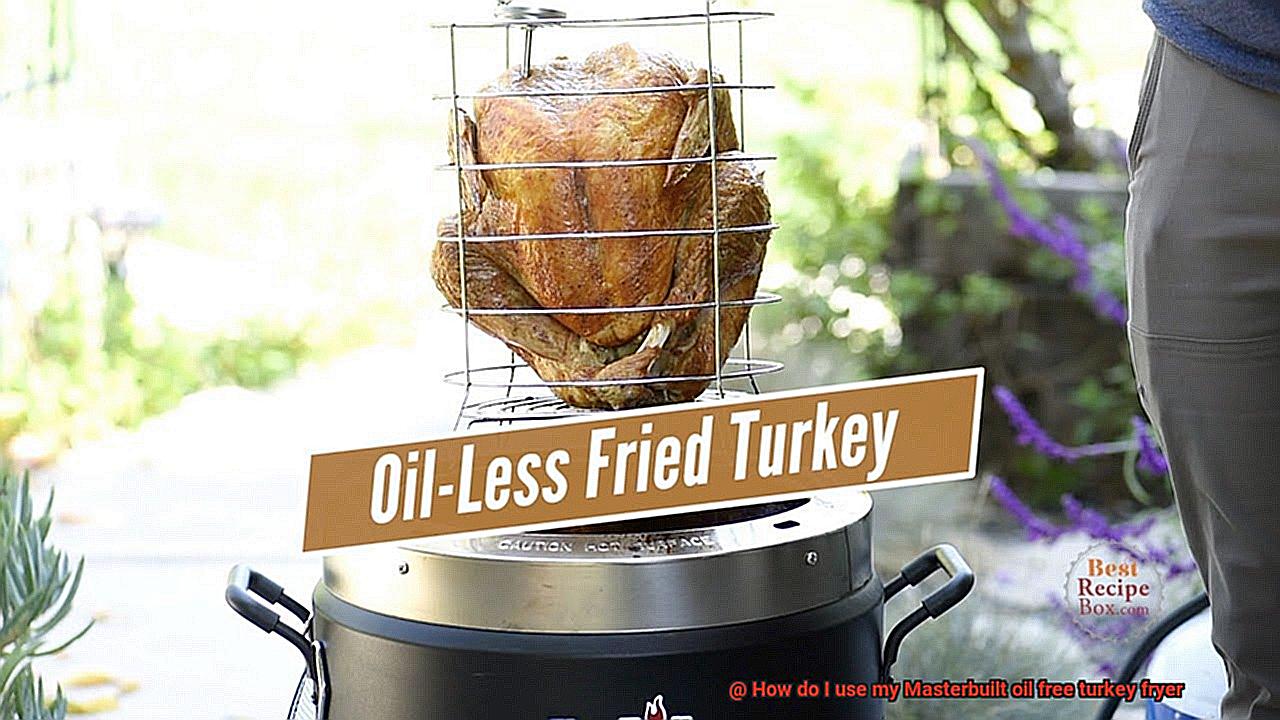
Ah, Thanksgiving – the time of year when we gather around the table to feast on a succulent turkey. But let’s be real, preparing a bird the traditional way can be a daunting task. Between the risk of hot oil spills and the mess of cleaning up afterwards, deep-frying turkey has its fair share of drawbacks. Luckily, there’s a solution: the Masterbuilt Oil-Free Turkey Fryer.
This revolutionary kitchen appliance is designed to give you a perfect turkey without any of the hazards or mess that come with traditional frying methods. Thanks to its infrared technology, your bird will come out juicy and crisp without using a single drop of oil.
But how do you use it? Fear not. This post will guide you through every step of the process, from preheating your fryer to seasoning and cooking your turkey. With our help, you’ll be able to create a hassle-free and delicious Thanksgiving meal that everyone will love.
So sit back, relax, and let us show you how easy it is to use your Masterbuilt Oil-Free Turkey Fryer. Trust us – once you try it out, you’ll never want to go back to traditional frying methods again.
Contents
Assembling the Masterbuilt Oil Free Turkey Fryer
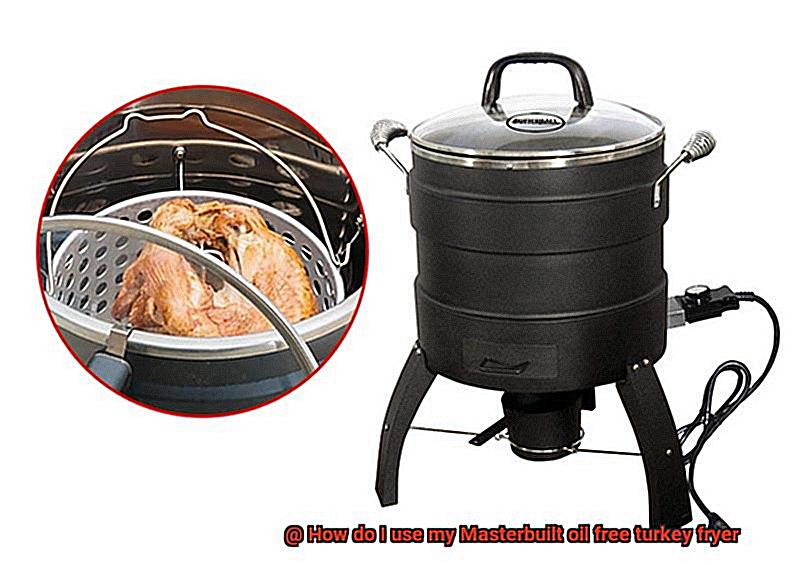
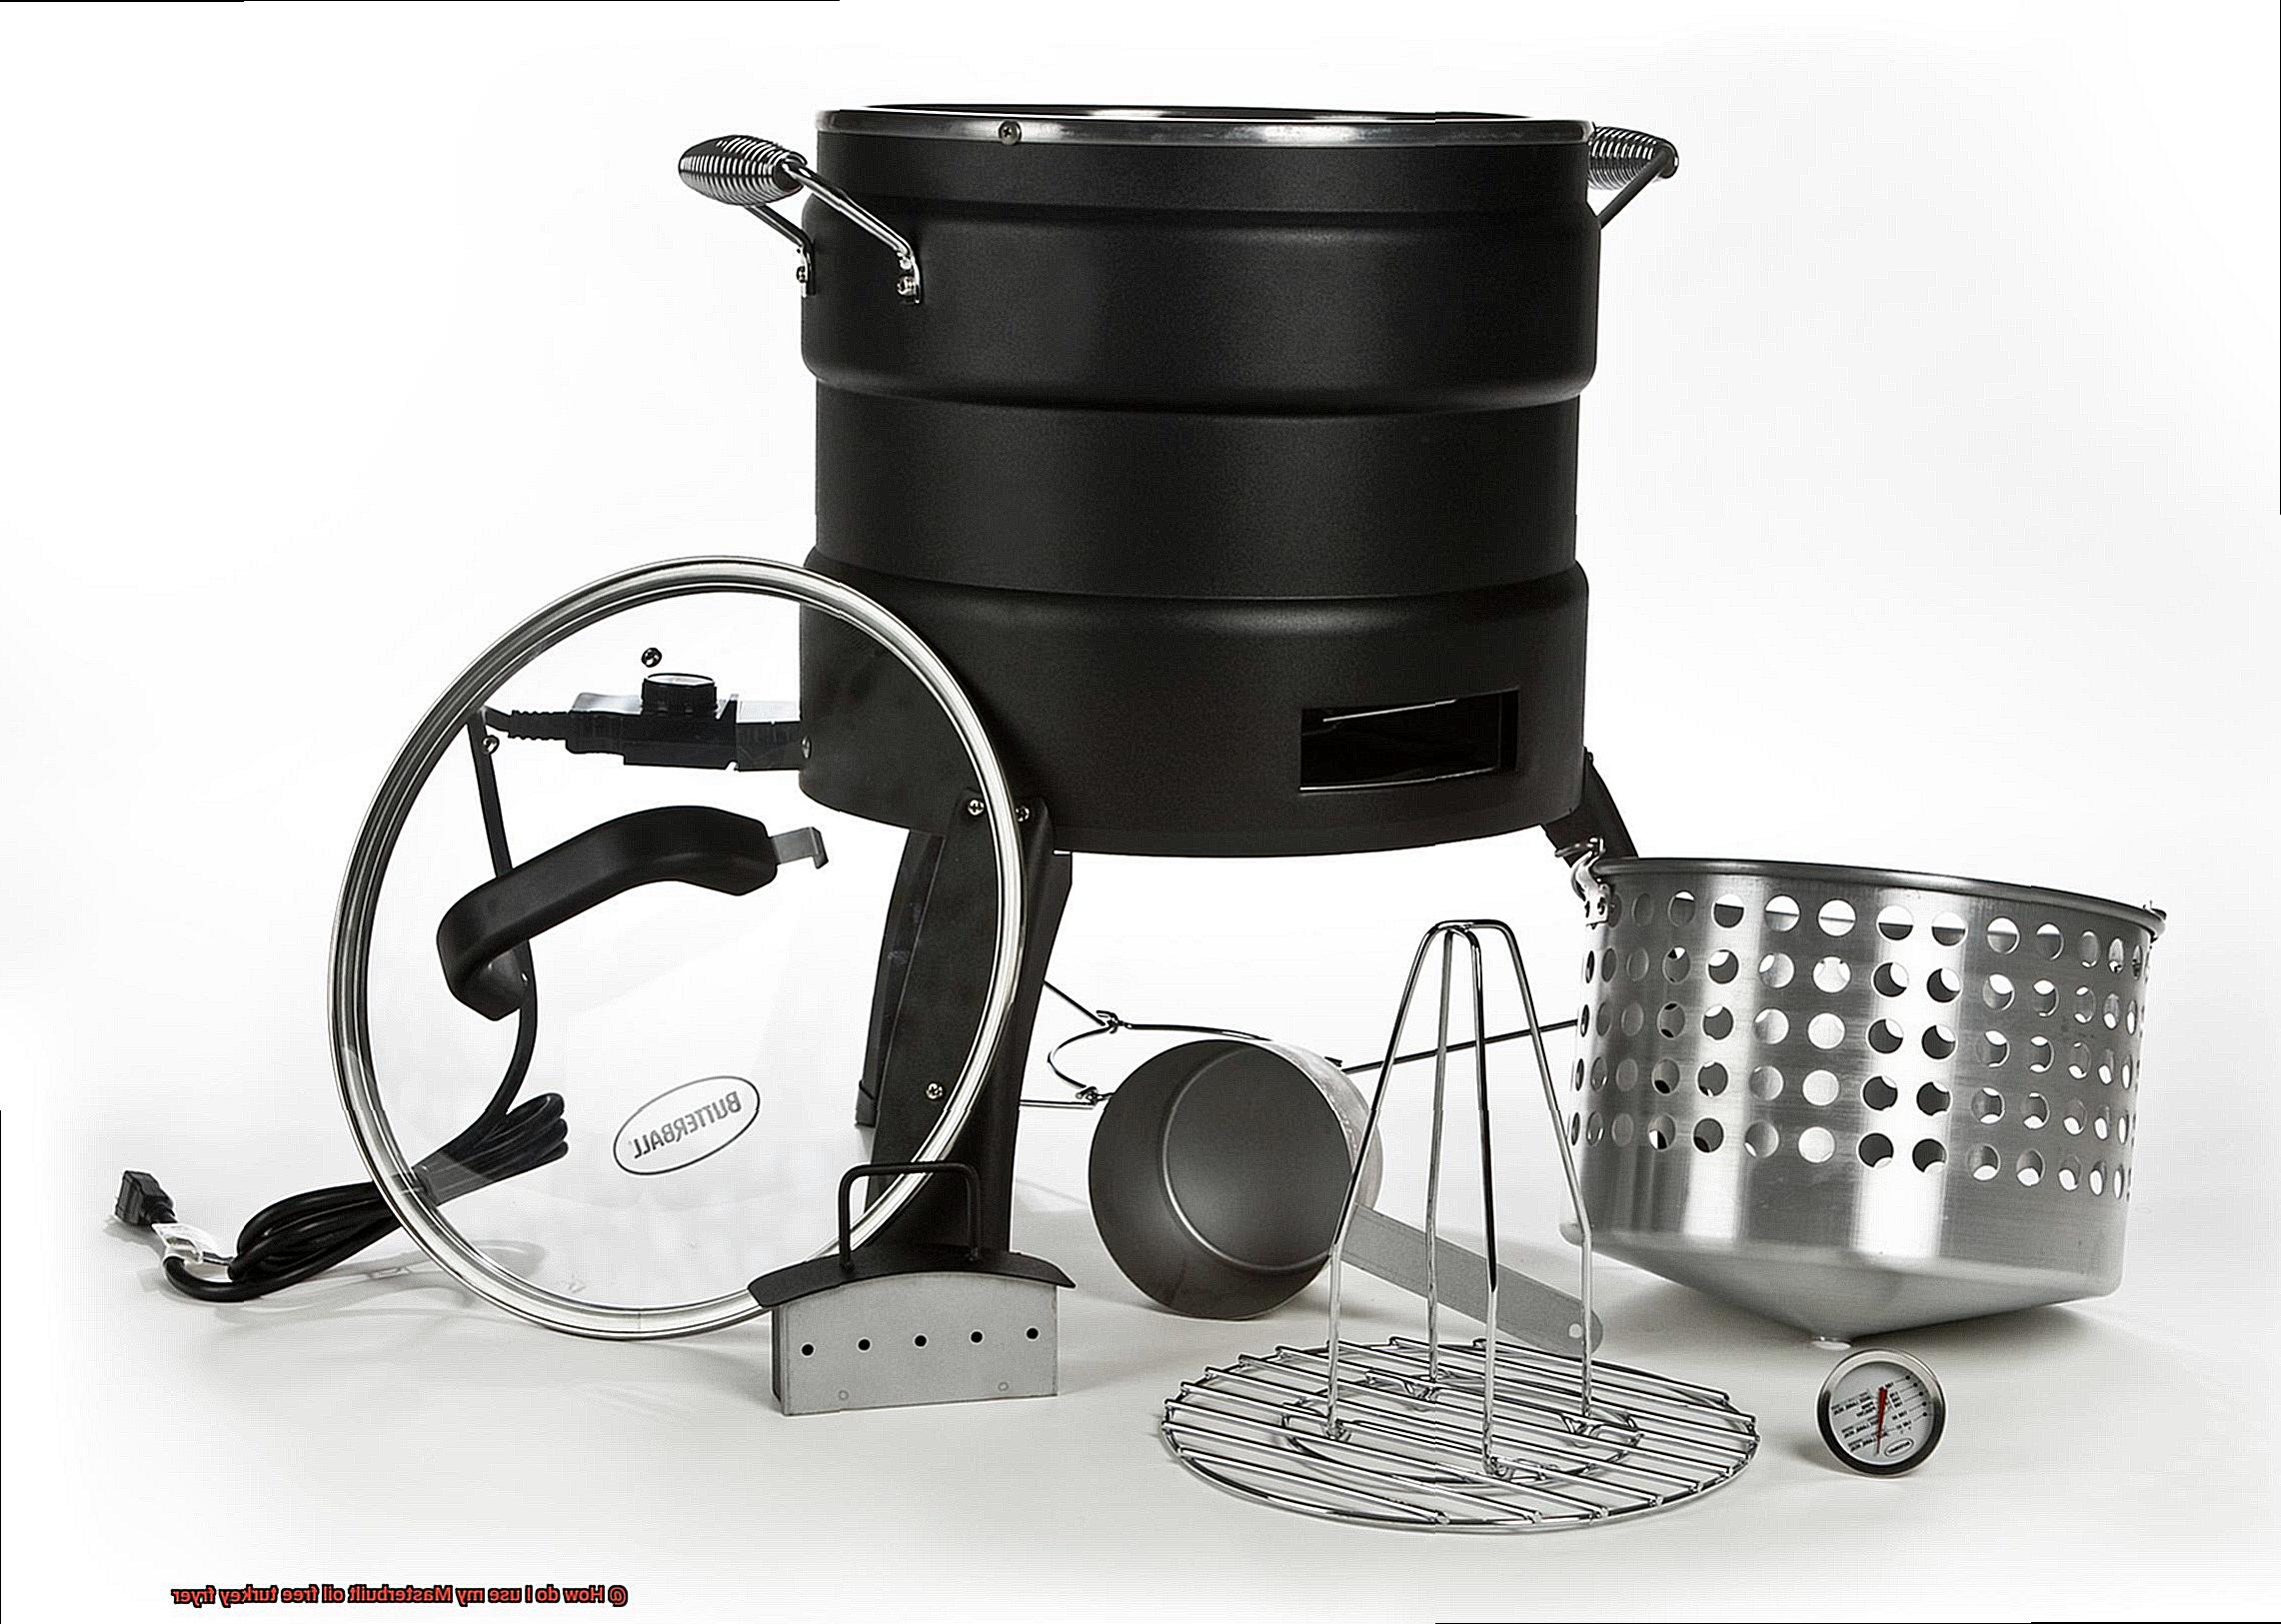
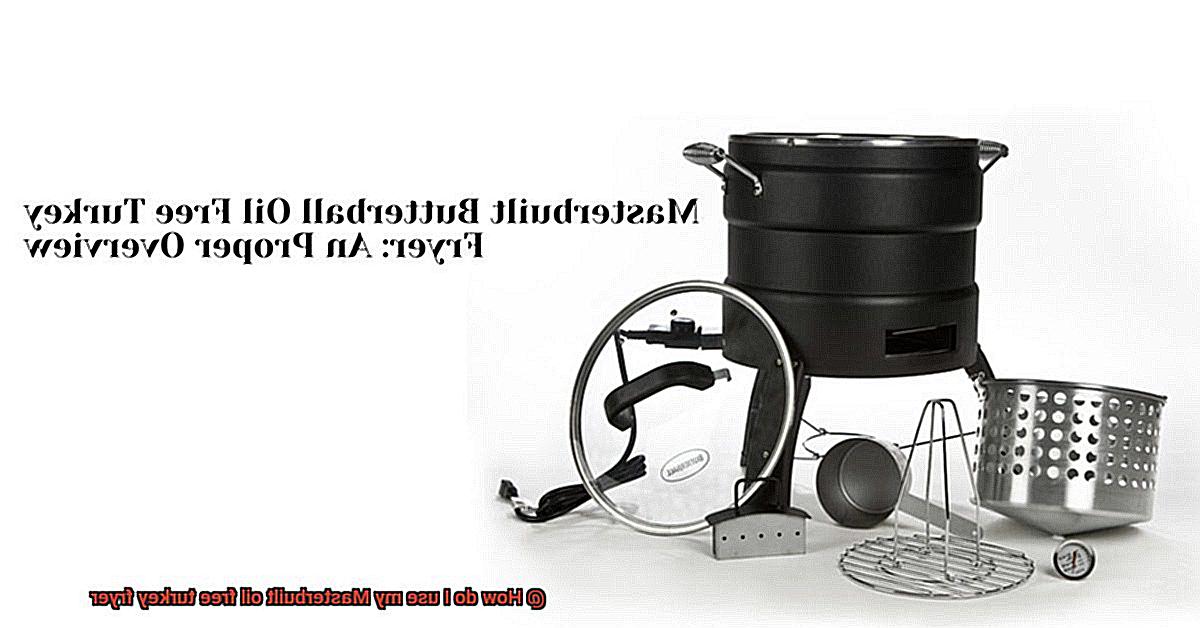
Transforming the mundane task of assembling a Masterbuilt Oil Free Turkey Fryer into an exciting adventure is easy with our step-by-step guide. Before we dive into the process, make sure you have all the essential parts and tools in front of you. The package includes a housing unit, a cooking basket, a drip pan, and a temperature gauge. Don’t forget to grab a screwdriver and pliers to assemble the unit.
Now that we have everything we need let’s start with step one: attaching the legs and side handles. Begin by placing the housing unit on a flat surface and attaching the legs securely using the screws provided in the package. With that done, attach the side handles to the housing unit.
Moving on to step two, we will connect the heating element. Insert the heating element into the unit and connect it to the control panel. Make sure that it’s securely in place before proceeding.
Ready for step three? Let’s attach the cooking basket and drip pan. After connecting the heating element, attach the cooking basket to the housing unit using the hooks on either side. Then, place the drip pan underneath to catch any excess oil or drippings during cooking.
With that done, it’s time for step four where we insert the temperature gauge into the designated hole on top of the housing unit. This will allow you to monitor your food’s temperature while it cooks to perfection.
With your Masterbuilt Oil Free Turkey Fryer now assembled, it is essential to read the instruction manual thoroughly before use. This ensures you know how to operate it safely and effectively. With proper assembly and usage, your fryer can provide delicious and healthy meals for years to come.
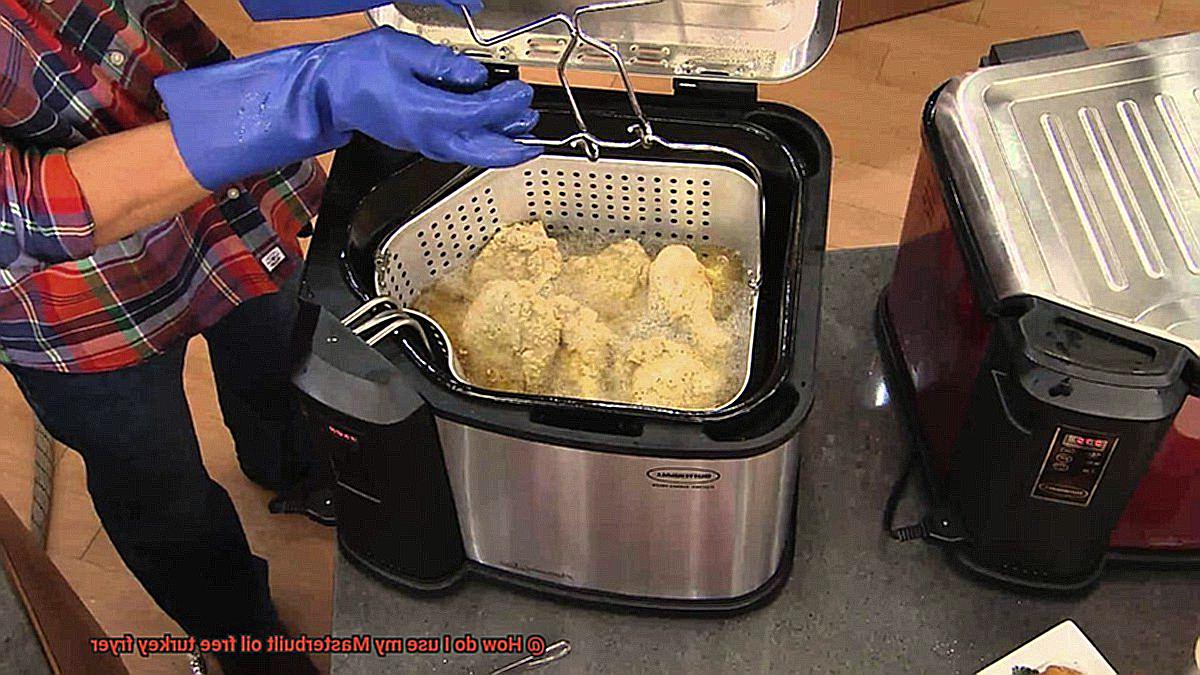
Now that you’ve assembled your fryer let’s start cooking. Begin by cleaning and seasoning your turkey as desired. Place it in the fryer basket and insert it into your fryer. Set your cooking time and temperature according to your model’s instructions, then turn on the fryer and let it preheat for a few minutes. Once preheated, carefully lower the basket with the turkey into the fryer using the handles provided. Close the lid and let it cook for the designated amount of time.
Preparing the Turkey
Well, before you start cooking, let’s talk about the essential step of preparing the turkey.
First and foremost, ensure that your turkey is thawed and dry. Moisture can interfere with achieving that perfect crunch on the skin. You can thaw it by leaving it in the fridge for a few days or using a cold water bath to speed up the process.
Once your turkey is ready, remove any giblets or organs from inside the cavity, rinse it thoroughly with cold water, and pat it dry with paper towels. Now it’s time to add some flavor. You have two options here: a dry rub or a marinade injection. Get creative with your spices and make it your own.
After seasoning your turkey to perfection, place it in the fryer basket. Make sure the basket is firmly in place inside the fryer before closing the lid. Before turning on the fryer, set the temperature control to around 375°F for optimal cooking.
Keep a close eye on your cooking time to avoid overcooking or undercooking your turkey. As a general rule of thumb, plan for approximately 10-12 minutes of cooking time per pound of meat. However, always consult your instruction manual for specific cooking times and temperature recommendations.
Setting the Cooking Time and Temperature
If you’re looking to cook up the perfect turkey with your Masterbuilt oil-free turkey fryer, then it’s crucial to set the cooking time and temperature just right. Fortunately, this fryer comes equipped with a digital control panel that simplifies the entire process.
First things first, plug in your turkey fryer and turn it on. You can then use the digital control panel to set the cooking temperature for your turkey. The recommended temperature is 325°F, but don’t be afraid to adjust it based on your recipe or personal preference. With just a few clicks of the arrow buttons, you can easily set your desired temperature.
Now that you’ve set the temperature, it’s time to move on to setting the cooking time. This step is equally important as you want to ensure that your turkey cooks evenly and thoroughly. A general guideline is to cook your turkey for 10 minutes per pound of turkey. For instance, if you have a 12-pound turkey, then you should set the cooking time for 2 hours. Always refer to your recipe for specific cooking times and temperatures.
It’s worth noting that using a meat thermometer is essential in determining whether your turkey is fully cooked or not. Insert the thermometer into the thickest part of the meat without touching any bones, and wait until it reaches an internal temperature of 165°F before removing it from the fryer.
To sum it up, setting the cooking time and temperature for your Masterbuilt oil-free turkey fryer is a breeze with its advanced digital control panel. Here are some key points to keep in mind:

- Plug in your turkey fryer and turn it on.
- Adjust the cooking temperature using the digital control panel.
- Set the cooking time based on 10 minutes per pound of turkey.
- Use a meat thermometer to ensure that your turkey is fully cooked before serving.
Preheating the Fryer
Then preheating your Masterbuilt oil-free turkey fryer is an essential first step. As an expert in this area, let me guide you through the process with some key tips and tricks.
First things first, let’s talk safety. Before turning on the fryer, make sure it’s placed on a flat and stable surface, far away from any flammable materials. Safety is crucial when it comes to cooking with hot oil.
Next, ensure that your fryer is clean and free of any debris or leftover oil from previous use. A clean fryer will not only help you achieve a delicious meal but also ensure the health and safety of you and your loved ones.
Now, plug in your fryer and turn the temperature dial to your desired cooking temperature. The amount of time it takes to preheat will depend on the size of your turkey and the desired cooking temperature. Generally speaking, it should take around 10-15 minutes for the fryer to reach the right temperature.
While waiting for the fryer to preheat, take the time to season your turkey with your favorite spices and herbs. Don’t be afraid to get creative with it. The seasoning will infuse into the meat as it cooks, giving you a delicious burst of flavor in every bite.
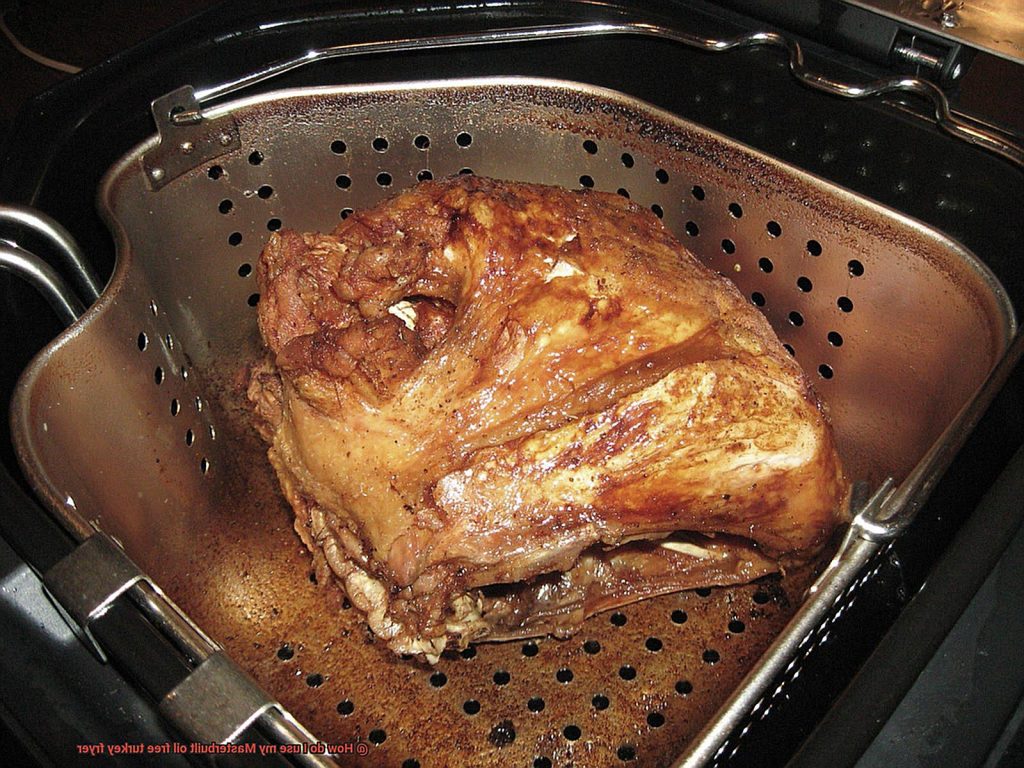
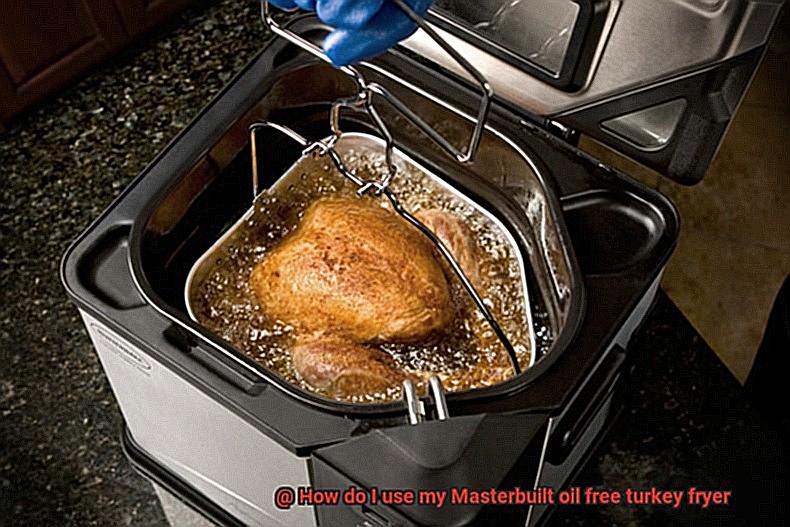
Once your fryer has reached the desired temperature, carefully place your seasoned turkey into the fryer basket. Make sure it’s fully submerged in the oil-free cooking oil, but be careful not to overfill the fryer as this can cause accidents and fires.
It’s now time to set the timer according to the weight of your turkey. Let it cook until it reaches an internal temperature of 165°F. This is a crucial step in ensuring that your turkey is fully cooked and safe to eat.
Once cooked, carefully remove your turkey from the fryer basket and let it rest for 10-15 minutes before carving and serving. This will help the juices redistribute throughout the meat, making it even more tender and delicious.
Lowering the Basket into the Fryer
One of the most important steps in this process is properly lowering the basket into the fryer. But don’t worry. It’s a simple process that can be mastered with a few easy steps.
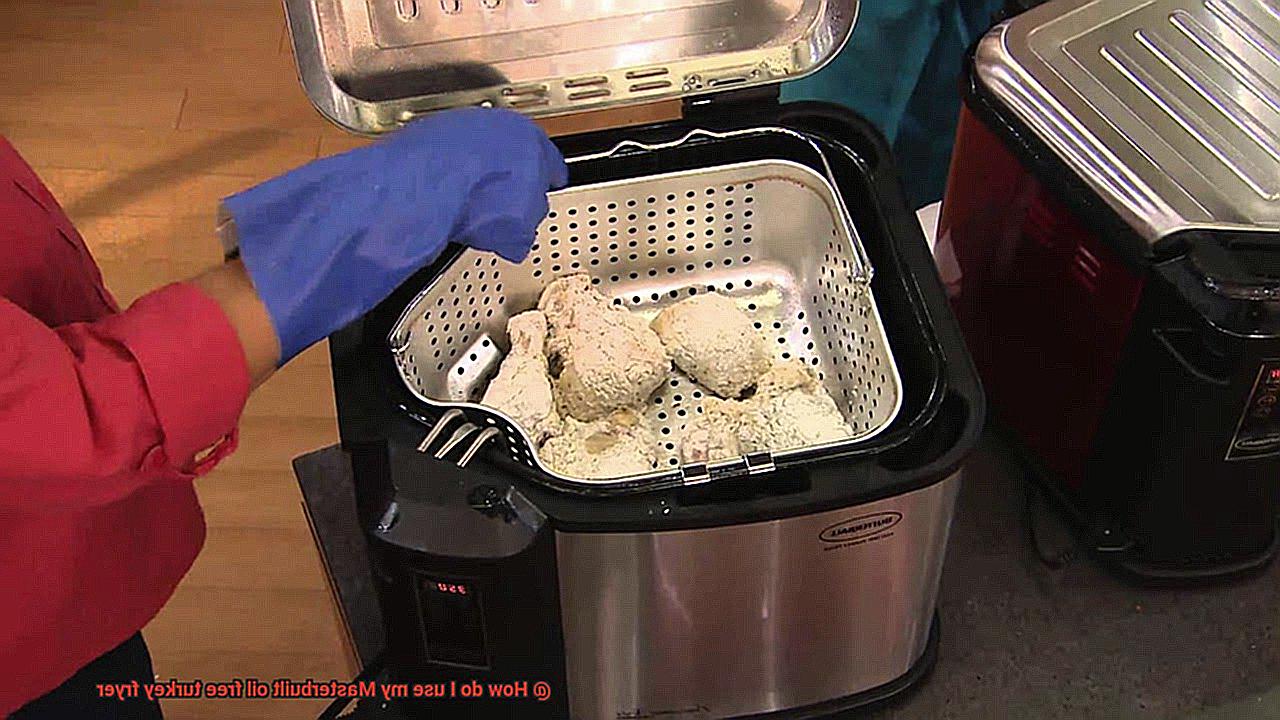
Before you begin, make sure your fryer is thoroughly cleaned and free from any leftover oil or debris from previous use. Once your fryer is clean, locate the handle on the basket and ensure that it is securely attached. Then, fill the basket with your desired food items. But be cautious not to overfill as this can lead to uneven cooking. The recommended amount of food to add is halfway full.
Once your fryer reaches the desired temperature, carefully lift the basket by its handle and slowly lower it into the hot oil. It’s important to keep a safe distance from the oil and avoid any splashing. You definitely don’t want any hot oil on your skin. While lowering the basket, make sure that every inch of your food is submerged in the oil. If necessary, gently shake the basket to ensure that all sides of your food are evenly coated in oil.
After everything is fully submerged, close the lid of your fryer and set a timer according to your recipe’s instructions. However, never leave your fryer unattended while in use, and always use caution when handling hot oil.
To recap:
- Clean your fryer before use
- Securely attach the handle on the basket
- Fill the basket halfway full
- Carefully lower the basket into hot oil
- Keep a safe distance from hot oil
- Ensure every inch of your food is submerged in oil
- Gently shake the basket if needed
- Close lid and set a timer according to recipe instructions
- Use caution when handling hot oil and never leave unattended
Monitoring the Cooking Process
Well, then let’s talk about the key to achieving perfectly cooked and safe-to-eat food when using a Masterbuilt oil-free turkey fryer – monitoring the cooking process.
To get started, preheat your oil-free fryer to the desired temperature. Once preheated, place your food in the basket, set the timer and temperature according to your recipe, and voila – you’re cooking up a storm.
But don’t just sit back and relax yet. The real secret to success is periodically checking on your food. This will ensure that it’s cooking evenly and not overcooking. You can use a meat thermometer to check the internal temperature of your food. For instance, a turkey should be cooked until it reaches an internal temperature of 165°F.
What if things aren’t going as planned? No worries – you’re in control. You can adjust the temperature or move the food around in the basket to make sure it’s cooking evenly. Just remember to keep an eye on your oil-free fryer and watch out for any leaks or spills.
Here’s a quick summary of the steps involved in monitoring the cooking process:
- Preheat your oil-free fryer to the desired temperature.
- Place your food in the basket, set the timer and temperature according to your recipe.
- Periodically check on your food to ensure it’s cooking evenly.
- Use a meat thermometer to check the internal temperature of your food.
- Adjust the temperature or move the food around in the basket if needed.
- Keep an eye on your oil-free fryer for any leaks or spills.
Checking Internal Temperature of Turkey
Before you begin, it’s crucial to ensure that your turkey is cooked to the correct internal temperature. Not only does this guarantee a safe meal, but it also ensures a juicy and flavorful bird that will impress your guests.
To achieve the recommended internal temperature of 165°F (74°C), you’ll need a meat thermometer. Here’s how to use it:
- Step one: Clean and dry your meat thermometer. We want to get an accurate reading, so make sure it’s free of any debris or moisture.
- Step two: When inserting the thermometer into the turkey, avoid touching any bones. This can give a false reading and lead to an undercooked or overcooked turkey.
- Step three: Wait for the thermometer to stabilize in the thickest part of the turkey, typically in the breast or thigh. This should only take a few seconds, but be patient. Once the temperature stops rising, take note of the reading.
- Step four: Remove the turkey from the fryer when it’s within a few degrees of the desired temperature. Remember that the turkey will continue to cook slightly as it rests, so we don’t want to overcook it.
- Step five: Allow the turkey to rest for at least 15 minutes before carving. This allows the juices to redistribute throughout the meat, resulting in a more tender and flavorful bird.
It’s important to note that checking the internal temperature of your turkey is not only about safety but also taste. Overcooked turkey can be dry and tough, while undercooked turkey can be unsafe to eat. By following these steps, you can ensure that your Masterbuilt oil-free turkey fryer produces a perfectly cooked and safe turkey every time.
Removing the Basket from the Fryer
When it comes to cooking a turkey in a Masterbuilt oil-free turkey fryer, removing the basket might seem like an afterthought, but it’s actually a crucial step that requires caution and attention to safety. As an expert on this topic, I have gathered some essential tips for you to follow so that you can remove the basket without any accidents or injuries.
First and foremost, ensure that your fryer is turned off and unplugged from the power source. Safety should always come first. Then, give your fryer some time to cool down before attempting to remove the basket. Don’t rush this step; a few minutes of patience could save you from potential burns or injuries caused by hot oil splatter.
When you’re ready to remove the basket, use oven mitts or gloves to ensure your hands are protected. The basket can be heavy, especially when filled with food, so holding onto both handles is crucial to avoid any spills or splatters. If you’re removing a large turkey, don’t hesitate to ask for help from someone else in lifting the basket out of the fryer.
Once you’ve successfully removed the basket, place it on a heat-resistant surface such as a trivet or cooling rack. You don’t want to put it on any surface that could melt or catch fire. Allow your food to cool for a few minutes before handling it further. It’s also important to clean the basket and wipe down any excess oil or grease before storing it away.
To sum up, here are some key points to keep in mind when removing the basket from a Masterbuilt oil-free turkey fryer:
- Turn off and unplug the fryer before removing the basket.
- Give the fryer time to cool down before attempting to remove the basket.
- Use oven mitts or gloves to protect your hands.
- Hold onto both handles of the basket and keep it level to avoid spills or splatters.
- Consider asking for help when removing a large turkey.
- Place the basket on a heat-resistant surface like a trivet or cooling rack.
- Clean the basket and wipe down any excess oil or grease before storing it away.
dtygFlfR0Fw” >
Conclusion
In conclusion, the Masterbuilt Oil-Free Turkey Fryer is a game-changer for anyone who wants to enjoy a mouth-watering turkey without all the hassle and hazards of traditional frying methods. Thanks to its advanced infrared technology, you can achieve a perfectly cooked and juicy bird without using any oil – that means no more greasy mess or fire hazards.
Assembling the fryer is a breeze with our step-by-step guide, and preparing your turkey is just as easy with some simple seasoning and injection techniques. Plus, setting the cooking time and temperature is made simple with the digital control panel, which also allows you to monitor your food’s internal temperature for optimal results.
It’s important to remember that preheating your fryer before cooking is crucial for even cooking. And while checking on your food periodically is always recommended, it’s especially important when using this fryer. But don’t worry – checking the internal temperature of your turkey has never been easier thanks to our helpful tips and tricks.
When it comes time to remove the basket from the fryer, safety should be top of mind. With our expert advice, you can do it safely and efficiently every time.
Overall, using a Masterbuilt Oil-Free Turkey Fryer is an easy and safe way to cook up a delicious Thanksgiving meal that everyone will love. So why not give it a try this holiday season?