Grilling – a cooking method as old as time itself. But, with modern grills boasting multiple burners, it’s easy to feel overwhelmed. Don’t worry; the secret to perfect grilling isn’t in the price tag of your grill but in how you use it.
One crucial factor that can make or break your grilling game is adjusting your grill’s burner. The burner controls the heat output, and if not correctly adjusted, you risk ruining your food. But fret not. Adjusting your grill burner is a piece of cake, even for beginners.
To adjust your grill burner like a pro, there are a few key techniques to keep in mind. These include cleaning the burners, adjusting air vents, checking gas pressure, and determining heat output. By following these steps, you’ll ensure that your grill produces just the right amount of heat needed to cook your food perfectly.
In this blog post, we’ll walk you through each step of adjusting your grill burner so that every meal comes out cooked to perfection. Whether you’re an experienced grill master or new to the world of grilling – read on and learn how to adjust your grill burner like a boss.
Contents
Safety Considerations Before Adjusting a Grill Burner
Grilling is a beloved pastime for many, but it’s important to remember that safety should always come first. Before adjusting your grill burner, there are several safety considerations to keep in mind.
Firstly, turn off the gas supply to prevent any potential gas leakage. It’s also crucial to let your grill cool down before making any adjustments. Hot surfaces can cause serious burns or injuries, so it’s better to be safe than sorry.
Wearing protective gear such as heat-resistant gloves and aprons is also advisable when working with a grill. You never know when a sudden flare-up might occur, so it’s best to have the proper gear on hand to prevent any accidents.
A clean grill is not only hygienic but also helps prevent flare-ups and fires. Before you start adjusting the burners, make sure to remove any grease or debris from the grill. This will ensure that the grill is functioning at its best and will help you achieve your desired grilling results.
It’s also important to follow the manufacturer’s instructions when adjusting the burners. Every grill is different, and not following instructions could cause serious damage or accidents. Taking the time to read and understand the manual will go a long way in ensuring a safe and successful grilling experience.
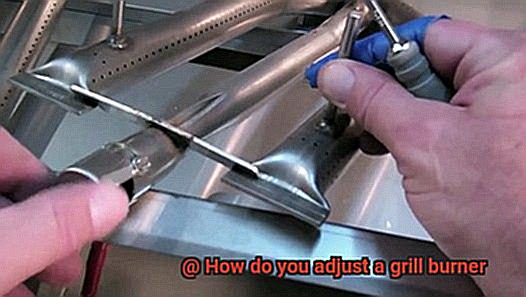
Once you’ve taken all the necessary safety measures, you can start adjusting your grill burner like a pro. Remove the grates and heat deflectors to gain access to the burners. Locate the air shutter adjustment on each burner and rotate it to control the amount of air that flows into the burner. Adjusting this will help control flame size and intensity.
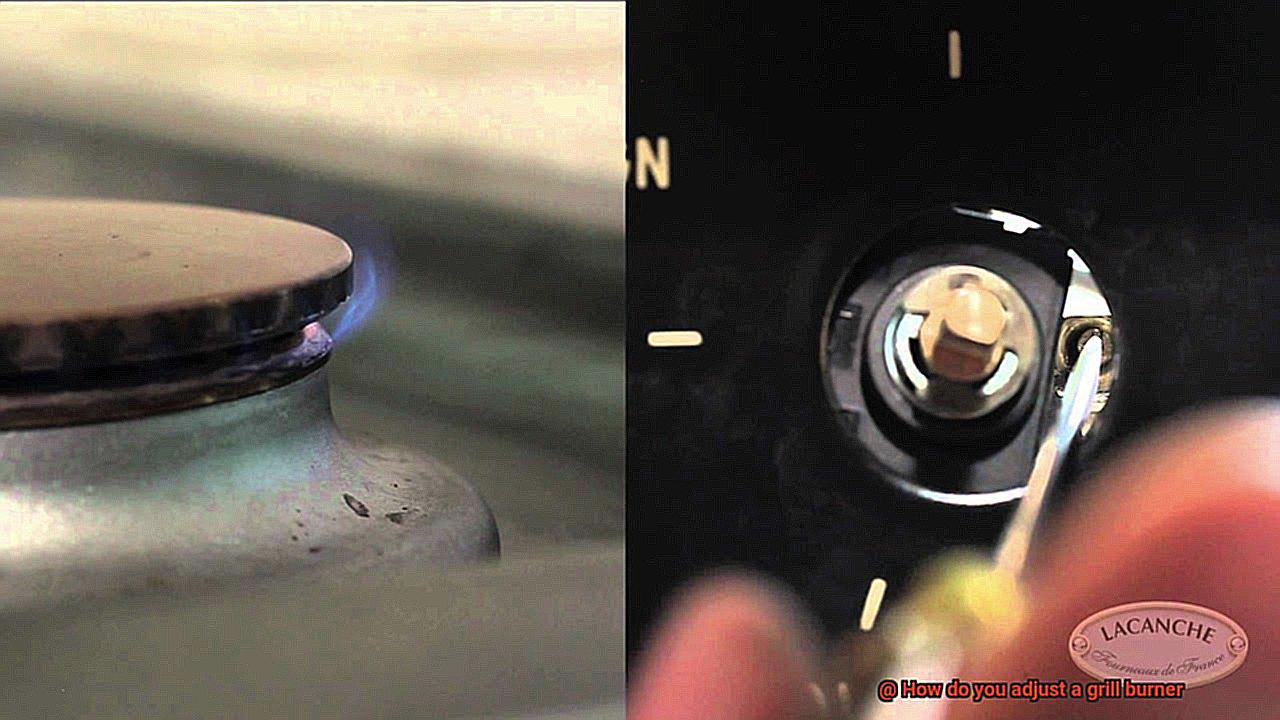
To adjust the flame height, turn on the grill and set it to its highest setting. Use a flathead screwdriver to turn the valve stem on the burner clockwise to decrease the flame or counterclockwise to increase it. Make small adjustments and observe the flame closely to ensure that it is not too high or too low.
Once you’ve made your adjustments, it’s important to test out your grill to ensure that it is heating evenly and at the desired temperature. Make any further adjustments as necessary until you achieve your desired grilling results.
Locating the Air Shutter Adjustment on Each Burner
The key to achieving the perfect flame lies in adjusting the air shutter on each burner. As an expert in this topic, I can guide you through the process of locating and adjusting the air shutter, ensuring that your grill produces delicious, mouth-watering food every time.
To begin, safety is paramount. Always turn off the gas supply and wear protective gear before adjusting anything on your grill. Additionally, make sure your grill is clean and follow the manufacturer’s instructions for optimal results.
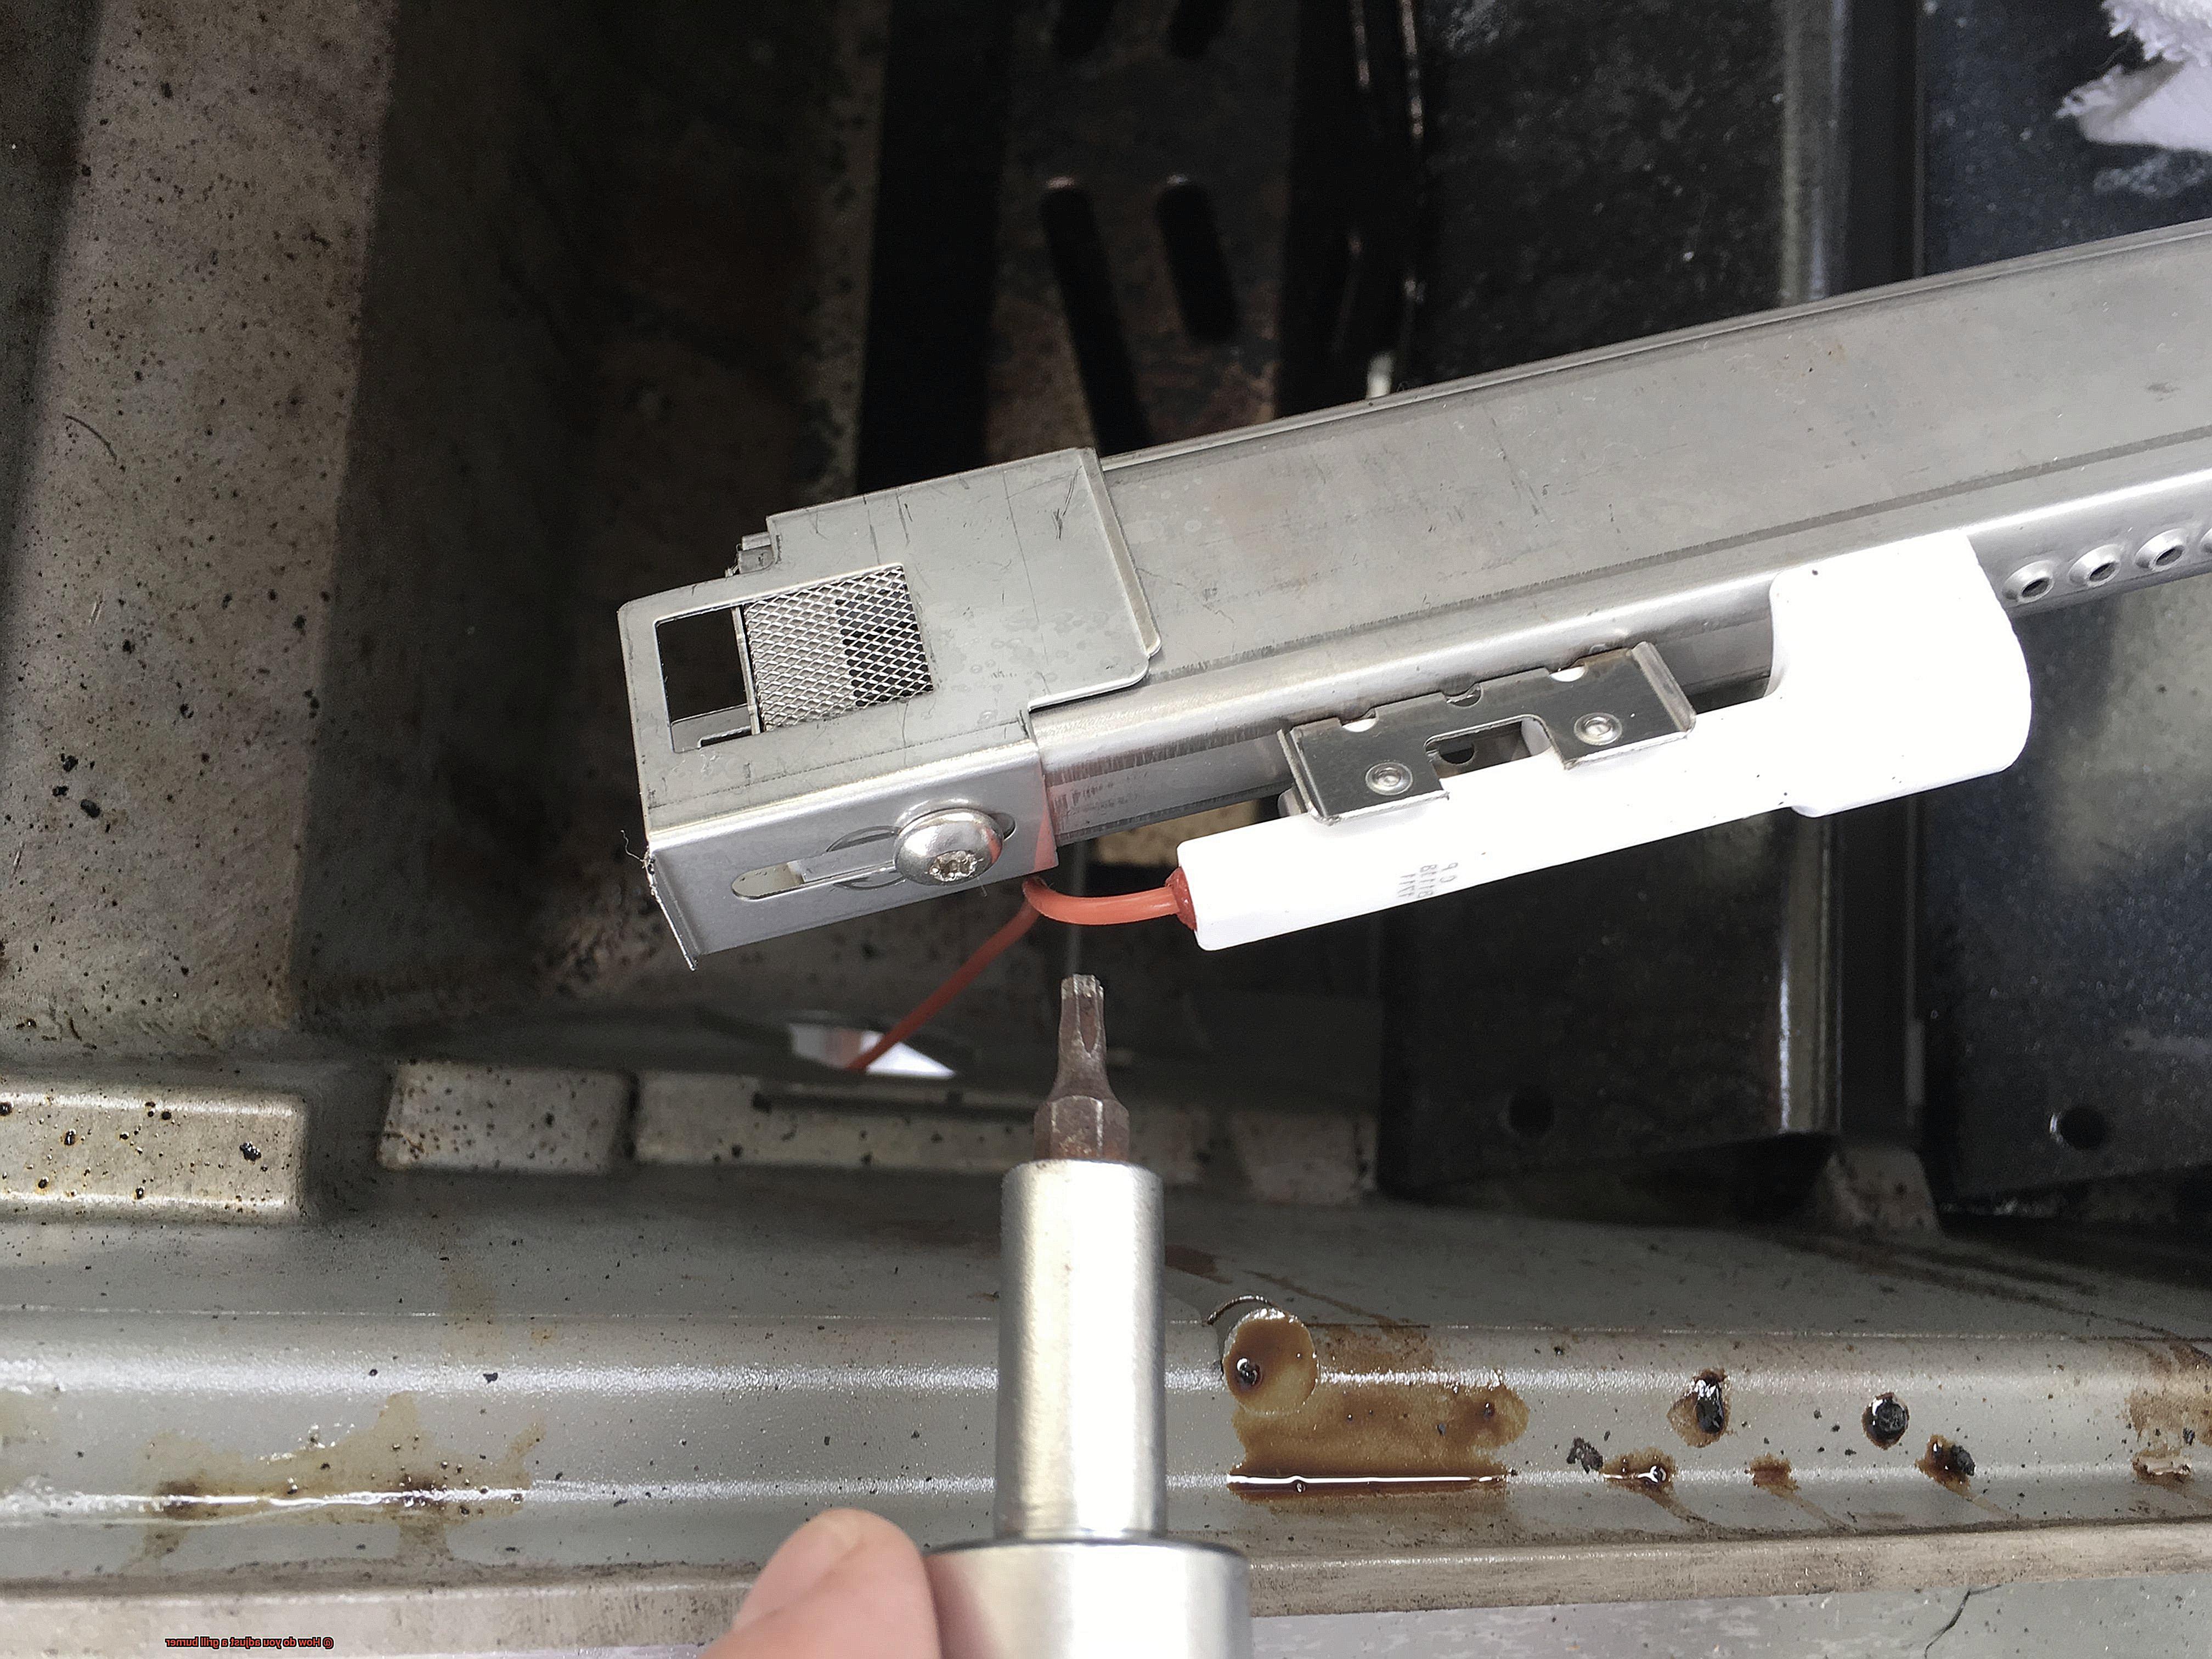
Now, let’s get started. To locate the air shutter adjustment, remove the cooking grates and heat deflectors to access the burners. Look for a small metal plate attached to the burner’s venturi tube. This metal plate may have a screw or tab that can slide back and forth to adjust the air shutter opening. However, on some models, you may need to remove this metal plate to access the air shutter adjustment.
Once you’ve located the air shutter adjustment, it’s time to make small adjustments by sliding the screw or tab back and forth until you achieve the desired flame height and color. But don’t forget to test the flame after each adjustment and refer to your grill’s manual for specific instructions on locating and adjusting the air shutter on your grill model.
It’s important to remember that different burners may require different air shutter adjustments, so it may be necessary to adjust each burner individually. But don’t worry – with a little patience and attention to detail, you can ensure that your grill is operating at its best.
How to Adjust the Flame Height
Adjusting the flame height on a grill burner can seem daunting, but with these simple steps, you’ll be grilling like a pro in no time.
Step 1: Safety First
Before making any adjustments, ensure that your grill is turned off and cool to the touch. This will prevent any accidents and ensure that you don’t damage your grill in any way.
Step 2: Locate the Control Knobs
The control knobs for your burners are typically located on the front panel of your grill, labeled with numbers or symbols indicating the heat level. Take note of which knob corresponds to which burner.
Step 3: Adjust the Flame Height
To increase the flame height, turn the knob counterclockwise. To decrease it, turn it clockwise. Remember to make small adjustments and wait a few moments to see how the flame reacts before making any further changes. This will help you achieve the desired flame height without going too high or too low.
Step 4: Test Your Grill
After making your adjustments, test your grill to ensure that it’s heating evenly and at the desired temperature. If you’re still having trouble getting the flame to adjust properly, there may be an issue with your grill’s regulator. In this case, consult your owner’s manual or contact the manufacturer for assistance.
Step 5: Different Foods, Different Heights
Different foods require different flame heights. For example, thicker cuts of meat may require a higher heat level to sear and cook properly, while delicate vegetables may need a lower heat level to avoid burning. By adjusting the flame height on your grill burner, you can achieve the perfect temperature for each type of food you’re grilling.
In addition to adjusting flame height, it’s important to maintain your grill’s burners. Dirty or damaged burners can prevent proper gas flow and affect performance. Regular cleaning and replacement as needed will keep your grill functioning at its best.
Checking for Blockages or Debris in the Burner Tubes
Grilling is an art, and mastering it requires skill, knowledge, and the right equipment. However, even the best grilling equipment can become a hindrance if it’s not well-maintained. That’s why it’s essential to check for blockages or debris in your grill’s burner tubes regularly.
Blockages or debris in the burner tubes can cause uneven heating, which can lead to poorly cooked meals and even safety hazards. As an expert in this field, I’m here to guide you through the process of checking for blockages or debris in your grill’s burner tubes.
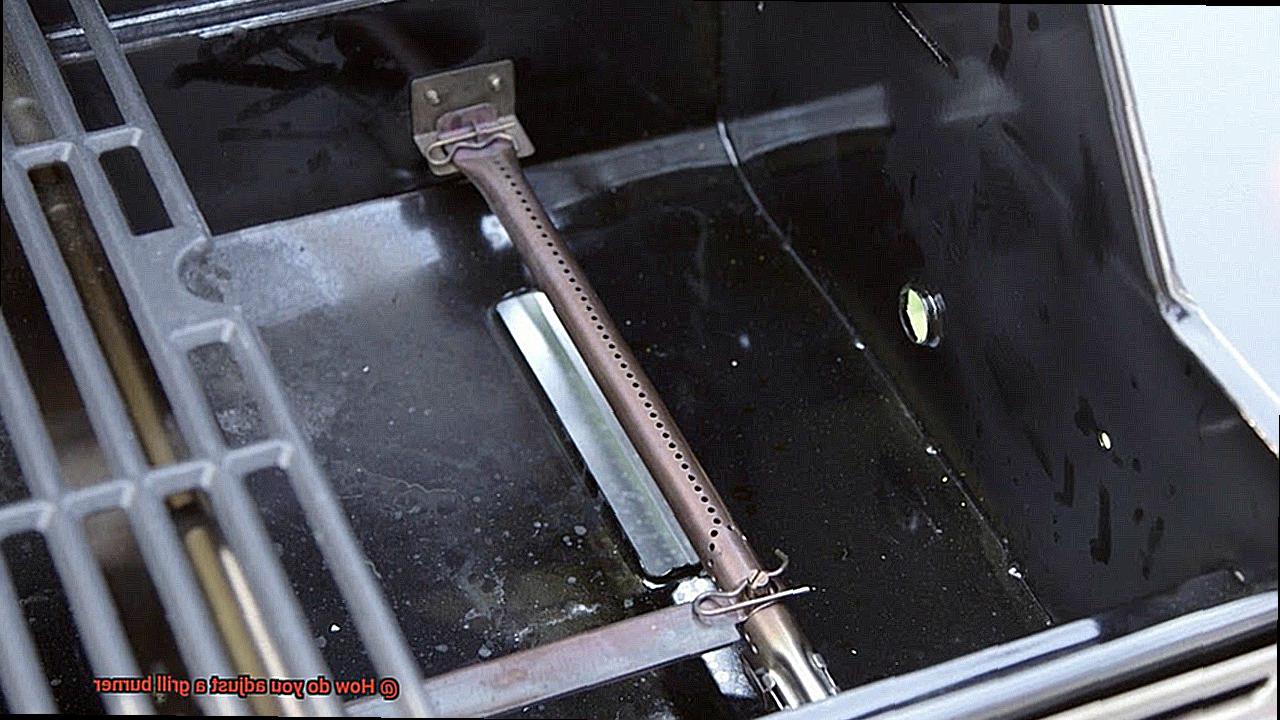
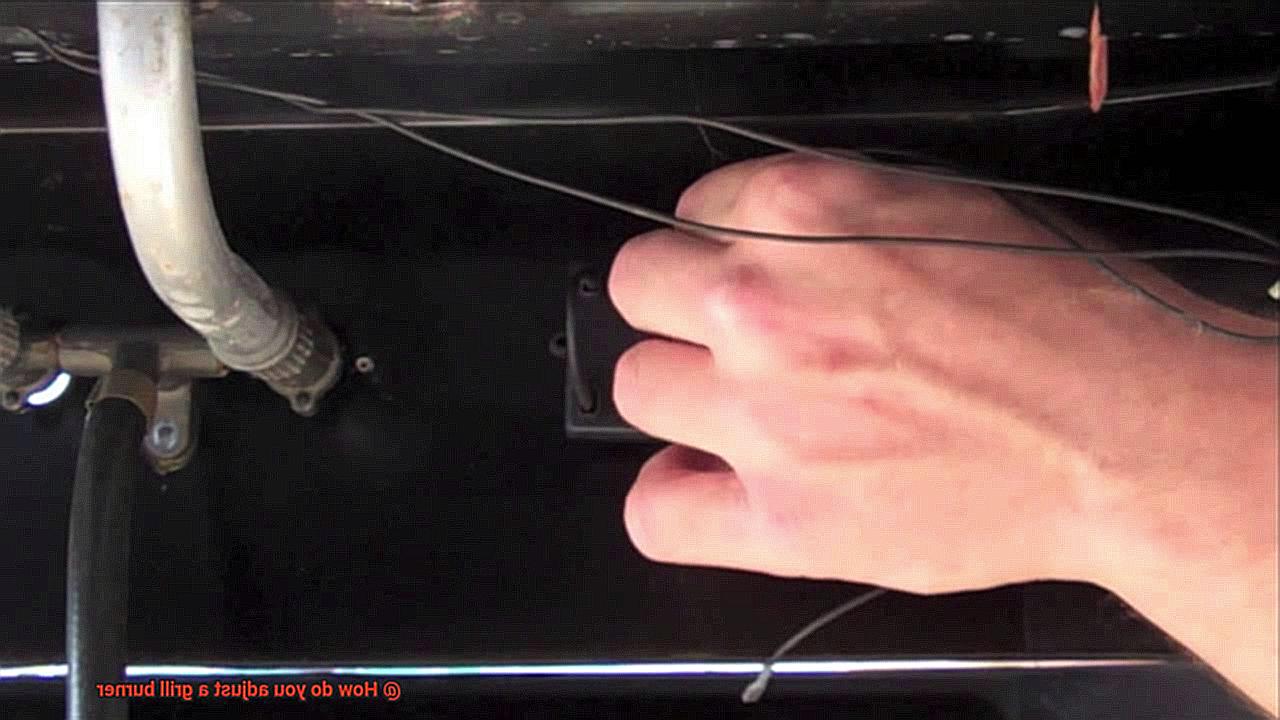
First things first, safety should always be your top priority when working with gas grills. Turn off the grill and disconnect the propane tank before proceeding. Once that’s done, remove the grates and flavorizer bars to access the burners.
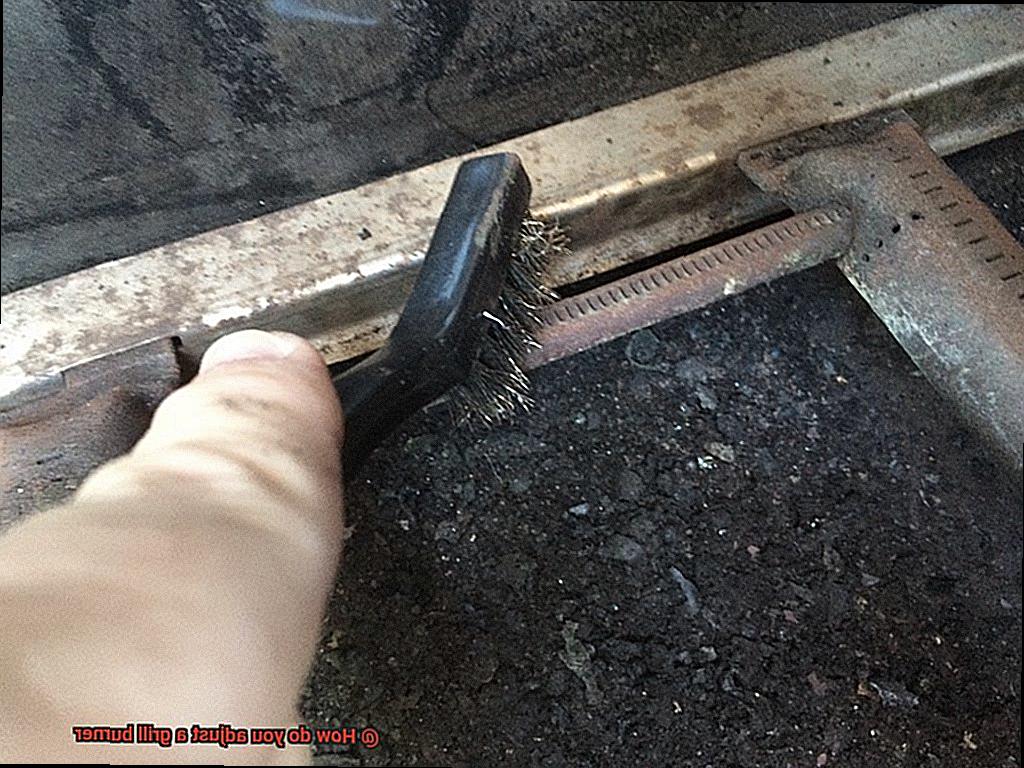
Now comes the tricky part – cleaning the inside of the burner tubes. Use a wire brush or toothbrush to gently clean the inside of the burner tubes, removing any dirt, rust, or debris that may have accumulated over time. Next, use a thin wire or straightened paperclip to clear out any stubborn blockages in the burner ports. But be careful not to damage the burner ports during this process.
If you encounter significant obstructions that won’t budge, it may be necessary to replace the burner entirely. However, if you’re successful in clearing out any blockages or debris from the burner tubes and ports, reassemble the grill and reconnect the propane tank.
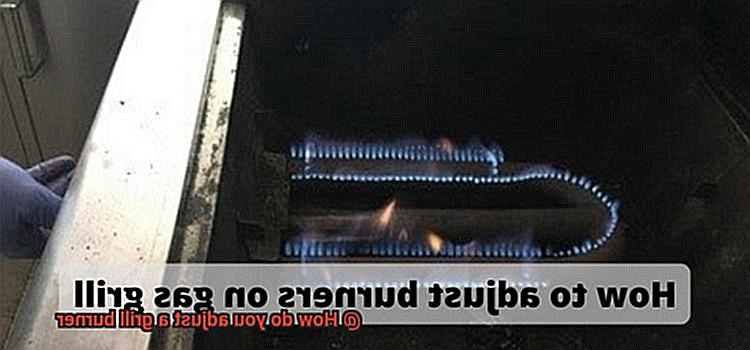
Turn on the gas and ignite the burners to ensure they light evenly and produce a consistent flame. If you notice any issues with uneven heating or low flames, repeat the cleaning process or consider consulting a professional for further assistance.
By regularly checking for blockages or debris in your grill’s burner tubes, you can ensure safe and efficient grilling every time. To summarize:
- Turn off the grill and disconnect the propane tank before starting the cleaning process
- Remove the grates and flavorizer bars to access the burners
- Use a wire brush or toothbrush to gently clean the inside of the burner tubes
- Use a thin wire or straightened paperclip to clear out any stubborn blockages in the burner ports
- Reassemble the grill and reconnect the propane tank
- Turn on the gas and ignite the burners to ensure they light evenly and produce a consistent flame
Testing Out the Grill After Adjustments
You’ve just finished cleaning your grill’s burner tubes and making some adjustments to ensure even heating and consistent flames. But, how do you know if your adjustments have worked? The answer is simple: test out your grill. In this section, we will guide you through the steps for testing out the grill after adjustments to ensure you get the perfectly grilled meals you deserve.
Step 1: Ignite and Heat Up the Burner
The first step is essential. Ignite your grill’s burner and let it heat up for a few minutes. This allows you to assess how well your adjustments have worked and whether or not the burners are functioning properly.
Step 2: Check the Temperature Across the Grates
Next, it’s time to check the temperature across the grill grates. Use an infrared thermometer to measure the temperature at various points on the grates. Ideally, the temperature should be even across all areas of the grill grates, indicating that the burner is working correctly.
Step 3: Adjust Accordingly
It’s common to have to make additional adjustments to get that perfect even temperature. If you notice any hot or cold spots on the grates, don’t worry; adjustments can be made. For example, if one area of the grill is significantly hotter than another, adjust the air shutter on that particular burner to allow for more oxygen flow. Alternatively, if a specific area of the grill is too cold, adjust the burner’s flame height to increase heat output.
Step 4: Repeat as Needed
Remember, adjusting your grill burner isn’t a one-time fix. It may take several attempts before achieving an even temperature across all areas of the grates. Don’t get discouraged if you have to make additional adjustments; it’s all part of being a grill master.
Step 5: Regular Maintenance
Maintenance is a crucial aspect of grilling. Regularly cleaning your grill and performing maintenance on your burner tubes will help prevent future issues with uneven heating. Make sure to clean your grill regularly and check your burner tubes to keep them in top shape.
Tips for Perfectly Grilled Meals Every Time
Grilling is a beloved pastime, but it can be frustrating to end up with undercooked or overcooked food. However, adjusting your grill burners is the key to achieving perfectly grilled meals every time. Here are some expert tips to help you adjust your grill burners like a pro:
Preheat your grill
To ensure even cooking, preheat your grill for at least 10-15 minutes before grilling. This will allow the grill grates to get hot enough to sear the food and prevent it from sticking.
Clean your grill grates
Cleaning your grill grates before and after each use is crucial for preventing flare-ups and ensuring even cooking. Use a wire brush or scraper to remove any leftover food debris.
Adjust the grill burners
Adjusting the grill burners involves controlling the amount of air that flows into each burner. This can be done by rotating the air shutter adjustment, which is usually a small metal plate on each burner. Turning the valve stem clockwise will decrease the flame, while turning it counterclockwise will increase it. For thicker cuts of meat, lower heat settings and longer cooking times are necessary, while thinner cuts of meat can be cooked on higher heat settings for shorter periods.
Invest in a meat thermometer
A meat thermometer is essential for determining if your food is cooked to perfection. Insert the thermometer into the thickest part of the meat and wait for a temperature reading. For beef, medium-rare is 130-135°F, medium is 135-145°F, and well-done is 155°F or higher.
Test your grill
Once you’ve made adjustments to your grill burners, test out the heat by cooking a small amount of food. This will allow you to see if any further adjustments need to be made before cooking larger portions.
CPC95OK57S0″ >
Conclusion
Grilling is an art form that requires a deft hand, a keen eye, and the right tools. One of the most important tools in your grilling arsenal is your grill’s burner. The burner controls the heat output, which can make or break your food. But fear not, adjusting your grill burner is easier than you might think – even for beginners.
Before you start tinkering with your grill’s burner, it’s essential to take some safety precautions. Turn off the gas supply, let your grill cool down, and don’t forget to wear protective gear. A clean grill is also crucial to ensure proper functioning and achieve optimal grilling results.
To achieve perfect flames, adjusting the air shutter on each burner is key. To adjust flame height, turn on the grill and use a flathead screwdriver to turn the valve stem on the burner clockwise or counterclockwise for smaller or larger flames respectively. Different foods require different flame heights – so experiment.
Regularly checking for blockages or debris in your grill’s burner tubes will help ensure safe and efficient grilling every time. And don’t forget to test out your grill after adjustments – this will help you achieve perfectly grilled meals every time.
By following these steps and expert tips such as preheating your grill, cleaning grill grates before and after each use, investing in a meat thermometer, and testing out heat by cooking small amounts of food before larger portions – you’ll be well on your way to becoming a pro at adjusting your grill burner like a boss.