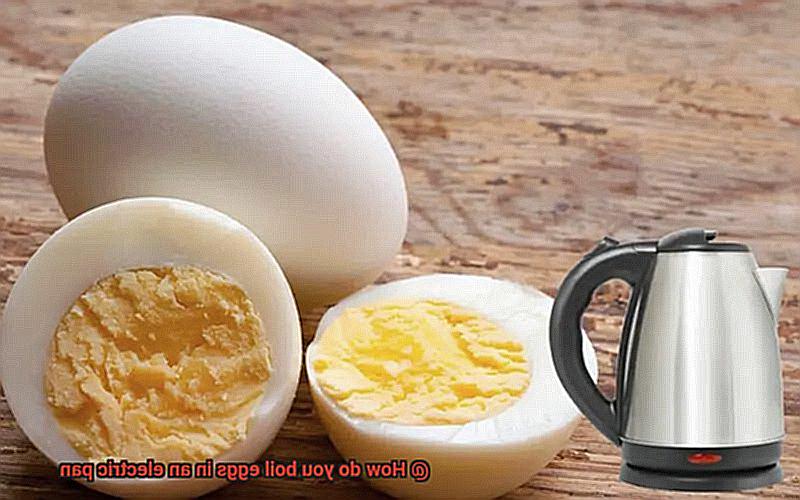
Boiled eggs are the ultimate go-to food. They’re packed with protein, easy to make, and can be used in countless recipes. But let’s face it, boiling eggs on the stove can be a real drag. Especially when you’re pressed for time. That’s where electric pans come in handy. Not only do they save you time, but they also guarantee perfectly cooked eggs every single time.
In this blog post, we’ll teach you how to boil eggs in an electric pan like a pro. We’ll cover everything from the necessary steps to how long to boil your eggs and how to prep them before cooking.
Whether you prefer your eggs soft-boiled with a runny yolk or hard-boiled with a solid center, we’ve got you covered. We’ll even share some tips on how to store your boiled eggs properly so that they stay fresh for days.
So if you’re ready to learn how to cook perfect boiled eggs using an electric pan, keep reading. You won’t believe just how simple it is to whip up delicious and nutritious boiled eggs that everyone will love.
Contents
Benefits of Boiling Eggs in an Electric Pan
When it comes to breakfast, boiled eggs are a staple for many people. But let’s be real – boiling them on a stovetop can be a drag. However, there’s a solution – using an electric pan. And the benefits of boiling eggs in an electric pan are numerous.
Consistent Results
Electric pans come equipped with temperature controls that allow you to set the heat to a specific level. This ensures that the eggs are boiled at a consistent temperature, resulting in evenly cooked eggs every time. No more guessing if your eggs are fully cooked or not.
Faster Cooking Time
Electric pans heat up faster than stovetops, which means that the water will come to a boil quicker. This can save you precious time in the morning when you’re rushing to get ready for work or school. Plus, who doesn’t love saving time in the morning?
Energy-Efficient
Not only are electric pans quicker, but they also use less energy than stovetops. This makes them an eco-friendly option for boiling eggs and saves you money in the long run. Talk about a win-win situation.
Easy to Clean
Cleaning an electric pan is much easier than cleaning a stovetop. Most electric pans have non-stick surfaces, which means that the eggs won’t stick to the bottom of the pan, making cleaning up a breeze. Plus, less time cleaning means more time enjoying your perfectly boiled eggs.
Portable
Electric pans are not only convenient for home use but also portable. Take them with you on camping trips, road trips, or anywhere else where you might need to boil eggs. It’s like having your own personal chef on-the-go.
What You Need
Enter the electric pan. But what exactly do you need to ensure your eggs come out just right every time?
First and foremost, invest in a high-quality electric pan with a secure-fitting lid. This will help maintain a consistent temperature and create the necessary steam for boiling the eggs. And don’t forget to grab some heat-resistant tools like a spatula or tongs to safely remove the eggs once they’re done. A timer is also a must-have for keeping track of your cook time accurately.
When it comes to ingredients, all you need are eggs and water. The amount of water and number of eggs you use depends on the size of your electric pan and how many eggs you plan to boil. For easier peeling, some people like to add salt or vinegar to the water, but this is entirely optional.
In summary, here’s what you need for perfect boiled eggs in an electric pan:
- High-quality electric pan with secure-fitting lid
- Heat-resistant tools like spatula or tongs
- Timer
- Eggs
- Water
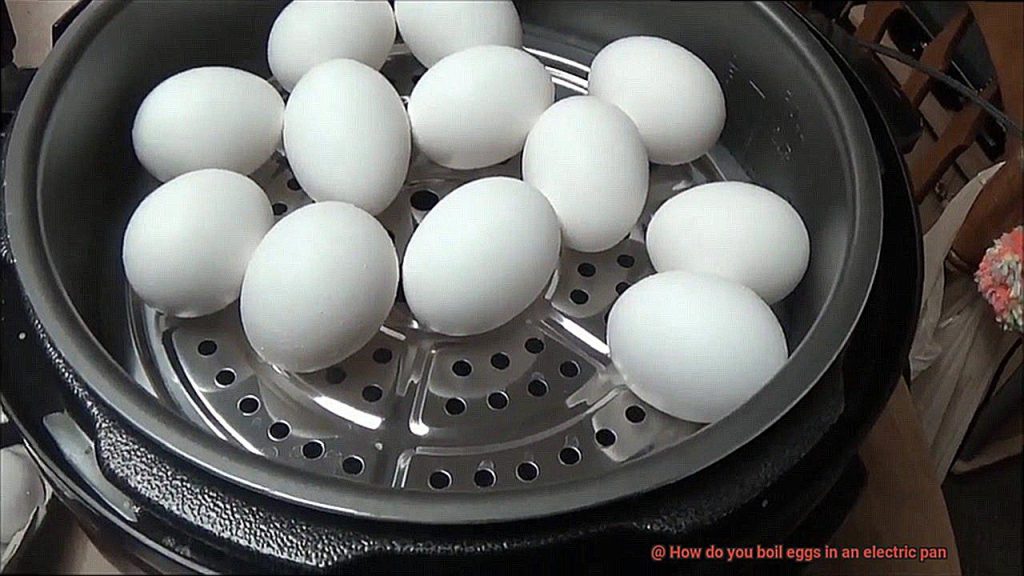
Preparing the Electric Pan
Let the electric pan save your day and make boiling eggs an easy task. However, before you start, it’s essential to know how to prepare the electric pan to ensure that your eggs cook evenly and come out perfectly.
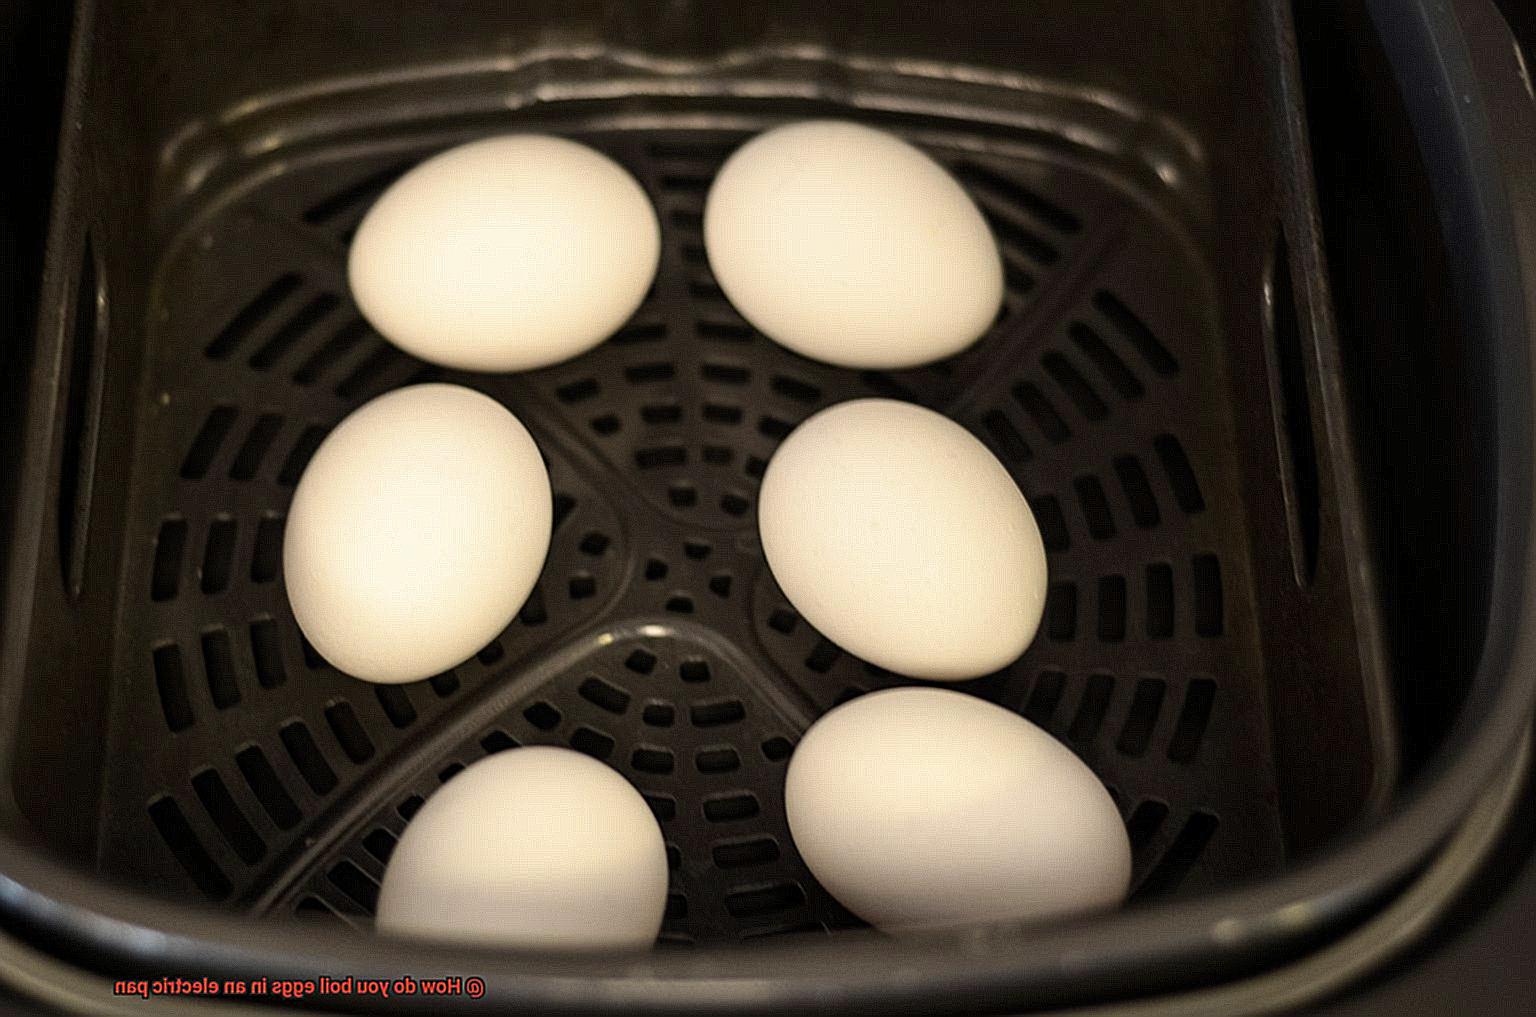
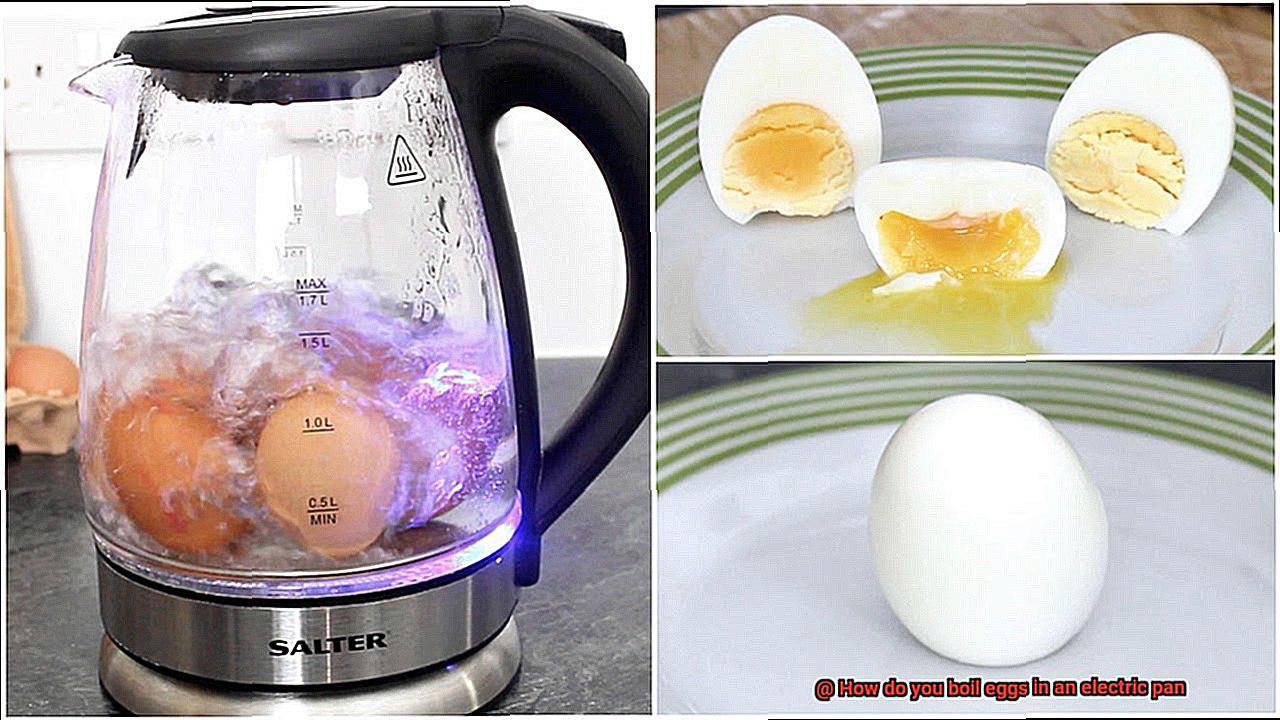
First, choose an appropriately sized electric pan that can hold the number of eggs you want to boil. Once you have the right size, add enough water to cover the eggs by an inch or two. The amount of water needed depends on how many eggs you want to boil and how well-done you want them.
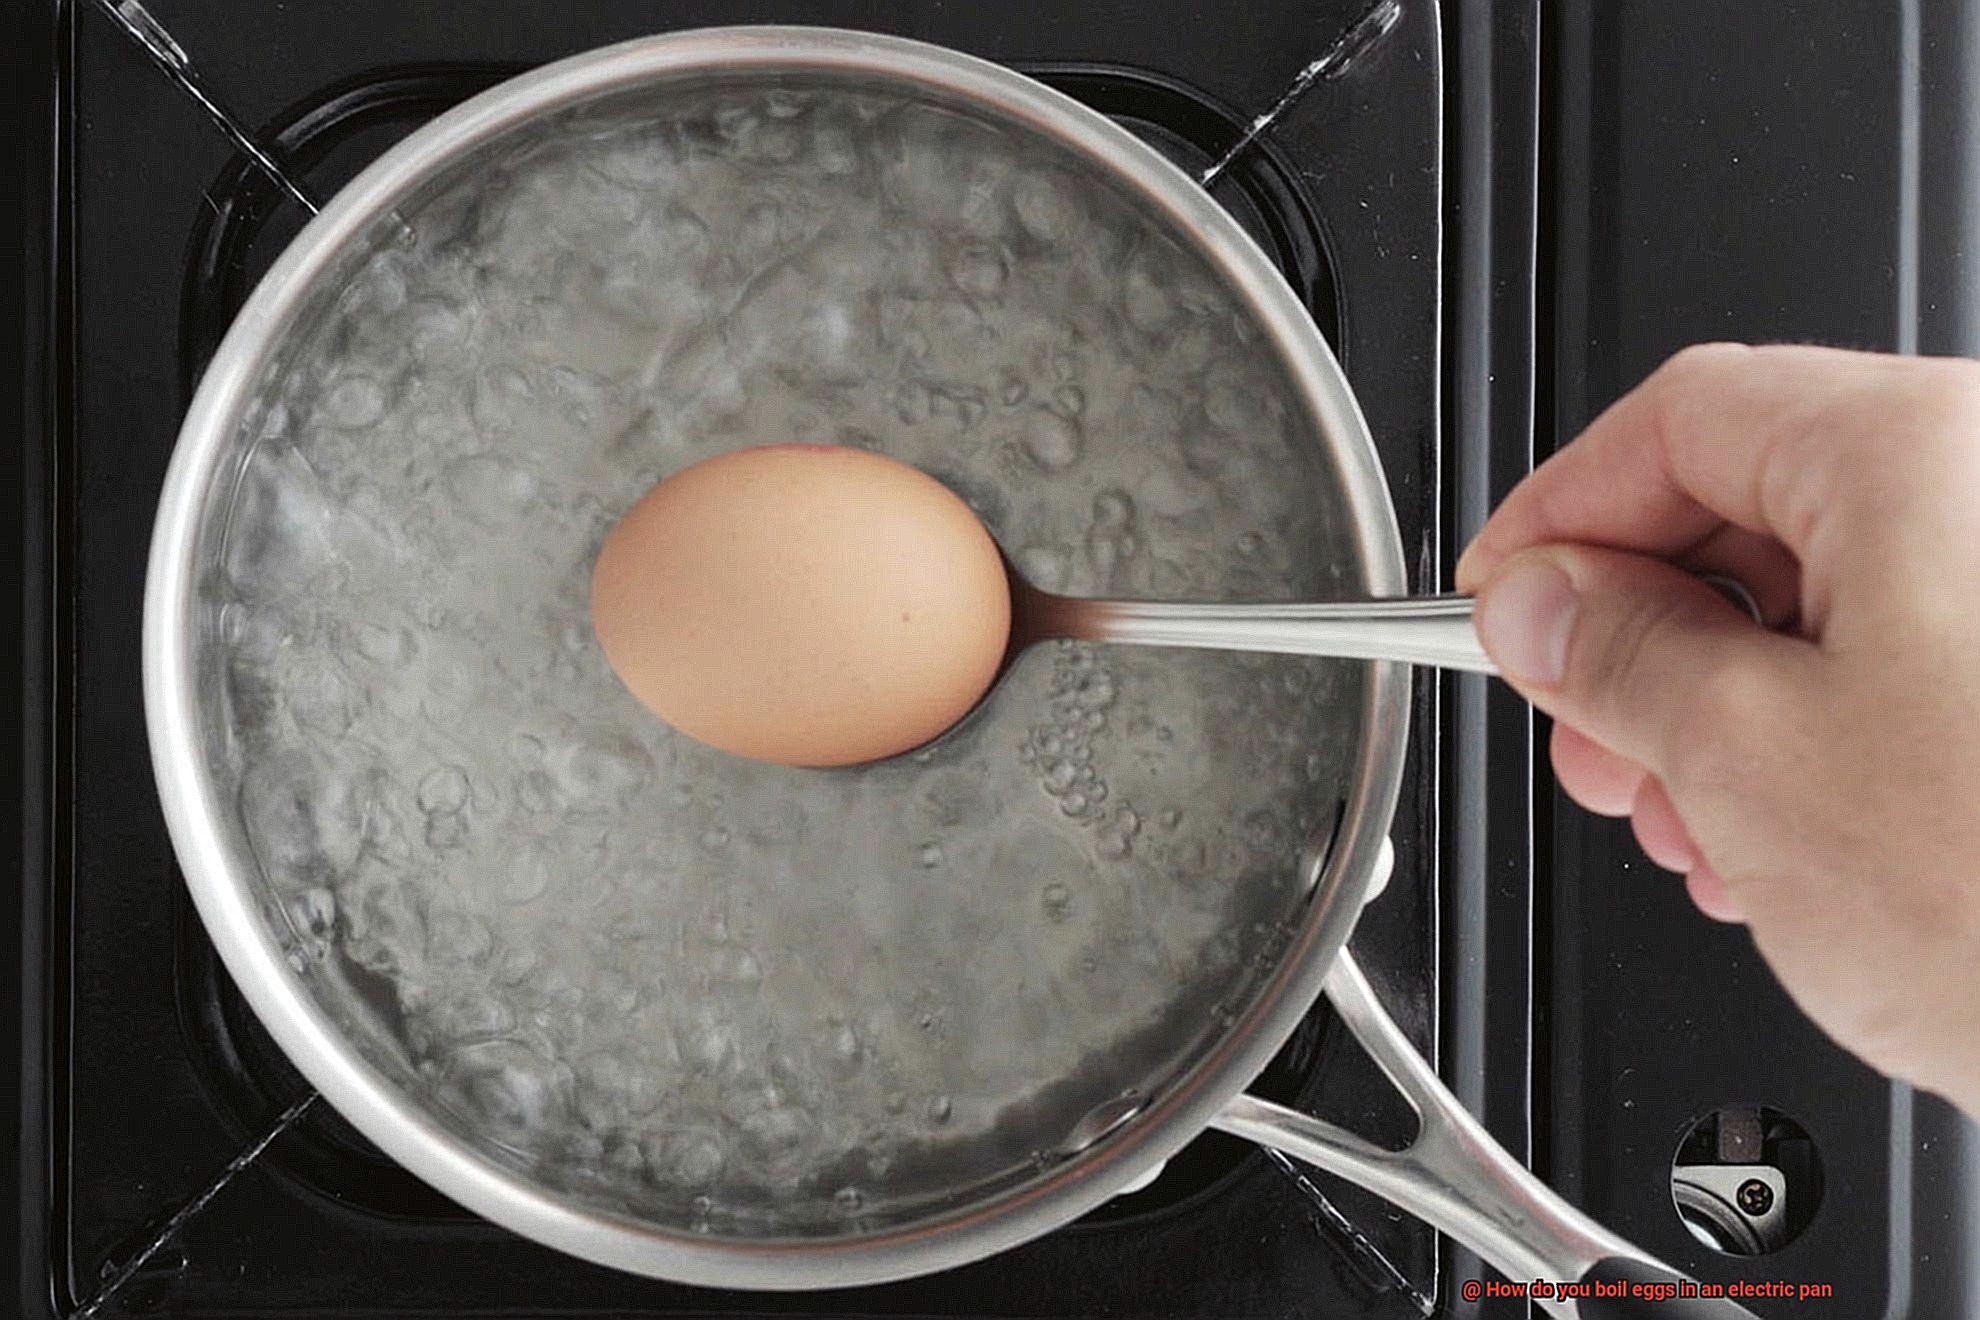
Now it’s time to turn on the electric pan and set it to high heat. Wait for the water to come to a rolling boil before adding your eggs gently into the pan. Remember not to overcrowd the pan as this can lead to uneven cooking.
Once you’ve added your eggs, reduce the heat to a simmer and cover the electric pan with a lid. It’s time to sit back and relax while letting your eggs cook for about 6-8 minutes for soft-boiled eggs or 10-12 minutes for hard-boiled eggs. The timing depends on how runny or firm you want your egg yolks.
When your eggs are done cooking, turn off the heat and carefully remove them from the electric pan using a slotted spoon or tongs. Place them in a bowl of cold water for a few minutes before peeling them. This step helps stop the cooking process and makes peeling easier.
To summarize, preparing the electric pan involves selecting an appropriate size, adding enough water, bringing it to a rolling boil, gently adding the eggs, reducing heat, covering with a lid, cooking for a specific time, turning off heat once done, and cooling in cold water before peeling. By following these straightforward steps, you can enjoy perfectly boiled eggs every time without any stress.
Setting the Temperature
Boiling eggs in an electric pan may sound like a simple task, but it requires careful attention to temperature settings and technique to achieve perfectly boiled eggs. As an expert on this topic, I’m here to share with you some tips and tricks on how to set the temperature and prepare delicious boiled eggs every time.
To start, the ideal temperature range for boiling eggs in an electric pan is between 185°F to 190°F (85°C to 88°C). However, given that different electric pan brands and models vary in temperature settings, it’s crucial to consult your manual for the recommended temperature range.
Once you know the recommended temperature range, it’s time to fill your electric pan with enough water to cover the eggs entirely and switch it on. To avoid cracking or unevenly cooked eggs, it’s essential not to overcrowd your electric pan with too many eggs. Also, don’t add cold eggs directly into hot water. Instead, allow them to reach room temperature before placing them in the water.
After placing the eggs gently into the heated water, cover your electric pan with a lid and set a timer for about 10-12 minutes for medium-sized eggs or 14-15 minutes for larger ones. This will ensure that your eggs are not overcooked or undercooked.
In summary, setting the temperature when boiling eggs in an electric pan is crucial for achieving perfectly boiled eggs. Follow these tips:
- Consult your electric pan manual for recommended temperature ranges.
- Avoid overcrowding and cracking of eggs.
- Allow the eggs to reach room temperature before placing them in the heated water.
- Set a timer to ensure they don’t overcook or undercook.
Cooking Times for Different Types of Eggs
Boiled eggs are a classic breakfast staple that can also be enjoyed as a snack or added to salads. However, not all boiled eggs are created equal. Depending on the type of egg and your preference, cooking times can vary greatly. Here’s a breakdown of how to cook soft-boiled, medium-boiled, and hard-boiled eggs in an electric pan.
Soft-Boiled Eggs
If you’re a fan of runny yolks, then soft-boiled eggs are perfect for you. Cooking them in an electric pan is easy – simply bring the water to a gentle boil and add the eggs. Cook them for 4-6 minutes depending on your preferred level of doneness. Once they’re done, place them in a bowl of ice water to stop the cooking process. This will ensure that the yolk stays runny while the white remains firm.
Medium-Boiled Eggs
Medium-boiled eggs have a firmer yolk than soft-boiled eggs but are still somewhat runny. To achieve this texture, allow the water in the electric pan to come to a gentle boil and add the eggs. Cook them for 7-9 minutes depending on your preference. Once they’re done, place them in a bowl of ice water to stop the cooking process.
Hard-Boiled Eggs
For fully cooked hard-boiled eggs with a solid yolk and white, cook them in an electric pan for 10-12 minutes until they’re fully cooked. Bring the water to a gentle boil and add the eggs. Once they’re done, place them in a bowl of ice water to make peeling easier.
It’s important to note that different types of eggs require different cooking times. For instance, duck eggs require longer cooking times due to their larger size and thicker shell. Soft-boiled duck eggs need 6-7 minutes of cooking time, medium-boiled duck eggs need 9-10 minutes, and hard-boiled duck eggs need 12-14 minutes. Meanwhile, quail eggs are much smaller than chicken and duck eggs, so they require shorter cooking times. Soft-boiled quail eggs need 2-3 minutes of cooking time, medium-boiled quail eggs need 4-5 minutes, and hard-boiled quail eggs need 6-7 minutes.
It’s also important to adjust cooking times based on personal preferences. Some people prefer their hard-boiled eggs with a slightly runny yolk while others prefer completely cooked yolks. Experimentation with cooking times can help you achieve the perfect egg.
Removing the Eggs from the Electric Pan
There’s nothing quite like starting your day off with a delicious egg breakfast. Whether you prefer them scrambled, fried, or boiled, eggs are a versatile and nutritious way to fuel up for the day ahead.
But if you’re using an electric pan to boil your eggs, removing them can be a daunting task. You don’t want to damage the eggs or burn yourself in the process. Fear not, because with a little bit of caution and care, you’ll be able to safely and effectively remove your eggs from the electric pan in no time.
To begin with, ensure that you turn off the electric pan and unplug it from the socket first. This will give the pan enough time to cool down so that you can handle it safely. Then, using a pair of tongs or a slotted spoon, carefully remove each egg from the pan one at a time. If you’re having trouble getting a good grip on the eggs, use a paper towel or cloth to help you hold them securely.
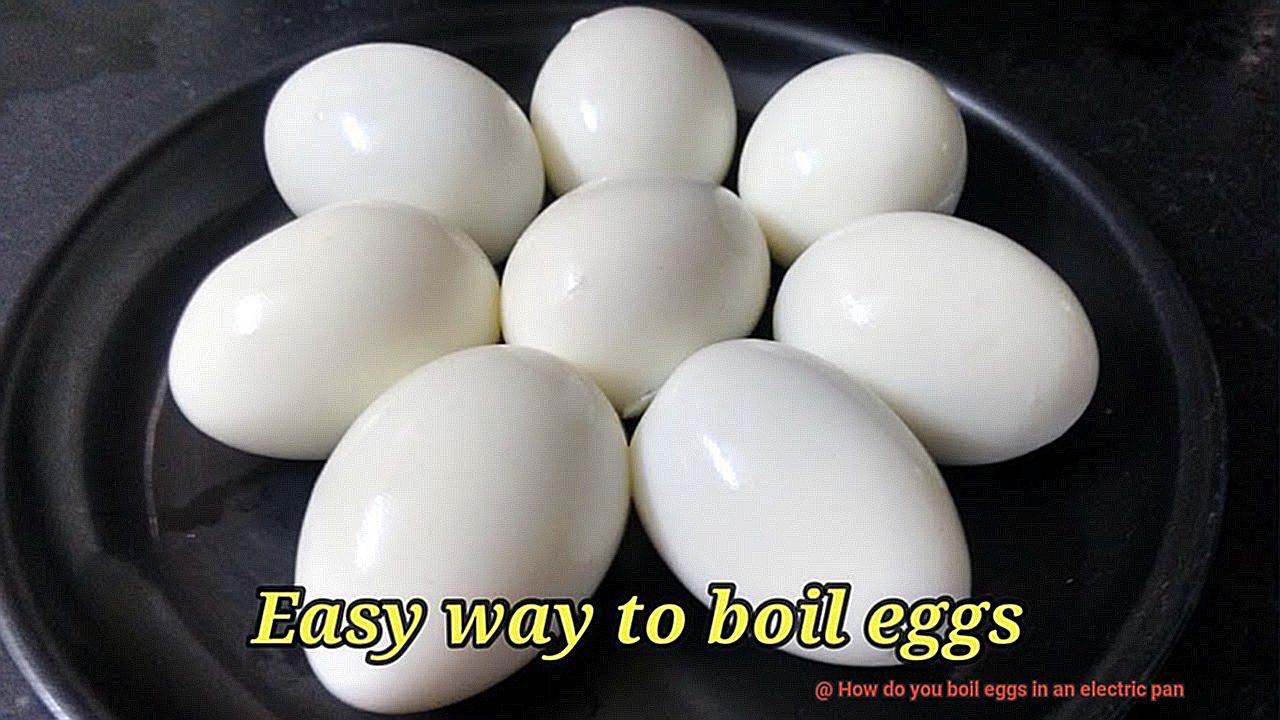
Once you’ve removed each egg from the pan, gently tap it on a hard surface like a countertop or cutting board to crack the shell. Then, carefully peel off the shell under cold running water. Remember to be gentle when removing the eggs from the electric pan as they can easily break or burst open if mishandled. If an egg does break, remove it immediately and clean up any spilled egg white or yolk from the pan before continuing.
Now that all of your eggs have been removed and peeled, they’re ready to be served immediately or stored in the refrigerator for later use. To keep them fresh, make sure to store them in an airtight container to prevent any contamination or odors from affecting their flavor.
In summary, here is a quick guide to safely and effectively removing your eggs from an electric pan:
- Turn off and unplug the electric pan.
- Use tongs or a slotted spoon to remove each egg from the pan.
- Gently tap each egg on a hard surface to crack the shell.
- Carefully peel off the shell under cold running water.
- Store them in an airtight container in the refrigerator.
Cooling Down the Eggs
Boiled eggs are a staple breakfast food, but the process of boiling and peeling them can be a bit tricky. The key to perfect boiled eggs lies in the cooling down process. By cooling down the eggs properly, you can stop the cooking process and ensure that the eggshells come off easily without any damage to the egg white.
To cool down your boiled eggs like a pro, follow these simple steps:
- Remove the eggs from the hot water with a slotted spoon and immediately place them in a bowl filled with cold water and ice. The ice will help bring down the temperature of the eggs quickly, preventing overcooking.
- Allow the eggs to sit in the cold water for at least 5 minutes. This will ensure that they are cooled down completely before peeling.
- If you’re boiling a large batch of eggs, you may need to change the water and add more ice to keep it cold.
- Once the eggs have cooled down, gently tap them on a hard surface such as a countertop or cutting board to crack the shell.
- Begin peeling the shell carefully starting from the wider end of the egg where the air pocket is located.
If you encounter difficulty peeling your boiled eggs, don’t worry. Try rolling them gently on a hard surface to loosen the shell before peeling. You can also peel them under running water, which can help remove any stubborn bits of shell.
Peeling the Eggs
With a few helpful tips and tricks, you’ll be able to peel boiled eggs with ease.
The first step is to ensure that your eggs are fully cooked. To check this, gently tap the egg on a hard surface and see if the shell is cracked. If it is, the egg may have been overcooked, making it more difficult to peel. Once you’re sure that your eggs are cooked, it’s time to start peeling.
To get started, crack the shell on the bottom of the egg where there is an air pocket. This will help the shell come away from the egg in larger pieces. Another trick is to roll the egg gently on a hard surface to loosen the shell.
If you’re still having difficulty removing the shell, try peeling the egg under running water. The water helps to separate the membrane from the egg, making it easier to peel off the shell. Adding a teaspoon of baking soda or vinegar to the water when boiling eggs can also help loosen the shells.
My favorite tip is to peel boiled eggs while they’re still warm. The heat causes the membrane underneath the shell to contract slightly, making it easier to separate from the egg. If you’re not planning on using all of your boiled eggs immediately, store them in their shells in the fridge for up to a week.
vJIvj2wbYuQ” >
Conclusion
Boiled eggs are the ultimate quick and easy snack that can be enjoyed in countless ways. But, let’s face it, boiling eggs on the stove can be a real hassle. That’s where electric pans come in to save the day. They’re perfect for busy folks who want consistent results with minimal effort.
In this comprehensive guide, we’ve covered everything you need to know about boiling eggs in an electric pan like a pro. We’ve highlighted the benefits of using an electric pan and provided step-by-step instructions on how to prepare your pan properly.
Setting the temperature correctly is key when cooking eggs, and we’ve included detailed instructions for different types of eggs so you can achieve your desired level of doneness every time. And once your eggs are cooked to perfection, we’ll show you how to remove them from the pan and cool them down properly before peeling.
By following these simple steps and tips, you’ll be able to cook flawless boiled eggs without any stress or fuss. Whether you prefer your yolks soft or hard-boiled, electric pans guarantee perfectly cooked eggs every single time.
So next time you’re craving some boiled eggs for breakfast or as a snack, grab your electric pan and follow our expert guide.