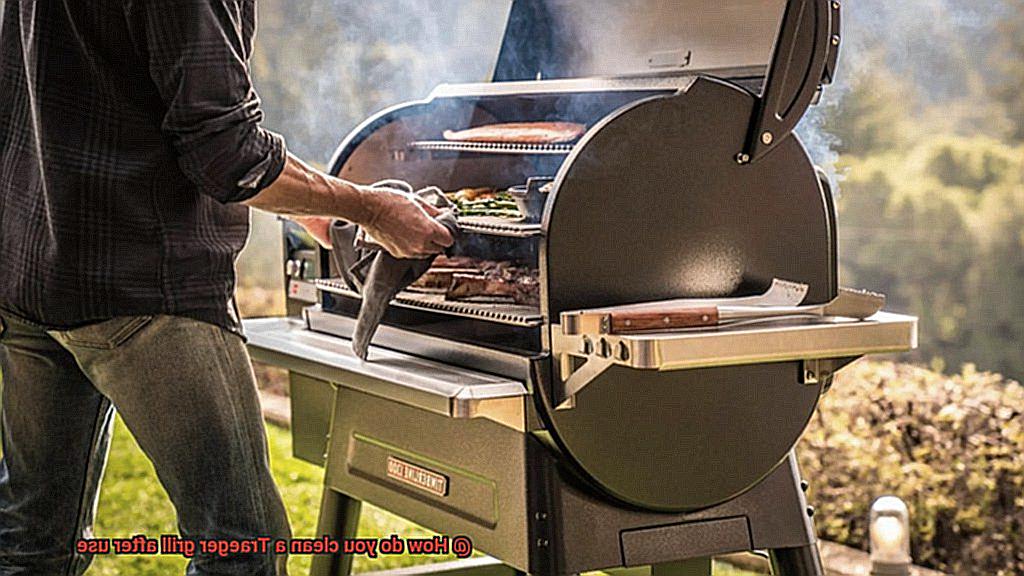
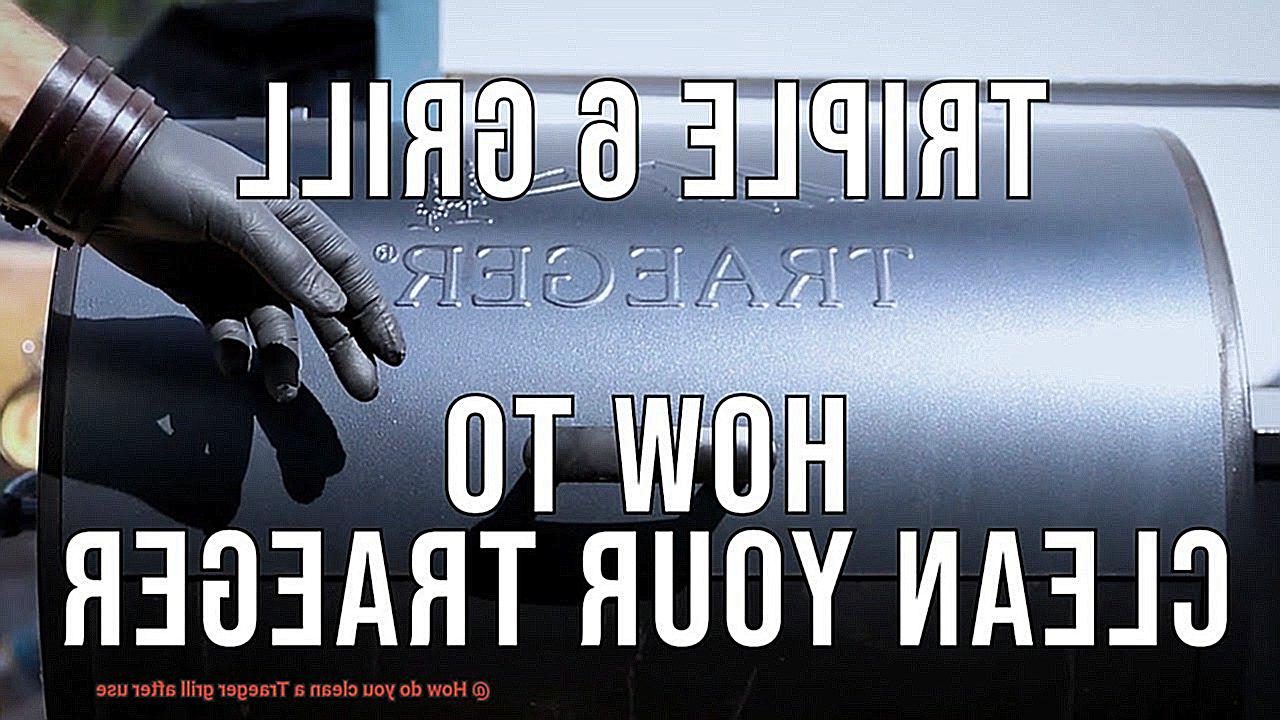
Are you a fan of the mouth-watering aroma and flavors that come from grilling on your Traeger grill? If so, then you know the importance of keeping it clean after use. A dirty grill can ruin the taste of your food and even pose health risks due to bacteria build-up.
But don’t worry, cleaning your Traeger grill after use is easier than you think. With just a few tools and some elbow grease, you can ensure that your grill stays in top condition for years to come.
In this blog post, we’ll guide you through the step-by-step process of cleaning your Traeger grill after use. We’ll cover everything from the essential tools you need to the best cleaning methods and tips for making it all effortless.
Whether you’re a seasoned pro or new to grilling, our guide on How do you clean a Traeger grill after use will give you all the knowledge and insights necessary to keep your equipment performing like a champ.
So let’s get started. Join us as we explore an easy yet effective approach to cleaning your Traeger grill that will have it looking and functioning like new in no time.
Contents
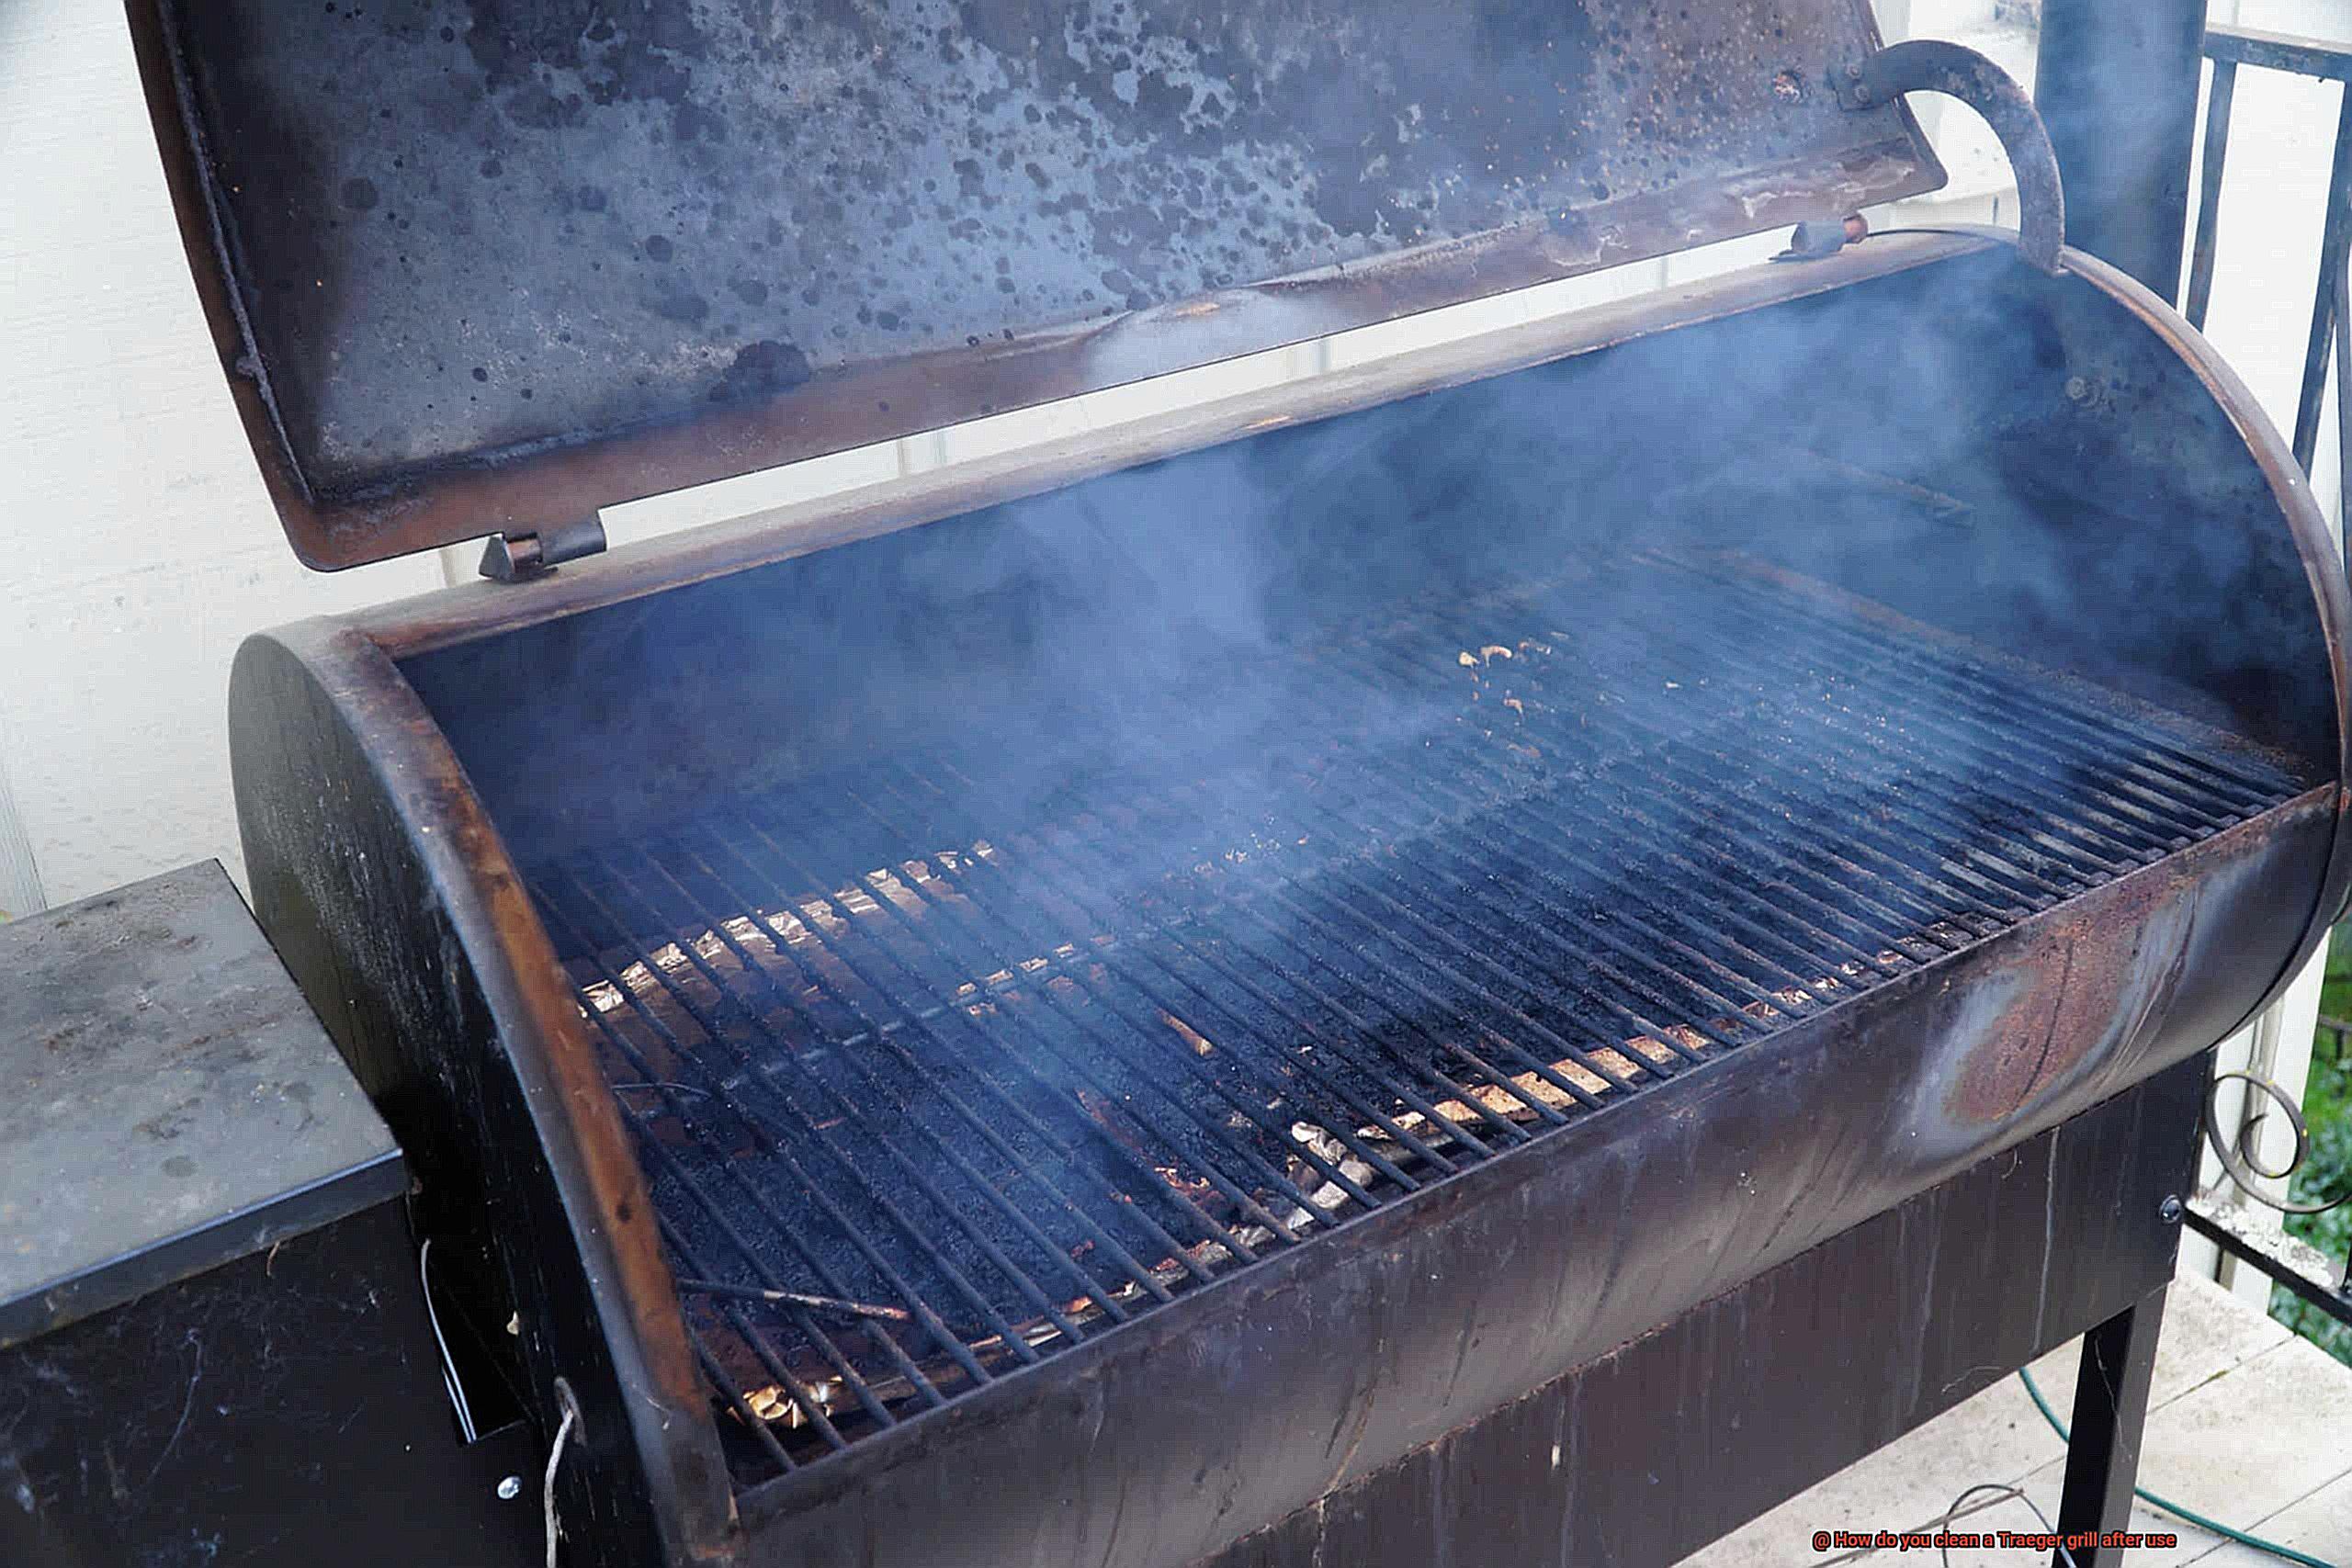
Let the Grill Cool Down
One of the key steps in cleaning your Traeger grill after use is to let it cool down completely. While it may seem like a hassle to wait for your grill to cool down, it’s essential for your safety and the longevity of your grill.
Here are some reasons why you should always let your Traeger grill cool down before cleaning it:
- Safety first: Cleaning a hot grill can be dangerous, and you risk burning yourself if you try to clean when it’s still hot. The interior components and grates can be scorching hot, and even with protective gloves, it’s still risky to handle a hot grill.
- More effective cleaning: When you try to clean a hot grill, grease and food debris are still hot and sticky, making them harder to remove. Letting the grill cool down completely makes it easier to remove the debris, ensuring a more thorough cleaning.
- Damage prevention: Using water or cleaning solutions on a hot grill can cause damage to the grill’s interior components. The heat can cause chemical reactions that may affect the durability of your grill.
So how do you go about cleaning your Traeger grill once it has cooled down? Start by removing any leftover food particles from the grates using a grill brush or scraper. This will make it easier to clean your grill more effectively.
Next, remove the grates and heat baffle and wash them with warm soapy water. Use a soft-bristled brush or cloth to clean any remaining debris from the interior of the grill, focusing on areas such as the drip tray and firepot.
If your Traeger grill has a removable grease bucket, be sure to empty it regularly and clean it with warm soapy water as needed. It’s also important to check and clean the chimney periodically to prevent any buildup of creosote.
Remove Food Debris from the Grates
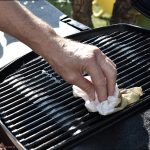
And one of the most crucial steps in this process is removing any food debris from the grates. Not only does this prevent unwanted flavors from lingering on your grates, but it also ensures that they’re ready for your next culinary masterpiece.
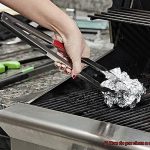
To tackle this task, start by turning up the heat of your Traeger grill to high. This will help to burn off any excess food particles that may be stuck to the grates. After about 10-15 minutes, use a grill brush with stiff bristles to scrape away any remaining debris. The high heat combined with the brush should take care of most of the food remnants.
But what if there are still stubborn food particles that won’t budge? Don’t fret. You can use a piece of aluminum foil crumpled into a ball to scrub away any remaining debris. However, be cautious not to use anything too abrasive that could damage your precious Traeger grill.
Once you’ve removed all of the food debris from the grates, it’s time to give them a good wash with warm soapy water. And don’t forget to clean the rest of your grill too. But remember, always make sure that your grill has completely cooled down before attempting to clean it – safety first.
In summary, here are the steps you should follow to remove food debris from your Traeger grill grates:
- Turn up the heat of your grill to high.
- Use a grill brush with stiff bristles to scrape away any remaining debris.
If necessary, use aluminum foil crumpled into a ball to scrub away stubborn food particles.
- Wash the grates with warm soapy water.
- Clean the rest of your grill.
- Always make sure your grill has cooled down completely before cleaning it.
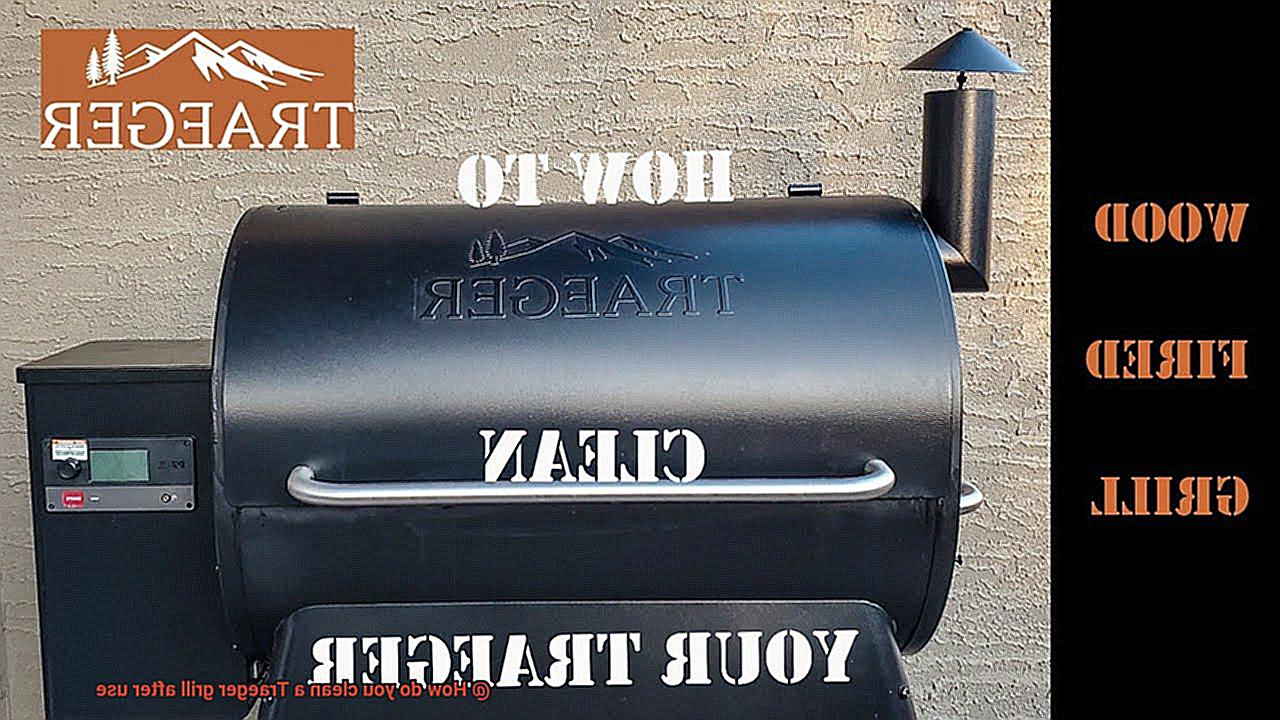
Clean the Interior of the Grill
It’s easy to overlook, but neglecting the inside can lead to buildup and affect the taste of your food. Fear not, though, as we have compiled a list of simple steps to help you clean the interior of your Traeger grill like a pro.
First and foremost, make sure your grill is completely cooled down before starting the cleaning process. This will prevent any accidental burns or injuries. Once it’s cool, remove any leftover ash and debris from the grill using a vacuum or specialized ash removal tool. Don’t forget to get into every nook and cranny, as buildup can affect your grill’s performance over time.
Next up, it’s time to scrub the grates. Use a grill brush to remove any leftover food particles, and for tough stains or buildup, use a specialized grill cleaner. The grates are where your food sits, so it’s important to keep them clean.
After cleaning the grates, it’s time to tackle the interior walls and bottom of the grill. Use warm soapy water and a soft sponge to clean these areas thoroughly. Be sure to rinse thoroughly and dry with a clean towel afterward.
Last but not least, don’t forget about any additional accessories or attachments that may be used with your Traeger grill. Clean drip pans, grease traps, and smoker boxes regularly to ensure they don’t affect the taste of your food.
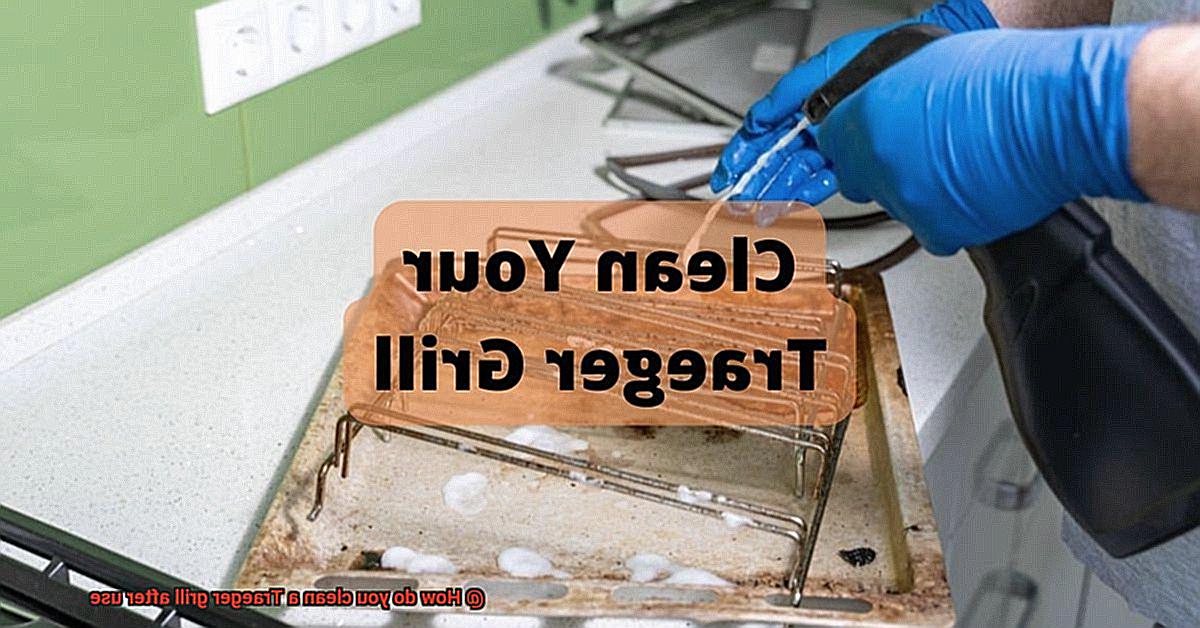
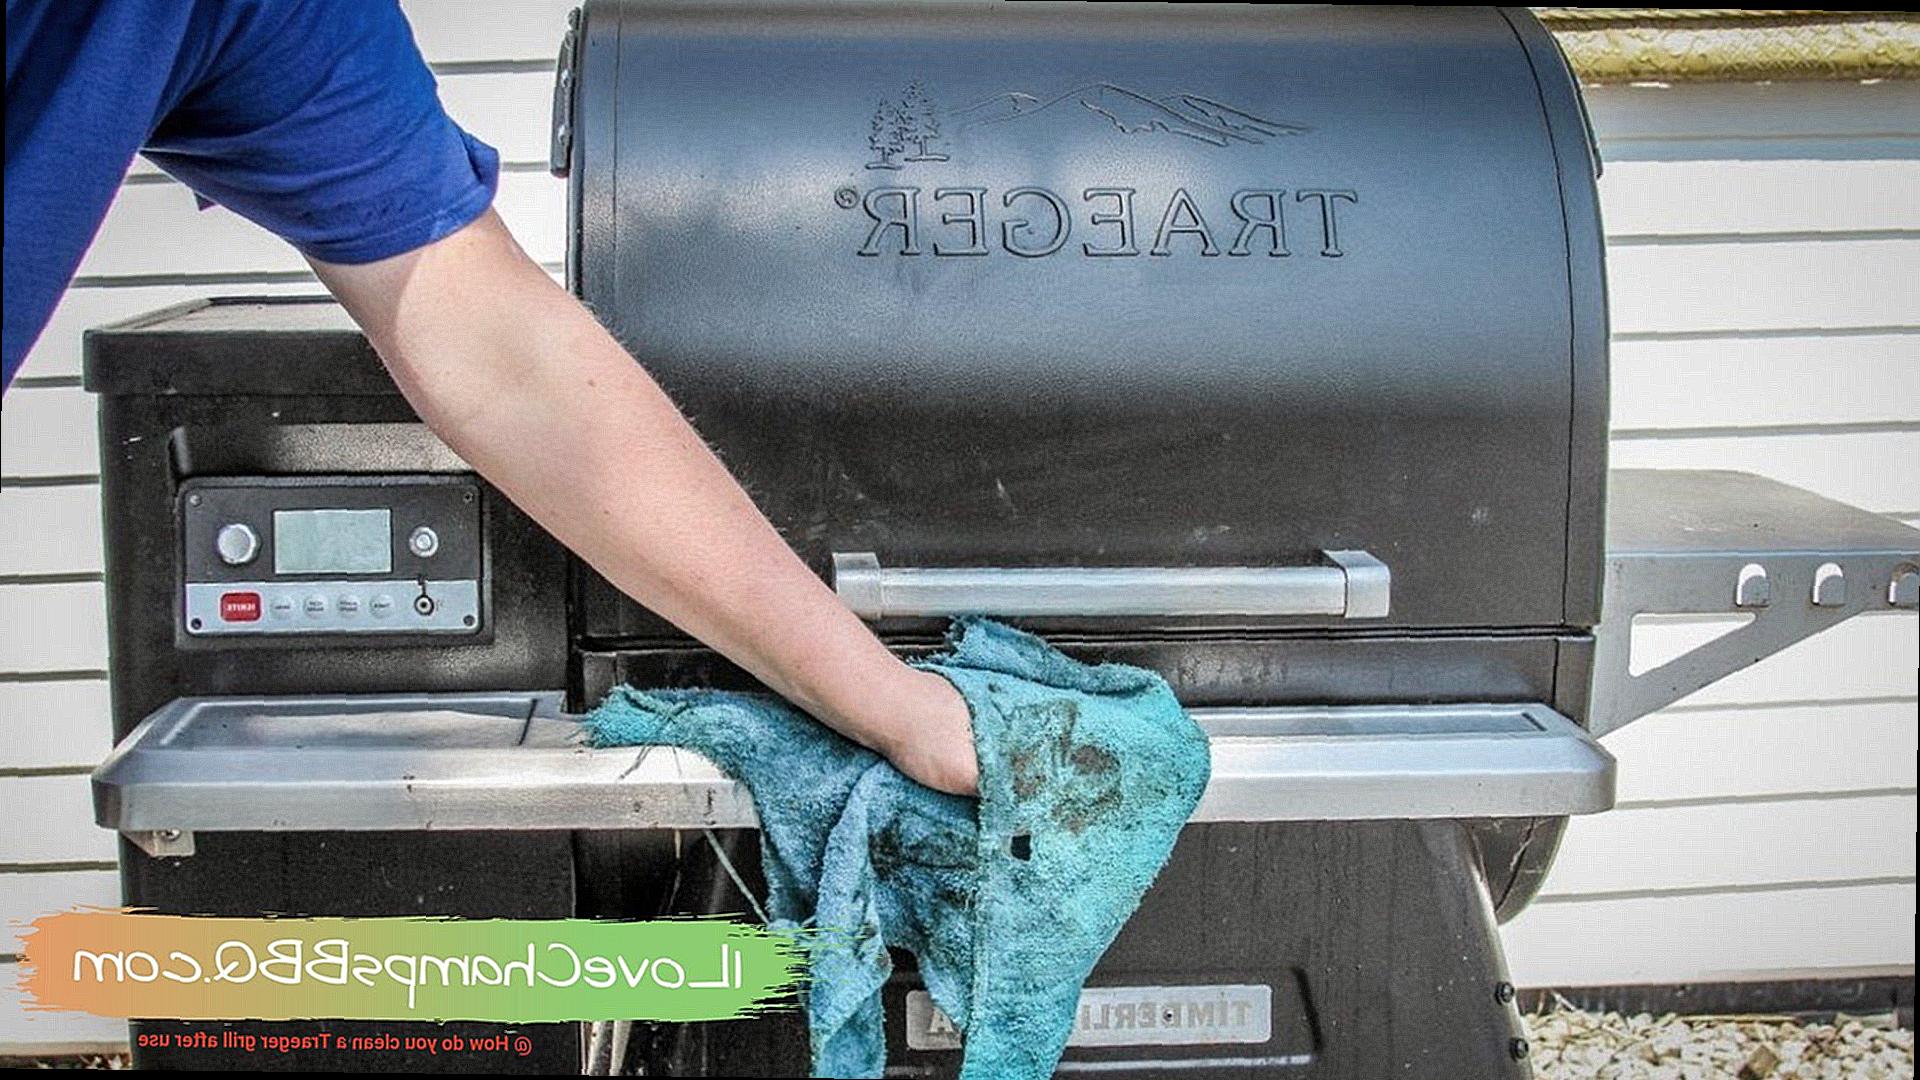
Use Mild Dish Soap and Warm Water Solution
But, it’s essential to keep your grill clean to ensure the best possible taste for your next creation. Lucky for you, there’s an easy and effective cleaning solution for your Traeger grill – mild dish soap and warm water.
Safety first. Before starting the cleaning process, make sure your grill is turned off and has cooled down completely. Once it’s cool, remove the grates and any other removable parts. Give them a quick rinse with warm water to loosen any debris.
Now, it’s time to make the cleaning solution. Grab a bucket or sink and fill it with warm water. Add a few drops of mild dish soap to create a cleaning solution that will effectively remove any grease or food residue. Using a mild soap is critical as harsh chemicals can damage your grill’s surfaces.

Next, take a soft-bristled brush or sponge and gently scrub each part of the grill until all residue is removed. Don’t forget to be thorough and pay extra attention to any areas with built-up grease or food particles. Rinse each part thoroughly with clean water and dry completely before reassembling.
Daily cleaning with mild dish soap and warm water is highly effective for regular maintenance, but sometimes more stubborn buildup requires specialized grill cleaning products or professional cleaning services.
Remove Grates and Heat Baffle
If you’re a BBQ aficionado, then you know that a clean grill is key to delicious and safe cooking. Traeger grills are no exception, and to keep them in top shape, removing the grates and heat baffle for cleaning is a must-do. Don’t worry, it’s a simple process that can be done in just a few easy steps.
First things first, safety is paramount. Ensure the grill is turned off and completely cooled down before you start cleaning. Once it’s safe to proceed, grab your trusty grill brush and scrape off any excess debris from the grates. This will make it easier to clean them thoroughly later on.
Next, lift the grates out of the grill and place them in warm soapy water. Let them soak for 10-15 minutes, allowing them time to loosen any stubborn gunk. While your grates are soaking, it’s time to tackle the heat baffle.
The heat baffle is located above the firepot and beneath the grates. It collects grease and drippings during cooking, which can cause flare-ups during your next cookout. To remove it, pull it gently towards you until it detaches from the grill. Then, use a scraper or putty knife to scrape off any excess grease or debris, ensuring you get into all the nooks and crannies.
Once you’ve scraped away as much as possible, wash the heat baffle in warm soapy water. Rinse it thoroughly with clean water and let it air dry before reattaching it to the grill. As for your grates, give them a good scrub with a soft-bristled brush or sponge to remove any remaining debris. Rinse them thoroughly with clean water and let them air dry before placing them back into your grill.
It’s important to clean these components after every use to prevent buildup of grease and food particles that can cause a fire hazard or affect the flavor of your food. Additionally, regular cleaning ensures your grill performs optimally, and you get the best results every time you cook.
In summary, to remove grates and heat baffle for cleaning, follow these steps:
Clean Any Remaining Debris from the Interior of the Grill
If you’re a seasoned Traeger grill master, you know that cleaning any remaining debris from the interior of your grill is crucial to keeping it in top-notch condition. Neglecting this step can lead to uneven heating, unpleasant odors, and even fire hazards. So let’s dive into how to clean any remaining debris from the interior of your grill.
Firstly, before starting any cleaning, make sure your grill is turned off and cooled down completely. Safety should always be your top priority. Then, use a brush or scraper to remove any leftover ash or debris from the interior of the grill. If you have a Traeger grill, you’re in luck because it comes with a handy cleaning tool that makes this task a breeze.
Next up, remove the drip tray. This tray collects grease and other liquids during cooking, so it’s crucial to empty it regularly. Dispose of the contents into a disposable container and wipe the tray down with a damp cloth. Don’t forget to clean this tray regularly as a buildup of grease or liquids can cause fire hazards.
Once the drip tray is taken care of, it’s time to give the grill’s interior some TLC. Using warm soapy water and a non-abrasive sponge or cloth, wipe down every nook and cranny of the interior. Make sure to pay extra attention to any stubborn spots that may need extra elbow grease.
Avoid using harsh chemicals or abrasive materials as they can damage the grill’s components. Instead, stick to gentle solutions like warm soapy water. Once everything is squeaky clean, dry everything off with a clean towel or let it air dry before putting everything back together.
Remember, cleaning your Traeger grill after every use will maintain its performance and ensure it lasts for years to come. So don’t skip this step. Your taste buds (and safety) will thank you.
Empty Grease Bucket Regularly
If you want your Traeger grill to last a long time and produce mouth-watering meals every time, then you need to pay attention to one crucial aspect of cleaning – emptying the grease bucket regularly. Trust us, it’s a task that you don’t want to skip.
Why is regularly emptying the grease bucket so essential? Here are some reasons:
Fire Hazard Prevention: While cooking, grease and debris collect in the bucket. If you don’t empty it regularly, it can become a fire hazard. Grease is highly flammable, and an accumulation of it can ignite with even just a spark. So, make sure you don’t take any chances when it comes to fire safety.
System Clogging Prevention: Over time, the build-up of grease in the bucket can clog the system of your Traeger grill. This can cause problems like uneven heating and unpleasant odors, which can negatively impact your grilling experience.
Improved Flavor: Regularly emptying the grease bucket can also improve the flavor of your food. Too much grease buildup can lead to flare-ups and uneven cooking, which can affect the taste and texture of your meals. You don’t want that, do you?
So, how do you empty the grease bucket? It’s a simple process that involves a few steps:
Wait for the Grill to Cool Down: First and foremost, make sure your grill has cooled down completely before attempting to remove the grease bucket. Hot grease is dangerous and can cause burns.
Remove the Bucket: Once the grill has cooled down, remove the grease bucket from its holder.
Dispose of Contents Properly: Dispose of the contents properly and responsibly. Remember that pouring grease down the drain or garbage disposal is a big no-no as it can cause blockages and other plumbing issues.
Clean the Bucket Thoroughly: After emptying the bucket, it’s essential to give it a thorough cleaning before replacing it back onto the grill. Use warm soapy water and a non-abrasive sponge or cloth to remove any remaining grease or debris. If necessary, you can also use a degreaser or vinegar solution for a deep clean.
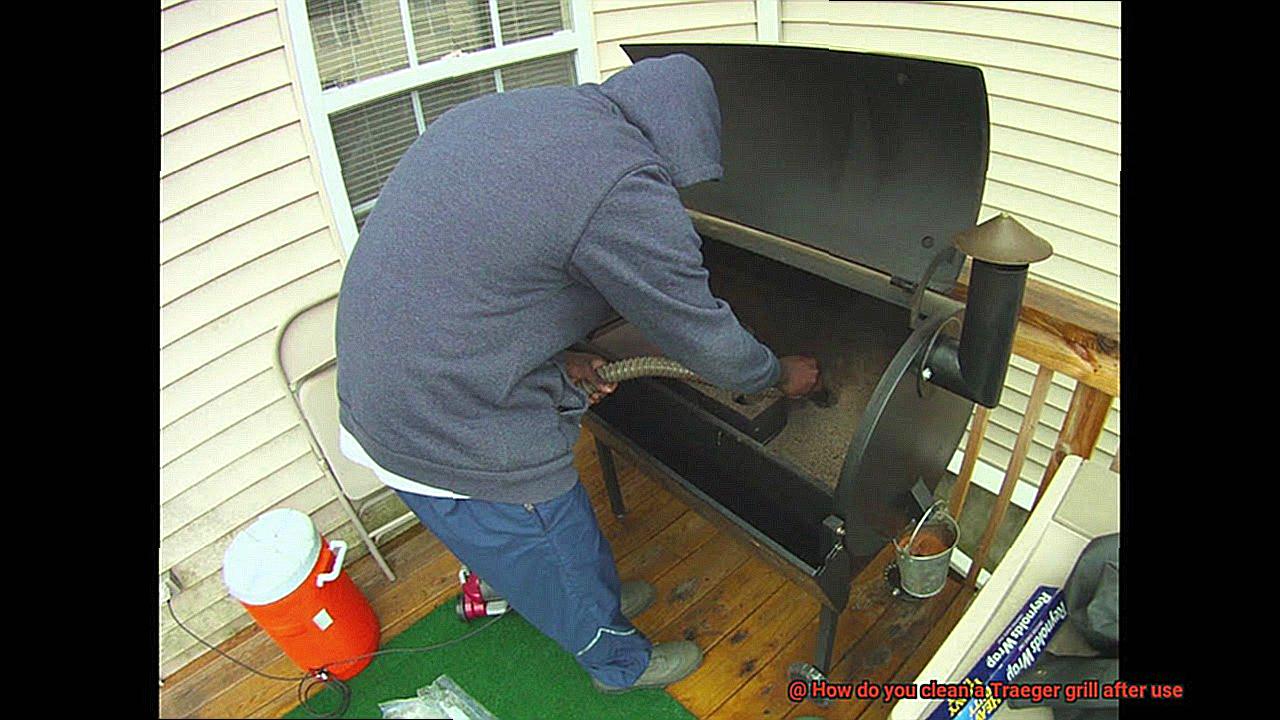
Check and Clean Chimney Periodically
One essential aspect to ensure this is by checking and cleaning your grill’s chimney periodically. Over time, the chimney can become clogged with ash and grease, leading to poor performance and even fire hazards. Here’s how you can do it:
Step 1: Visual Inspection
The first step is to visually inspect the chimney for any blockages or buildup. Use a flashlight to shine down the chimney for a closer look. If you notice any significant buildup, it’s time to clean it out.
Step 2: Remove the Cooking Grates
To get easy access to the chimney, remove the cooking grates and any other removable parts from the grill.
Step 3: Cleaning the Chimney
Using a grill brush or scraper, remove any loose debris from the inside of the chimney. For stubborn buildup, use a specialized chimney brush to scrub it away thoroughly.
Step 4: Check the Outside
Inspect the outside of the chimney for any visible damage or signs of wear and tear that may need to be addressed.
Step 5: Reassemble Your Grill
Once everything is cleaned and inspected, it’s time to reassemble your grill and get ready for your next cookout.
But that’s not all. To keep your Traeger grill in top shape, remember to regularly empty the grease bucket and keep all other parts clean as well. By taking these simple steps, you’ll ensure your grill is always ready-to-go when you are.
nFCQWlo61WY” >
Conclusion
In conclusion, maintaining a clean Traeger grill is essential to ensure its longevity and peak performance. A filthy grill can not only affect the taste of your food but also pose health hazards due to bacterial buildup. But fret not, cleaning your Traeger grill after use is simpler than you might think.
The first step is to let the grill cool down completely before proceeding with cleaning. Next, remove any leftover food particles from the grates using a grill brush or scraper. Afterward, wash the grates with warm soapy water and dry them thoroughly before returning them to their place.
Cleaning the interior of your Traeger grill is equally important. Use warm soapy water and a soft-bristled brush to scrub off any grease or residue that may have accumulated inside. Don’t forget to empty the grease bucket regularly and check and clean the chimney periodically.
Remember always to prioritize safety by wearing protective gloves when handling hot components. To avoid damaging your grill’s surfaces, use gentle solutions like mild dish soap and warm water.
By following these simple steps, you’ll be able to keep your Traeger grill in tip-top shape for years to come, ensuring delectable meals every time you use it.