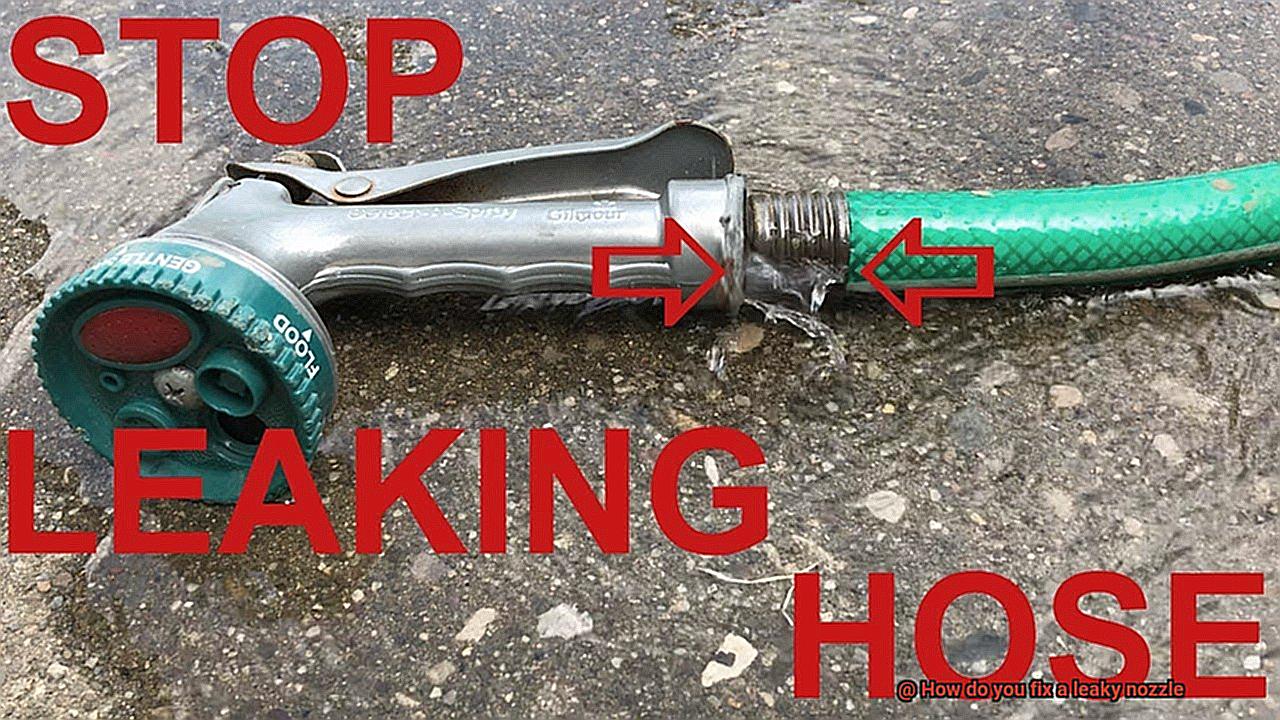
Are you tired of that constant drip from your showerhead, kitchen tap or hose nozzle? Not only is it annoying, but it can also lead to water waste and an increase in your water bill. Plus, if left unaddressed, a leaky nozzle can cause further damage and potential water damage in your home.
But don’t worry, fixing a leaky nozzle doesn’t have to be a daunting task. With just a few simple steps and the right tools, you’ll be able to put an end to that pesky drip and save some money in the process.
In this post, we’ll dive into how do you fix a leaky nozzle. We’ll walk you through identifying the root cause of the leak and troubleshooting steps to get your nozzle fixed up in no time.
Whether you’re a DIY enthusiast or just looking for ways to save on repair costs, this guide has got you covered. So let’s roll up our sleeves and tackle this common household challenge together.
Contents
What is a leaky nozzle?
Put simply, a leaky nozzle is one that allows water or other fluids to escape from the nozzle when it’s not supposed to. This can be caused by various factors such as wear and tear, improper installation or damage to the nozzle itself.
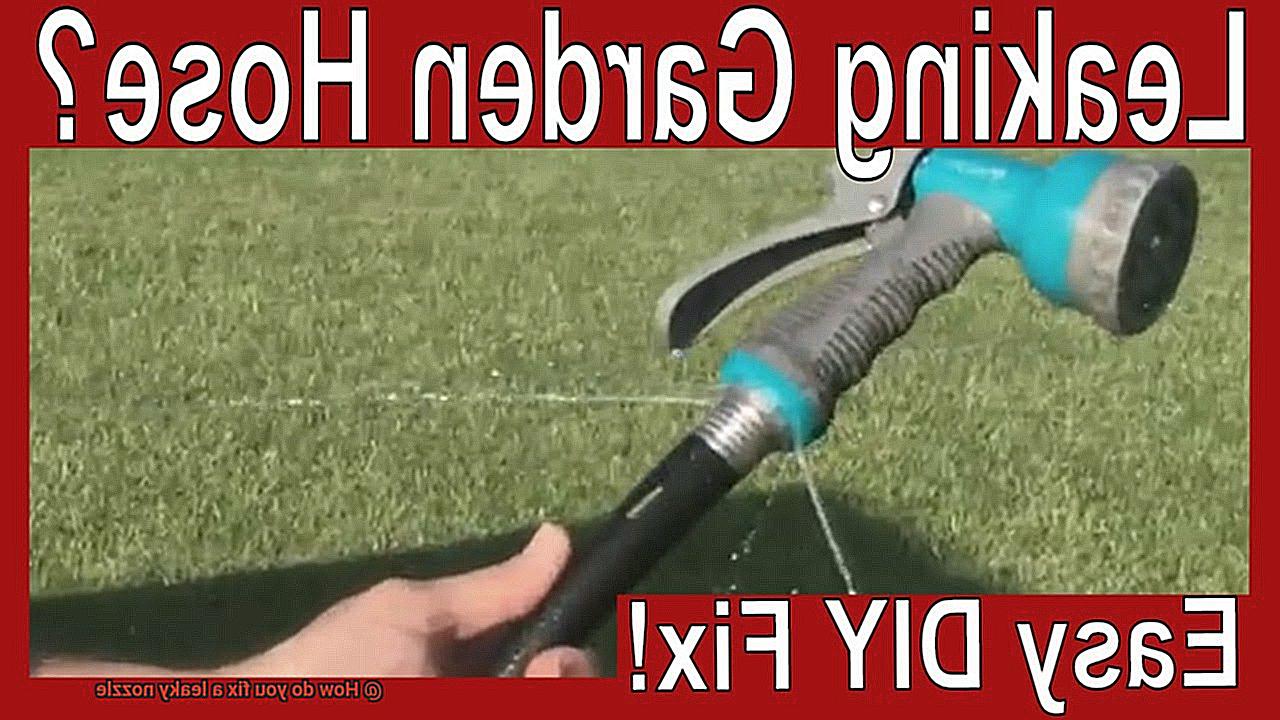
One of the biggest concerns with a leaky nozzle is the amount of wasted water or fluids that result from it, which can be both environmentally harmful and expensive. Additionally, a leaky nozzle can cause decreased pressure and performance from the equipment, making it less effective at its intended task. Imagine trying to water your garden with a leaky hose – frustrating and ineffective.
There are several types of nozzles that can experience leaks, such as fan nozzles, rotary nozzles, and adjustable nozzles. It’s vital to identify the specific type of nozzle and understand its construction and function before addressing any leaks or other issues.
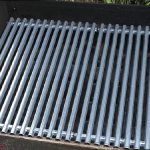
If you’re experiencing a leaky nozzle, the first step is to identify where the leak is coming from. Loose connections between the propane tank and regulator may be causing the problem. Turn off the propane tank and unhook it from the regulator to check for damage or debris in the connections. If necessary, clean them before reattaching the propane tank.
If the nozzle itself is causing the leak, replacing it may be necessary. Turn off the propane tank and use a wrench to unscrew the nozzle from the grill. Inspect it for damage or wear before purchasing a compatible replacement part. Tighten it securely with a wrench before reattaching the propane tank.
In some cases, a faulty regulator may cause a leaky nozzle. If you’ve checked all connections and replaced the nozzle without success, replacing the regulator may be necessary.
Benefits of fixing a leaky nozzle
You may think it’s just a small issue, but it can result in significant problems. Fixing a leaky nozzle is an essential task that can bring about many benefits.
First and foremost, fixing a leaky nozzle can save you money on your water bill. That’s right. Even a small drip or leak can add up over time, leading to a significant increase in your monthly water expenses. By addressing the problem promptly, you can avoid wasting water and reduce your utility costs. Imagine the savings you’ll make by fixing that leaky nozzle.
Besides, fixing a leaky nozzle is an environmentally responsible choice. Water conservation is vital to preserving our planet’s natural balance. By taking the time to fix a leaky nozzle, you are doing your part to protect the environment and reduce your carbon footprint. Every little action counts in safeguarding our planet.
Another benefit of fixing a leaky nozzle is that it can prolong the life of your equipment. A leaking nozzle can cause excess wear and tear on your irrigation system or other equipment, leading to costly repairs or replacements down the line. By addressing the issue promptly, you can prevent further damage and extend the lifespan of your equipment. You don’t want to end up spending more money on new equipment when you could have avoided it by fixing that nozzle.
Lastly, fixing a leaky nozzle can improve the overall health and appearance of your lawn or garden. Overwatering caused by a leaky nozzle can result in soil erosion, root rot, and other issues that can damage your plants’ health and appearance. By fixing the issue, you can ensure that your plants receive the appropriate amount of water and nutrients they need to thrive. Your lawn or garden will thank you for it.
Identifying the Source of the Leak
Identifying the source of the leak is simpler than you think. As an expert on this topic, I’m here to guide you through the process step by step.
First and foremost, examine the nozzle closely. Is water leaking from the base or tip? This will aid in determining where the problem lies.
If water is seeping out from the base, a worn-out washer is likely to blame. Washers can become compressed or damaged over time, allowing water to seep through. Replacing the washer is a quick and easy fix. Begin by turning off the water supply and unscrewing the nozzle from the hose. Remove the old washer and replace it with a new one before screwing the nozzle back onto the hose.
Conversely, if water is leaking from the tip of the nozzle, a damaged O-ring may be to blame. O-rings are small rubber rings located inside the nozzle that create a seal to prevent water from leaking out. If these rings become worn or damaged, water can start to seep through. To resolve this issue, remove the O-ring and inspect it for damage. If it appears to be worn or cracked, replace it with a new one.
If neither of these solutions works, it’s possible that the nozzle itself is cracked or damaged. In this case, you’ll need to replace it entirely. The good news is that replacing a nozzle is relatively simple and inexpensive. Ensure that you choose a new nozzle that fits your hose correctly and meets your needs.
Fixing a Loose Connection
The good news is that fixing a loose connection is often the solution to this annoying problem. As an expert in this field, I am here to guide you through the process step by step.
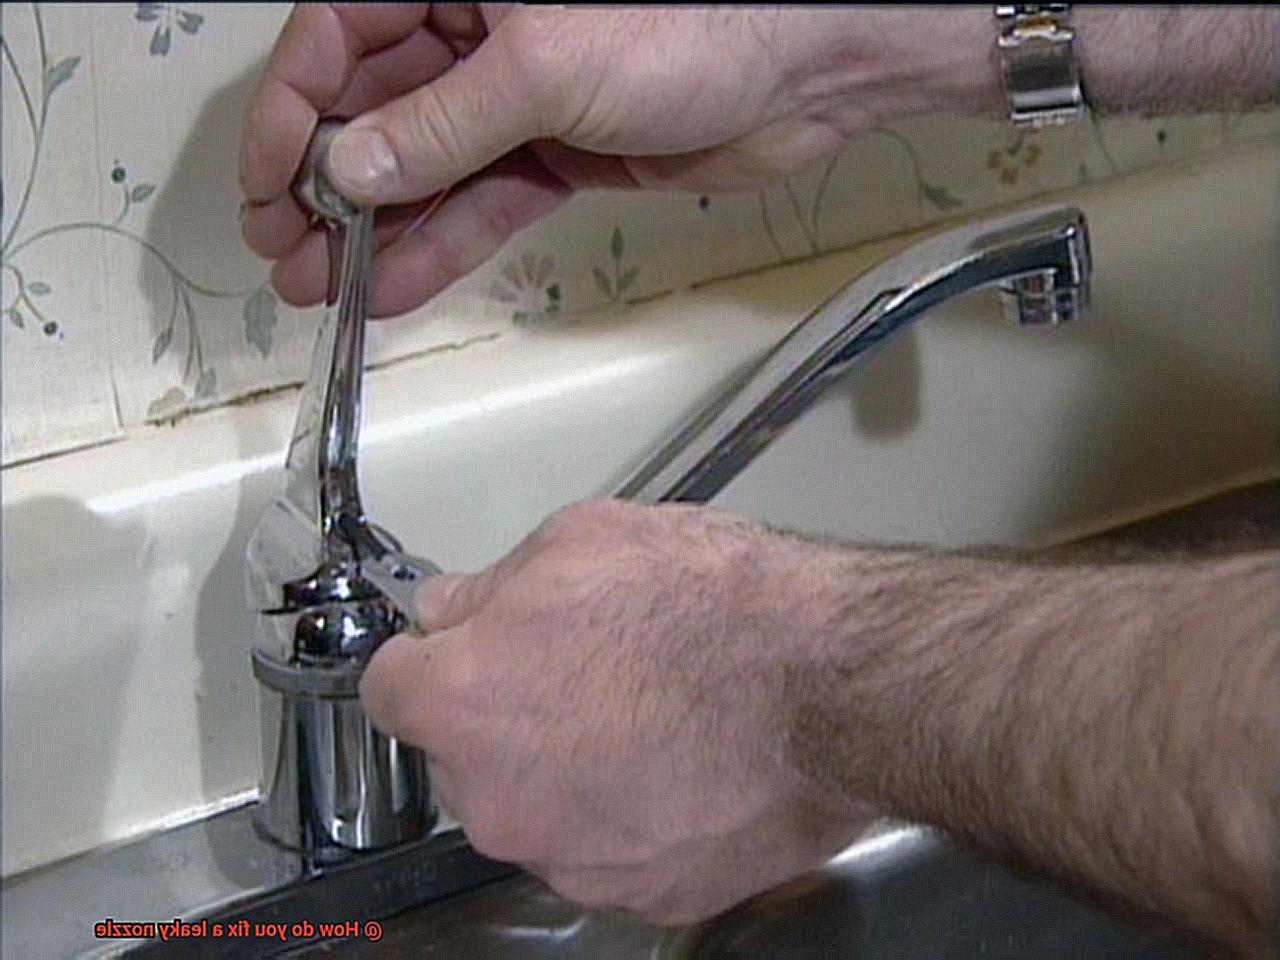
The first and most crucial step is to turn off the water supply and disconnect your nozzle from the hose. This ensures that no water is flowing through the equipment while you work on it. Afterward, inspect the connection point for any damage or debris that may be preventing a tight seal. If necessary, use a soft brush or cloth to clean the area thoroughly.
Assuming there is no visible damage, try tightening the connection point by hand. However, if this does not solve the problem, use pliers to tighten it further. It’s essential to be careful not to over-tighten and damage the connection point. Remember, a little pressure goes a long way.
If tightening the connection point still doesn’t work, then it may be damaged beyond repair. In such cases, it’s best to replace either the nozzle or the hose entirely. This process can be relatively quick and inexpensive if you follow the manufacturer’s instructions or consult with a professional.
Addressing a loose connection as soon as possible is crucial because it can lead to significant water waste and equipment damage over time. After following these simple steps, you can fix a leaky nozzle caused by a loose connection and ensure optimal performance from your gardening equipment.
In summary, fixing a loose connection is not rocket science. With just a little bit of knowledge and some elbow grease (or pliers.), you can fix your leaky nozzle in no time. To make things easier for you, here’s a quick rundown of the steps:
- Turn off the water supply and disconnect your nozzle from the hose.
- Inspect the connection point for damage or debris and clean if necessary.
- Try tightening the connection point by hand and then with pliers.
If all else fails, replace the nozzle or hose entirely.
Replacing a Damaged or Worn-Out Nozzle
Before you start twisting and screwing, there are a few essential steps to follow.
Firstly, inspect the hose for any damage that may be causing the leak. If you find any cracks or damage, it’s best to replace the hose along with the nozzle. Don’t forget to choose a compatible replacement to ensure proper functioning.
Now it’s time to identify the type of nozzle you have. Is it a twist-on, push-on, or threaded nozzle? Each type requires a different replacement method, so knowing which one you have is crucial.
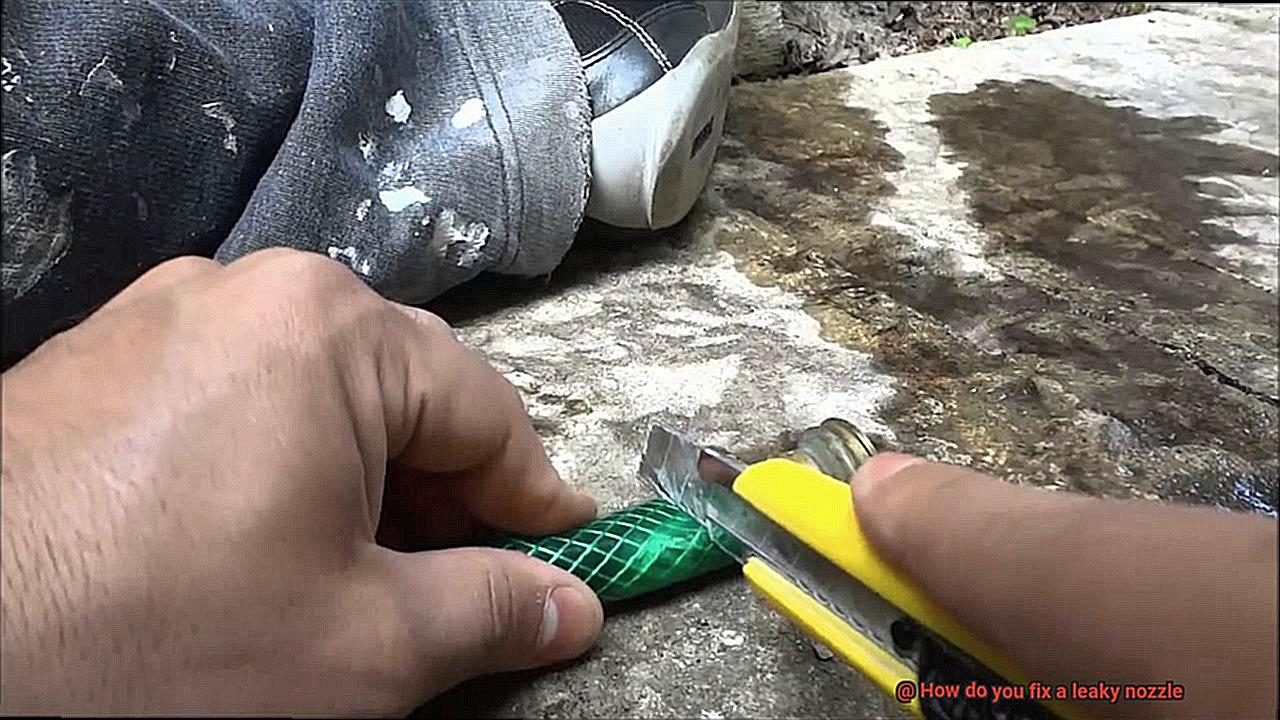
If you have a twist-on nozzle, simply twist the old nozzle counterclockwise to remove it from the hose and screw on the new one clockwise. For push-on nozzles, use scissors or a knife to cut off the old nozzle and slide on the new one onto the hose. Finally, threaded nozzles require unscrewing the old nozzle and screwing on the new one with pliers.
It’s important to note that tightening loose connections may not always solve the problem. Replacing a damaged or worn-out nozzle is necessary to prevent water waste and equipment damage. By following these simple steps, you can easily fix any leaks and get back to enjoying your outdoor activities hassle-free.
Remember to turn off the water supply before attempting to replace any nozzles and handle those pliers with care. To summarize:
- Inspect the hose for damage
- Choose a compatible replacement
- Identify the type of nozzle
- Replace twist-on, push-on, or threaded nozzles accordingly
- Turn off water supply before replacing
- Handle pliers with care
Replacing a Faulty Regulator
If you’re experiencing a leaky gas nozzle on your grill, it’s important to determine the root cause of the problem. One common issue that can lead to a leaky nozzle is a faulty regulator. A regulator controls the pressure of the gas flowing through the nozzle, and if it’s not functioning correctly, it can cause the gas to leak out of the nozzle. So, how can you replace a faulty regulator? Here are the steps you need to follow:
Step 1: Turn off the Gas Supply
The first thing you need to do is turn off the gas supply to the grill. This crucial step will prevent any gas leaks while you work on replacing the faulty regulator.
Step 2: Disconnect the Hose from the Regulator
Next, disconnect the hose from the regulator and remove it from the grill. You can achieve this by using a wrench to unscrew the nut connecting the regulator to the hose.
Step 3: Remove the Old Regulator
Once you have disconnected the hose, it’s time to remove the old regulator. You can do this by using a wrench to unscrew it from the hose.
Step 4: Install a New Regulator
Now that you have removed the old regulator, it’s time to install a new one in its place. Make sure to choose a compatible regulator for your grill and attach it securely to the hose using a wrench. This step is essential because an incompatible regulator can lead to malfunctioning and dangerous situations.
Step 5: Test Your Grill
After installing the new regulator, it’s time to test your grill. Turn on the gas supply and check for any leaks. Ensure that your grill is functioning correctly before using it. It’s always better to be safe than sorry when dealing with any potential hazards.
Troubleshooting Tips for Fixing a Leaky Nozzle
Fret not, as there are some simple troubleshooting tips that can help you fix the problem yourself. With a little bit of patience and know-how, you can save time and money by handling the issue on your own.
Identify the source of the leak
The first step in fixing a leaky nozzle is to identify where exactly the leak is coming from. Is it from the nozzle itself or the connection point to the hose? Once you’ve identified the source of the leak, you can move on to the next troubleshooting step.
Tighten the connection
If the leak is coming from the connection point, try tightening the connection with pliers or a wrench. However, be careful not to over-tighten as this may cause damage to the connection. If tightening doesn’t work, then it may be an issue with the gasket or O-ring in the connection that needs replacement.
Replace the washer
A worn-out or damaged washer is a common cause of a leaky nozzle. To replace it, turn off the water supply and disconnect the nozzle from the hose. Unscrew the cap of the nozzle (use pliers if necessary) and remove the old washer. Replace it with a new washer and reassemble the nozzle.
Clean out clogs
Debris and hard water deposits can build up inside the nozzle over time and cause blockages. To clean out a clogged nozzle, turn off the water supply and disconnect it from the hose. Then use a small brush or toothpick to remove any visible debris from inside the nozzle. You can also soak the nozzle in vinegar overnight to dissolve any hard water deposits.
Replace the nozzle
If none of these troubleshooting tips work and your nozzle still leaks, it may be time to replace it altogether. Look for a high-quality replacement nozzle with durable materials and multiple spray patterns for optimal performance. This will not only solve the leaky nozzle problem but also provide an improved watering or cleaning experience.
Safety Precautions to Keep in Mind When Fixing a Leaky Nozzle
Before you dive in and start fixing it, remember that safety should always be your top priority. Here are some crucial safety precautions to keep in mind:
Turn off the water supply: The first step to any repair is turning off the water supply and unplugging any electrical connections. This may seem like common sense, but it’s an important step to prevent accidental spraying or electrocution.
- Wear protective gear: Always wear protective gloves and eye gear to prevent injury. This will protect your hands and eyes from any harmful substances that may be leaking from the nozzle.
- Secure the nozzle properly: When working with any type of nozzle, be aware of the pressure that may build up within the system. Use a wrench to tighten the nozzle securely and prevent it from coming loose and causing injury.
- Be cautious of chemicals: Some substances can be dangerous if they come into contact with your skin or eyes. If you suspect that the chemical may be harmful, wear a face mask and protective clothing.
- Work in a well-ventilated area: Working in a well-ventilated area is critical when fixing a leaky nozzle. Some chemicals can emit fumes that may be harmful if inhaled. If possible, work outdoors or in an area with good ventilation to prevent any respiratory issues.
- Check for leaks: Once you’ve completed the repair, double-check for leaks before turning on the water supply again. This will ensure that your repair was successful, and there are no further issues.
Common Causes of Leaky Nozzles
There’s nothing quite like the thrill of cooking up a storm on your grill, but a leaky nozzle can quickly turn your BBQ dreams into a nightmare. Luckily, we’re here to help you identify the common causes of leaky nozzles, so you can get back to grilling like a pro in no time.
Firstly, let’s talk about the gasket. This little piece of rubber or plastic is often overlooked but plays a crucial role in preventing gas from escaping between the nozzle and gas hose. However, over time, the gasket can become worn out or damaged, causing gas to leak out. Replacing this part is usually a straightforward fix that can be found at your local hardware store.
Next up, we have loose connections. A nozzle that isn’t screwed on tight enough or a hose that isn’t securely attached to the grill can cause gas to escape through gaps. It’s essential to check all connections before you start cooking to ensure that everything is tight and secure.
Another culprit that can cause leaks is a clogged nozzle. Blockages build up pressure behind them, which can force gas to escape through other openings. In most cases, cleaning out the nozzle with a small wire brush or toothpick is all you need to solve this issue.
Finally, corrosion or damage to the nozzle itself can cause leaks. If you notice any visible rust or damage, it may be time to replace the entire nozzle.
It’s essential to understand these common causes of leaky nozzles as they can affect the quality of your food and waste your fuel. By troubleshooting these issues quickly and safely, you’ll be back in business in no time.
In summary, here are the common causes of leaky nozzles:
- Damaged or worn-out gasket
- Loose connections between nozzle and gas hose
- Clogged nozzle
- Corrosion or damage to the nozzle itself
a5OP6Xbolb0″ >
Conclusion
In conclusion, fixing a leaky nozzle is a relatively simple task that can save you time and money in the long run.
By identifying the root cause of the leak and taking appropriate action, such as tightening connections or replacing worn-out parts, you can restore your nozzle to its optimal performance. Don’t let a leaky nozzle dampen your gardening or DIY experience – take charge and fix it today.
Remember, prevention is always better than cure, so make sure to maintain your equipment regularly to avoid future leaks.