Congratulations on your new Traeger grill. You’re probably itching to start grilling up a storm, but before you can do that, you’ll need to know how to ignite it. Don’t worry if you’re feeling overwhelmed – we’ve got your back.
In this post, we’ll walk you through the process of igniting your Traeger for the first time. We’ll cover everything from assembling the grill to loading the pellets and getting that fire started. With our help, you’ll be cooking up mouth-watering meats and veggies in no time.
First things first, let’s talk about what makes a Traeger grill so special. We’ll explain all the essential components and give you tips on how to assemble them with ease. Then, we’ll guide you through selecting the perfect pellets for your grill and show you how to load them like a pro.
Once your pellets are loaded, it’s time to get that fire going. We’ll show you how to prime the auger and adjust the temperature settings just right. And don’t worry – we won’t leave you hanging if something goes wrong. We’ve got troubleshooting tips that will help you overcome any obstacles.
So say goodbye to those pre-grill jitters and hello to delicious meals cooked on your very own Traeger grill. Let’s get started on this exciting journey towards becoming a pit boss together.
Contents
What Is a Traeger?
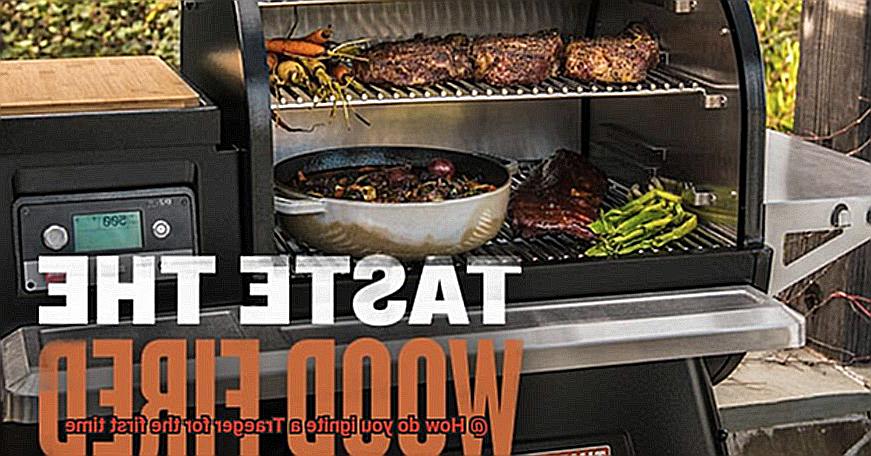
Look no further than a Traeger grill. Developed in the 1980s by Joe Traeger, these grills are truly unique and offer a smoky, wood-fired flavor that is sure to impress your taste buds.
One of the key features of a Traeger grill is its use of wood pellets as a fuel source. This sets them apart from traditional gas or charcoal grills and adds an extra layer of flavor to your food. Plus, it eliminates the need to worry about running out of fuel in the middle of your cookout.
But what really sets Traegers apart from other grills is their ability to maintain a consistent temperature throughout the cooking process. This means that your food will be cooked evenly, with no hot spots or cold spots. And with easy-to-use digital controls, you can set the perfect temperature and cooking time for your meal.
Some additional benefits of using a Traeger grill include:
- Versatility: Traegers can be used for a wide range of cooking methods, including grilling, smoking, roasting, and even baking.
- Ease of Use: These grills are designed to be easy to use and require minimal maintenance. Simply fill the hopper with wood pellets, turn it on, and let it preheat before adding your food.
- Unique Flavor Profile: The wood-fired flavor imparted by Traeger grills is truly unique and adds an extra layer of depth to your food.
Safety Guidelines and Manufacturer’s Instructions
A Traeger grill is more than just a cooking appliance; it’s a way of life. But before you start grilling up a storm, it’s crucial to review the safety guidelines and manufacturer’s instructions to ensure a safe and enjoyable experience.
Firstly, make sure your Traeger is on a level and stable surface, away from any flammable materials. This will prevent any accidents or mishaps during the grilling process. A stable grill is key to preventing spills and injuries.
Next, carefully read the manufacturer’s instructions on how to ignite your Traeger. Different models may have slight variations in their ignition processes, so ensure you follow them closely. Generally, you’ll need to fill the pellet hopper with Traeger wood pellets and turn the dial to the smoke setting. It’s important to note that Traeger grills use an electric ignition system, so keep your grill plugged in during cooking.
In case of emergencies, always have a fire extinguisher nearby. It’s better to be safe than sorry. Additionally, give your Traeger enough time to cool down completely before cleaning it. Trying to clean it while still hot can lead to severe burns and injuries.
Assembling the Traeger
The first step is assembling it, and it’s crucial to follow the instructions provided in the manual to ensure you do it correctly. Don’t worry, we’ve got you covered with a step-by-step guide.
First, unpack all the parts and lay them out on a flat surface. This will help you keep track of everything and avoid missing any essential steps. With all the parts in place, it’s time to attach the legs to the base of the grill. Make sure they’re securely fastened before moving on to the hopper.
The hopper is where you’ll store your pellets, so it’s essential that it’s attached firmly to the back of the grill. Once that’s in place, insert the auger through the hopper. This little guy is responsible for feeding pellets from the hopper into the firepot, so be sure it’s aligned properly.
Now comes the exciting part – attaching the firepot to the bottom of the grill and connecting it to the auger. This is where your pellets will be burned to create heat and smoke for cooking. Make sure all connections are secure before moving on to attaching the controller to the front of the grill and connecting it to the firepot.
Before firing up your Traeger for the first time, take a moment to double-check all connections and make sure everything is in place. You don’t want any surprises when you’re ready to start cooking up a storm. Also, ensure that there are no leftover packing materials or debris inside the grill or hopper.
Filling the Hopper with Wood Pellets
Before you can start cooking up some succulent dishes, it’s essential to fill the hopper with wood pellets, which serve as fuel for your grill. These pellets are made from compressed sawdust and wood shavings, and selecting the right type of wood can produce distinct flavors in your food.
To begin, make sure you have cleaned out any remaining pellets or debris from the hopper. This ensures a clean burn and avoids contamination from old pellets. It’s crucial to select the right type of wood pellets for your grill, as different woods create different flavors that can add depth to your dishes. Some popular options include hickory, mesquite, apple, cherry, and maple.
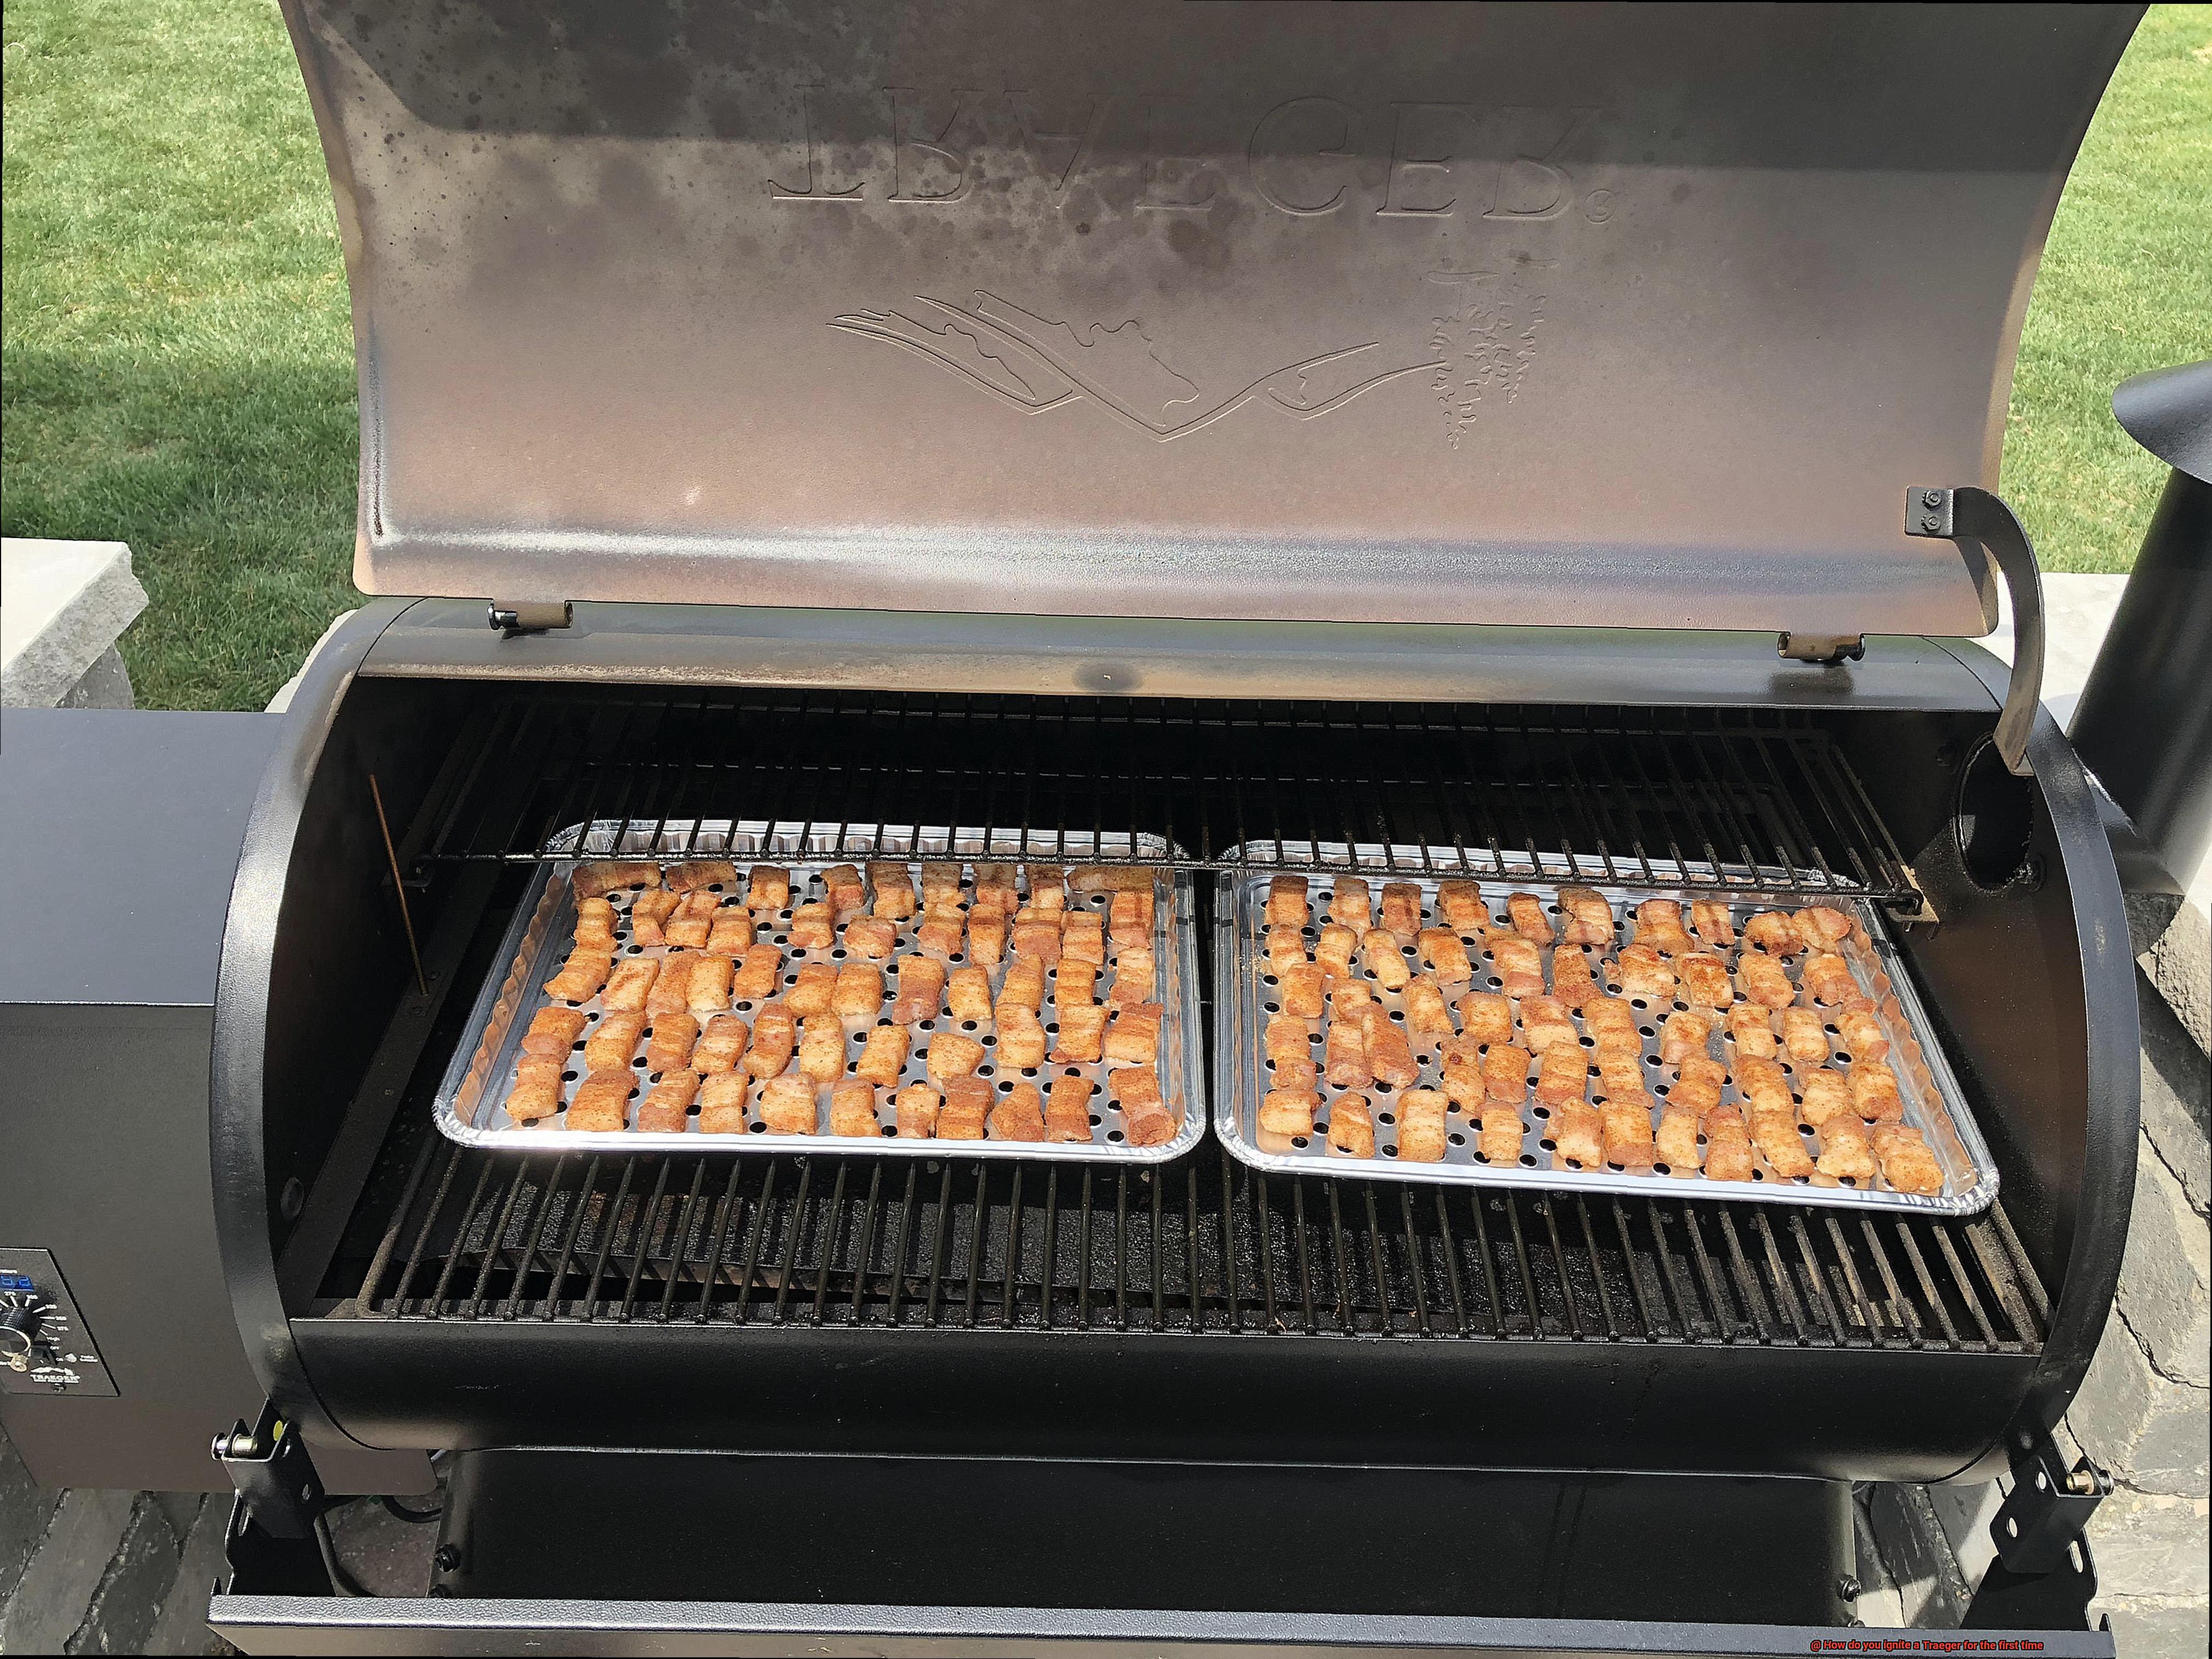
Now onto the fun part – filling up the hopper. Open up the lid and pour your chosen wood pellets into the hopper until it’s about three-quarters full. Be mindful not to overfill, as this can lead to spillage and a potential fire hazard. Once you’ve filled it up, close the lid and turn on your Traeger grill.
As your grill heats up, the pellets will start feeding into the fire pot where they’ll be ignited by an electric heating element or hot rod. Keep an eye on the hopper throughout your cooking process and add more pellets as needed to maintain a consistent temperature. A helpful tip is to refill when the hopper is halfway empty.
Turning On the Grill and Preheating
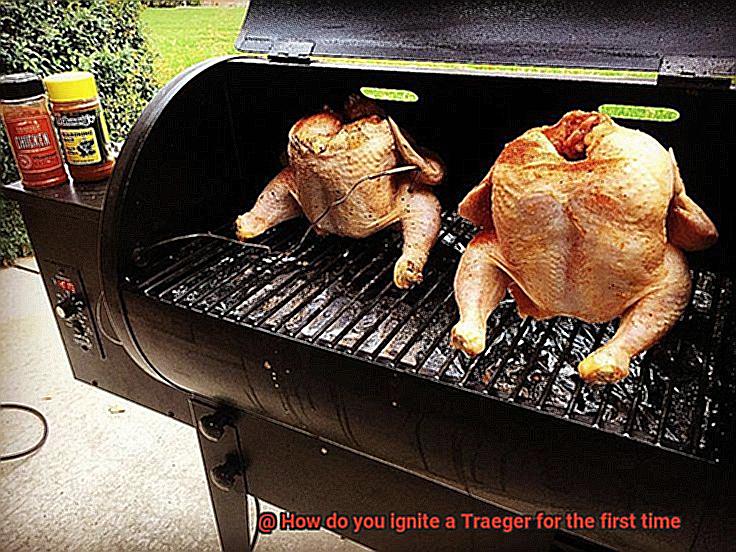
The first step is turning on your Traeger grill. It’s a simple process – just locate the power button on the control panel, hold it down until the display screen lights up, and your grill will start its initial startup process.
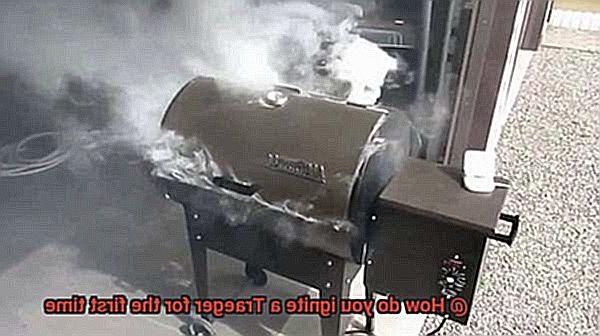
But before you start cooking, it’s important to preheat your Traeger. This ensures that your food will cook evenly and reach the desired temperature. To preheat, set the temperature dial to your desired cooking temperature and press the “ignite” button. Be aware that during preheating, smoke may be emitted from the grill as part of the initial burn-in process. Make sure to let your Traeger preheat for at least 15-20 minutes before placing any food on it.
For optimal performance, we recommend using Traeger pellets. They’re designed specifically to work with Traeger grills and provide consistent heat and smoke flavor. Before starting your grill, make sure your hopper is filled with enough pellets.
But don’t stop there – once you’ve mastered turning on and preheating your Traeger, it’s time to get creative with different wood pellets and recipes. Whether you prefer bold mesquite or sweet apple flavors, your Traeger can handle it all.
Inspecting the Firepot
Before you start cooking up a storm, there’s a critical step that you cannot afford to miss – inspecting the firepot. Trust us; it’s not as dull as it sounds. This straightforward process can significantly impact your grill’s safety and effectiveness, ensuring that you enjoy delicious grilled food with ease.
To inspect the firepot, start by removing the grill grates and heat diffuser plate from the grill. This will give you access to the firepot area. Take a flashlight or use your phone’s flashlight to get a good look inside the firepot. Check for any leftover ash or debris from previous use, and if you spot any buildup, use a scraper tool or vacuum to clean it out. A clean firepot is essential for optimal grill performance.
Next, inspect the firepot itself. Is it damaged or corroded? If there are any cracks or holes in the firepot, it must be replaced before using the grill. Also, make sure that there are no pellets stuck in the auger that feeds them into the firepot. If there are, turn off the grill and use a long tool to push them out.
Once you’ve inspected and cleaned the firepot, it’s time to fill it with pellets. Traeger brand pellets are recommended for consistent heat and smoke flavor. Fill up the firepot up to about 1 inch below the lip of the pot for best results.
Now that you have a clean and well-inspected firepot, ignite that grill. But remember to preheat for 15-20 minutes before adding your food. Get creative with different wood pellet flavors and recipes to tantalize your taste buds.
Starting a Small Fire in the Firepot
The first step is to master the art of starting a small fire in the firepot. Don’t worry – it’s not as complicated as it sounds. With our expert tips, you’ll be firing up your grill like a pro in no time.
Before you start, make sure that the hopper is loaded with pellets and the lid is tightly closed. Then, press the power button to turn on the grill and allow it to preheat for about 15 minutes. This will ensure that your grill is at the perfect temperature for cooking.
While the grill is preheating, open the lid and remove the grates from the cooking chamber to access the firepot. You’ll see a small pile of pellets at the bottom of the pot.
To start a small fire in the firepot, you’ll need some kindling or paper. Create a little pile in the center of the pot and use a lighter or match to ignite it. As it begins to burn, slowly add a small amount of pellets using a pellet scoop.
It’s important to add only a small amount of pellets at first to avoid smothering the flame. Gradually add more pellets as you see that they are catching fire until there is a small but steady flame burning in the firepot.
Once you have achieved this, close the lid and let your grill continue preheating until it reaches your desired temperature. Remember to always follow safety guidelines when handling fire and flammable materials.
Here’s a quick recap:
- Load pellets into hopper and close lid.
- Turn on grill and preheat for 15 minutes.
- Open lid and remove grates.
- Create a small pile of kindling or paper in center of firepot.
- Ignite kindling or paper with lighter or match.
- Add small amount of pellets using pellet scoop.
- Gradually add more pellets until there is a small but steady flame.
- Close lid and continue preheating until desired temperature is reached.
Reaching Desired Temperature
The key to cooking up a delicious meal is to first reach the desired temperature. But don’t worry, we’ve got you covered with these expert tips to help you achieve that perfect temperature every time.
First, make sure all the components of your grill are in place, including the wood pellets, drip tray, and heat shield. Once everything is set up, it’s time to turn on the grill by pressing the power button. Wait patiently for approximately 10-15 minutes while your grill preheats to the desired temperature.
During this time, set the temperature using the digital controller. Ensure that it’s at the correct temperature for your recipe of choice. Keep an eye on the temperature gauge and make any necessary adjustments using the digital controller. Remember, consistency is key, so try to keep the lid closed as much as possible during this time.
Once your grill has reached the desired temperature, it’s time to start cooking. Place your food on the grates and let it cook according to your recipe’s instructions. Don’t forget to keep an eye on the temperature gauge and make any necessary adjustments throughout the cooking process.
To sum it up, reaching the desired temperature on your Traeger grill requires proper preparation and attention to detail. Here are some key takeaways:
- Ensure all components are in place before igniting your grill
- Preheat your grill for approximately 10-15 minutes before placing food on the grates
- Set the temperature using the digital controller for perfect results
- Keep an eye on the temperature gauge and make any necessary adjustments throughout the cooking process
F2NIkpwry8o” >
Conclusion
In conclusion, don’t be intimidated by the prospect of igniting your Traeger grill for the first time. With the right guidance and preparation, it can be a breeze. From assembling the grill to selecting the perfect wood pellets and achieving the desired temperature, this comprehensive guide has covered all aspects of starting your Traeger grill like a pro.
One of the unique features of Traeger grills is their use of wood pellets as a fuel source. This adds an extra layer of flavor to your food that gas or charcoal just can’t match. Plus, Traeger grills are designed to maintain a consistent temperature throughout the cooking process, ensuring evenly cooked meals every time.
It’s important to review safety guidelines and manufacturer’s instructions before using your Traeger grill for the first time. Proper assembly is crucial for optimal performance – take your time and make sure everything is in its place before you start cooking. Filling the hopper with wood pellets and inspecting/cleaning the firepot are also essential steps in achieving that perfect flame.
Once you’ve got a small fire going in the firepot, reaching your desired temperature is easy with proper preparation and attention to detail. And trust us – once you taste what comes off your Traeger grill, you’ll never look back.