Ready to elevate your cooking game with a modern appliance? Adding a gas electric stove to your kitchen can provide you with the best of both worlds – gas and electric cooking options. But, before you start, it’s essential to understand the installation process thoroughly.
Don’t be fooled into thinking that installing a gas electric stove is a simple task. It requires careful planning, knowledge of electrical and gas connections, and compliance with safety standards. Additionally, venting requirements and proper positioning are crucial for efficient usage.
In this post, we’ll walk you through all aspects of the installation process step-by-step. From checking if you have the necessary tools to ensuring safety measures are taken, we’ve got you covered. We’ll also highlight the benefits of having a gas electric stove in your kitchen – faster cooking times and even heat distribution.
So, let’s dive right in and update your kitchen with a new gas electric stove that will make cooking an effortless experience.
Contents
Safety Precautions
Installing a gas electric stove can be an exciting addition to any kitchen. However, it is important to prioritize safety during the installation process. By following a few simple precautions, you can ensure that your installation is both successful and safe.
To begin with, turn off the main power supply and gas supply to the kitchen area before starting the installation. This initial step will prevent any electrical or gas-related accidents during the installation process. Don’t forget to wear appropriate safety gear such as gloves and goggles too.
Reading the manufacturer’s instructions carefully is another essential step in ensuring a safe installation. These instructions will provide guidelines and safety precautions that should be followed correctly to reduce the risk of any accidents.
Proper ventilation is also critical during the installation process. Ensure that the installation area is well-ventilated by opening windows or using a fan. This will prevent any hazardous gas build-up that could cause harm if not detected early.
Lastly, always have a fire extinguisher nearby in case of emergencies. It’s better to be safe than sorry, and having a fire extinguisher on hand can help contain any fires that may accidentally occur during the installation process.
Gather the Necessary Materials
Before you begin, make sure you have all the necessary materials and tools to ensure a successful installation. Don’t worry; we’ve got you covered with a comprehensive list of everything you’ll need.
First off, check whether you have a gas or electric stove and obtain the appropriate gas supply line or electric cord accordingly. Ensure that the cord or line’s length can reach your power source, so you don’t have to make any last-minute adjustments.
An adjustable wrench is necessary to tighten and adjust connections during the installation process. Loose connections can lead to hazardous situations, so it’s best to make sure everything is secure.
Pipe thread sealant is essential to create a tight seal between pipes and fittings, preventing any gas leaks. You don’t want any leaks as they can cause serious safety hazards.
If you’re installing a gas stove, you’ll need a pipe cutter to cut the gas supply line to the appropriate length. This tool ensures that everything fits perfectly and safely.
A level is crucial for ensuring that your stove is installed evenly and properly. A wobbly stove can cause inconvenience when cooking something that requires precision.
A screwdriver is necessary for removing any screws or panels during installation. This tool may seem simple, but it’s important for disassembling and reassembling parts correctly.
Lastly, having a gas leak detector solution can help detect any gas leaks during and after installation. It’s always better safe than sorry, so double-check for any safety hazards.
Turn off the Gas Supply
When it comes to installing a gas or electric stove, safety should always be your top priority. To avoid any potential hazards, it’s crucial to turn off the gas supply before you start the installation process. In this comprehensive guide, we’ll take you through the necessary steps to turn off your gas supply and ensure a safe and successful stove installation.
Step 1: Track Down the Gas Shut-Off Valve
First and foremost, you must locate the gas shut-off valve. It could either be inside or outside your home, depending on where you live. If you’re unsure of its location, don’t hesitate to contact your gas company for assistance.
Step 2: Switch the Valve to “Off” Position
Once you’ve found the valve, turn it to the “off” position. By doing so, you’ll stop any gas from entering your home during the installation process. But, be sure to double-check that the valve is entirely in the “off” position and not just partially closed.
Step 3: Avoid Relighting Pilot Lights or Using Electrical Switches
After turning off the gas supply, it’s critical not to relight any pilot lights or use electrical switches until you’ve completed the installation process and turned the gas supply back on. This is to ensure that accidents or hazards don’t occur while working on your new stove.
Removing the Old Stove
No need to fret. Before diving into the installation process, it’s crucial to remove the old stove properly. With these simple steps and a focus on safety, you’ll be ready to cook up a storm in no time.
First things first, prioritize safety by shutting off the gas and electricity supply to the stove. Locate the gas valve and electrical circuit breaker that powers the stove and turn them off. This will prevent any mishaps during the removal process.
Next, disconnect the stove from its gas and electrical connections. If dealing with a gas stove, turn off the valve that connects it to the gas line using a wrench to loosen the connection between the two. Be cautious not to cause any leaks, as this can be dangerous.
For electric stoves, simply unplug it from the wall outlet or turn it off at the circuit breaker. Using a screwdriver, unscrew the screws holding the wires in place and remove them from their respective terminals.
Now, it’s time to remove the stove from its position. Stoves can be heavy, so it’s recommended to have another person assist with this step. Lift it up slightly and pull it away from the wall.
Lastly, ensure that the area is clean and free of debris or dirt left behind. This will pave the way for a smooth installation process for your new stove.
Installing the Flexible Gas Line
Before you can start whipping up culinary masterpieces, it’s crucial to ensure that the gas line is ready to go. The good news is that installing a flexible gas line is easy as pie if you follow a few simple steps and safety precautions.
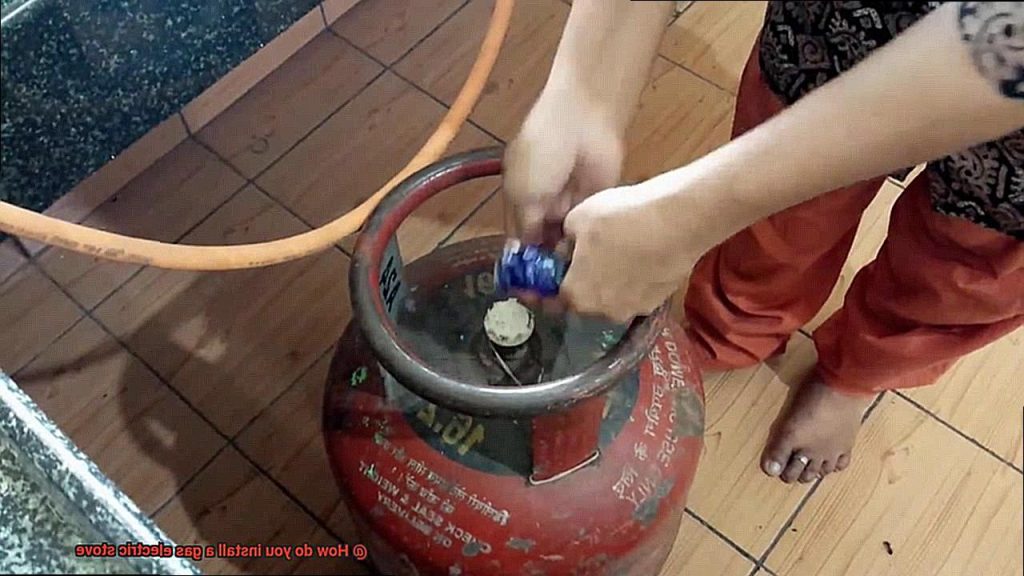
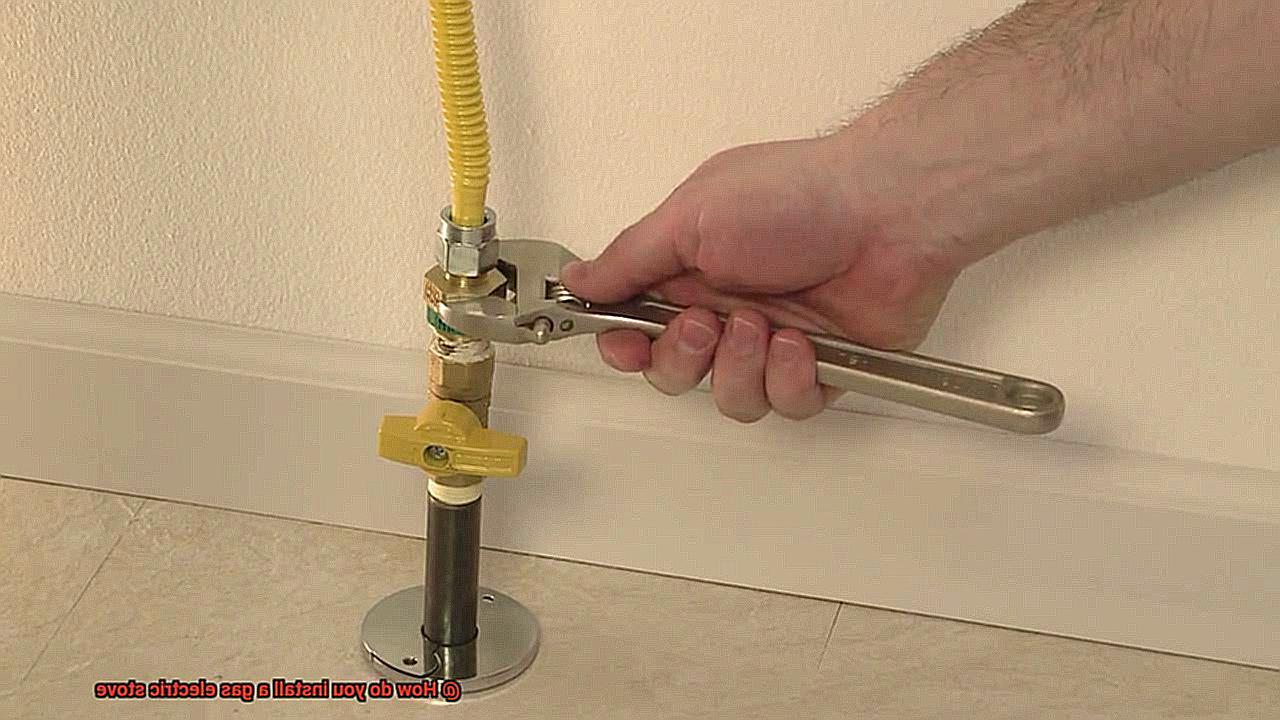
First, measure the distance between your gas supply line and your stove location to determine the correct size and length of gas line required. Once you have the right flex line, the next step is to turn off the gas supply valve and disconnect the old gas line from your stove using a wrench to avoid any damage.
Now comes the exciting part: installing your new flex line. Choose a flex line that is appropriate for natural gas or propane, depending on your stove’s fuel type, and follow the manufacturer’s instructions carefully. Unlike traditional hard lines, flex lines are flexible and easy to bend and shape around obstacles, making them much easier to install.
When connecting your flex line to both the gas supply valve and your stove, make sure to use pipe thread sealant on all threaded connections. This will prevent leaks and ensure a secure connection. After connecting everything, it’s time to turn on the gas supply valve and check for leaks using a solution of soapy water.
It’s important to keep in mind that safety should always be a top priority when working with gas lines. If you’re unsure about any aspect of the installation process, it’s best to seek help from a professional plumber or gas fitter. Following manufacturer instructions closely and taking necessary safety precautions will ensure that your new stove is up and running safely and securely.
Installing the Electrical Outlet
Before you start whipping up your culinary creations, it’s crucial to have the proper electrical outlet installed. Don’t worry, installing an electrical outlet may seem daunting, but it’s a straightforward process if you follow these simple steps.
First and foremost, prioritize your safety by turning off the power supply to the area where you’ll be working. Once you’ve done that, locate the spot where you want to install the electrical outlet and mark it with a pencil. Using a stud finder, identify and mark the studs behind the wall.
Now, it’s time to cut a hole in the wall using a drywall saw or rotary cutter. Ensure that the hole is slightly larger than the electrical box you’ll be using. After cutting the hole, run the electrical cable through it and attach it to the electrical box. Keep in mind that most stoves require a 220-240 volt outlet, so use the correct wiring for this type of outlet.
After attaching the wiring to the electrical box, insert it into the wall hole and secure it with screws. It’s crucial to ensure that the box is level with the wall and flush with its surface. Then, attach the cover plate to the electrical box using screws.
Lastly, turn on power to the area and test your new outlet by plugging in a device or appliance. If everything is functioning correctly, congratulations. You’re ready to start cooking up a storm on your new gas electric stove.
It’s essential to note that if you’re not comfortable working with electricity or lack experience in electrical work, hiring a licensed electrician is strongly recommended for this step. Remember, safety always comes first when working with electricity.
To sum up, here are some key steps to keep in mind when installing an electrical outlet for your gas electric stove:
- Turn off power supply
- Locate and mark installation spot
- Cut a hole in the wall
- Run electrical cable and attach it to the electrical box
- Insert electrical box into the wall hole and secure it with screws
- Attach cover plate to the electrical box
- Turn on power and test outlet
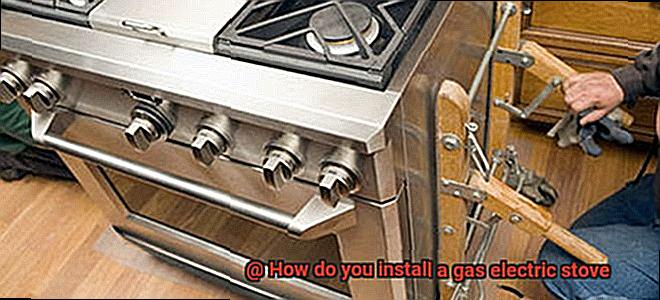
Slide in the New Stove and Connect it to Both Gas and Electric Lines
While the thought of installing it may seem daunting, fear not. With the right tools and a bit of patience, you can slide in your new stove and connect it to both gas and electric lines like a pro.
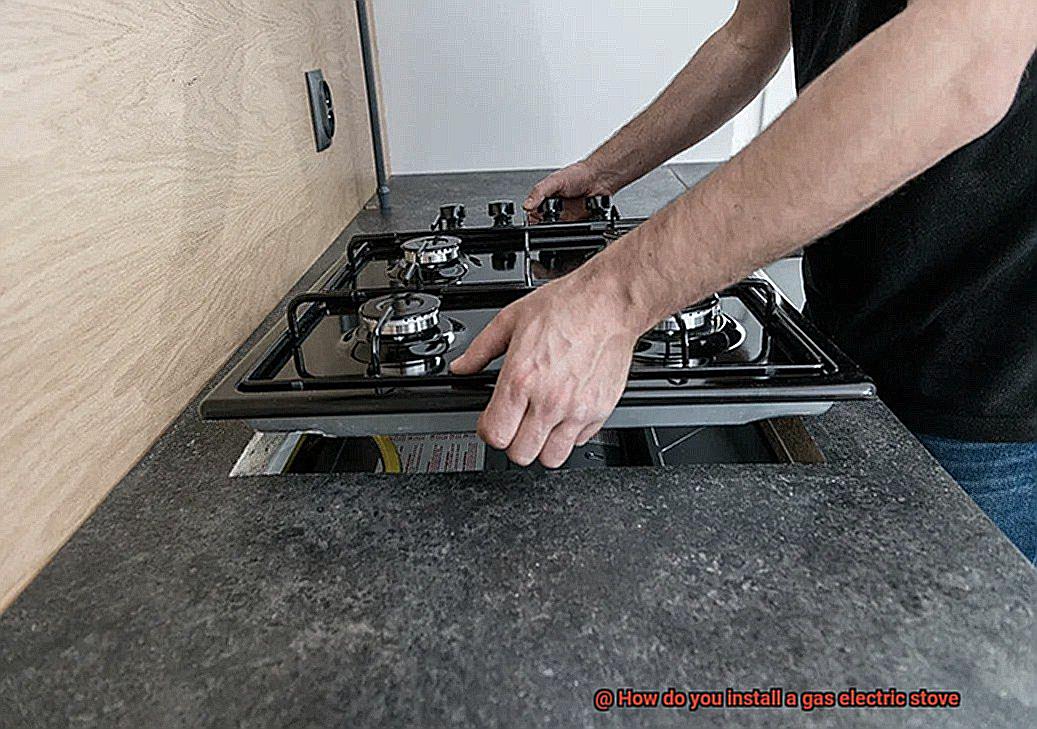
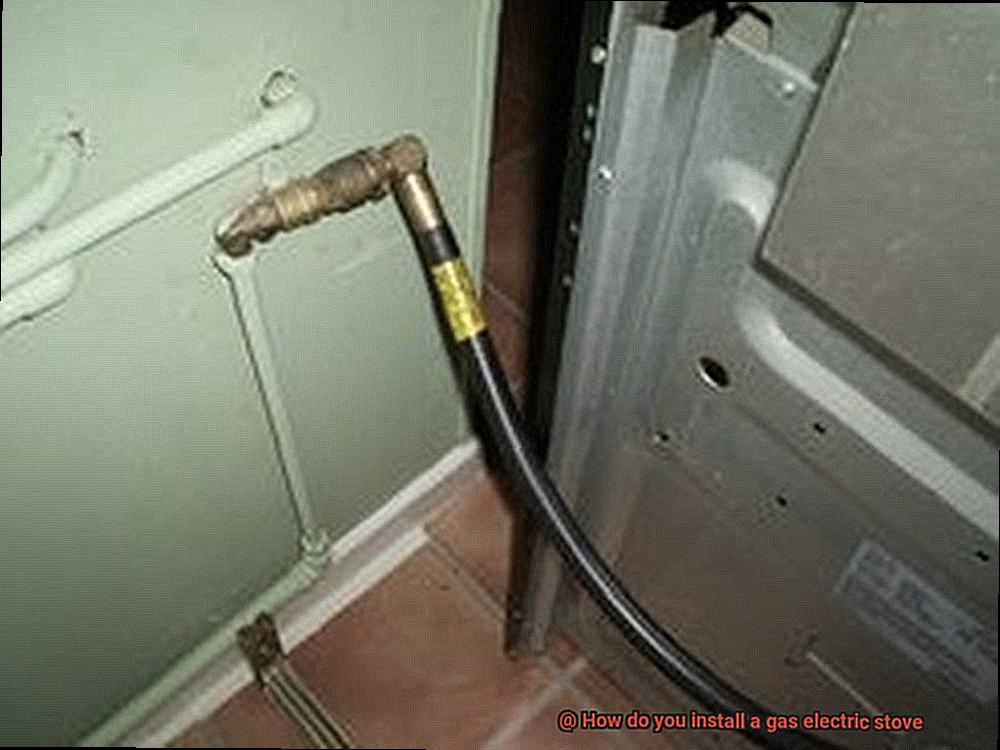
First things first, ensure that your stove is level and flush against the wall or countertop. This will help prevent any wobbling or tipping while you’re cooking. With your wrench and Teflon tape at the ready, it’s time to connect the gas line. Take your time to tighten the fitting carefully, being mindful not to overtighten and damage the threads. After connecting, turn on the gas valve and test for leaks using a special solution. Remember, safety always comes first.
Lastly, connect the electric line by plugging in a cord or connecting wires from your stove to your home’s electrical supply. Double-check that everything is properly grounded and there are no exposed wires or other hazards.
Here’s a handy checklist for a successful installation:
- Check if you need any additional parts or adapters for your specific model
- Ensure proper ventilation around your stove
- Use a licensed professional if you’re unsure about any steps
Testing the Stove
Before you start cooking up a storm, it’s crucial to test the appliance and ensure everything is functioning properly. By following these simple steps, you can guarantee a safe and satisfactory experience with your new stove.
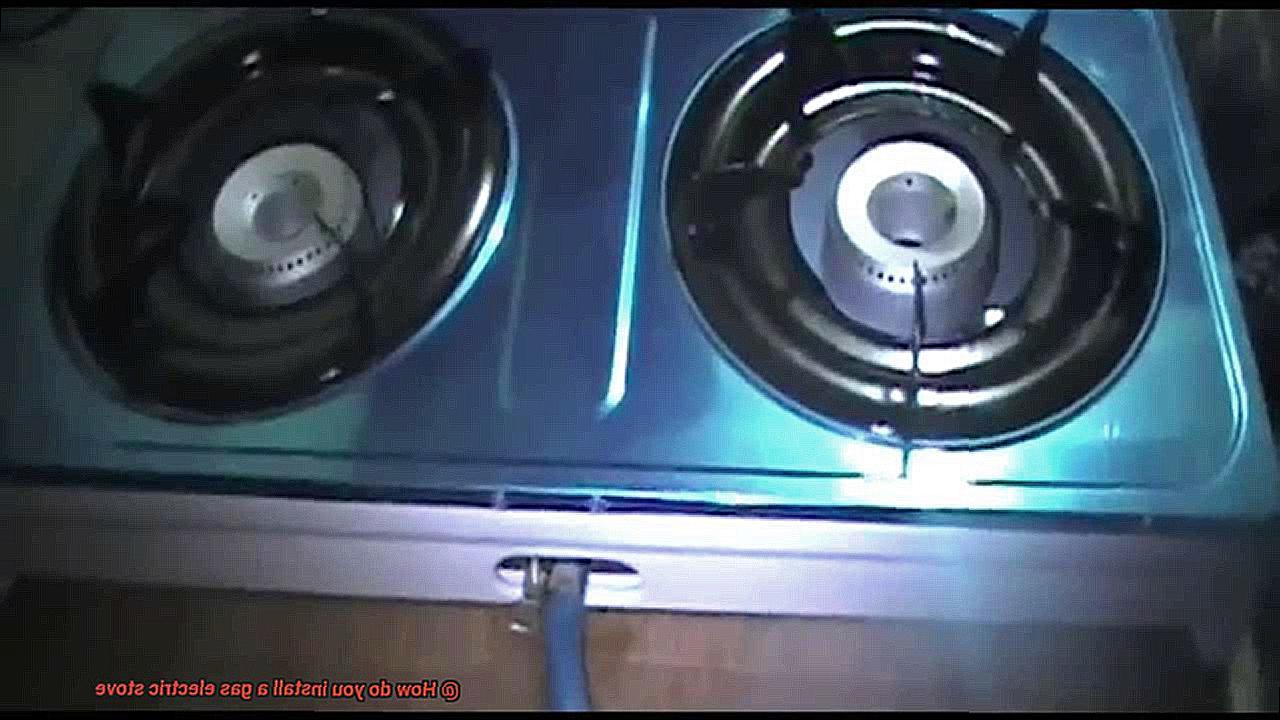
Firstly, testing the gas connection is an essential step. Turning on the gas supply and checking for any leaks is crucial. To detect any leaks, use a gas leak detector solution or soapy water. Make sure to apply the solution or soapy water around all connections and hoses. If you see any bubbles, that’s a sign of a leak. In this case, immediately turn off the gas supply and tighten the connection or replace the faulty part.
The electrical connection is just as important to test. Simply plug in your stove and check if it’s receiving power. You can do this by turning on one of the burners or checking if the oven light turns on. However, if there are any issues with the electrical connection, it’s best to consult a professional electrician.
Lastly, it’s time to test the burners and oven. Turn on each burner and adjust the flame to ensure it’s burning evenly without flickering or sputtering. This is particularly crucial because an uneven flame can lead to uneven cooking and even cause your food to burn. Preheat the oven and check if it reaches the desired temperature. Make sure both heating elements are working by checking if both the top and bottom of your oven are heating up.
lbwWVLjNq-k” >
Conclusion
In conclusion, installing a gas electric stove may seem intimidating, but with careful planning and safety precautions, it can be a straightforward process. Safety should always be the top priority during installation, from disconnecting the main power supply and gas line to wearing appropriate safety gear.
Gathering all necessary materials and tools beforehand is key to a successful installation. Removing the old stove properly is also crucial before installing the new one. Following manufacturer instructions for installing the flexible gas line and electrical outlet is essential, as well as taking necessary safety precautions.
Once everything is installed correctly, testing the stove ensures that it functions safely and efficiently. With faster cooking times and even heat distribution, adding a gas electric stove to your kitchen can take your cooking game to the next level.
If you lack experience in electrical or gas work or are unsure about any aspect of the installation process, seeking help from a professional plumber or electrician is strongly recommended. Remember, prioritizing safety always comes first when working with electricity or gas.