Imagine a sunny day, the smell of juicy burgers filling the air. You’re ready to break in your brand new grill, but before you start flipping patties, it’s crucial to prepare your new grill grates properly.
New grill grates may contain oil or residue that can be harmful when heated and affect the taste of your food. So how do you get them ready for their first use?
First things first: seasoning. Apply a layer of oil to the grates and heat them up until they smoke. This creates a protective layer on the grates, preventing food from sticking and ensuring a better grilling experience.
Next, give those grates a thorough cleaning with a grill brush or scraper after each use to remove any leftover debris or particles. This step is essential for maintaining good condition and prolonging their lifespan.
Lastly, protect those grates from rust and corrosion by applying a light coating of oil after each use and storing them in a dry area.
By following these simple steps, you’ll be able to enjoy perfectly grilled food every time without any unwanted flavors or harmful substances. Get ready to impress your family and friends with your expertly prepared grill grates.
Contents
What is the Purpose of Preparing New Grill Grates?
Before you get started, it’s crucial to prepare your grill grates properly. By taking a few simple steps, you can ensure that your food cooks evenly, doesn’t stick to the grates, and tastes delicious.
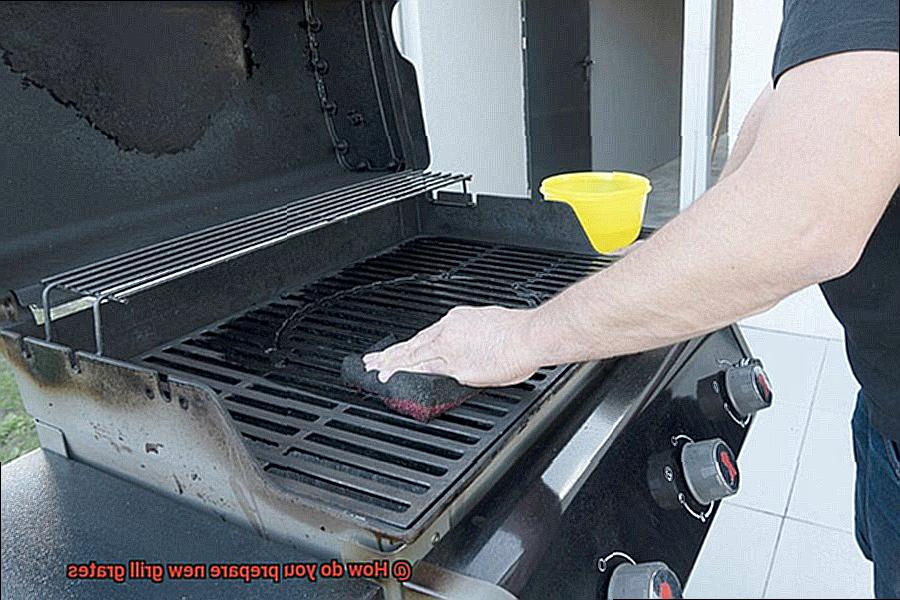
First and foremost, it’s essential to remove any protective coatings that may be present on the new grill grates. These coatings are typically designed to prevent rusting and damage during transportation and storage. However, they can also affect the taste and quality of your food if not removed before use. Use warm soapy water to wash the grates thoroughly and then rinse them off completely.
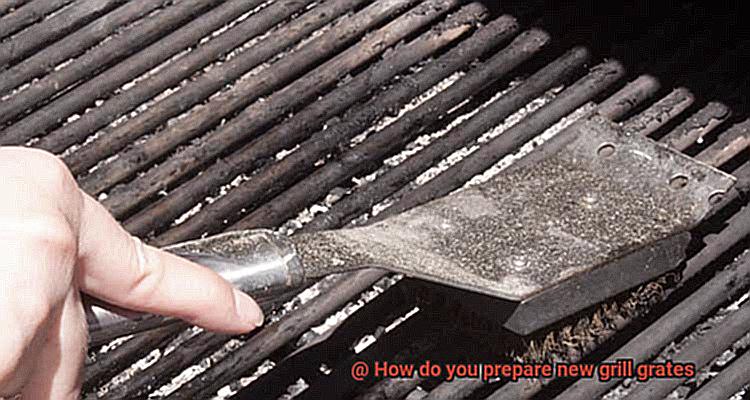
The next step is to scrub the grill grates with a stiff wire brush to remove any debris or rust that may have accumulated during storage or shipping. Be sure to scrub both sides of the grates thoroughly. After scrubbing, rinse the grill grates with water to remove any remaining debris and soap residue.
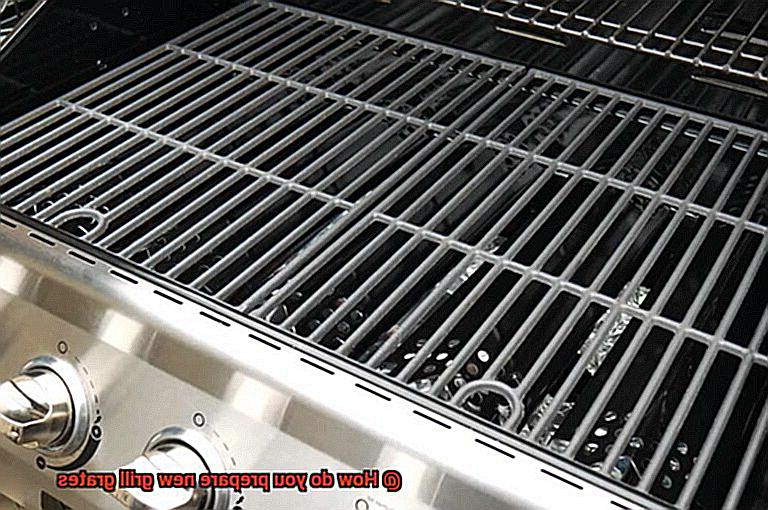
Once you’ve cleaned and rinsed the grill grates, it’s time to dry them off completely. Moisture on the grates can cause food to stick and cook unevenly, so take care to dry them off with a clean cloth or paper towel.
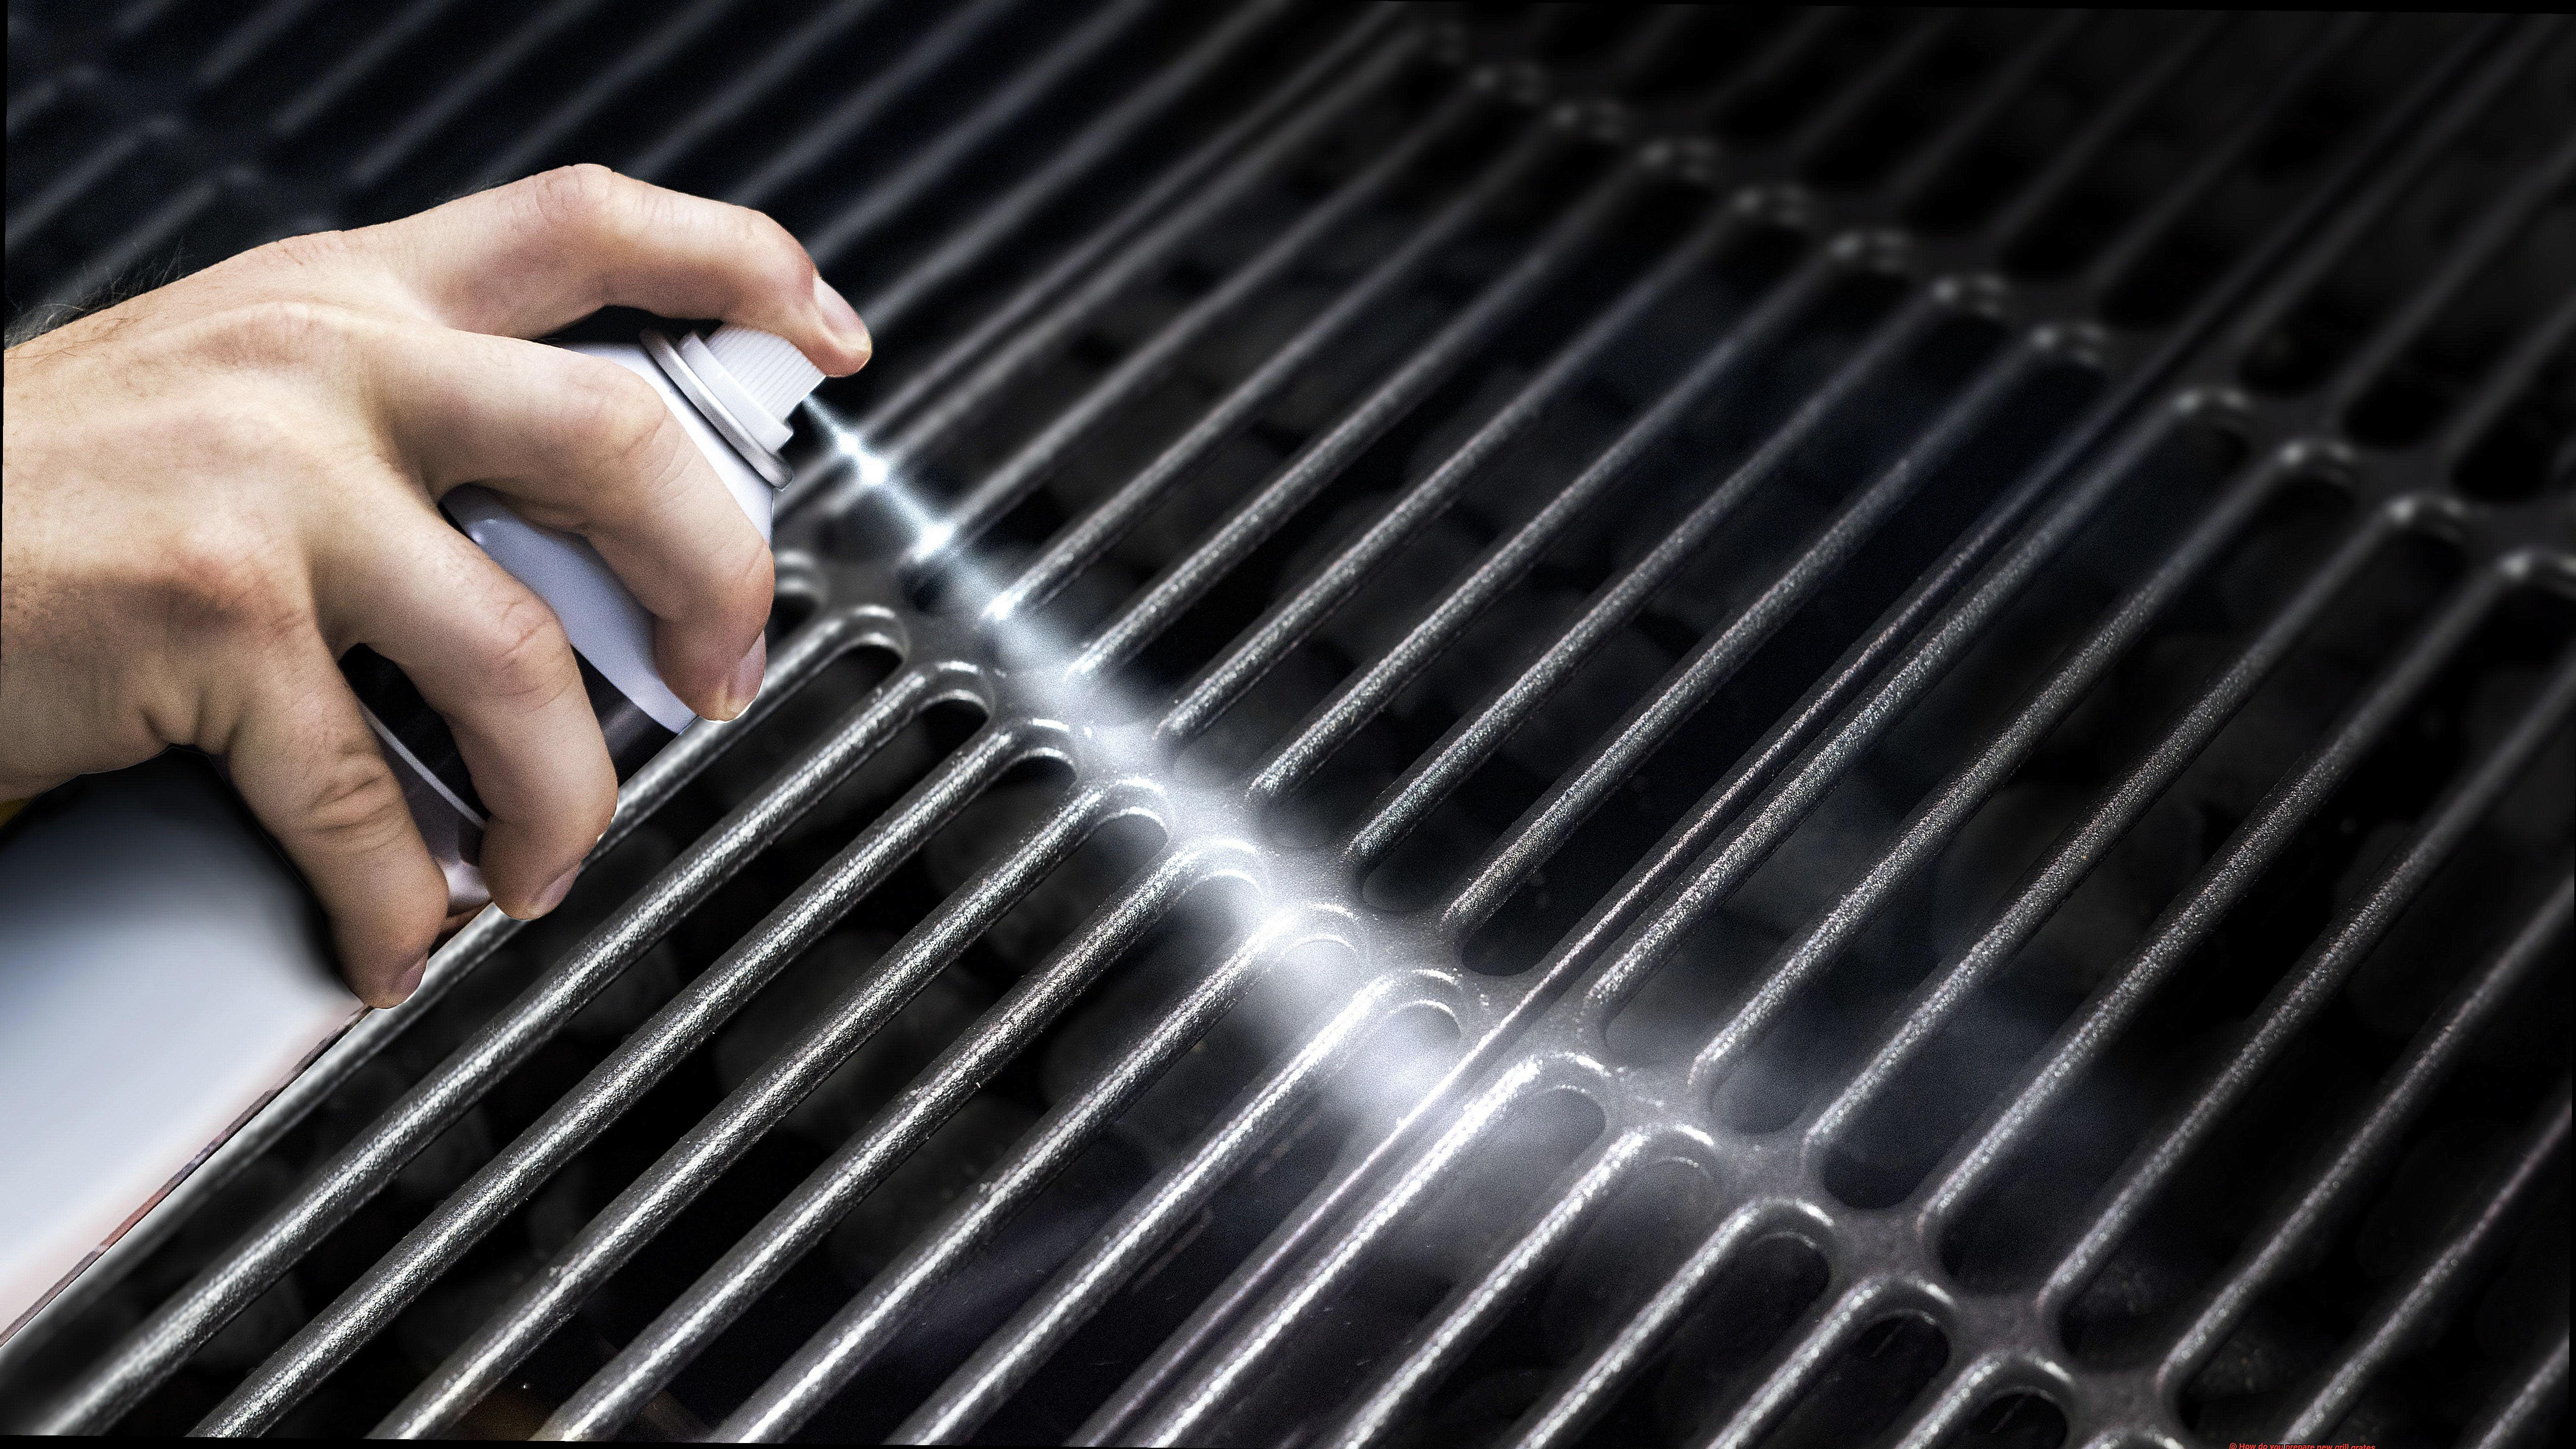
To prevent food from sticking to the grill grates during cooking, it’s a good idea to season them before using them for the first time. This involves brushing vegetable oil onto both sides of the grates and then heating them on high heat for 10-15 minutes until they start to smoke. This process creates a non-stick surface that makes it easier to flip and turn over your food during cooking.
In addition to improving the taste and quality of your food, preparing your new grill grates also helps in maintaining their longevity. By removing the protective coating, scrubbing away any debris or rust, and seasoning them properly, you can ensure that your grill grates remain in excellent condition for future use.
Steps to Prepare New Grill Grates
Properly preparing your new grill grates is key to achieving the perfect char on your favorite foods. Fear not, with these simple steps, you’ll be grilling like a pro in no time.
Step 1: Get Them Clean
Your new grill grates may have debris or residue from the manufacturing process. Give them a good scrub with a wire brush or grill scraper to remove any loose debris or rust. Then, use warm soapy water and a sponge to clean the grates. Rinse them thoroughly with water and let them dry completely.
Step 2: Season Them Up
Seasoning your grates creates a non-stick surface and adds flavor to your food. Apply a thin layer of vegetable oil using a paper towel or brush. Make sure to coat both sides of the grates evenly for best results.
Step 3: Heat Things Up
To further set the seasoning and prepare your grill grates for cooking, preheat your grill on high heat for about 15-20 minutes with the lid closed. This will help to burn off any remaining debris and oil from seasoning.
Step 4: Oil Them Again
Now that your grill is heated up, it’s time to oil the grates again. Dip a paper towel or brush in vegetable oil and lightly coat the grates with it. Avoid using too much oil as this can cause flare-ups during cooking.
Step 5: Let’s Get Grilling
With your new grill grates clean, seasoned, and oiled, they’re ready for action. Fire up your grill and start cooking up your favorite foods.
a. Remove Protective Coating
But before you can start cooking up a storm, you need to remove the protective coating that comes with it. This coating is meant to prevent rusting during shipping and storage, but it can be harmful if ingested, so it’s essential to take the time to remove it properly.
The first step in removing the protective coating is giving your grill grate a good wash with soap and water. This will ensure that any dirt or debris that may have accumulated during storage is removed. After washing, rinse the grill grate with clean water and let it dry completely.
Now it’s time to heat up the grill. Turn on the burners and let them heat up for at least 15 minutes. This will help burn off any remaining protective coating and prepare the grill for cooking.
Once the grill is hot, grab a wire brush and start scrubbing away at the grill grate. Give it a thorough scrub to remove any remaining protective coating and other debris that may be hiding on the surface. After scrubbing, rinse the grill grate with clean water and dry it off with a clean towel.
Now that you’ve removed the protective coating, it’s time to season your grill grate. This step is crucial in preventing food from sticking and enhancing the overall flavor of your meals. To season your grill grate, apply a thin layer of vegetable oil or cooking spray to the surface of the grate. Heat up the grill again for 10-15 minutes until the oil has been absorbed into the metal.
b. Scrub the Grates
Then it’s time to give your grill grates the proper TLC they deserve. One key step in the preparation process is scrubbing the grates. Don’t worry, it’s easy and essential.
First, get your grill heating up on high temperature for 15 minutes. This will burn off any loose debris on the grates, making them easier to clean. Then, grab a grill brush with stiff bristles and get to work. Thoroughly scrub every nook and cranny of the grates, removing any remaining debris.
If your grates are especially grimy or have stubborn residues, soak them in a mixture of hot water and dish soap for a few minutes before scrubbing with the grill brush. Rinse them thoroughly with warm water to remove any soap residue.
Now that your grates are sparkling clean, it’s time to season them. This step is crucial for preventing food from sticking and enhancing flavor. Simply coat the grates with a thin layer of vegetable oil using a paper towel or brush. Heat up your grill on high temperature for 20-30 minutes with the oiled grates on it. This will create a non-stick surface on the grates and get them ready for some serious grilling action.
c. Rinse the Grates
Before you light up the fire, it’s crucial to properly prepare your grill grates and that starts with rinsing them thoroughly. As an expert on this topic, I’ll share with you why rinsing the grates is a crucial step in the process.
Firstly, when you receive new grill grates, they may have dust, debris or even contaminants that could affect the taste of your food. That’s why it’s essential to rinse them off before use. Start by removing the grates from the packaging and placing them on a clean surface.
Next, rinse the grates thoroughly using either a hose or sink. Ensure that both sides of the grates are rinsed to remove all contaminants. If you notice stubborn dirt or debris, use a soft-bristled brush to gently scrub them away.
It’s important to remember that you should only use water for rinsing the grates at this stage. Avoid using any soap or cleaning agents as they could leave behind residues that could impact the taste of your food or even cause flare-ups during cooking.
Once you’ve rinsed the grates, pat them dry with a clean towel or paper towel. Afterward, let them air dry for a few minutes before proceeding to season them. Proper preparation of your new grill grates is essential for ensuring their longevity and optimal performance. By taking the time to rinse your grates thoroughly, you’ll remove any unwanted debris and ensure that your food tastes great after cooking.
d. Dry the Grates
Moisture can cause rust and negatively impact the flavor of your food. Fear not, there are a few easy steps you can take to ensure your grates are properly dried and ready for use.
Firstly, grab a clean cloth or paper towel and wipe down the grates thoroughly. Make sure to get into all the nooks and crannies of the grates to remove any excess moisture.
Another option is to heat the grates on the grill for a few minutes. This not only dries them but also sterilizes them by killing any bacteria that may be present. Once heated, turn off the grill and allow the grates to cool completely before using them.
However, if your grates are coated with a non-stick material, be careful not to damage the coating by heating them up without food on them. Instead, simply wipe them down with a clean cloth or paper towel before use.
e. Season the Grates
Picture this: the sizzle of meat hitting a hot grill, the scent of charcoal in the air, and the anticipation of a perfectly cooked meal. But before you dive into grilling, there’s a crucial step that you can’t overlook: seasoning your grates. Trust us, it’s worth the effort.
Why is seasoning so important? It creates a non-stick surface for your food, prevents rusting, and enhances the flavor of your meals. Who wouldn’t want that? Plus, it prolongs the life of your grill grates.
Ready to season your grates like a pro? Here’s how:
Step 1: Clean the Grates
Before seasoning, give your grates a thorough cleaning with soap and water. Remove any dust or debris, rinse them off, and ensure they’re completely dry before moving on to the next step.
Step 2: Apply Oil
Next up, apply a thin layer of oil to the grates using a brush or paper towel. Choose an oil with a high smoke point like vegetable or canola oil. Avoid olive oil as it leaves behind a bitter taste.
Step 3: Heat the Grates
Preheat your grill to a high temperature, around 400-500°F. Place the oiled grates on the heated grill and let them cook for about 15-20 minutes. This process will burn off any remaining debris and allow the oil to bond with the metal surface.
Step 4: Repeat
Repeat this process several times until you achieve a blackened, non-stick surface on your grates. It may take multiple sessions of heating and oiling the grates, but trust us, it’s worth the effort.
Bonus Tips:
- Consider using high-quality oils like flaxseed or grapeseed for even better results.
- Use specialty grill brushes to avoid damaging the seasoning.
- Regularly clean and reapply oil to maintain the seasoning.
Benefits of Preparing New Grill Grates
Before you start cooking, let’s talk about the benefits of preparing new grill grates.
First and foremost, preparing new grill grates can remove harmful chemicals or substances that may be present on the surface. During the manufacturing process, grill grates are often treated with chemicals to prevent rust and corrosion. These chemicals could potentially contaminate your food during the cooking process. By preparing new grill grates, you can ensure that your food is safe and free from any harmful substances.
But that’s not all. Preparing new grill grates also helps to extend their lifespan. New grill grates are often coated with oil or other protective substances that can make them sticky and susceptible to rusting. By removing this coating and properly preparing them, you’ll prevent rusting and ensure that your grill grates can be used season after season.
In addition to extending their lifespan, preparing new grill grates can improve the flavor of your food. When properly seasoned and cleaned, grill grates create a non-stick surface that allows for even cooking and prevents food from sticking. This results in better sear marks and a more flavorful crust on your grilled meats and vegetables.
And let’s not forget about the overall performance of your grill. A clean and well-maintained grill grate distributes heat evenly, resulting in more consistent cooking temperatures and better results. By taking the time to prepare your new grill grates, you’ll be able to achieve optimal performance from your grill.
Tips for Preparing New Grill Grates
Grilling is an art that requires attention to detail, especially when it comes to preparing your new grill grates. These essential components can make all the difference in the quality of your food, so taking the time to properly prepare them is crucial. Follow these tips for preparing new grill grates like a pro:
Clean the Grates
Cleaning your new grill grates is the first step in preparing them for use. Even if they look clean, there may be manufacturing residue or debris present. Use a wire brush to scrub the grates and then wipe them down with a damp cloth.
Season the Grates
Seasoning your grill grates is a crucial step in preventing food from sticking and rust from forming. Apply a thin layer of vegetable oil using a paper towel or brush and heat the grates on high for about 15 minutes until the oil has been absorbed.
Preheat the Grill
Before cooking on your new grill grates, it’s important to preheat your grill for about 10-15 minutes. This will ensure that any remaining residue is burned off and that the grates are evenly heated.
Test for Hot Spots
Knowing where your hot spots are on the grill grates will help you cook your food more evenly. Simply place a piece of bread on each section of the grill grates and see which areas toast more quickly.
Oil the Grates
To prevent food from sticking to the grill grates, it’s important to oil them before cooking. Use a brush or paper towel to apply a thin layer of oil on the grates.
Common Mistakes to Avoid When Preparing New Grill Grates
Grilling is an art form that can be daunting for beginners. However, with the right techniques and tools, anyone can become a grill master. When preparing new grill grates, there are several mistakes that many people make that can lead to uneven cooking, difficulty in cleaning, and even damage to the grates themselves. By avoiding these mistakes, you can ensure that your new grill grates are ready to use and will provide delicious results every time.
The first mistake people make is neglecting to clean their new grill grates before their first use. Many grates come with a protective coating that needs to be removed before cooking. Failing to remove this coating can result in a metallic taste in your food or even damage to the grates. To avoid this, wash the grates with soap and water and dry them thoroughly before first use.
Another mistake is using too much oil when seasoning the grates. While it is important to season your grates to prevent rust and improve non-stick properties, using too much oil can cause flare-ups and uneven cooking. Instead, use a small amount of oil and spread it evenly over the grates with a paper towel or brush.
Using abrasive materials to clean grill grates is another common mistake. Although it may seem like a good idea to scrub away any stuck-on food, this can actually damage the grates and make them more difficult to clean in the future. Instead, use a grill brush or scraper specifically designed for use on grill grates. These tools will help remove any debris without scratching the surface of the grates.
In addition to these mistakes, there are other factors to consider when preparing new grill grates. These include:
- Not preheating the grill before cooking: Preheating is vital for ensuring even heat distribution and preventing sticking.
- Overcrowding the grill: Overcrowding can lead to uneven cooking and undercooked food.
- Closing the lid too frequently: Opening and closing the lid too frequently can cause fluctuations in temperature and affect the cooking time.
How to Clean and Maintain Your Grill Grate After Use
Grilling is a beloved pastime for many, but it can quickly turn into a nightmare if your grill grate isn’t properly cleaned and maintained after use. To ensure that your grill grate stays in tip-top shape, follow these easy steps:
Let it cool down completely
Never attempt to clean a hot grill grate, as it can be dangerous and damage the grate. Instead, wait until the grill has cooled down completely before cleaning.
Use a wire brush or scraper
A wire brush or scraper is a great tool for removing any leftover food, debris, or grease from your grill grate. Make sure to scrub both sides of the grate thoroughly to ensure that all the dirt is removed.
Use soap and water when necessary
If there are stubborn stains or grease buildup on your grill grate, you can use a mild dish soap and water to remove them. Be sure to rinse the grate thoroughly with water afterward to avoid leaving any soap residue.
Dry it off completely
Moisture can cause rust on the surface of the grate, which can ruin it over time. After cleaning your grill grate, dry it off completely using a clean towel or let it air dry.
Apply oil or spray

To protect your grill grate from rust and make it easier to clean in the future, apply a light coat of cooking oil or spray after cleaning and drying it.
Inspect regularly
Inspect your grill grate regularly for any signs of damage or wear and tear. If you notice any rust or damage, it may be time to replace the grill grate. Additionally, be sure to keep your grill covered when not in use to protect it from the elements.
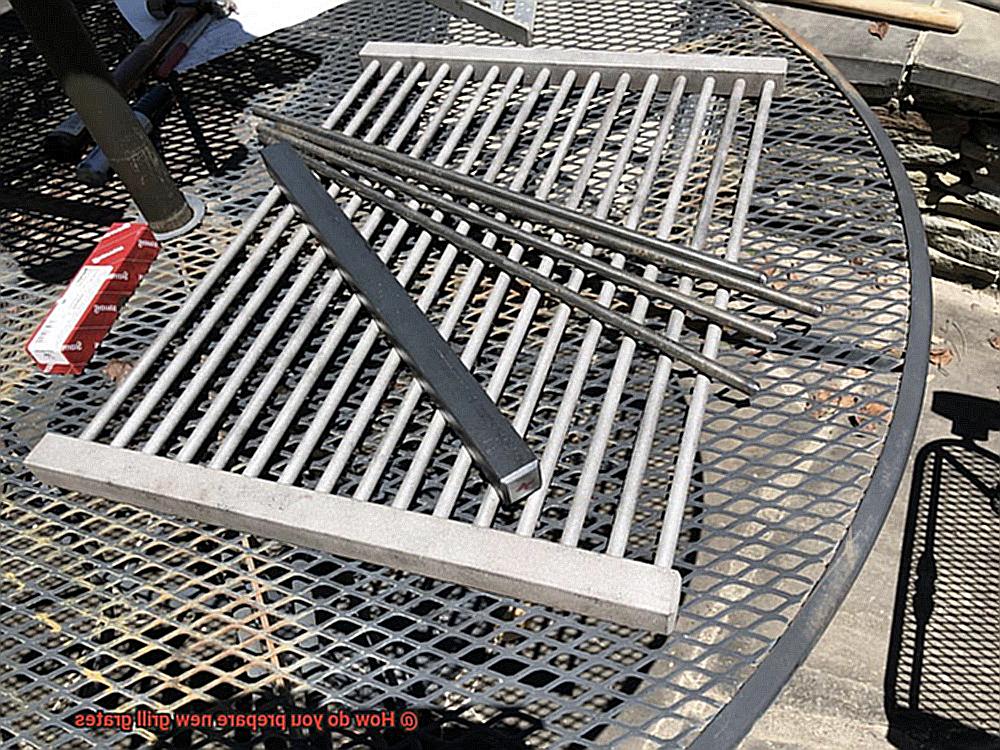
Different Types of Grill Grates and Their Uses
As the weather warms up, it’s time to dust off the grill and start cooking up some delicious meals. However, before you start grilling, it’s important to choose the right type of grill grate for your needs. Here are five sub-sections that explain the different types of grill grates and their uses.
Cast Iron Grill Grates
Cast iron grill grates are a popular choice for grill masters who want to achieve perfectly seared meat with beautiful grill marks. These grates are durable and retain heat well, making them ideal for cooking steaks, burgers, and other meats. However, they require seasoning before use and need to be cleaned with care to prevent rusting. Cast iron grates are heavy and challenging to clean compared to other types of grill grates.
Stainless Steel Grill Grates
Stainless steel grill grates are lightweight and easy to clean, making them a popular choice for those who want a fuss-free grilling experience. They heat up quickly and evenly, making them suitable for cooking delicate foods like fish or vegetables. However, they don’t retain heat as well as cast iron grates, which can affect the flavor of your food.
Porcelain-Coated Grill Grates
Porcelain-coated grill grates are made of cast iron or steel with a layer of porcelain enamel on top. The coating prevents food from sticking to the surface and makes cleaning easier. Porcelain-coated grill grates are rust-resistant and don’t require seasoning like cast iron grates do. However, the porcelain coating can chip or crack over time, exposing the metal underneath.
Ceramic Grill Grates
Ceramic grill grates are made of heat-resistant ceramic material that retains heat well and distributes it evenly across the cooking surface. These grates are perfect for slow-cooking or smoking food, allowing you to achieve the perfect smoky flavor in your meals. Ceramic grill grates can handle high temperatures without warping or cracking, making them a durable and long-lasting option.
Diamond-Shape Grill Grates
Diamond-shaped grill grates are a unique option that can help you create beautiful diamond-shaped grill marks on your food. They also allow excess fat to drip away from your meat, making them a healthier choice for cooking. Diamond-shaped grill grates are usually made of stainless steel or porcelain-coated cast iron.
v2WoiAUlIIE” >
Conclusion
In conclusion, preparing new grill grates is an essential step to ensure that your food cooks evenly and doesn’t stick to the grates.
Don’t skip this crucial step in your grilling routine and enjoy perfectly cooked food every time you fire up the grill.