Have you ever been in a sticky situation trying to replace a light bulb, only to find it stubbornly stuck in the socket? You might have twisted it or pulled at it with all your might, but it just wouldn’t budge. Not only is this frustrating, but it can also be dangerous if you try to force the bulb out.
But don’t worry, there are plenty of simple and safe methods for removing a stuck light bulb without causing damage or risking injury. In this article, we’ll cover everything you need to know about how to remove a stuck light bulb.
First, we’ll explore some common reasons why bulbs get stuck in sockets. Then we’ll dive into different techniques you can use to extract them – from using household items like potatoes and duct tape to investing in specialized tools. We’ll also provide some safety tips for removing a stuck light bulb, such as turning off the power supply and waiting for the bulb to cool down before attempting any removal.
With these tricks up your sleeve, you can say goodbye to your light bulb extraction woes and make the process a breeze. So let’s get started on learning how to safely remove that pesky stuck light bulb.
Contents
Step 1: Turning off the Power to the Light Fixture
Before you get started, it’s important to take the necessary safety precautions by turning off the power to the fixture. This simple yet crucial step can prevent accidents and injuries, ensuring your overall safety.
To begin, locate the circuit breaker or fuse box that controls the light fixture. Once you have found it, switch off the circuit breaker or remove the fuse that controls the power flow. It’s imperative to note that if you are unsure which one controls the fixture, it’s best to turn off the main power switch or circuit breaker that powers your entire home. Safety always comes first.
After turning off the power, test the light fixture by flipping the switch or using a voltage tester. This will confirm that there is no electricity flowing to the fixture, and you can safely move on to removing the stuck bulb. It’s always better to be safe than sorry.
If you’re having trouble removing the bulb, there are several methods you can try, such as using rubber gloves or pliers. However, if all else fails, it may be best to call in a professional electrician for assistance.
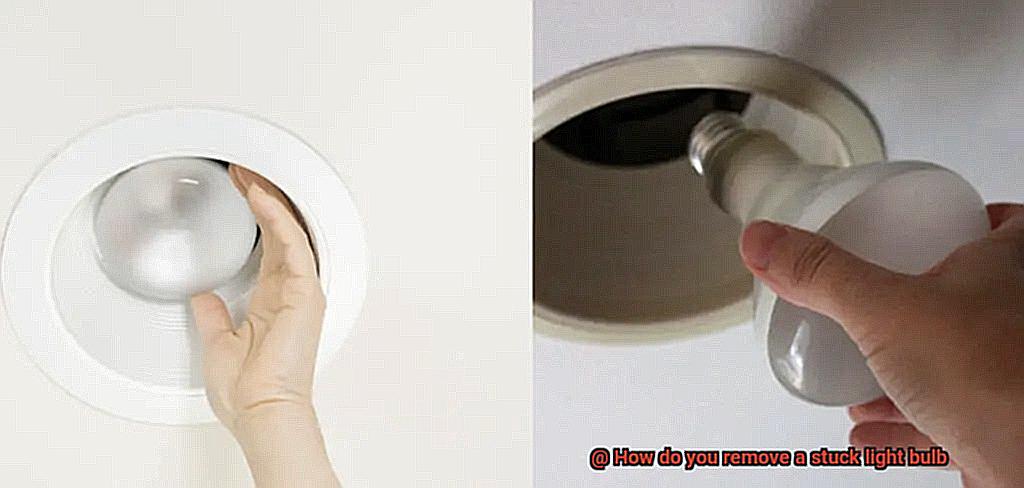
Step 2: Using Rubber Gloves or a Jar Opener to Grip the Bulb
Fear not, there are a few options you can try to get that bulb out of the socket. In step 2 of removing a stuck light bulb, you can use rubber gloves or a jar opener to grip the bulb and turn it counterclockwise.
Rubber gloves are a great option for better gripping and twisting the bulb out of its socket. However, don’t use those flimsy disposable gloves. Instead, opt for thick and sturdy gloves that can protect your hands from broken glass if the bulb shatters during removal. Once you have your gloves on, grip the bulb firmly and twist counterclockwise. This will make it easier to turn and remove.
Alternatively, you can use a jar opener to remove the stuck light bulb. Yes, you read that right – a jar opener. These handy tools are not just for opening jars anymore. To use a jar opener to remove a stuck light bulb, place the rubberized end of the tool around the base of the bulb and twist counterclockwise. This will provide an excellent grip on the bulb and make removal easier.
Remember that no matter which method you choose, always turn the bulb counterclockwise to avoid further damage or injury. And if the bulb does break during removal, be sure to take precautions when disposing of broken glass.
To summarize, here are some key takeaways:
- Use rubber gloves or a jar opener to grip and turn the stuck light bulb counterclockwise
- Opt for thick and sturdy gloves to protect your hands from broken glass
- A jar opener is a versatile tool that can be used for many tasks, including removing stuck light bulbs
- Always turn the bulb counterclockwise to avoid further damage or injury
- Take precautions when disposing of broken glass
Step 3: Wrapping Duct Tape or a Rubber Band Around the Base of the Bulb
Removing a stuck light bulb can be a daunting task, but fear not. With the right tools and techniques, you can get the job done quickly and safely. In step 3 of the process, we’ll explore how to use duct tape or a rubber band to remove a stubborn light bulb.
When it comes to household items that can save the day, duct tape is high on the list. To use duct tape in this situation, simply wrap it around the base of the bulb and twist it in a clockwise direction. This creates enough friction to give you a better grip on the bulb, so you can turn it and remove it from its socket.
Alternatively, you can use a rubber band to achieve the same result. Wrap the rubber band tightly around the base of the bulb, making sure it’s secure enough to provide good grip. Then, twist the bulb in a clockwise direction until it comes loose from its socket.
It’s important to note that if the bulb is broken or shattered, do not attempt to remove it using these methods. Instead, turn off the power supply to the socket and carefully remove any broken pieces with pliers or other tools. Safety always comes first.
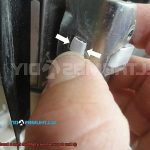
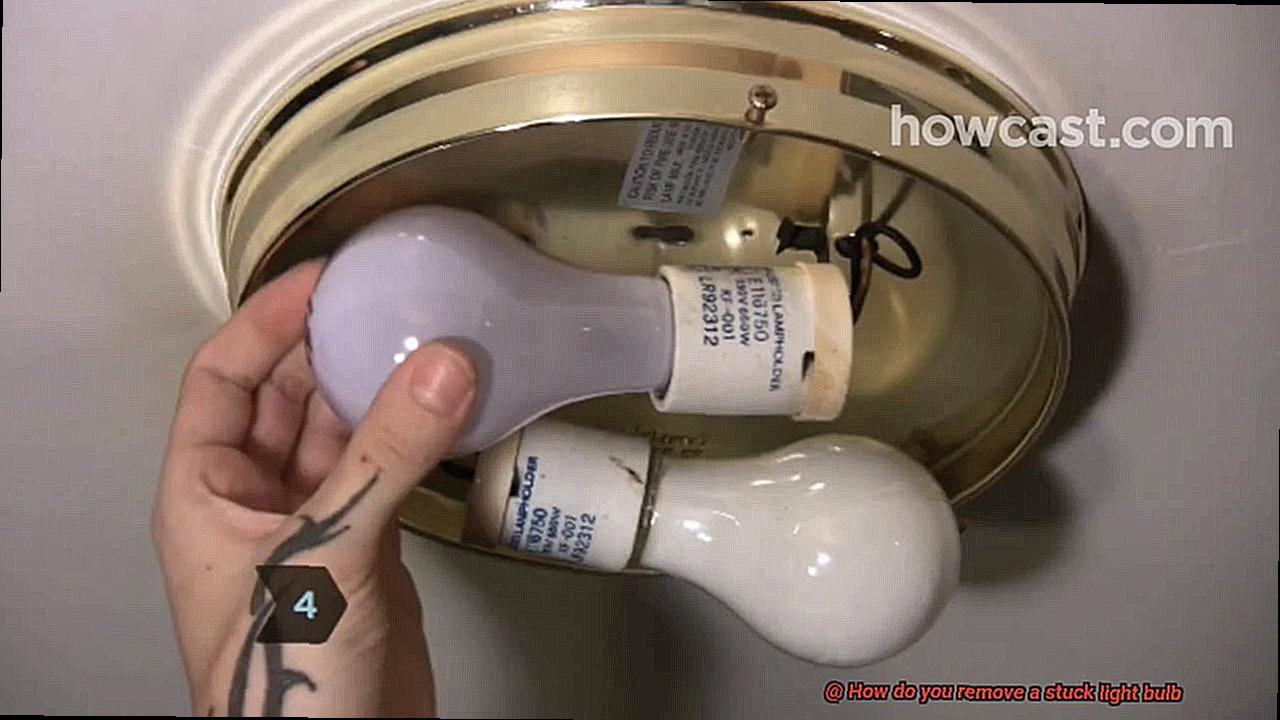
Step 4: Using Pliers or Needle-Nose Pliers to Grip the Base of the Bulb
Imagine standing on a chair with a light bulb that refuses to budge. You’ve tried every trick in the book, but the bulb remains stuck. What now? It’s time to bring out the big guns: pliers or needle-nose pliers.
Step 4 in removing a stuck light bulb is critical as it involves getting a secure grip on the base of the bulb. This is where pliers or needle-nose pliers come in handy. But before you start, ensure that you have the right tool for the job.
To begin, locate a pair of pliers or needle-nose pliers that can securely grip the base without slipping or causing damage. With your tool in hand, firmly grip the base of the light bulb and hold it as close to the base as possible to prevent any wobbling or slipping.
Next, turn the pliers or needle-nose pliers counterclockwise to loosen the bulb. Remember to apply gentle pressure while turning and avoid using excessive force as this could cause the bulb to break.
If the bulb still refuses to budge, try gently tapping the pliers or needle-nose pliers with a hammer to loosen any corrosion or debris that may be causing it to stick. But, be cautious not to hit the bulb directly as this could lead to it breaking.
Using pliers or needle-nose pliers with a firm grip and a gentle approach is an effective way to remove a stubborn light bulb without causing damage. However, patience is key. Rushing or using excessive force can result in a broken bulb and potential injury.
In summary, here are some tips to keep in mind when using pliers or needle-nose pliers to remove a stuck light bulb:
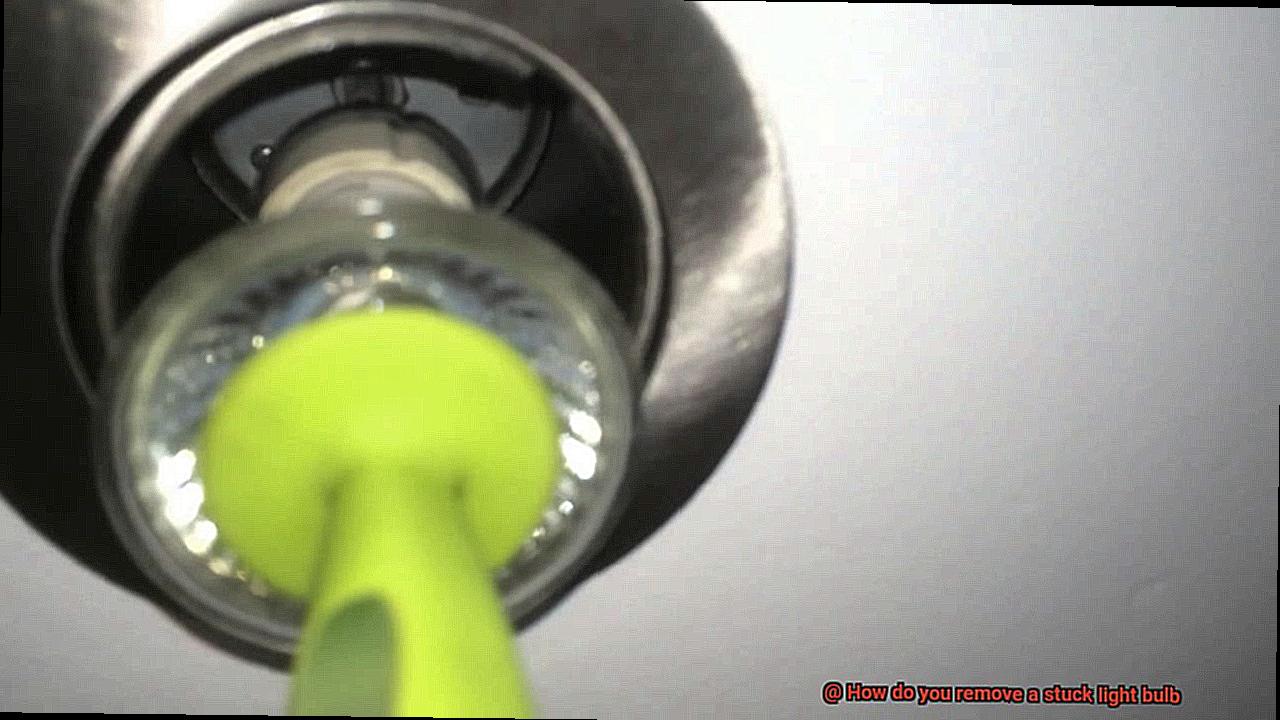
Step 5: Breaking the Bulb with Pliers or Using a Potato for Additional Grip
If you’ve exhausted all other options, it’s time to move on to step 5 – breaking the bulb with pliers or using a potato for additional grip. But before we get into the details, let’s emphasize that this method is not without risks. So, take extra precautions and wear protective gloves and goggles.
First off, grab a pair of pliers with a long nose. The goal here is to gently twist the bulb’s edge until it comes loose. But if that doesn’t work, gradually increase the pressure until you hear a satisfying cracking sound. At this point, the glass has shattered, and you can carefully remove the remaining parts.
Alternatively, try using a potato for additional grip. Yes, you heard that right – a potato. Cut a potato in half and press it onto the base of the bulb. Twist it gently while holding onto the potato firmly. The potato should provide enough friction to loosen the bulb. If it doesn’t work, try again with a fresh piece of potato.
But remember, safety always comes first. Turn off the power before attempting any of these methods. And if you’re still unable to remove the bulb after trying everything, don’t hesitate to call an electrician for professional help.
When to Call in an Electrician for Assistance
Dealing with a stuck light bulb can be frustrating, but before you resort to drastic measures like breaking the bulb or using a potato, consider when it’s time to call in an electrician for assistance. Here are some scenarios where it’s best to leave the job to the professionals:
Firstly, if the light bulb is stuck in a high ceiling or hard-to-reach area, attempting to remove it yourself can be dangerous. Climbing on ladders or chairs can lead to falls and injuries, especially when dealing with fragile glass bulbs. In these situations, an electrician can safely remove the bulb using specialized equipment and safety measures.
Secondly, if the light fixture appears damaged or the wires are exposed, it’s important to call in an electrician rather than attempting to remove the bulb yourself. Trying to remove a stuck bulb in a damaged fixture can result in electrical shock or further damage to the fixture or wiring. An electrician can assess the situation and make any necessary repairs or replacements before removing the bulb.
Finally, if the light bulb has broken inside the fixture, it’s best to call in an electrician who can safely remove any broken glass and replace the bulb as needed. Attempting to remove broken glass from a small space can be dangerous and may result in injury.
Safety Tips for Removing Stuck Light Bulbs
Removing a stuck light bulb can quickly turn from a simple household task to a dangerous situation if proper safety precautions are not taken. Here are some essential safety tips to consider before attempting to remove a stuck light bulb.
Turn off the power source and let the bulb cool down
The first step in removing a stuck light bulb is to ensure that the power source is turned off. This will prevent any electrical shocks or accidents from occurring. Additionally, if the bulb has been recently turned on, it is important to wait for it to cool down as it may still be hot and could burn your skin.
Wear gloves or use a cloth to grip the bulb
It’s always best to wear gloves or use a cloth when trying to grip a stuck bulb. This will protect your hands from getting burned or cut and provide a better grip on the bulb. If the bulb breaks while you are attempting to remove it, use pliers or needle-nose pliers to carefully remove any remaining pieces.
Use a sturdy and stable ladder
If the bulb is in a hard-to-reach area or in a fixture that requires a ladder, make sure to use a sturdy and stable ladder. Avoid standing on chairs or other unstable objects that could cause you to lose balance and fall. Falling from a height can result in serious injuries.
Never use excessive force
Applying too much pressure when trying to remove a stuck bulb can cause it to break, which can result in injury or damage to the lamp. Be gentle with your movements and try twisting and turning the bulb instead.
Seek professional help if needed
If you feel uncomfortable or unsure about removing a stuck light bulb, it’s always best to seek professional help from an electrician or handyman. They have the tools and experience necessary to safely remove stubborn bulbs without causing damage or injury.
Common Causes of Stuck Light Bulbs
As someone who has dealt with countless stuck light bulbs, I know firsthand how frustrating and time-consuming it can be to remove one from its socket. But fear not, understanding the common causes of this issue can help you prevent it from happening again.
One of the main culprits of stuck light bulbs is over-tightening. While it’s important to ensure that your bulb is securely in place, tightening it too much can cause the metal threads to become warped or distorted. This makes it nearly impossible to remove the bulb without causing damage to the socket. So remember, tight is good, but too tight is not.
Another common cause of stuck light bulbs is corrosion. Over time, moisture and humidity can cause metal contacts in a light bulb socket to corrode, making it difficult to unscrew the bulb. If you notice any signs of rust or discoloration in your fixture, it’s time to replace it altogether.
A broken filament can also cause a light bulb to become stuck in its socket. When a bulb burns out, the filament inside can break off and become lodged in the socket. This makes it challenging to remove the remaining portion of the bulb without damaging the socket or electrical wiring.
Lastly, using the wrong type of light bulb can also cause it to become wedged tightly in place. For example, trying to use a candelabra-style bulb in a standard-sized socket will likely result in a stuck bulb due to its smaller size. So make sure you’re using the correct type of bulb for your fixture.
To prevent stuck light bulbs from happening, make sure to avoid over-tightening when installing them and regularly inspect your fixtures for signs of corrosion or damage. Replace any corroded fixtures altogether. Remember, safety should always come first when dealing with electricity. If you feel uncomfortable or unsure about removing a stuck light bulb, seek professional help from an electrician or handyman.
6Af4pPvhy34″ >
Conclusion
To sum up, dealing with a stuck light bulb can be an irritating and hazardous task if not approached carefully. Nevertheless, there are effective ways to remove a stubborn bulb without damaging your fixture or yourself. Prioritizing safety is crucial, so make sure to switch off the power supply and wait for the bulb to cool down before attempting any removal.
You can try various methods, such as wearing rubber gloves or using pliers for extra grip, wrapping duct tape or a rubber band around the base of the bulb, or utilizing a potato for added traction. But if none of these techniques work, it’s best to seek help from a professional electrician.
It’s also essential to understand why light bulbs get stuck in the first place – over-tightening, corrosion, broken filaments, and using incompatible bulbs are common culprits. To avoid future issues, refrain from over-tightening when installing bulbs and regularly inspect your fixtures for any signs of wear and tear.
Remember that safety always comes first when dealing with electricity. If you’re unsure about removing a stuck light bulb or feel uncomfortable doing it yourself, don’t hesitate to call in an expert.