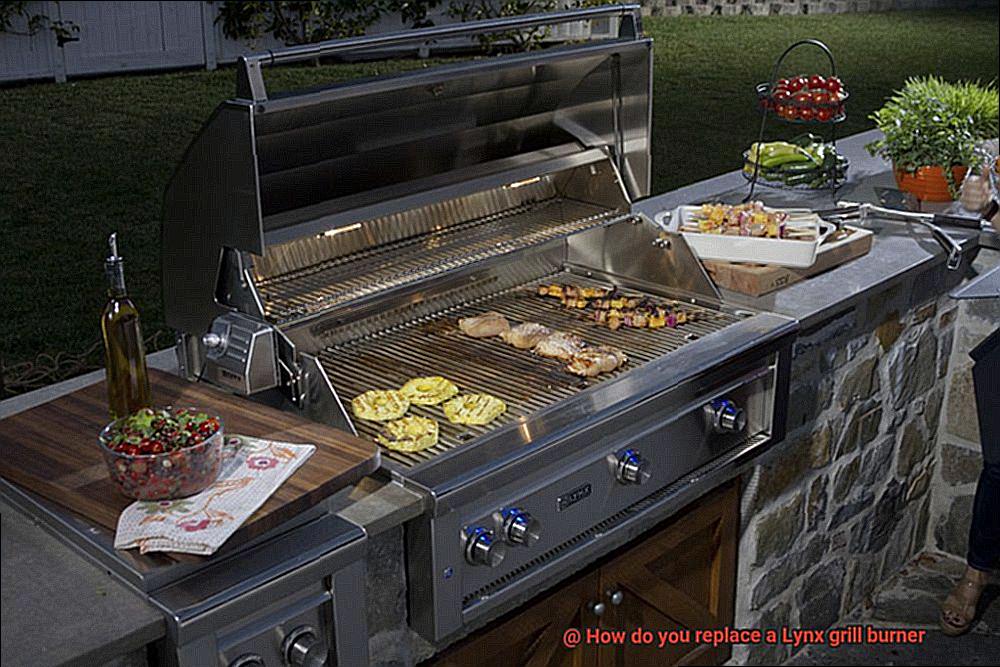
Summer is the time for outdoor grilling, but what do you do when your trusty Lynx grill burner starts acting up? Don’t fret. Replacing a Lynx grill burner is a breeze.
Before you start any repairs, make sure the grill is turned off and cooled down. Once you’ve removed the grates and burner cover, locate the screws that hold the burner in place – these can be located at the base of the grill or beneath the burner itself.
Remove those screws and gently lift out the old burner, making note of how it’s connected to the grill. You’ll need to reattach your new burner in exactly the same way.
When choosing a replacement burner, ensure it’s compatible with your Lynx grill model. Then connect it to your grill and secure it in place with screws.
With your new burner installed, double-check all connections before firing up your grill to ensure everything works perfectly.
Replacing a Lynx grill burner is simple and quick, leaving you more time to enjoy summer cookouts with family and friends.
Contents [show]
Why Should You Replace a Lynx Grill Burner?
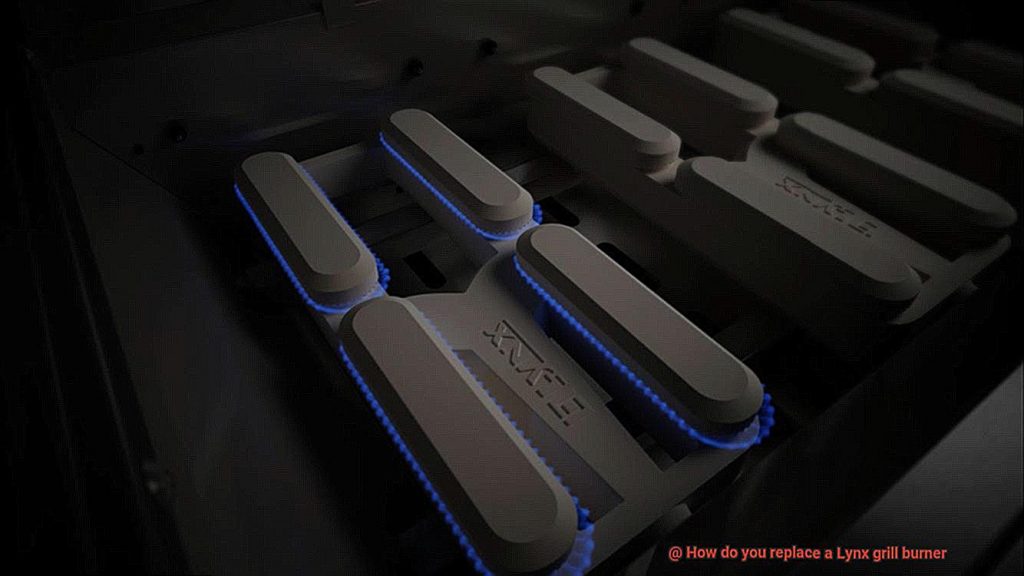
When it comes to grilling, the burner is the heart of your Lynx grill. If it’s worn out or damaged, it can affect the quality of your grilled food. That’s why replacing your Lynx grill burner is crucial to ensure that you’re getting the most out of your grilling experience.
Here are some top reasons why you need to replace your Lynx grill burner:
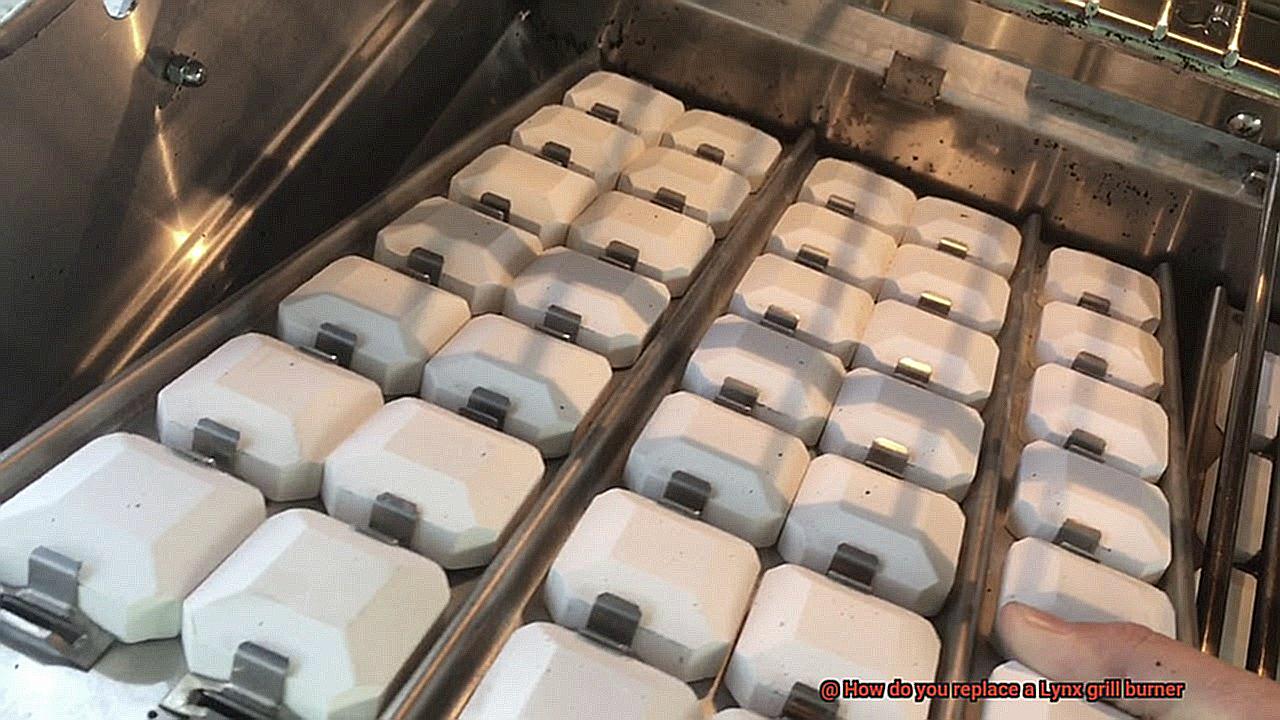
- Even Heat Distribution: A damaged or worn-out burner can lead to uneven heat distribution across the grill grates, resulting in undercooked or overcooked food. By replacing the burner, you can restore even heat distribution and enjoy perfectly cooked meals every time.
- Safety: A damaged or worn-out burner can cause gas leaks or flare-ups, which pose a significant safety hazard. Regular maintenance and replacement of your Lynx grill burner can help prevent accidents and keep you and your loved ones safe while grilling.
- Cost Savings: A worn-out or damaged burner will use more gas than necessary to produce heat, resulting in higher gas bills. By replacing the burner, you can improve the efficiency of your grill and save money on gas in the long run.
Replacing a Lynx grill burner may seem intimidating, but it’s actually a straightforward process that can be completed with ease. Here are some tips to help you get started:
- Turn off the gas supply and disconnect the propane tank or natural gas line from the grill before beginning any repairs.
- Remove the old burner and install the new one.
- Check for leaks before using your grill again.
What You Need to Replace a Lynx Grill Burner
It may be time to replace your burner. Fear not. With our expert guide, you can seamlessly replace your old burner and get back to grilling mouth-watering meals for your loved ones.
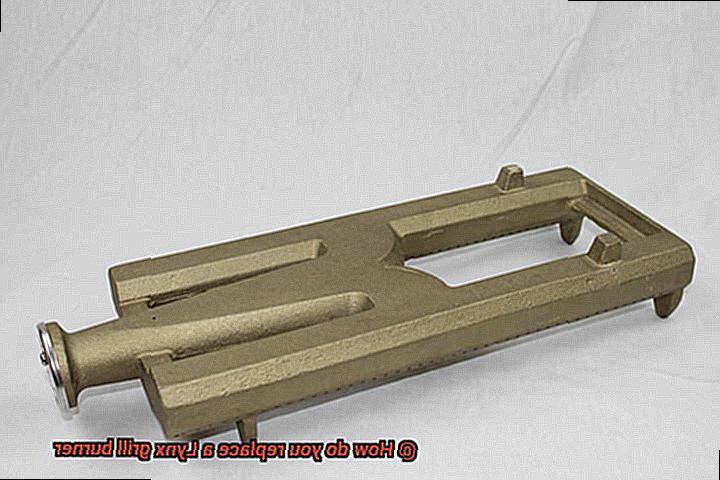
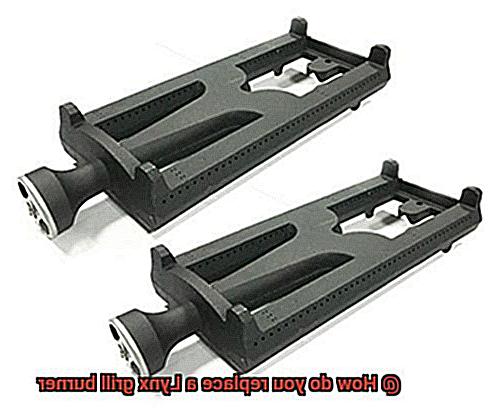
To replace a Lynx grill burner, you will need a few essential tools. First and foremost, you’ll need a new burner that fits your Lynx grill model. Make sure it is the correct size and shape to fit snugly into your grill. You will also need a screwdriver or wrench to remove the old burner and attach the new one securely.
Before purchasing a new burner, it’s crucial to identify your Lynx grill’s specific model for compatibility purposes. You can find this information in your user manual or by contacting Lynx customer service. Once you have all the necessary tools and a compatible replacement burner, it’s time to get started.
Begin by turning off the gas supply and disconnecting any electrical connections before starting work on the grill. The next step is removing the old burner using a screwdriver or wrench, ensuring that all screws are removed before pulling out the old burner.
To prevent any potential safety hazards, use a wire brush and soapy water to clean any debris or buildup from the grill before replacing the burner. This ensures proper functioning of the new burner. Finally, attach the new burner securely in place using screws or bolts.
Reconnect any electrical connections and turn on the gas supply to test the new burner. Congratulations. You have successfully replaced your Lynx grill burner and can now enjoy perfectly cooked meals every time while keeping yourself and your loved ones safe.
Step-by-Step Guide on How to Replace a Lynx Grill Burner
Replacing it is a simple process that anyone can do with the right tools and knowledge. Before starting, make sure you have a screwdriver, pliers, and a new Lynx grill burner.
Step 1: Safety First
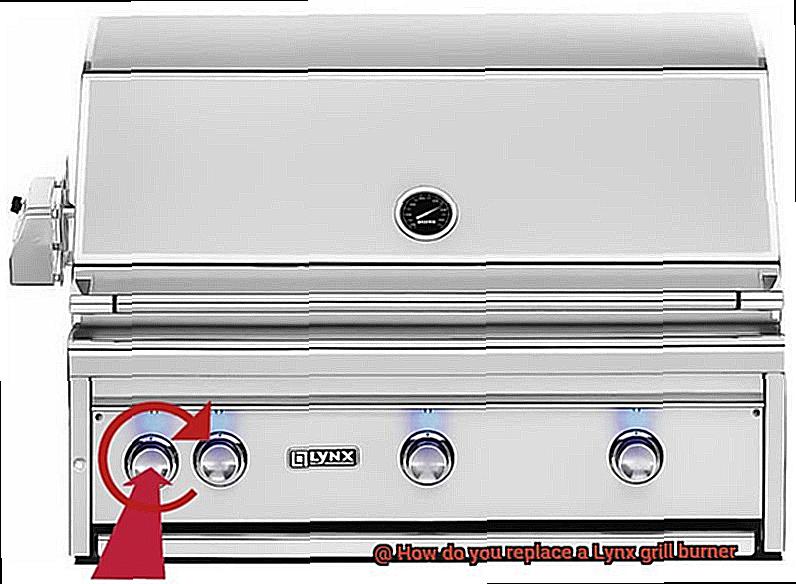
First things first, prioritize safety by turning off the gas supply. This can be done by turning off the propane tank or shutting off the gas valve located near the grill.
Step 2: Removing the Old Burner
Using a screwdriver or pliers, remove the screws or clips holding the old burner in place. Carefully lift out the old burner and set it aside.
Step 3: Installing the New Burner
Take the new Lynx grill burner and place it into position where the old burner was located. Ensure that the burner is aligned correctly and securely in place.
Step 4: Securing the New Burner
Re-attach the screws or clips that were removed from the old burner to secure the new Lynx grill burner in place.
Step 5: Testing Your New Burner
It’s time to test your new burner. Turn on the gas supply and ignite the new burner to ensure it is functioning properly. Check for any leaks or issues before using the grill for cooking.
Following these simple steps, anyone can replace their Lynx grill burner and have their grill functioning like new again. It’s always important to prioritize safety when handling gas supplies, so make sure to turn off your gas supply before starting any maintenance or replacement tasks on your grill.
Safety Tips for Replacing a Lynx Grill Burner
Grilling is a fun and delicious way to cook, but it’s important to take safety seriously when replacing a Lynx grill burner. Here are some tips to help keep you safe during the process:
Turn off the Gas Supply and Wear Protective Gear
Before you begin any work on your grill, turn off the gas supply and disconnect the propane tank or natural gas line. It’s also important to wear protective gear such as gloves and safety glasses to prevent any injuries.
Read the Manufacturer’s Instructions Carefully
Every grill is different, so it’s essential to read the manufacturer’s instructions carefully before attempting to replace a Lynx grill burner. This will ensure that you’re following the correct procedures and using the appropriate tools for the job. If you’re unsure about any aspect of the replacement process, seek professional help.
Work in a Well-Ventilated Area
When grilling, gas fumes can build up and become hazardous if ignited. To prevent this, work in a well-ventilated area. If you’re working inside, open windows or use fans to ensure proper ventilation.
Inspect for Damage and Clean Your Grill
Once you’ve removed the old burner, inspect the area around it for any signs of damage or wear and tear. This is also a good opportunity to clean your grill thoroughly and perform any other necessary maintenance tasks, such as replacing the igniter or cleaning out the burners.
Install Your New Burner Carefully
When installing the new burner, make sure that it is properly aligned with the other components of the grill and securely fastened in place. Double-check all connections and fittings before turning on the grill again to ensure that there are no leaks or other issues.
Checking for Leaks After Replacing the Burner
Now that you’re ready to start grilling again, it’s crucial to ensure that your grill is safe to use by checking for leaks.
Safety should always be a top priority when dealing with gas grills. That’s why it’s important to wear protective gear and use a simple soap and water solution to check for gas leaks. Mix soap and water in a spray bottle and apply it around the connection points of the burner. Turn on the gas supply and let the grill run for a few minutes. Watch for any bubbles forming on the surface of the sprayed areas. If you see bubbles, it indicates a gas leak, and you must immediately turn off the gas supply and fix the connection.
If there are no bubbles, turn off the gas supply and dry the sprayed areas. Make sure all connections are tight and secure before turning on the grill again. Repeat this process until you’re sure that there are no gas leaks.
It’s important to note that checking for leaks should be done every time you replace a burner or make any connections to your Lynx grill. Routine maintenance is also necessary to prevent potential issues from occurring. Here are some tips:
- Check for any rust or corrosion on the burners
- Clean out any debris or grease build-up
- Ensure all connections are tight and secure
Common Problems When Replacing a Lynx Grill Burner
If you’re planning to replace the burner on your Lynx grill, it’s important to be aware of some common problems that may arise. One of the most frequent issues is removing the old burner. Over time, burners can become corroded or stuck due to exposure to high heat and moisture from cooking. To avoid damaging the burner or the grill, it’s crucial to take care when removing the old part.
Another challenge is finding the right replacement burner for your specific Lynx grill model. With so many different sizes and models available, it can be challenging to determine which one is the right fit for your grill. To ensure that you purchase the appropriate replacement burner, it’s essential to identify your Lynx grill’s model number and do some research.
Improperly installing the new burner is another common problem that can occur. It’s essential to follow the manufacturer’s instructions carefully to ensure that the new burner fits correctly and is securely in place. Failure to install it properly can lead to gas leaks, uneven heating, and other safety hazards.
Lastly, some people may encounter issues with ignition after replacing their Lynx grill burner. This can be due to a faulty ignition system or incorrect installation of the new burner. If you experience any issues with ignition after replacing your burner, it’s best to consult with a professional technician or contact Lynx customer service for assistance.
Troubleshooting Tips for Replacing a Lynx Grill Burner
Fear not, as we have compiled a list of troubleshooting tips to help you out. Here are five sub-sections that will guide you through the process.
Accurately Diagnose the Problem
Before replacing the burner, make sure you accurately identify the problem. It may not always be an issue with the burner itself, but rather with other parts of the grill such as the igniter or gas supply. By identifying the root cause, you can save time and money in the long run.
Use Lubricants or Heat
Removing the old burner can be a daunting task due to rust and debris buildup. To make it easier, use a penetrating lubricant such as WD-40 or heat to loosen it up. Remember to turn off all connections and disconnect gas lines before removing the old burner.
Ensure Proper Alignment and Placement
To avoid gas flow or ignition system issues, ensure that the new burner matches the model number and size of the old one. Improper alignment or placement can cause problems in the future.
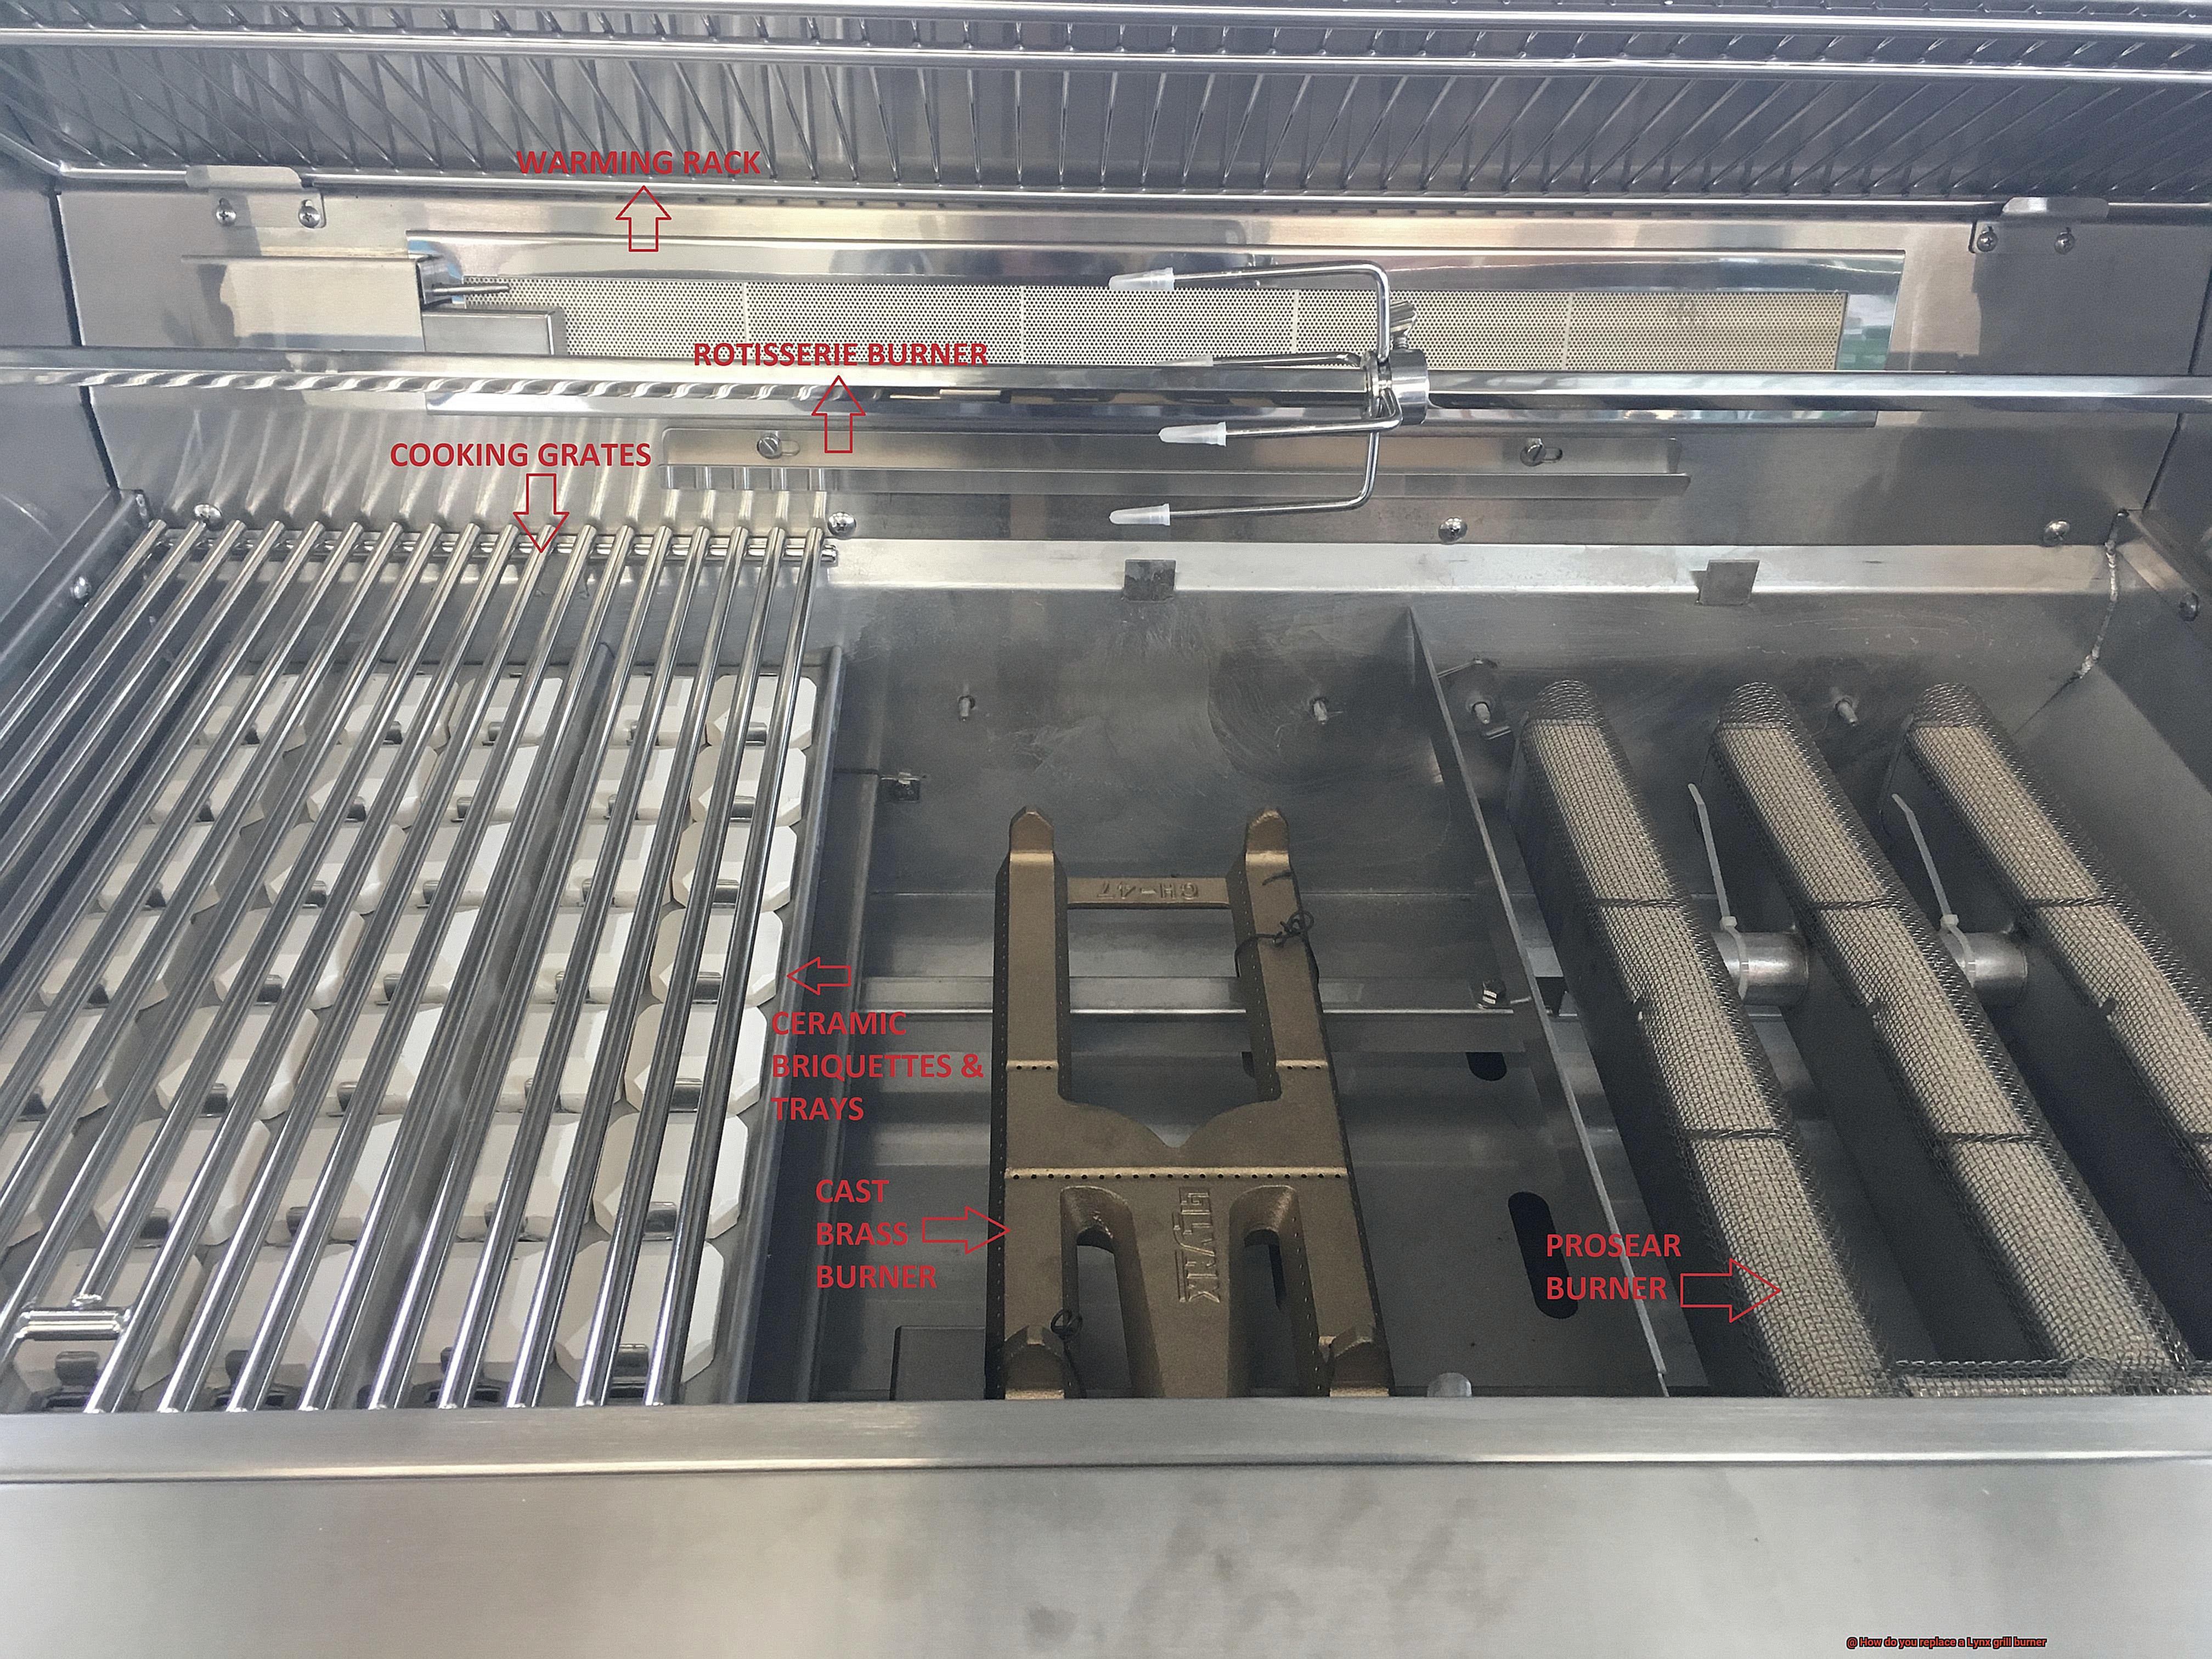
Inspect and Clean Other Parts of the Grill
While replacing the burner, take a moment to inspect other parts of the grill such as flame tamers and heat shields. These parts accumulate grease and debris over time and may require cleaning or replacement for optimal performance.
Follow Manufacturer’s Instructions Precisely
When in doubt, follow the manufacturer’s instructions precisely. This includes installation techniques and any recommended maintenance procedures. If you’re unsure about anything, seek advice from experts or watch tutorial videos.
0SouF4RnaYc” >
Conclusion
In conclusion, replacing a Lynx grill burner is a straightforward task that requires some basic knowledge and tools. However, safety should always be the top priority when working with gas appliances. Therefore, it’s crucial to turn off the gas supply, wear protective gear such as gloves and goggles, and work in a well-ventilated area.
Before purchasing a new burner, it’s essential to determine your Lynx grill model to ensure compatibility. Replacing a worn-out or damaged burner is crucial for even heat distribution, safety, and cost savings in the long run. Checking for leaks after installing the new burner is also necessary to prevent potential issues from occurring.
When replacing a Lynx grill burner, common problems may arise such as rust or corrosion on the old burner, difficulty finding the right replacement for your specific model, improper installation of the new burner, or ignition issues after replacement.
To overcome these challenges successfully, you need to diagnose the problem accurately and use lubricants or heat to remove the old burner if necessary. Proper alignment and placement of the new one are also crucial for optimal performance. Inspecting and cleaning other parts of the grill during maintenance can help prevent future problems.
By following manufacturer’s instructions precisely during troubleshooting and using these tips as guidelines, anyone can replace their Lynx grill burner safely and efficiently.